Historian Connection Configuration
Select ‘Connectors’.
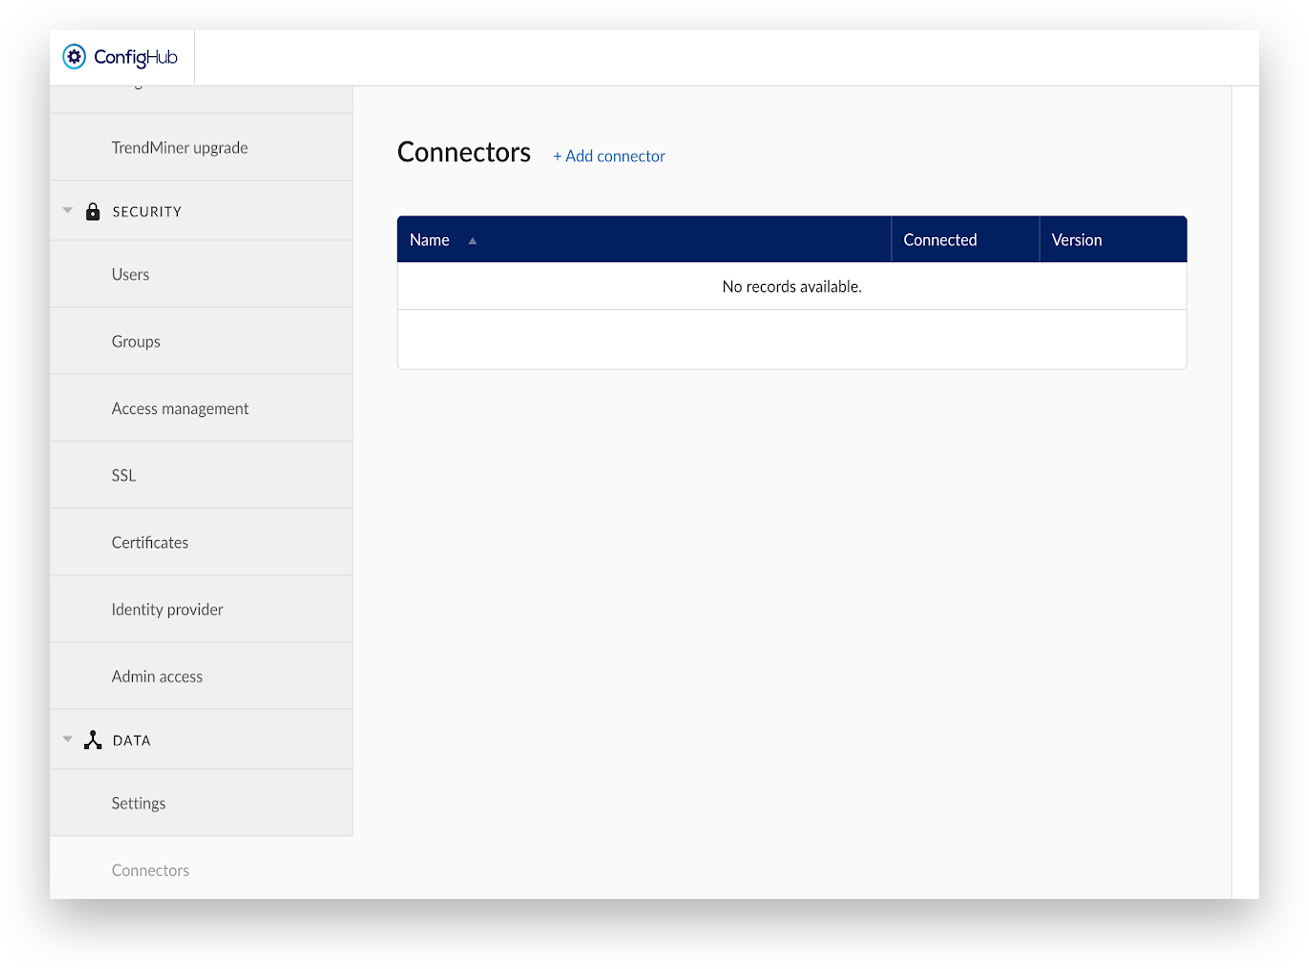
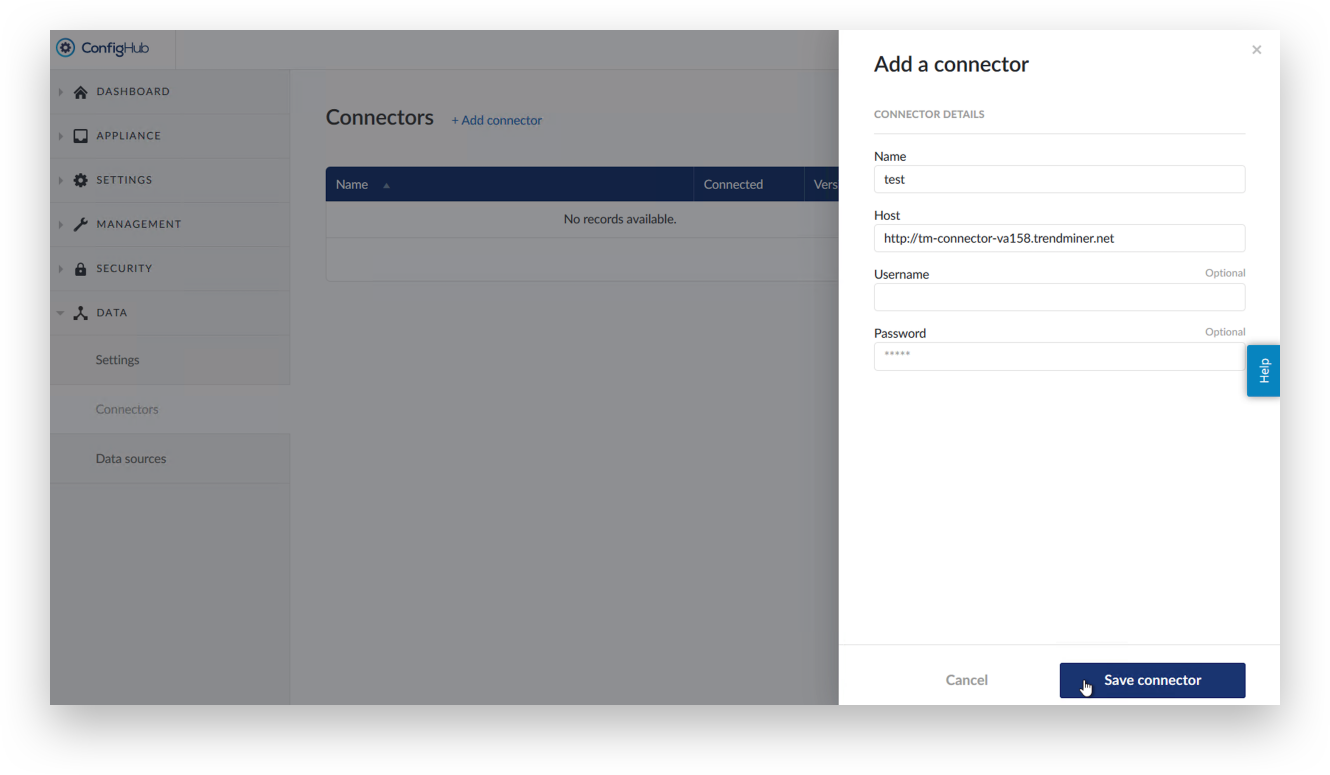
Click 'Add connector' and provide a name and the IP address or the DNS name of TrendMiner Plant Integrations and click ‘Save connector’.
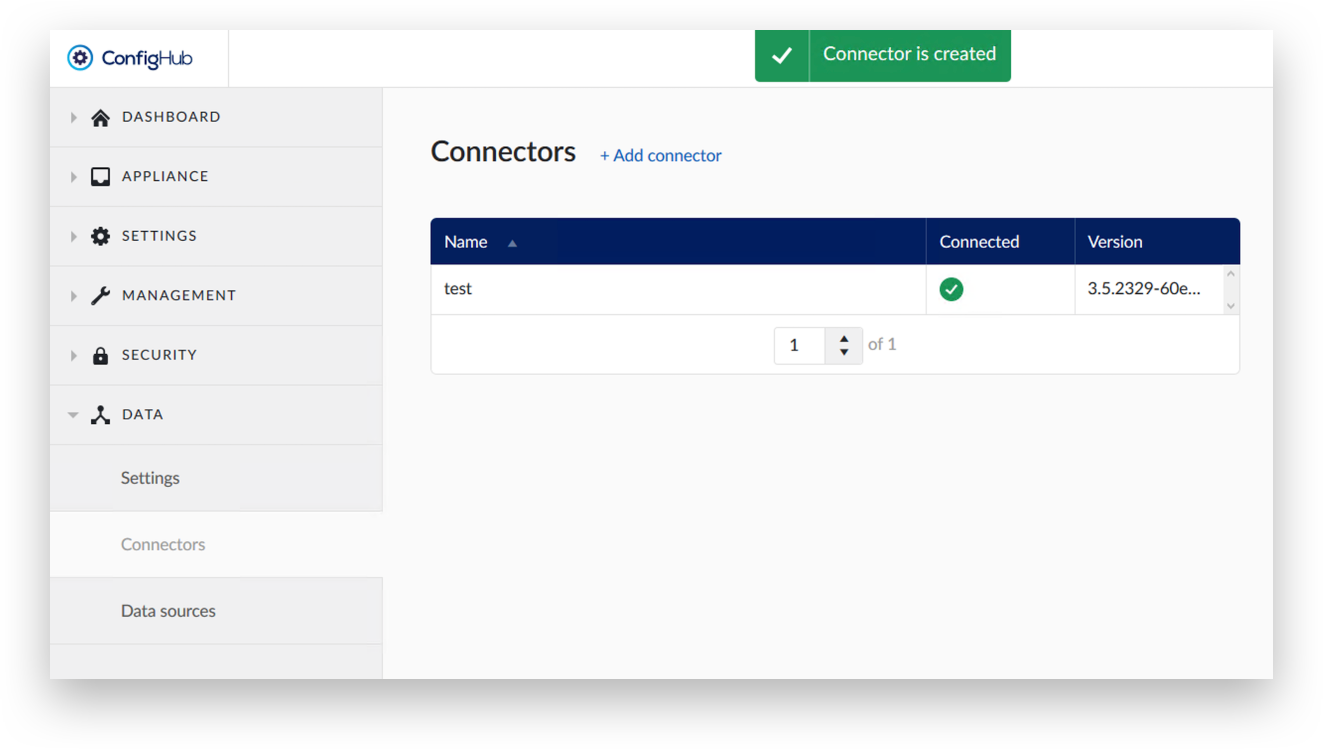
A green message at the top will say ‘Connector is created’ and a line item will appear showing the status and the version number of the PlantIntegration.
Common cases of failure:
In case Plant Integrations are installed on a non default port (e.g. 8081), don’t forget to indicate this (e.g. 10.2.3.4:8081).
Ensure that the chosen port is accessible from the TrendMiner application. Open the port in Windows Firewall and any other networking devices.
For installations using the TrendMiner Virtual Appliance, name resolution only works when DNS server addresses have been configured in ConfigHub.
Datasource configuration
TrendMiner is now connected to TrendMiner Plant Integrations. The next step is to connect TrendMiner Plant Integrations to a data historian.
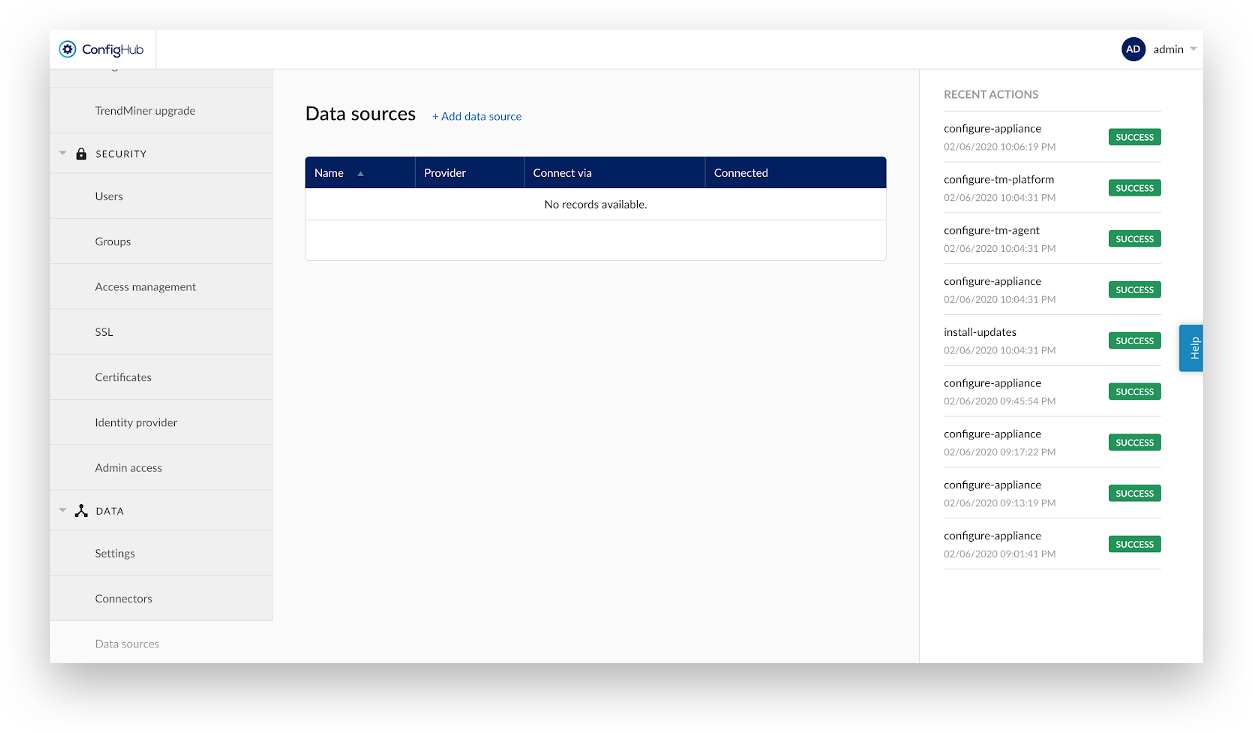
Click on 'Data sources' in the menu. Click 'Add data source' and provide the details of the historian(s) and click 'Create Connection’.
The ‘Name’ field should contain a descriptive name for the historian. It will be visible to end users and used in Access Control lists.
The ‘Provider’ dropdown contains a list of connectivity options. Choose the provider depending upon your connection requirement. See below for general information on each providers.

The ‘Provider’ dropdown options general information.
EXAQUANTUM: use the Exaquantum.NET API to connect to Yokogawa Exaquantum. Provide ‘Username’ and ‘Password’ with read permissions to read tags from historian.
GE PROFICY: We need Proficy.Historian.ClientAccess.API dll to communicate with the historian.
IP21: use Aspen SQLplus to connect to AspenTech IP21. Provide ‘Username’ and ‘Password’ with read permissions to read tags from historian.
ODBC - OleDB - SQLite: Follow the documentation you received from TrendMiner support. The datasource path including the datasource name needs to be configured under host.
PHD: We need PHDAPINET.DLL to communicate with the historian. Provide username and Password for a user with read permissions.
PI data archive (via OleDB): use PI OLEDB to connect to Osisoft PI. Provide ‘Username’ and ‘Password’ or leave them blank when using a PI trust.
PI data archive (via OleDB) - Active Directory Authentication: use PI OLEDB to connect to Osisoft PI. The provided ‘Username’ and ‘Password’ should be the credentials of an Active Directory account.
WONDERWARE: use the aahClientManaged.dll to connect to Wondeware historian. Provide ‘Username’ and ‘Password’ with read permissions to read tags from historian.
PI data archive (via PI AF SDK): use PI AF SDK to connect to Osisoft PI. Provide ‘Username’ and ‘Password’ or leave them blank when using a PI trust.
PI data archive (via PI AF SDK) - Active Directory Authentication: use PI AF SDK to connect to Osisoft PI. The provided ‘Username’ and ‘Password’ should be the credentials of an Active Directory account.
TM connector: connect to another TrendMiner Plant Integrations instance. Use http://<address> in the ‘Historian or connector’ field. TM connector is used when a TrendMiner Plant Integrations connector has been installed on the historian server itself. This helps to reduce latency and increases performance.
PI asset framework (via PI AF SDK):use PI AF SDK to connect to Osisoft PI Asset Framework Server. Provide ‘Username’ and ‘Password’ or leave them blank when using a PI trust.
Note
The ‘Connect via’ contains a list of connectors name previously configured in the Connector’s section.
Select ‘Time series’ check box as a capability for time series data source. More option will be shown for the data source configuration.
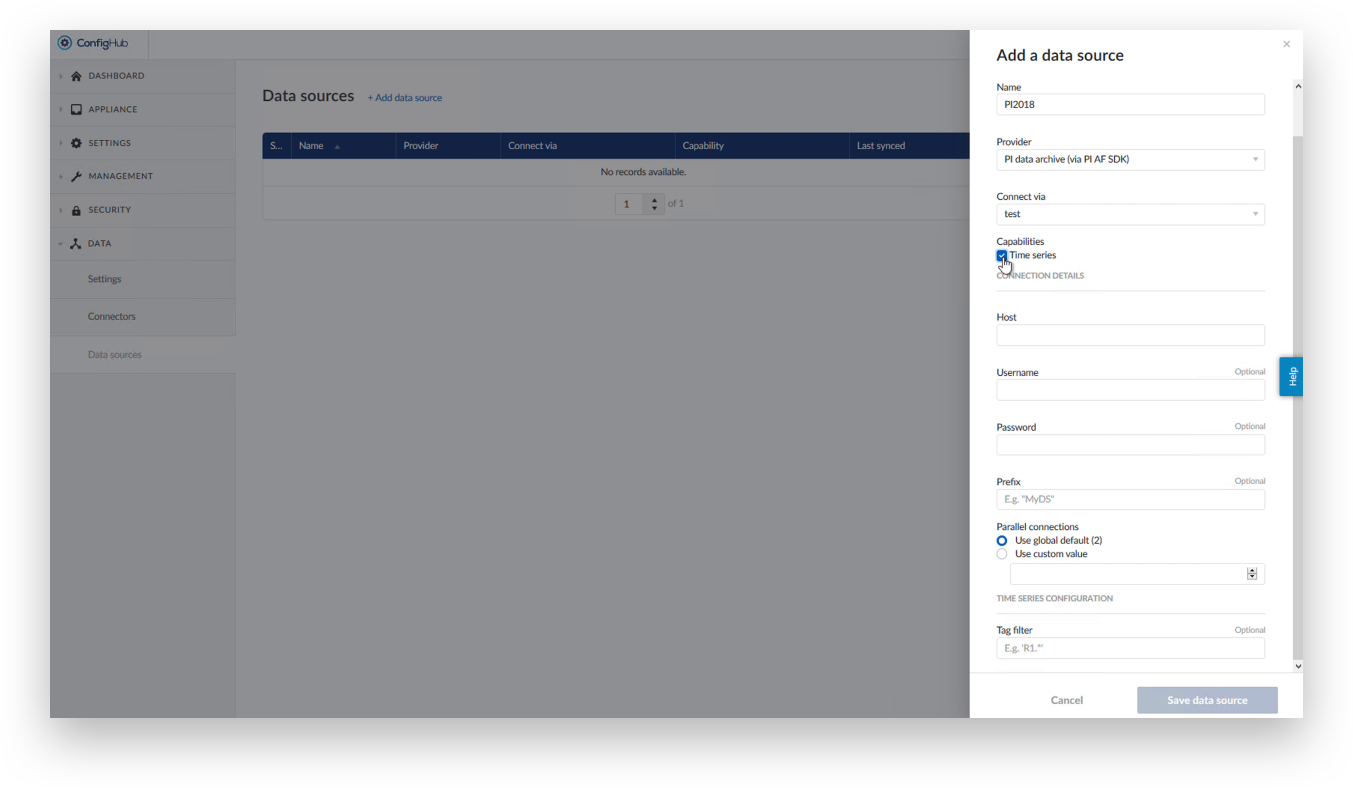
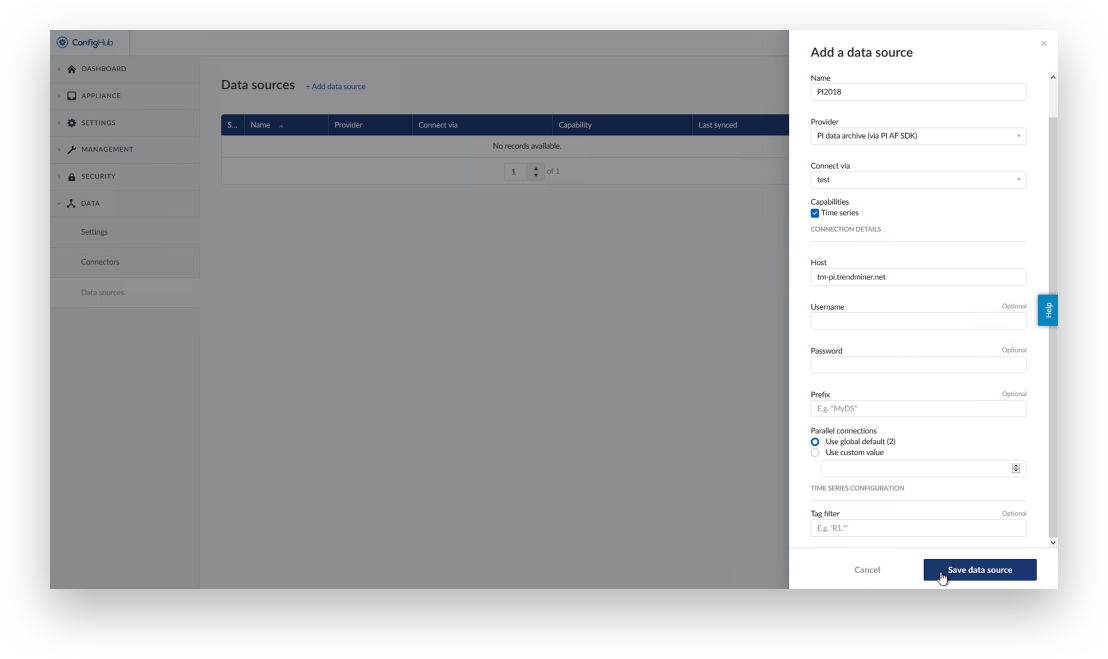
The ‘Host’ field should contain IP address or the hostname of your selected data source or historian.
The ‘Username’ and ‘Password’(Optional) are optional, but may be required depending upon the authentication setup on datasource or historian.
The 'Prefix' (Optional) field should help avoid duplicate tags in TrendMiner. When you want to add more than one historian to TrendMiner, we strongly advise the use of a Prefix name. It is visible to end users. For example: if the Prefix name is PI then all the tags will appear as [PI]tagname. Try to keep them as short as possible for readability.
The ‘Parallel connections’ determine how many simultaneous connections the connector can have with configured data source. Select ’Use global default(2)’ for initial configuration(recommended). Consult with TrendMiner support before changing it to custom value.
The ‘Tag Filter’(Optional) field takes a regex string to filter on tag names.
Click ‘save data source ’ to save datasource configurations.
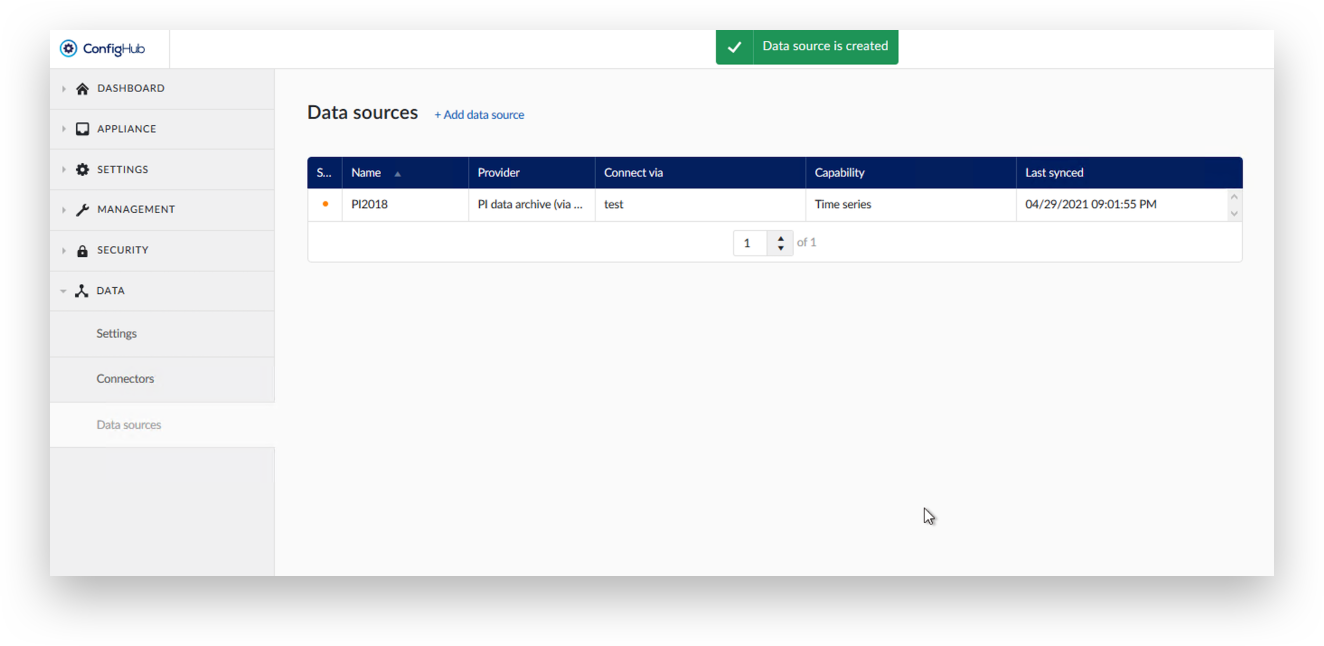
A green bar at the top of the screen will say ‘Data source is created’. If it does not, follow the steps in the Troubleshooting - Historian Connections section in this document.
Important
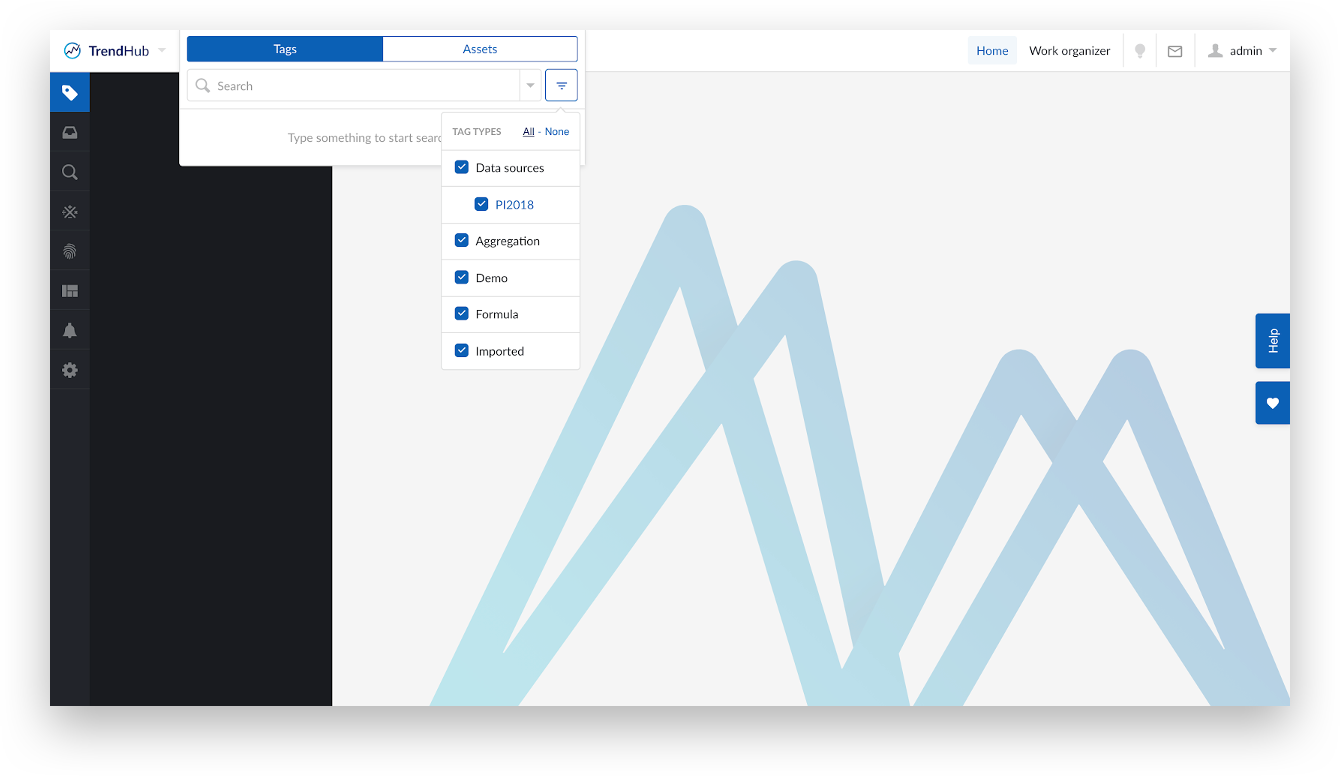
For the newly added datasource to become visible in TrendHub, the user should log out from TrendHub and log in again explicitly.
IMPORTANT!! Please create an entry under access management via ConfigHub to provide access permissions to enable users to visualize tags in TrendMiner. See access management section below.
When this has been set up, the datasource will become available as shown below under the filter menu next to search box.