Hyper-V Image deployment
Screenshots are taken on Microsoft Windows Hyper-V 2012 R2.
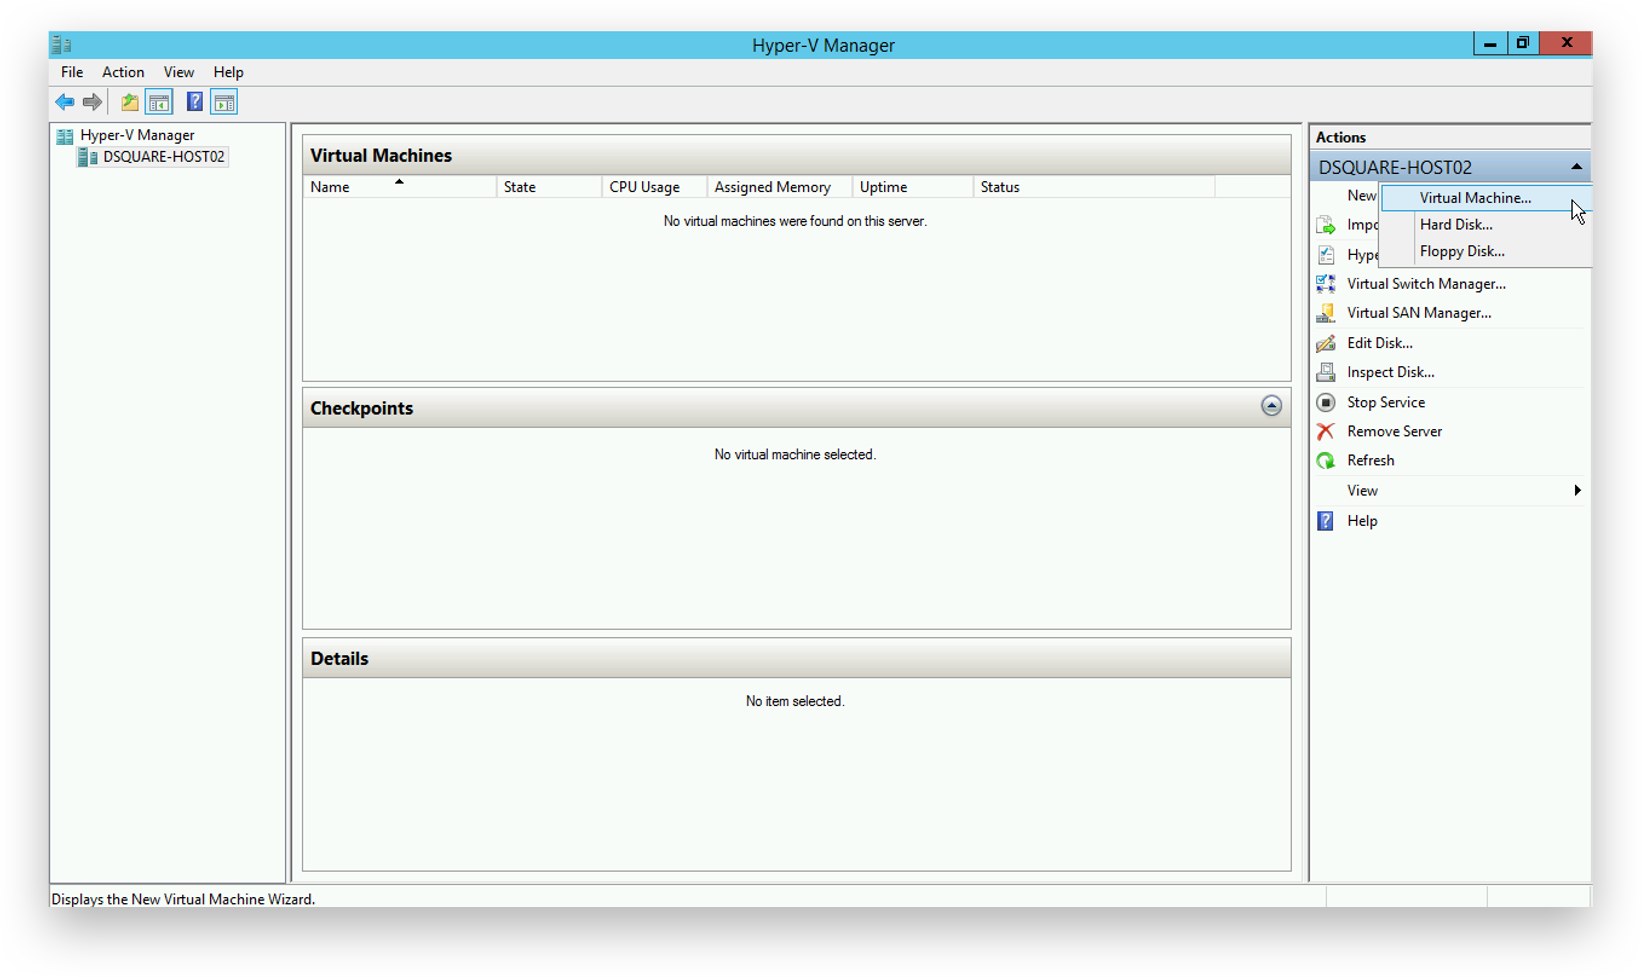
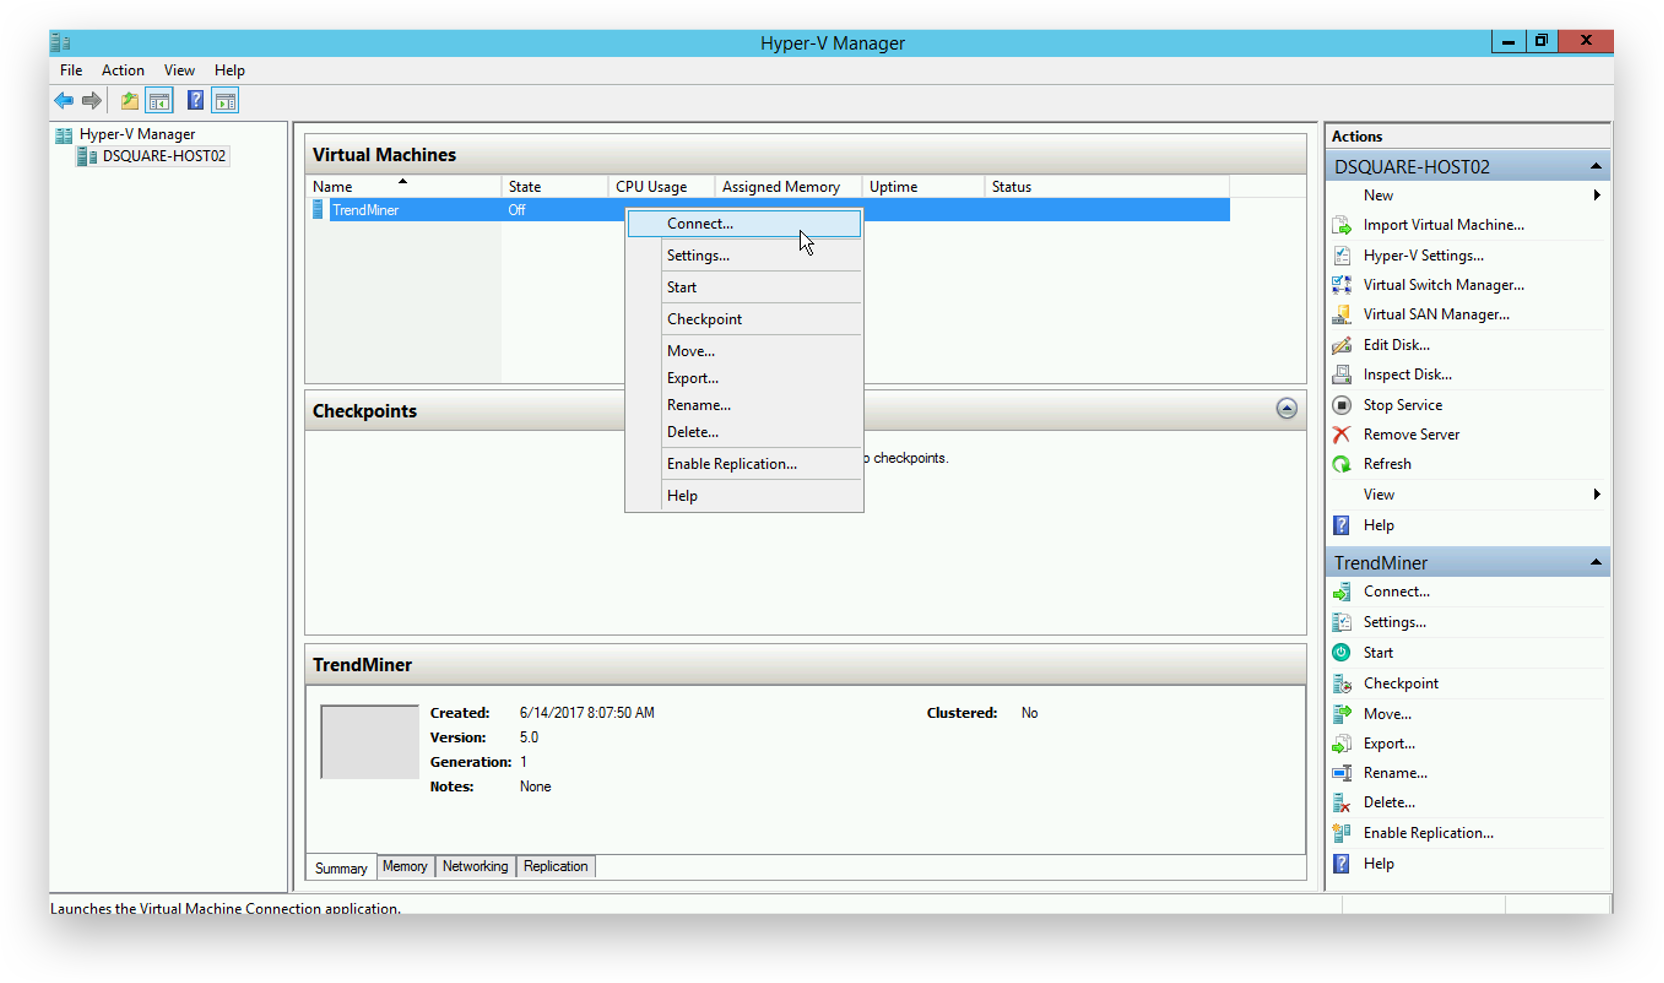
Open the Hyper-V Manager.

Select New - 'Virtual Machine'.
Click 'Next' to start the virtual machine configuration.

Choose a name for the virtual machine and click 'Next'.

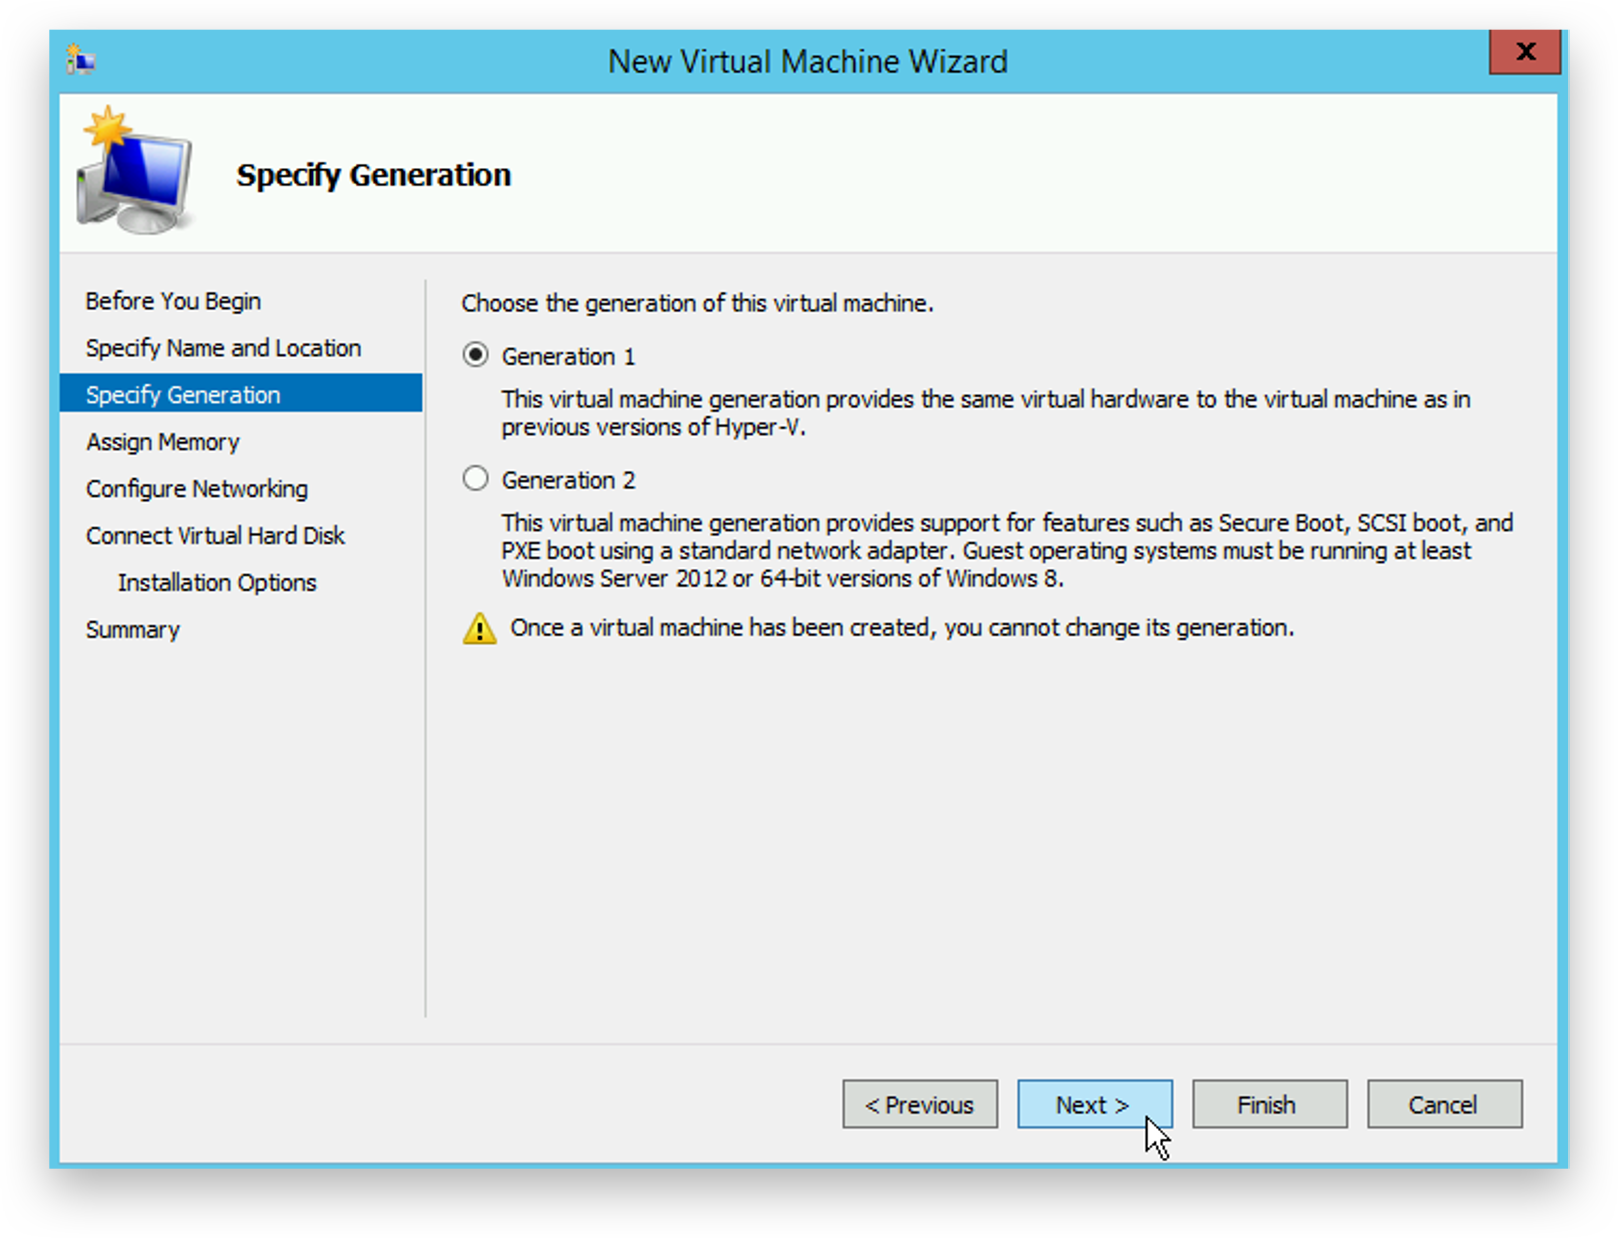
Select the appropriate virtual machine generation and click 'Next'.
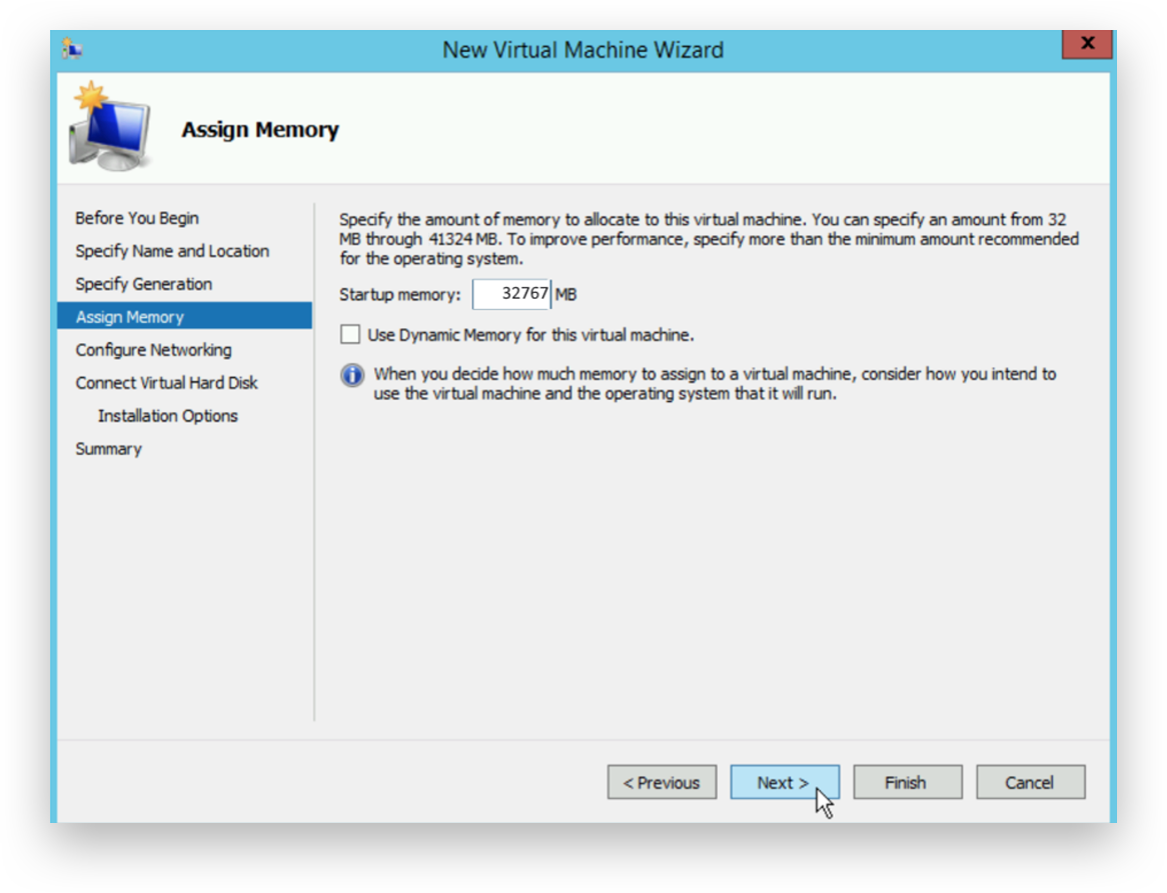
Assign the recommended amount of RAM to the virtual machine and click 'Next'.
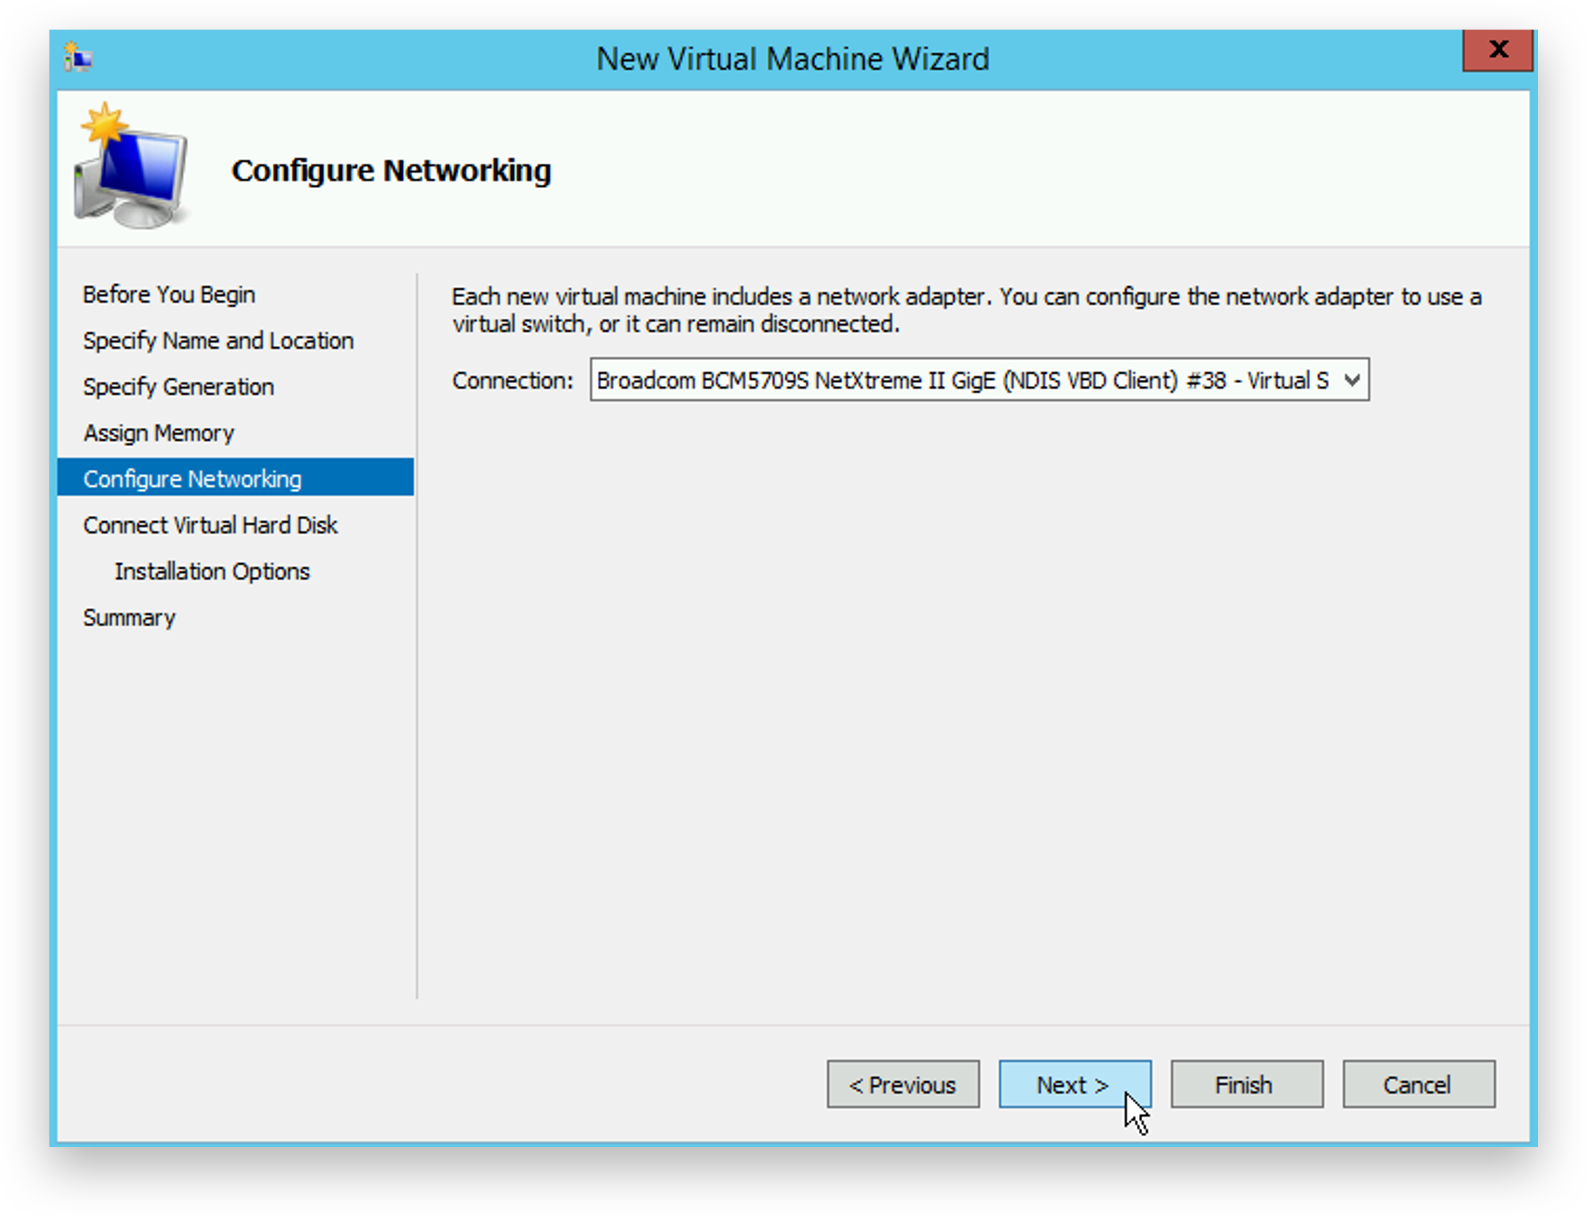
Select the correct network to attach the virtual machine to and click 'Next'.
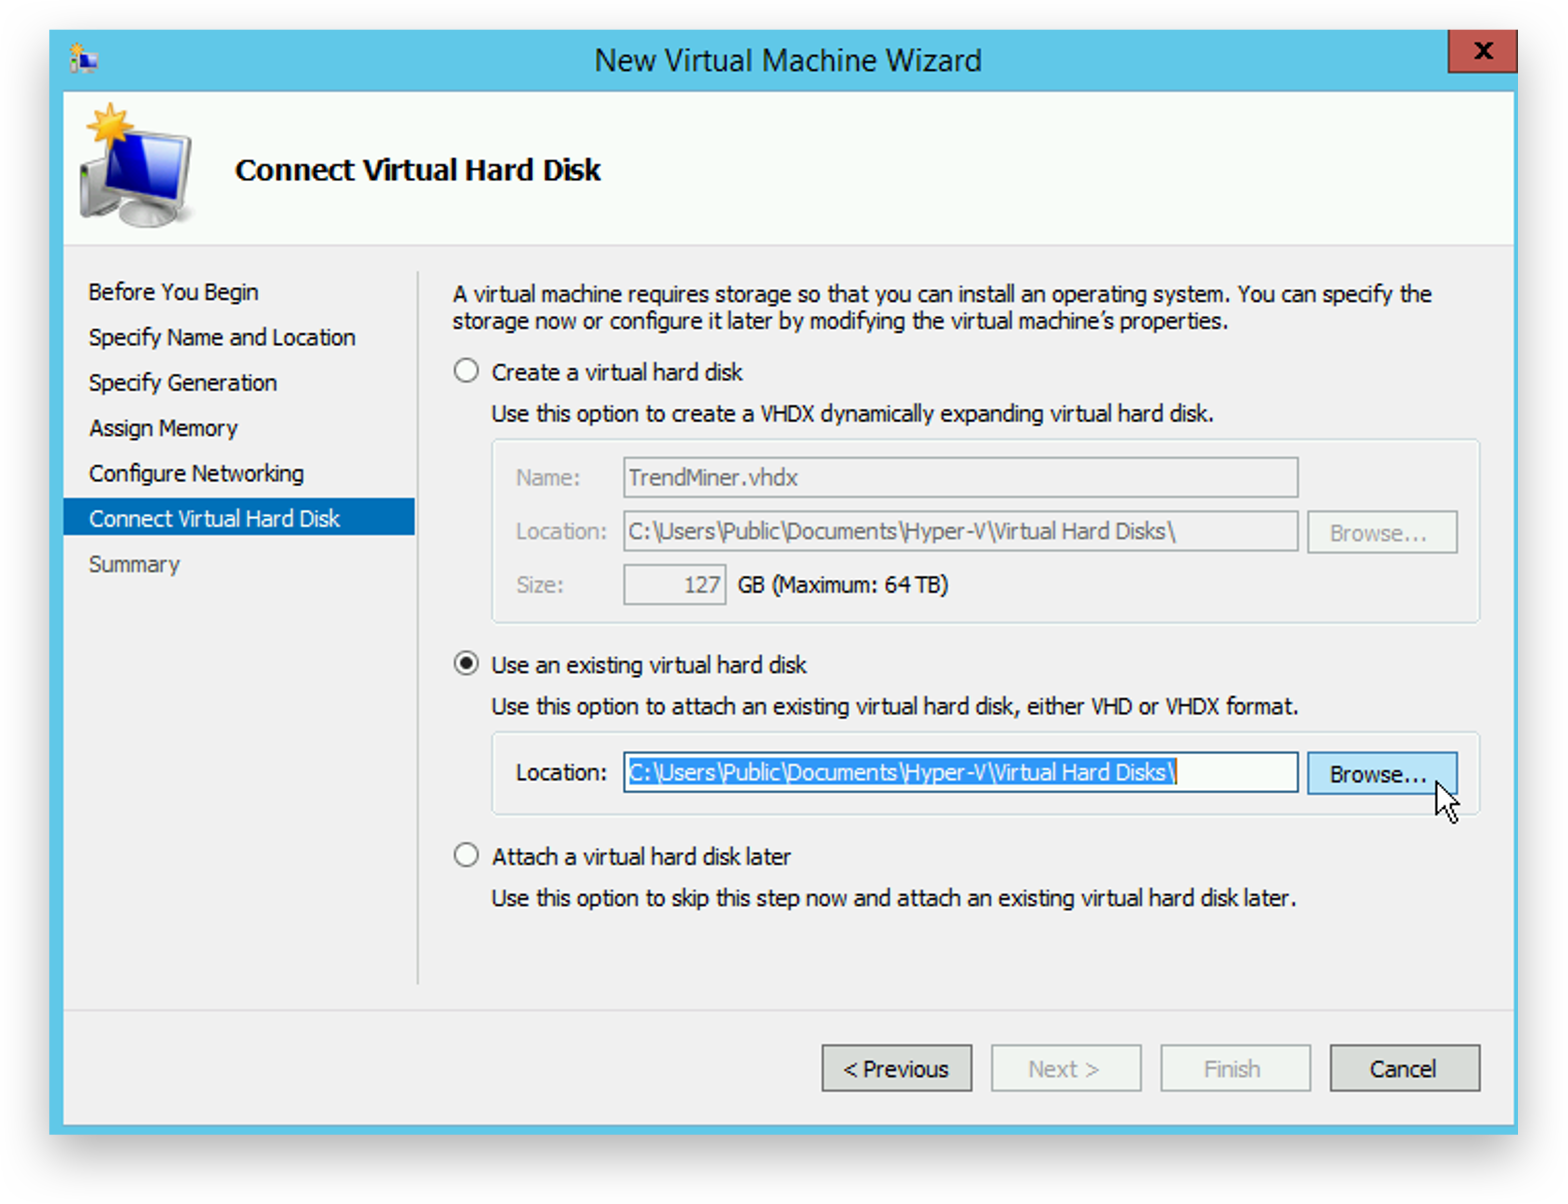
Select ‘Use an existing virtual hard disk’ and click 'Browse'.
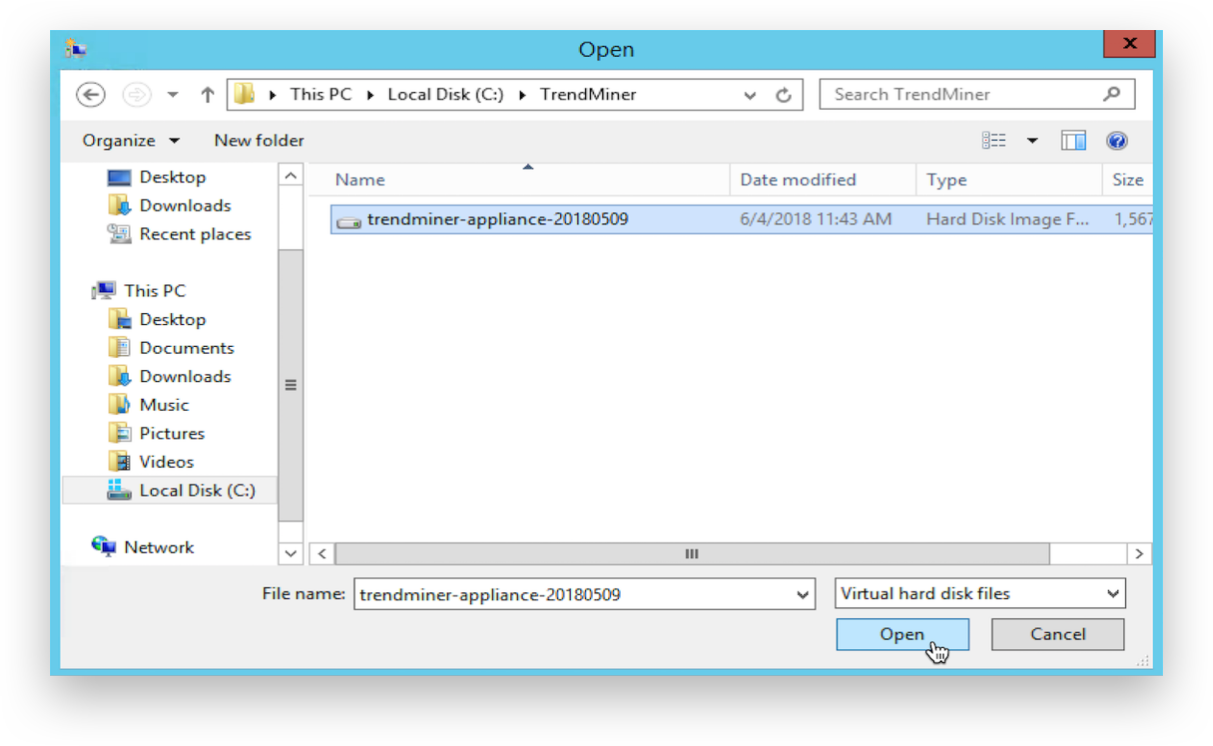
Browse to the unzipped TrendMiner VHD file, select it and click 'Open'.
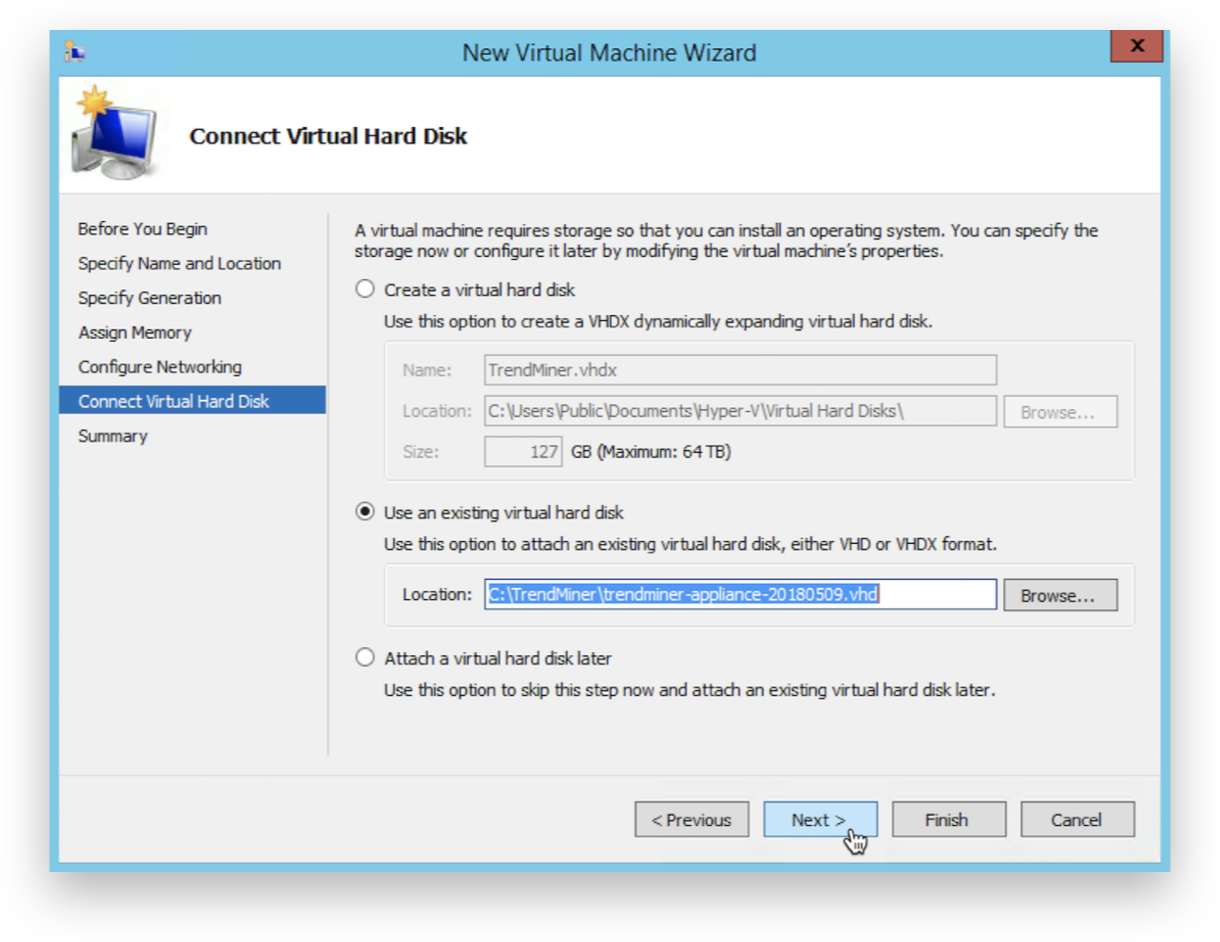
Click 'Next' to confirm the storage configuration.
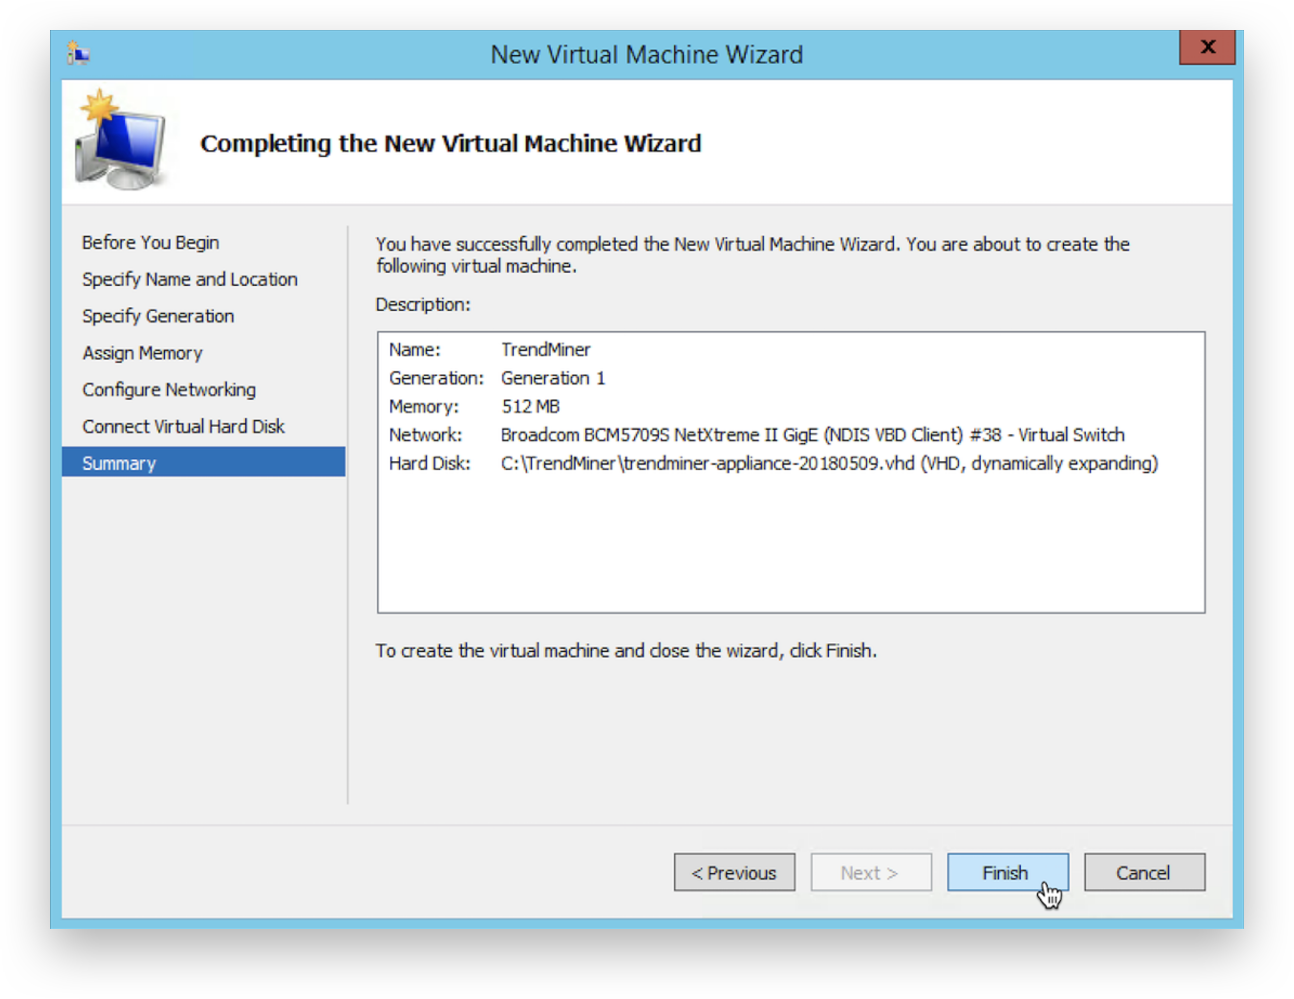
Review the virtual machine configuration and click 'Finish'.
Select the virtual machine and open 'Settings'.

Assign at least 8 virtual CPU cores to the virtual machine.

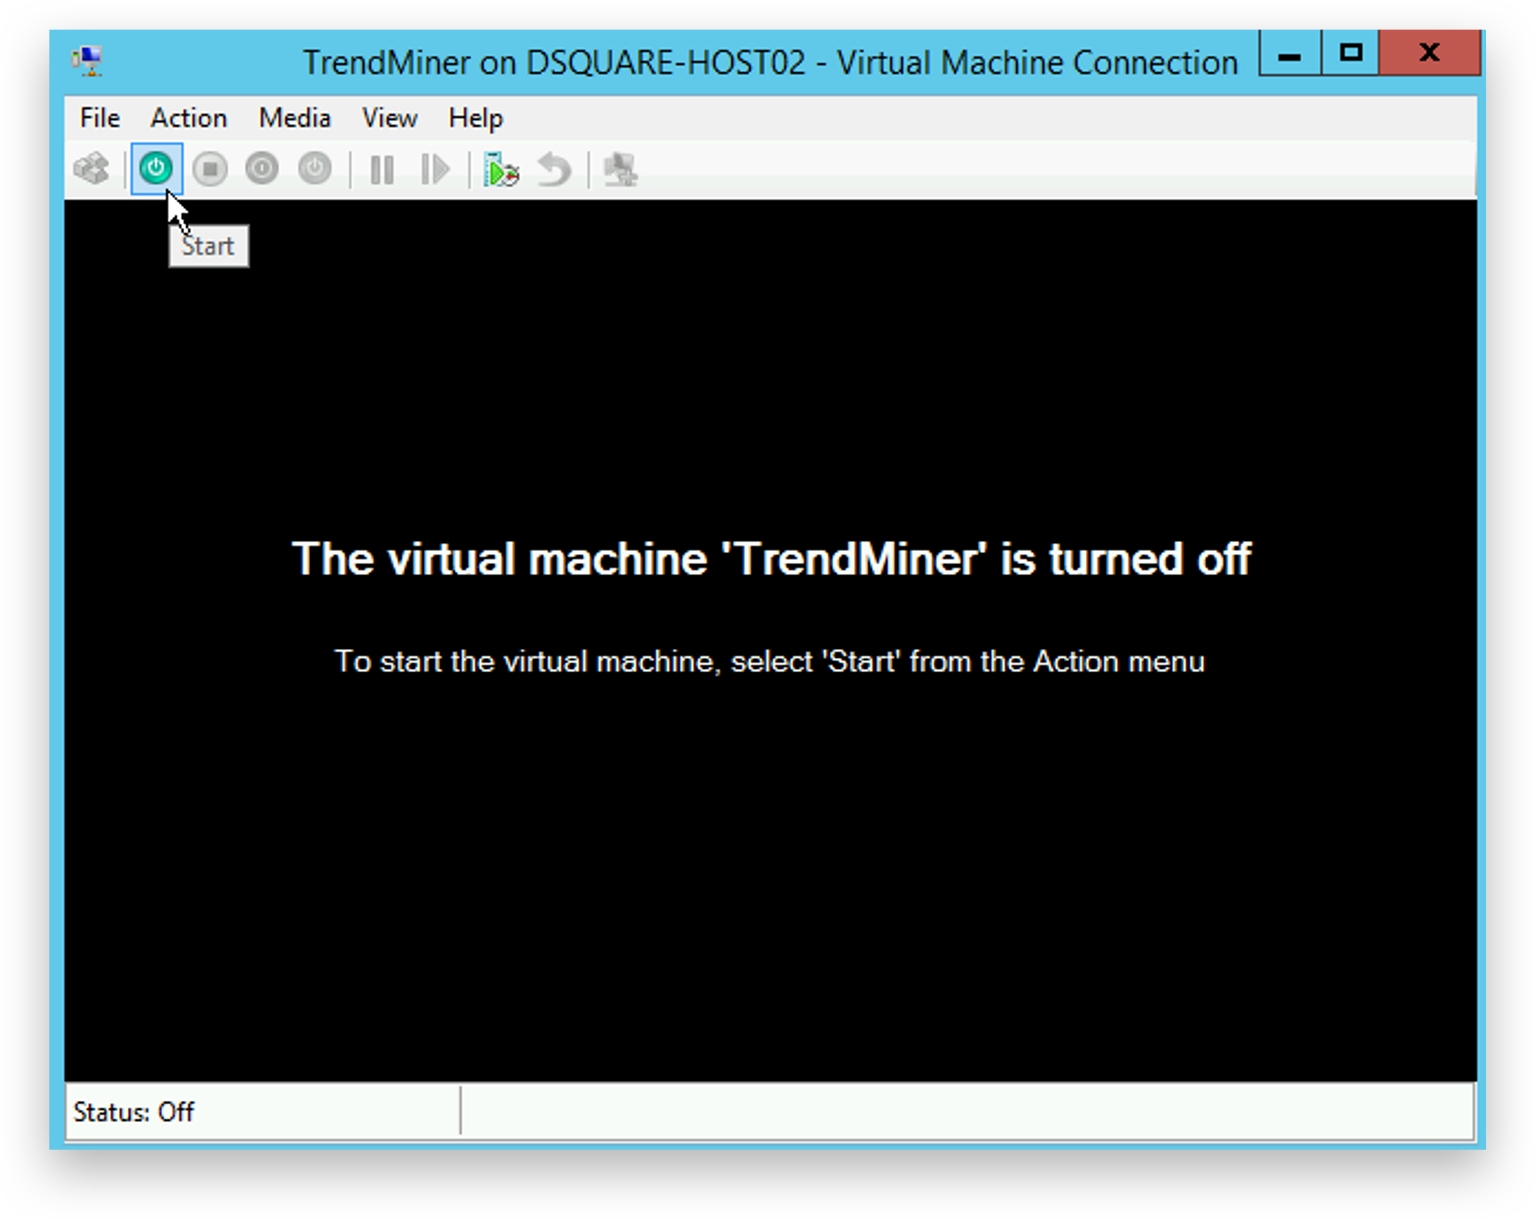
Connect to the virtual machine.
This starts the console. Start the virtual machine.
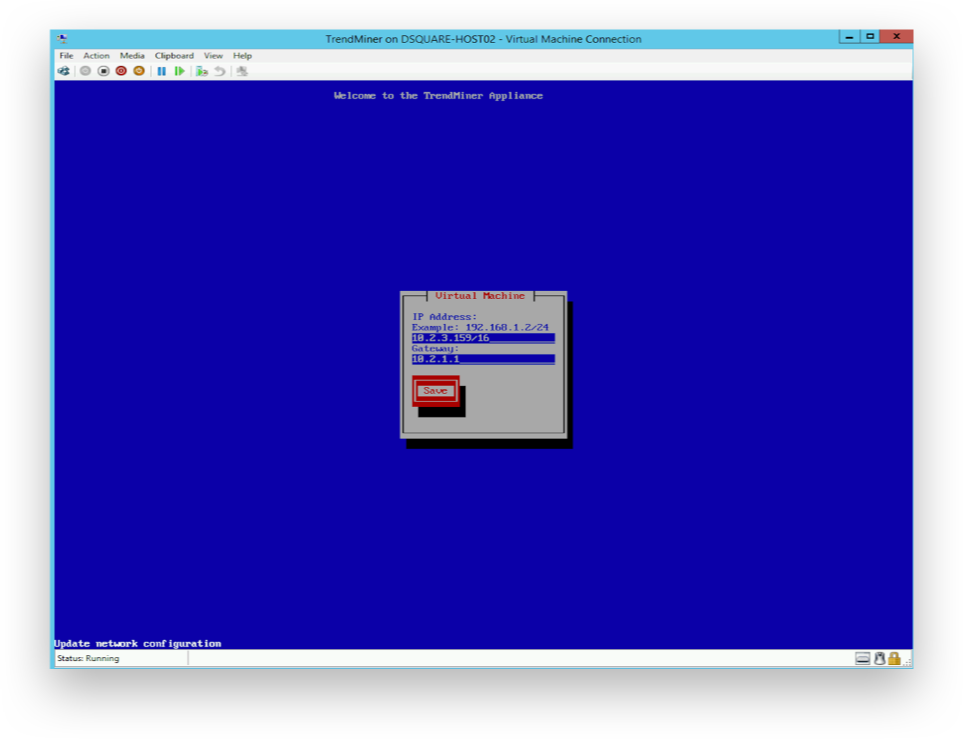
Wait until the IP configuration displays.
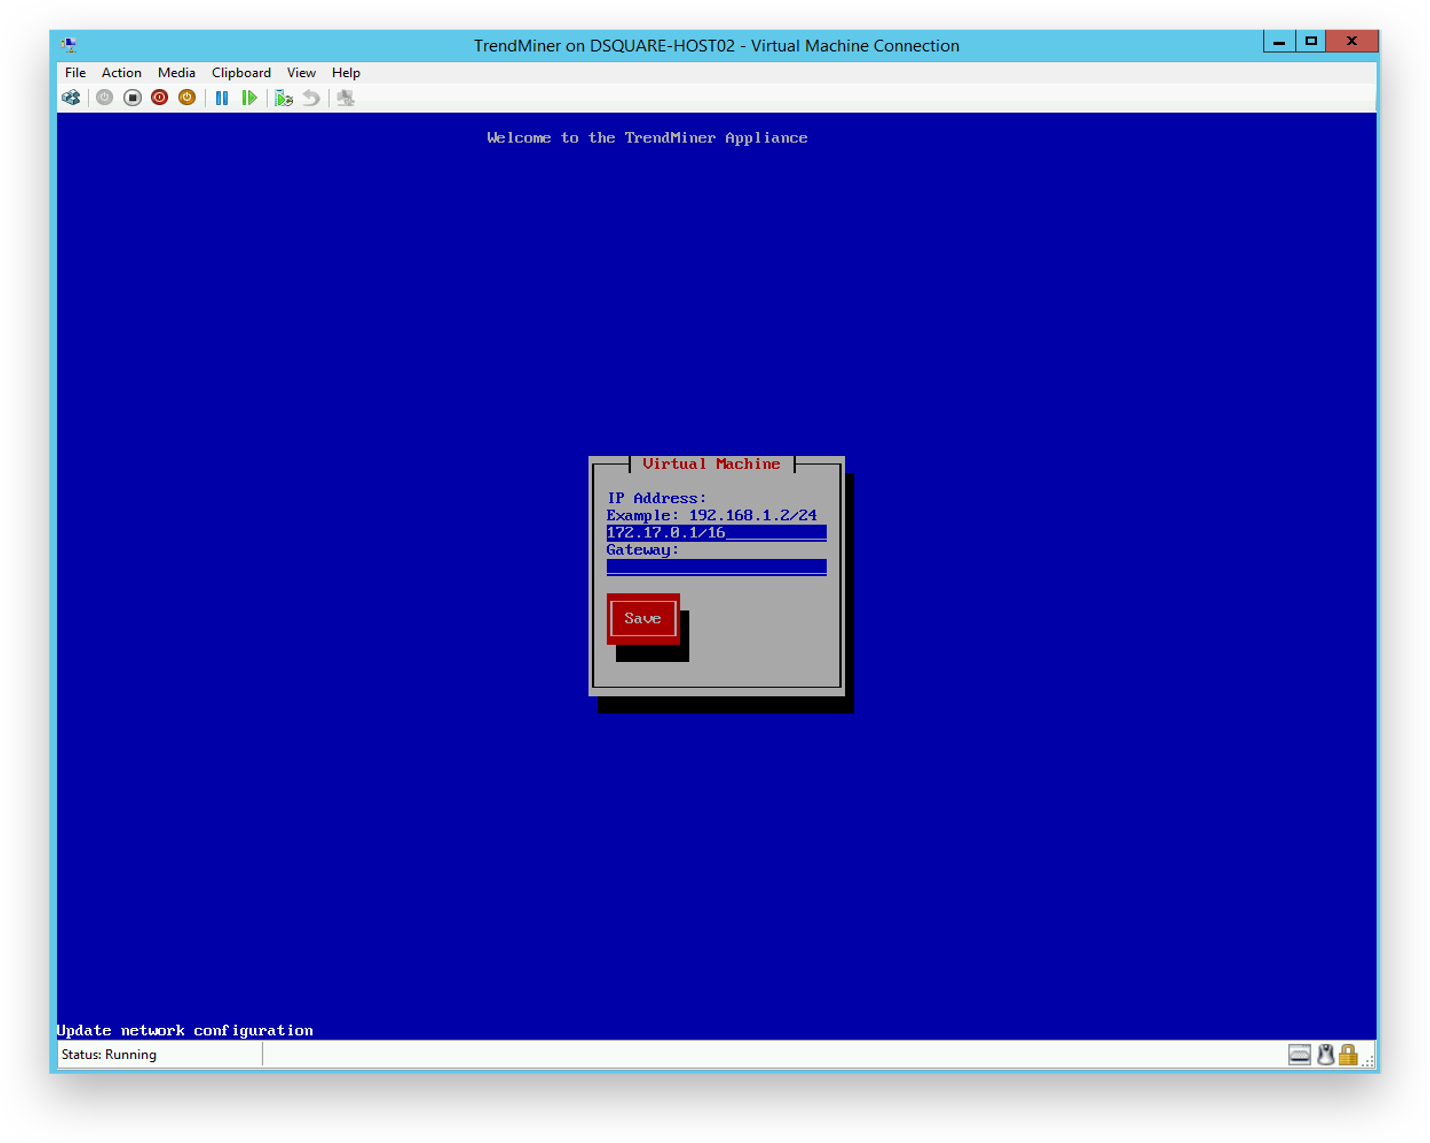
Use the arrow keys to navigate and supply the IP address, netmask and gateway. Then click 'Save'.
Note
Note that the IP address should be provided in the CIDR notation (ip/netmask). For example: the IP address 192.168.0.50 with netmask 255.255.255.0 should be written as: 192.168.0.50/24
The console can now be closed. Continue to the Network Configuration.