VMware VSphere image deployment
Screenshots and steps are taken on VMware vSphere 5.5 using the vSphere Client.
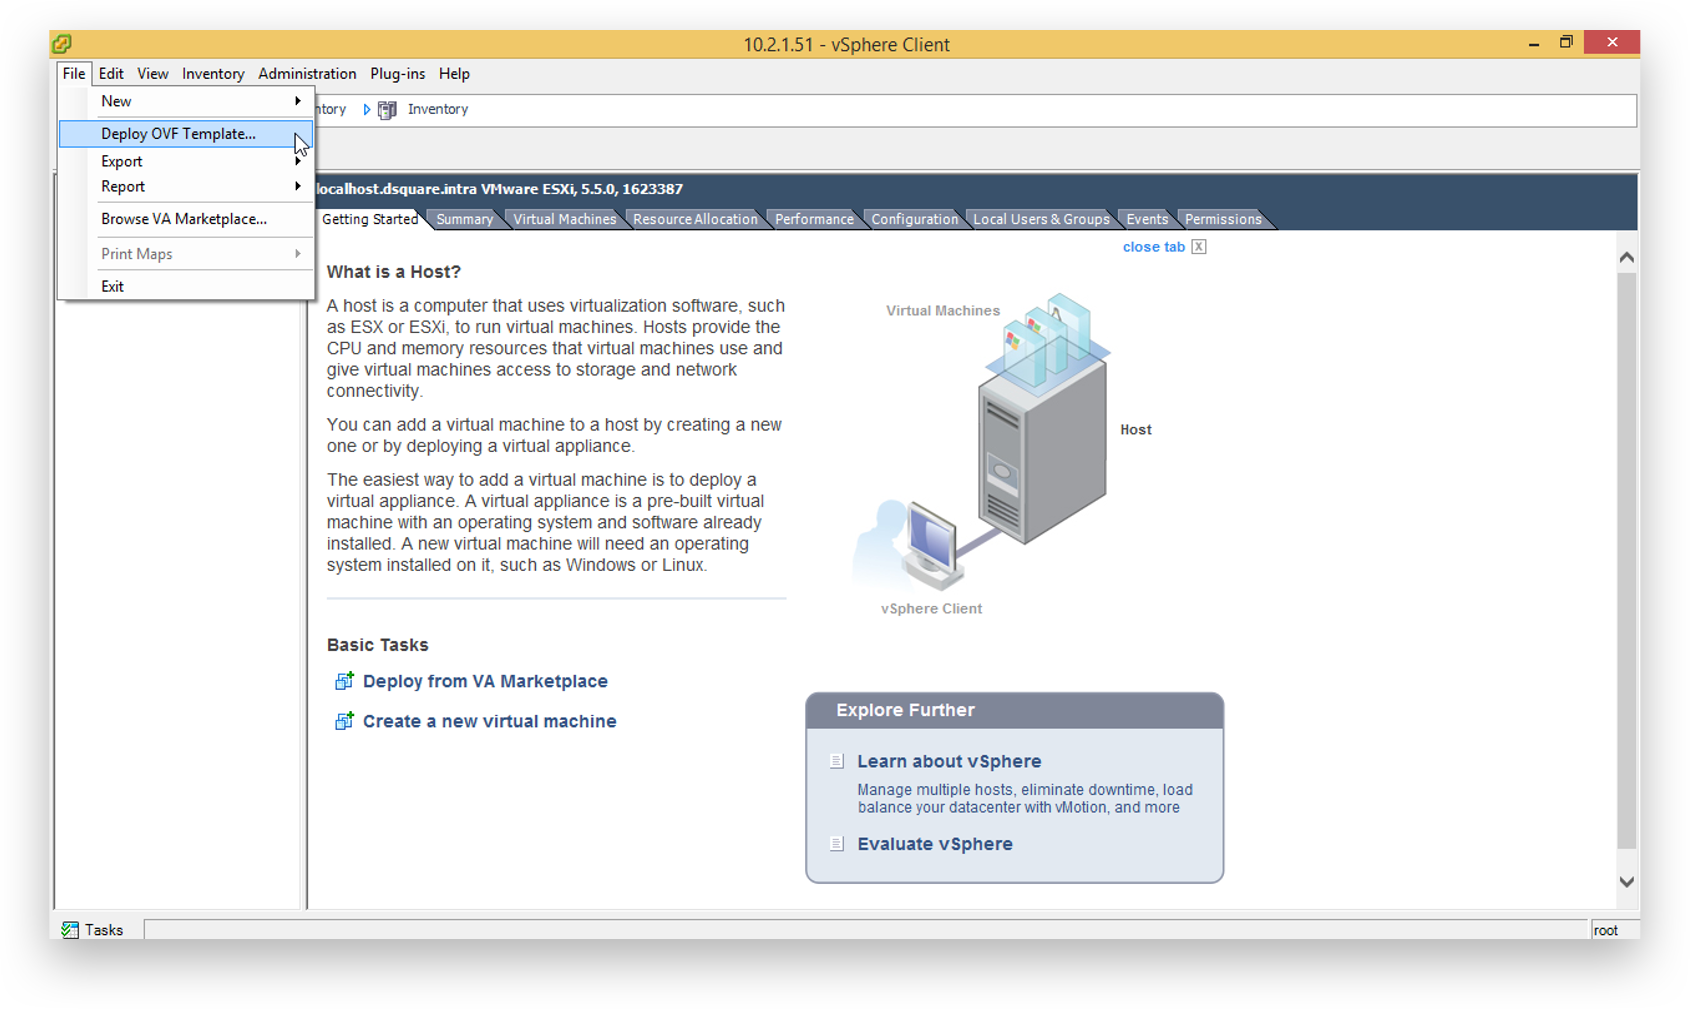
Open the vSphere Client and select ‘Deploy OVF Template…’:
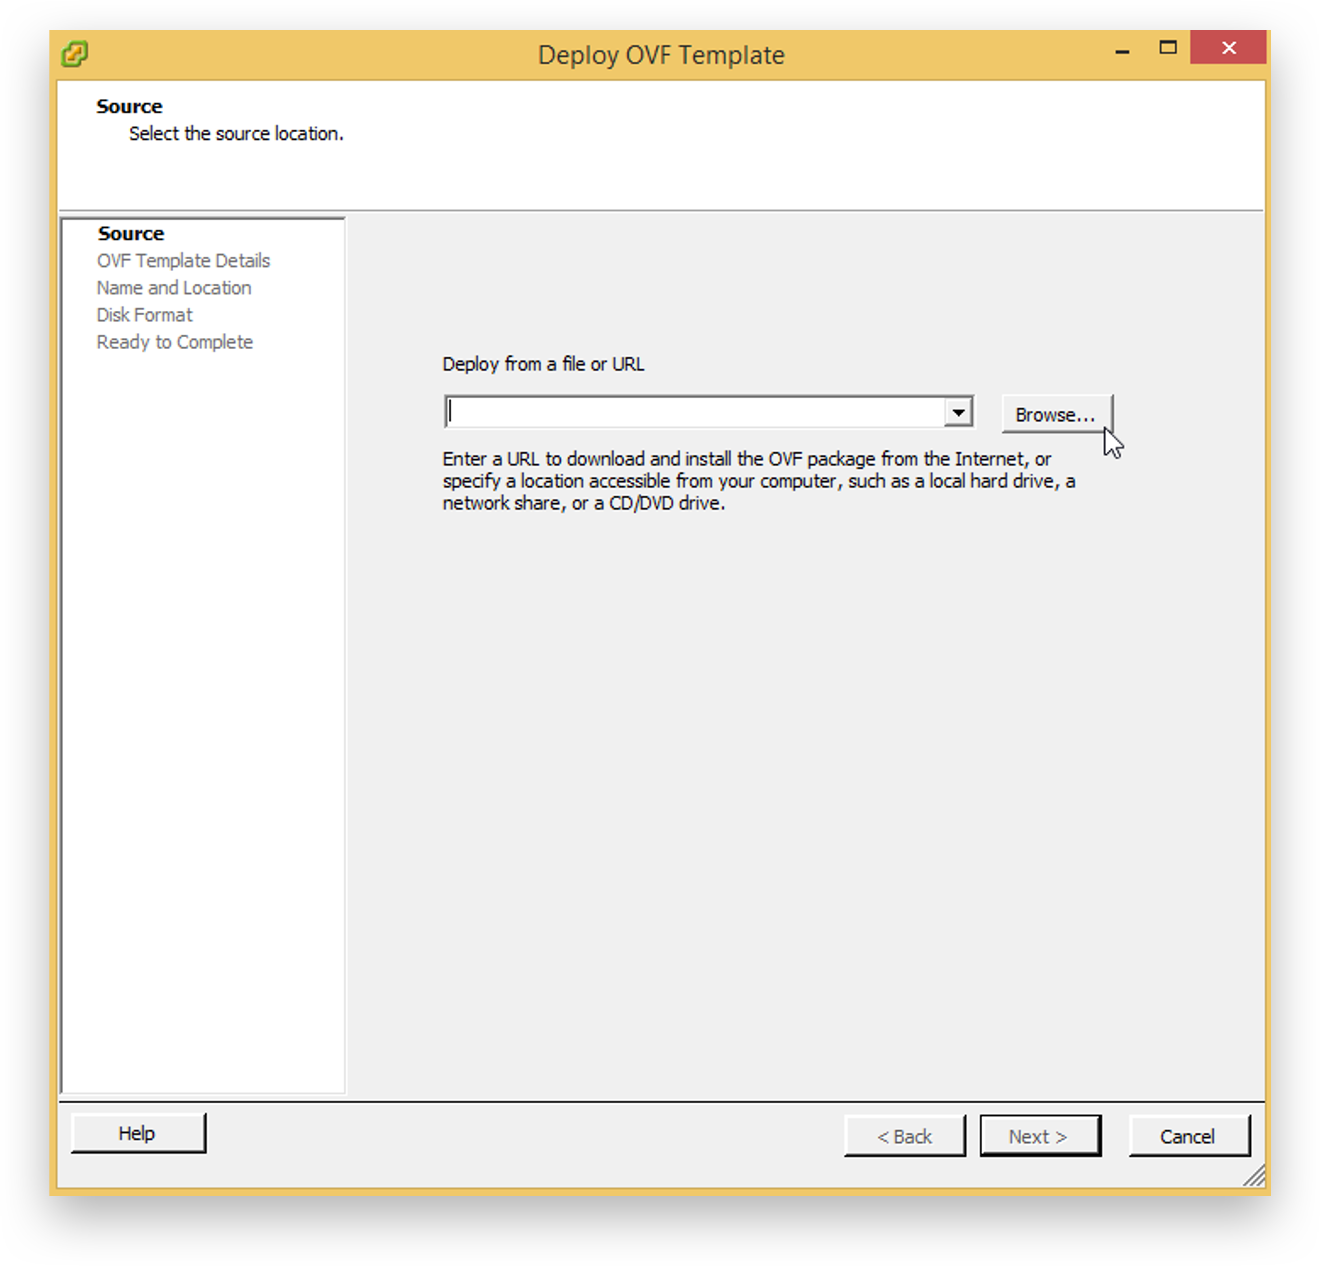
Click ‘Browse’.
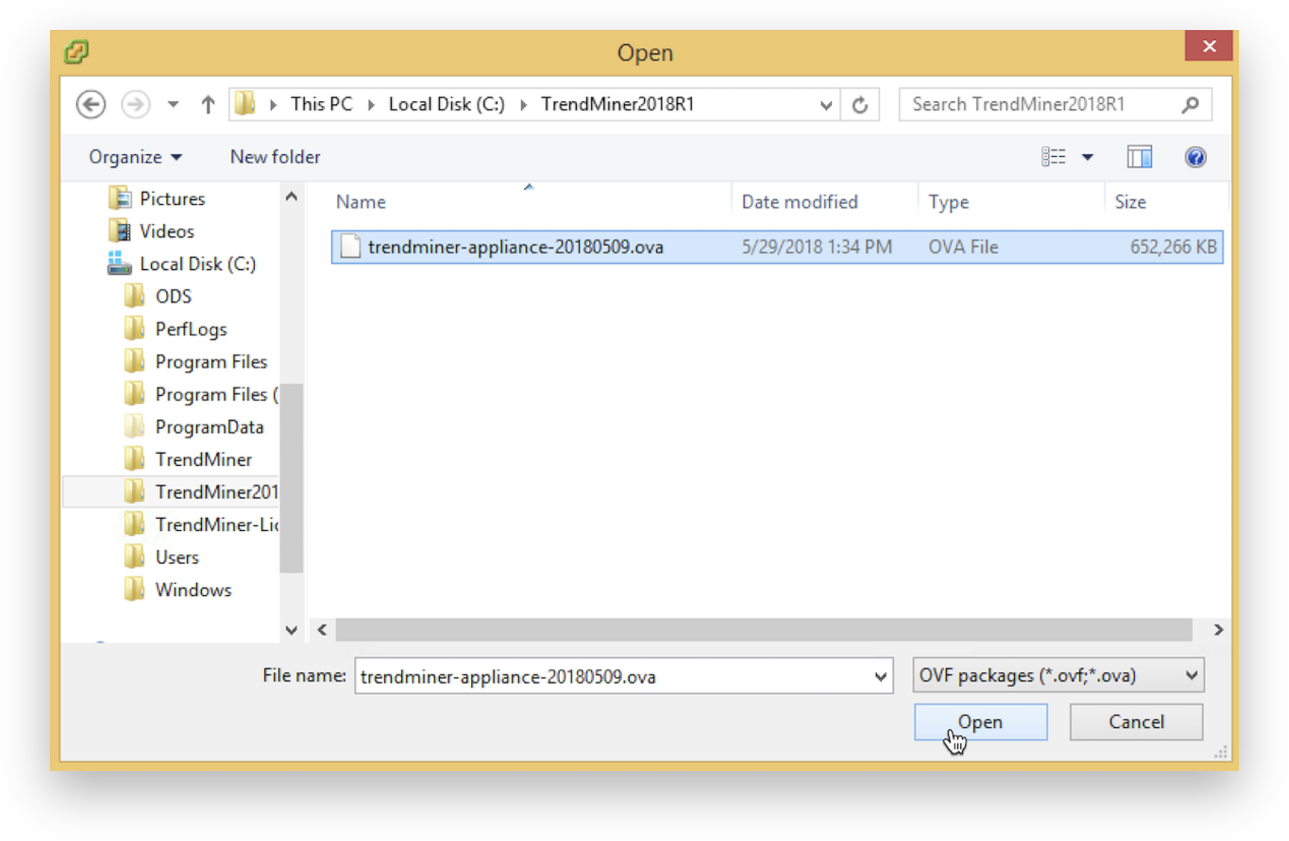
Browse to the folder containing the.ova file, select it and press ‘Open’.
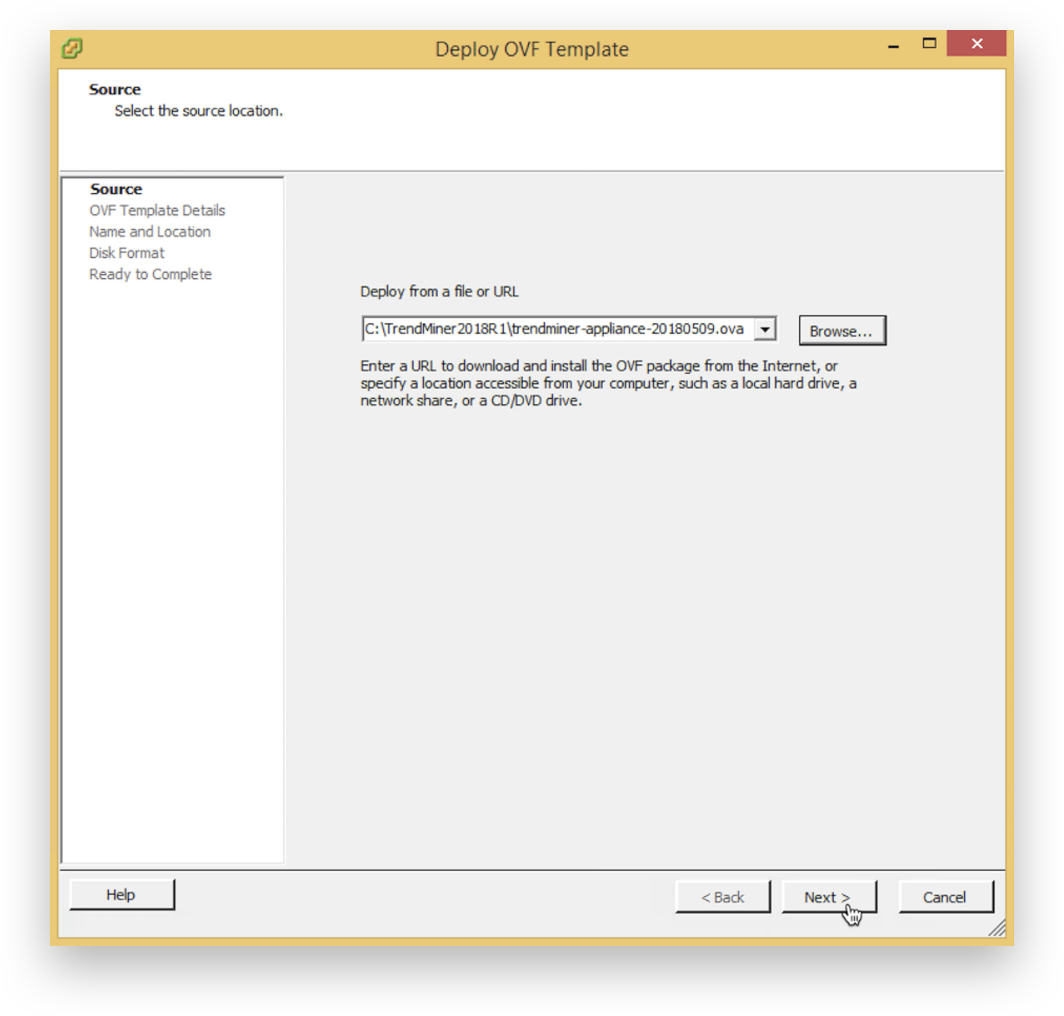
Click ‘Next >’ to accept the image.
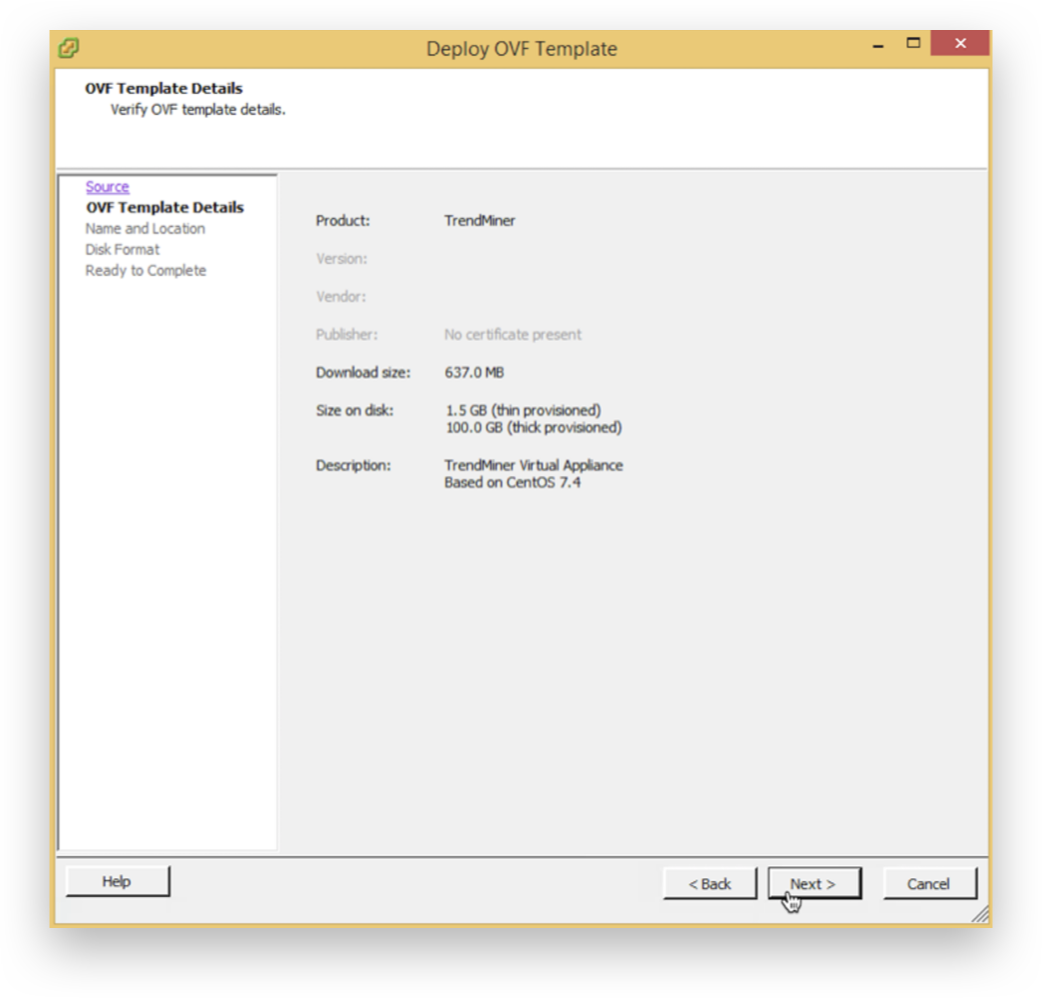
Click ‘Next >’ after validating the template details.
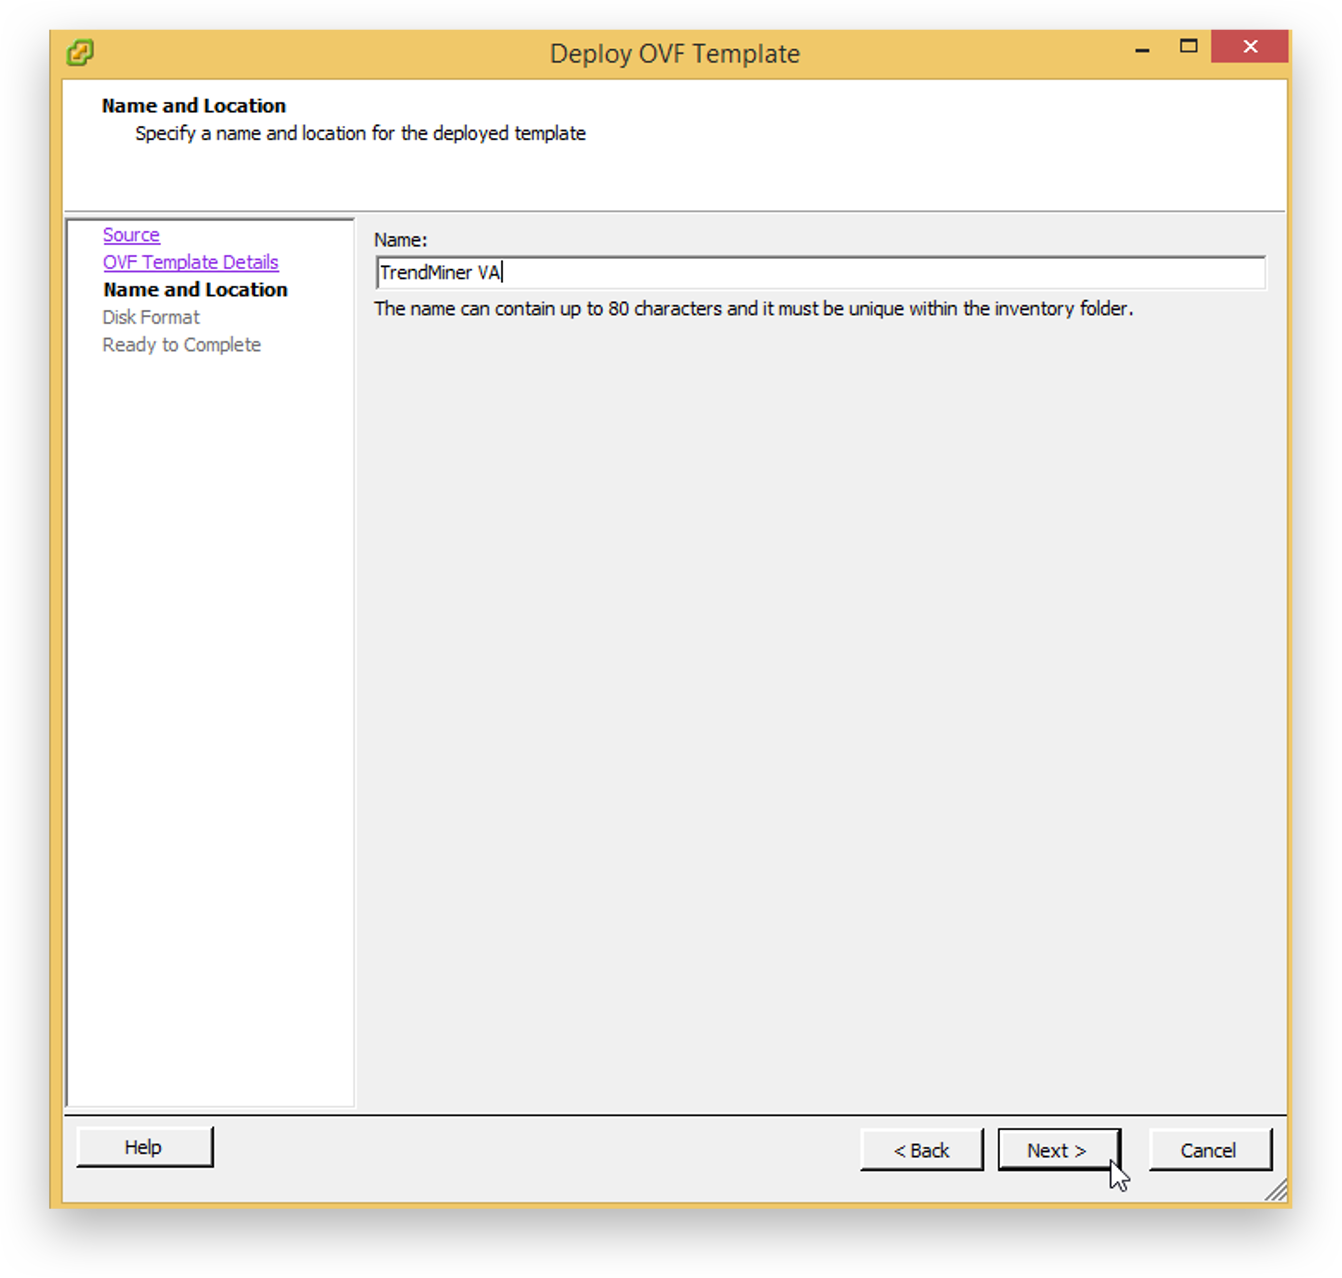
Assign a name to the TrendMiner Virtual Appliance and click ‘Next >’.
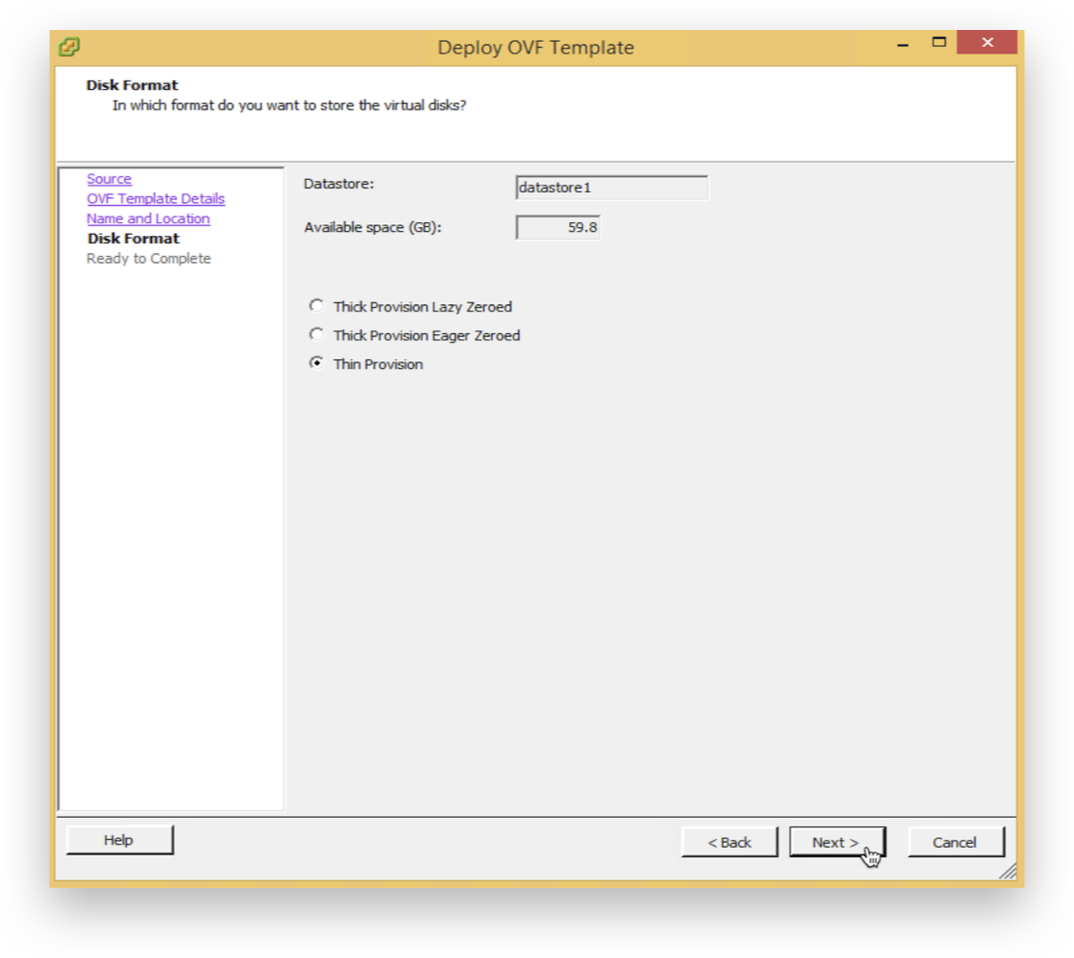
Select the storage format and click ‘Next >’.
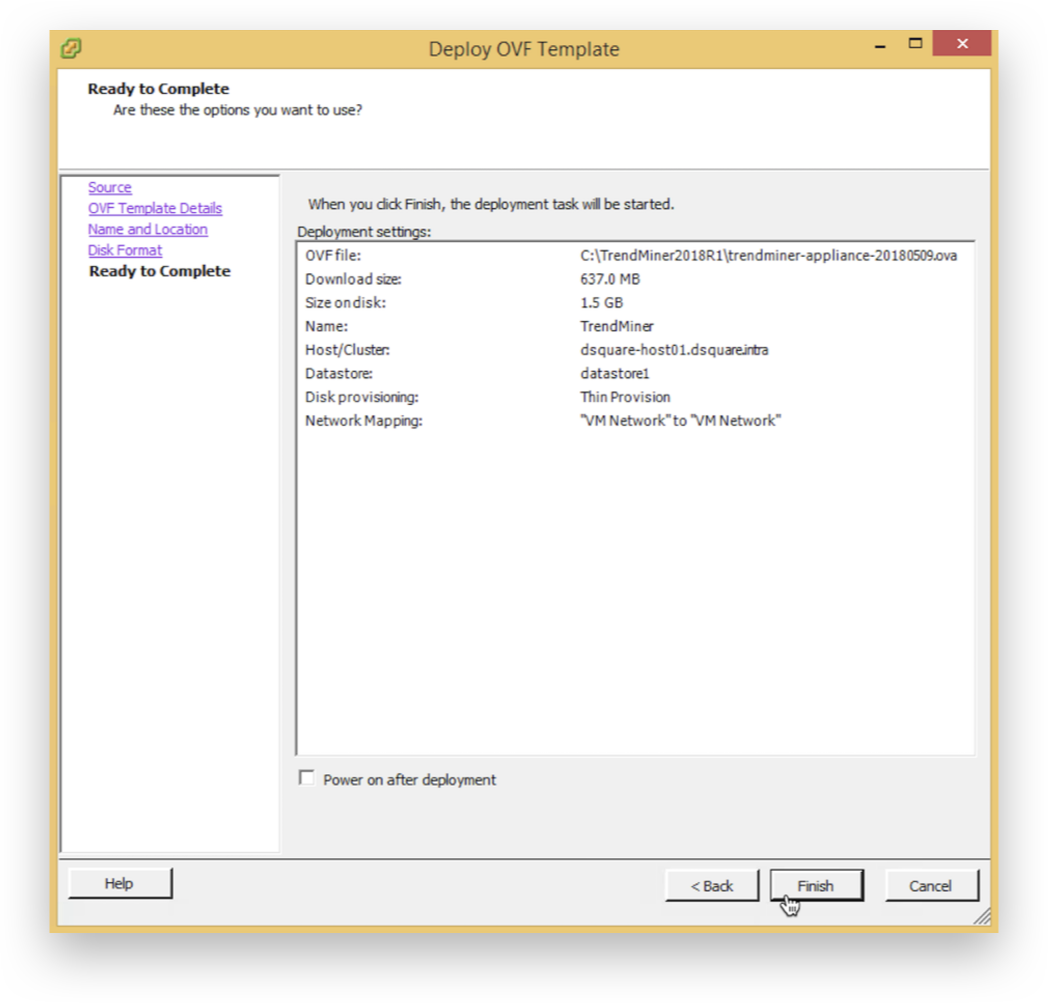
Finish the import wizard to start the image deployment.
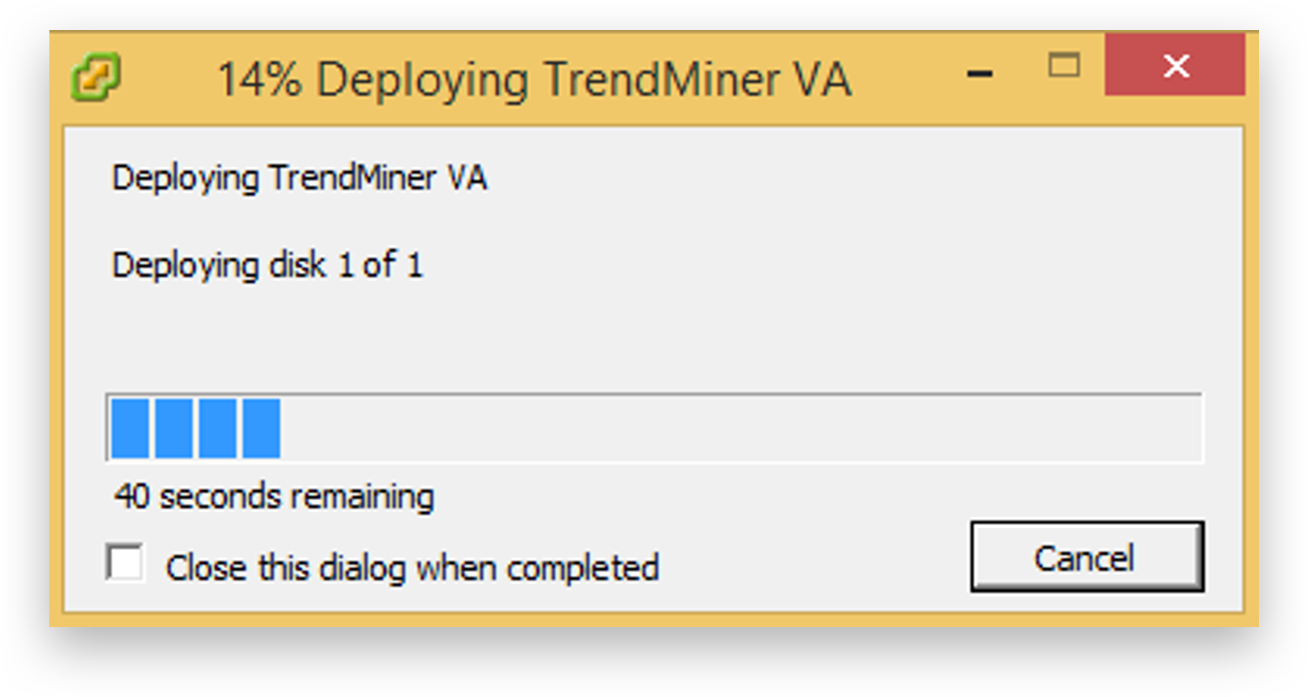
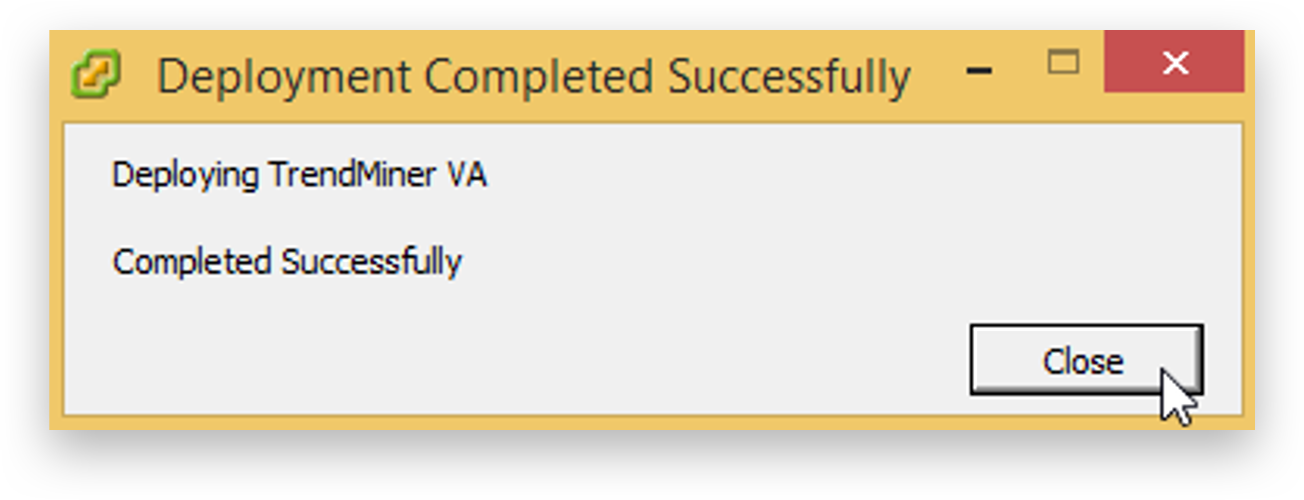
Wait until the deployment finishes and click 'Close'.
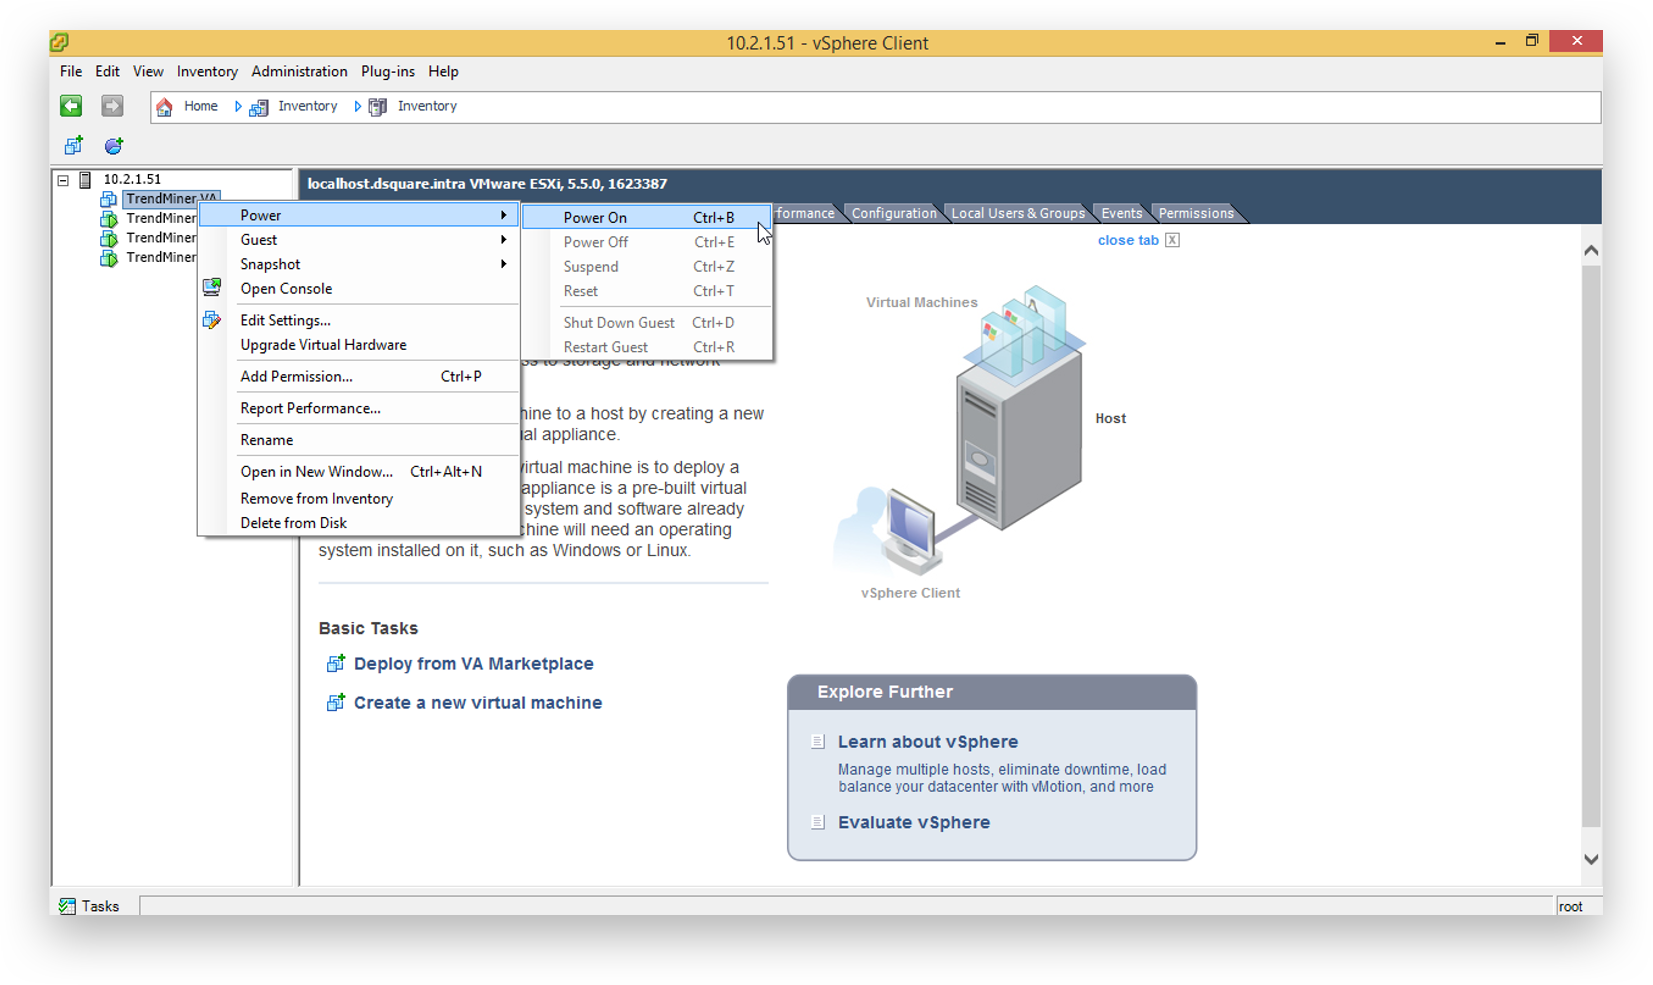
Optionally change virtual machine settings as required by the environment. Click ‘Power On’ the machine.
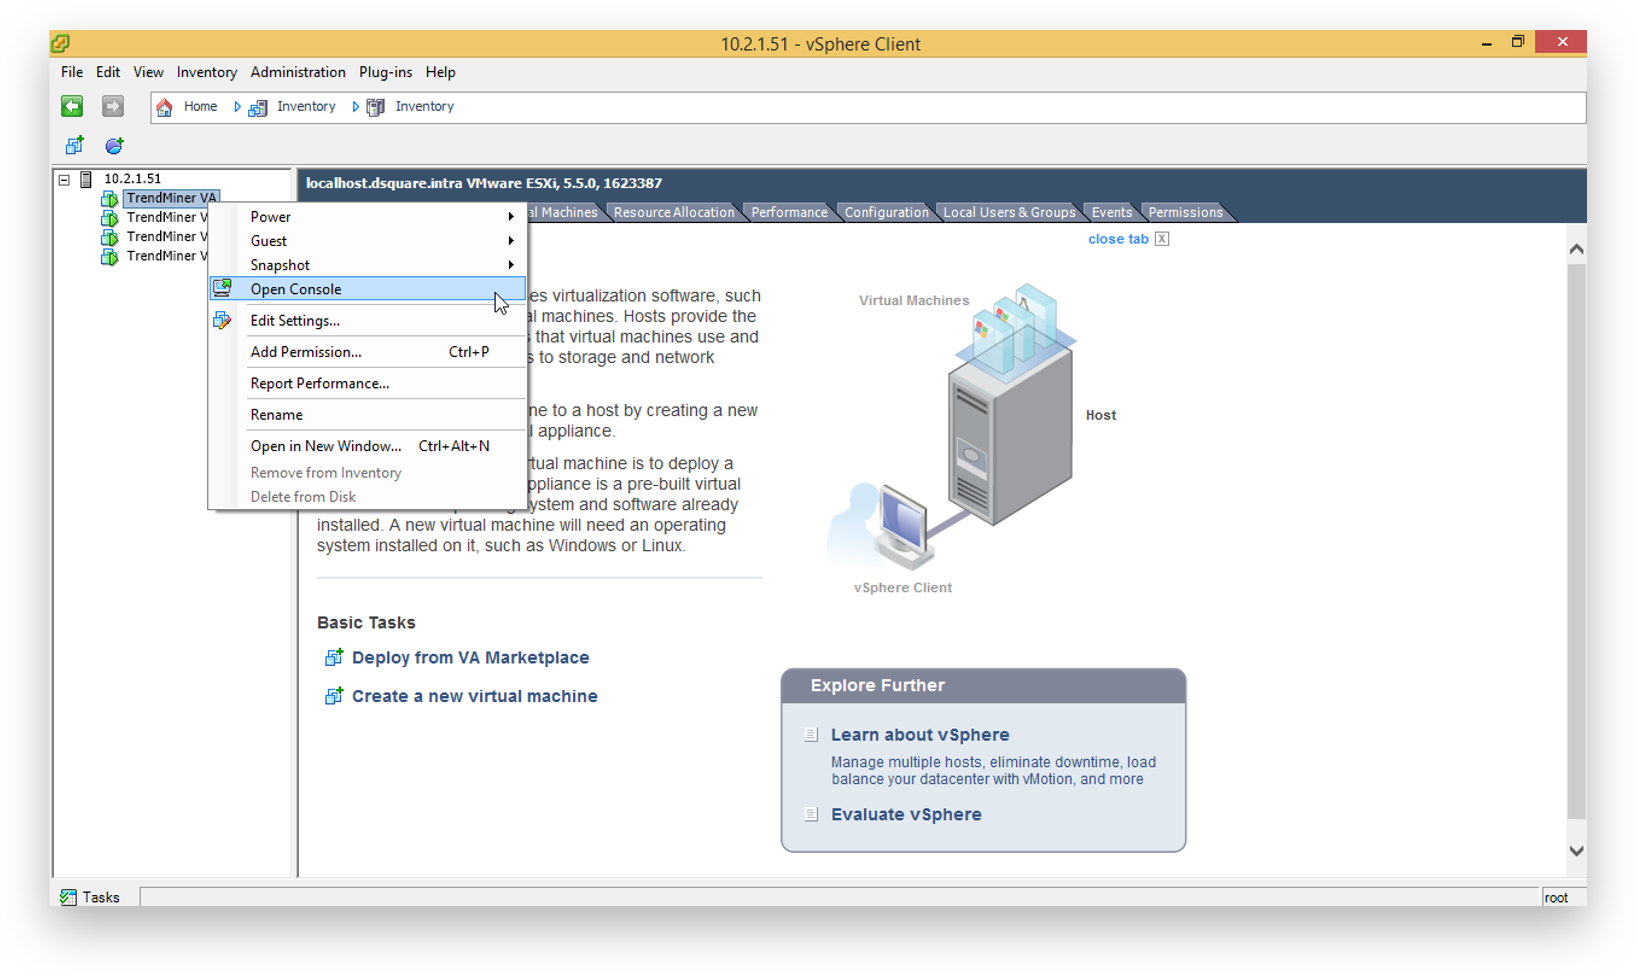
'Open Console’.
Wait until the Virtual Appliance is started.

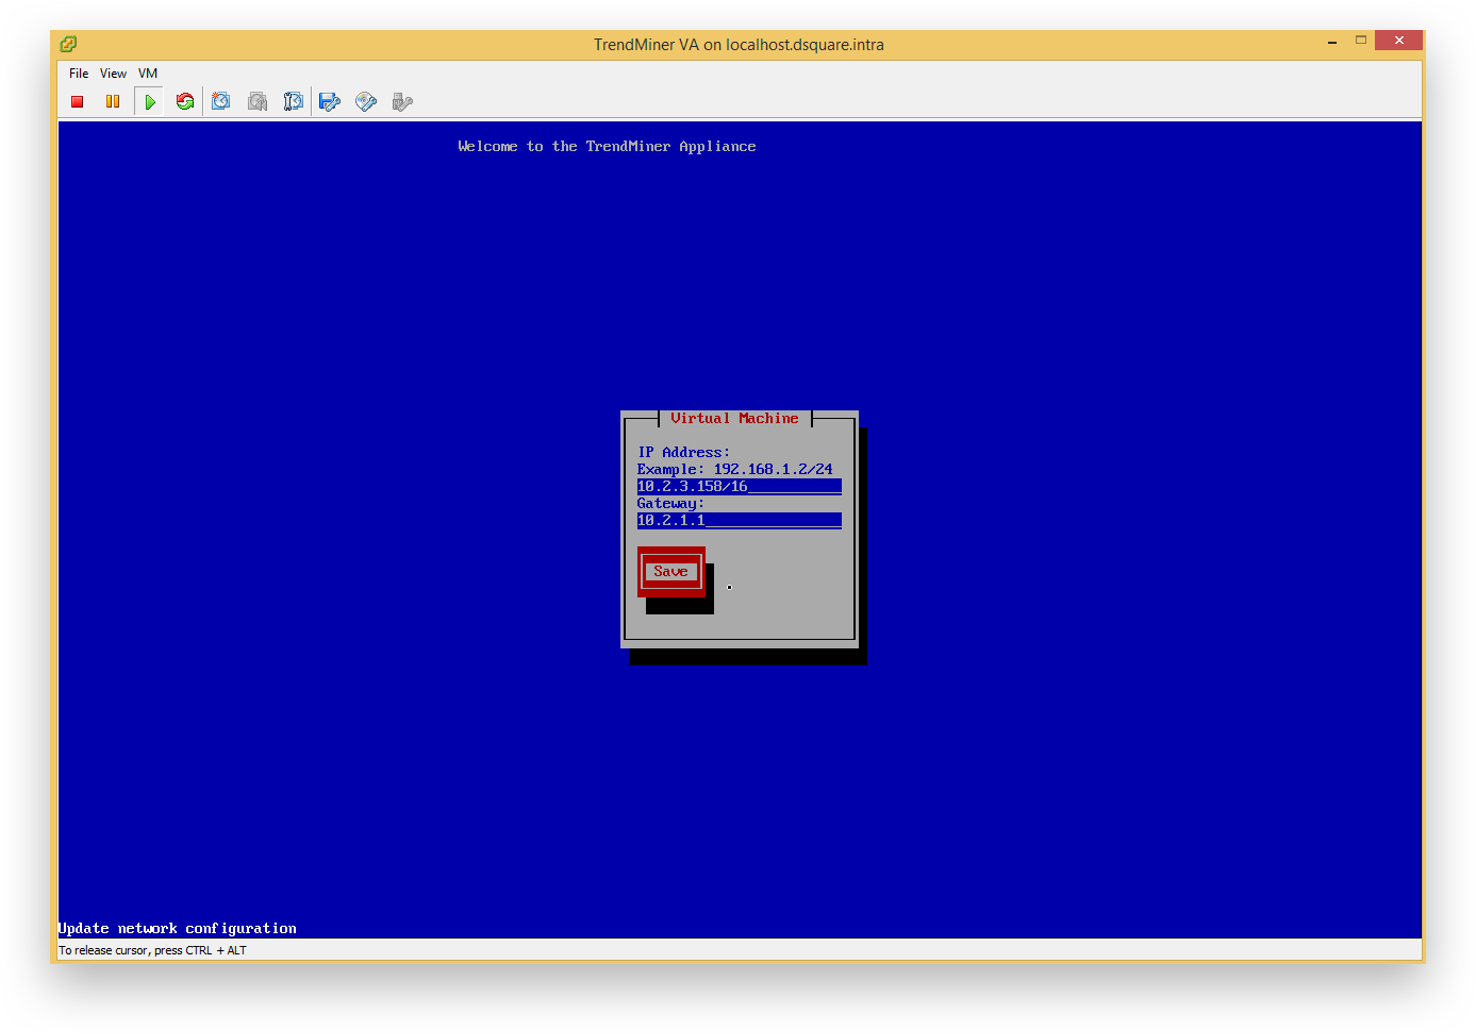
Click inside the console. It will now capture the key inputs. Use the arrow keys to navigate. Provide the IP address/Subnet mask in CIDR notation and gateway address and press ‘Save’. Note that the IP address should be provided in the CIDR notation (ip/netmask). For example, the IP address 192.168.0.50 with netmask 255.255.255.0 should be written as: 192.168.0.50/24
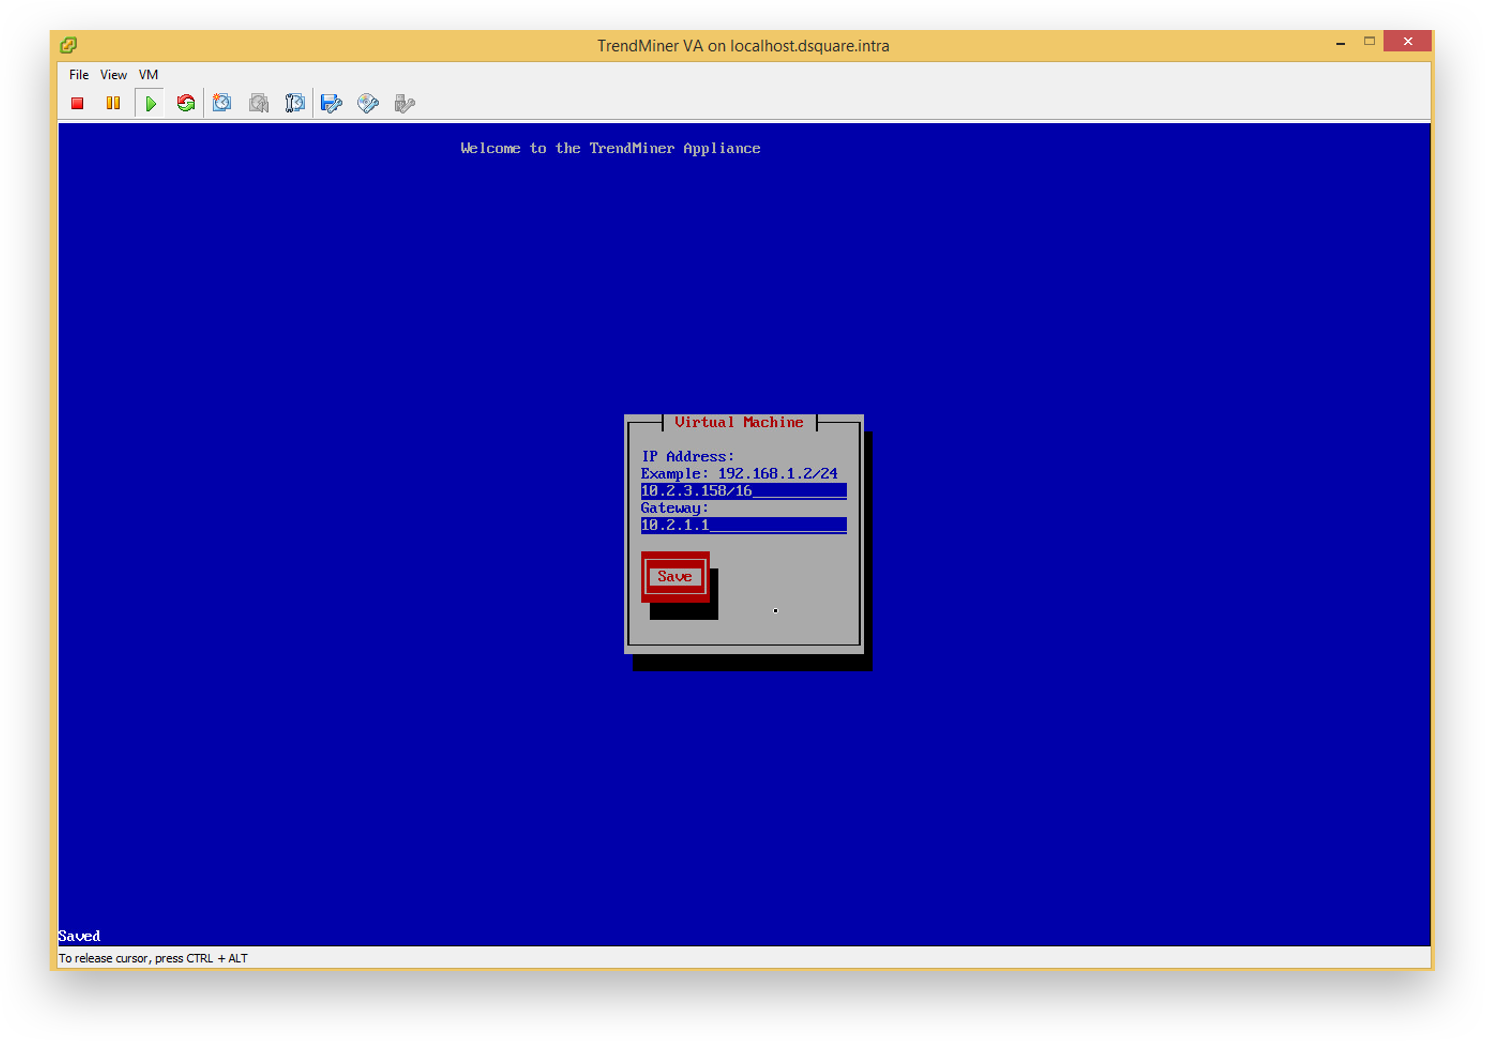
The text ‘Update network configuration’ will change to ‘Saved’. Exit the console by pressing the correct key combination (CTRL+ALT in this example).
The console can now be closed. Continue to the Network Configuration.