SAML
TrendMiner also supports switching to authentication by an external identity provider over SAML 2.0.
Note
Once SAML has been configured it is not possible to switch back to local user management. TrendMiner local accounts not mapped to an external account will be deleted.
Important
Take a backup before configuration. This allows reverting if necessary.
Select 'Identity provider' in ConfigHub.
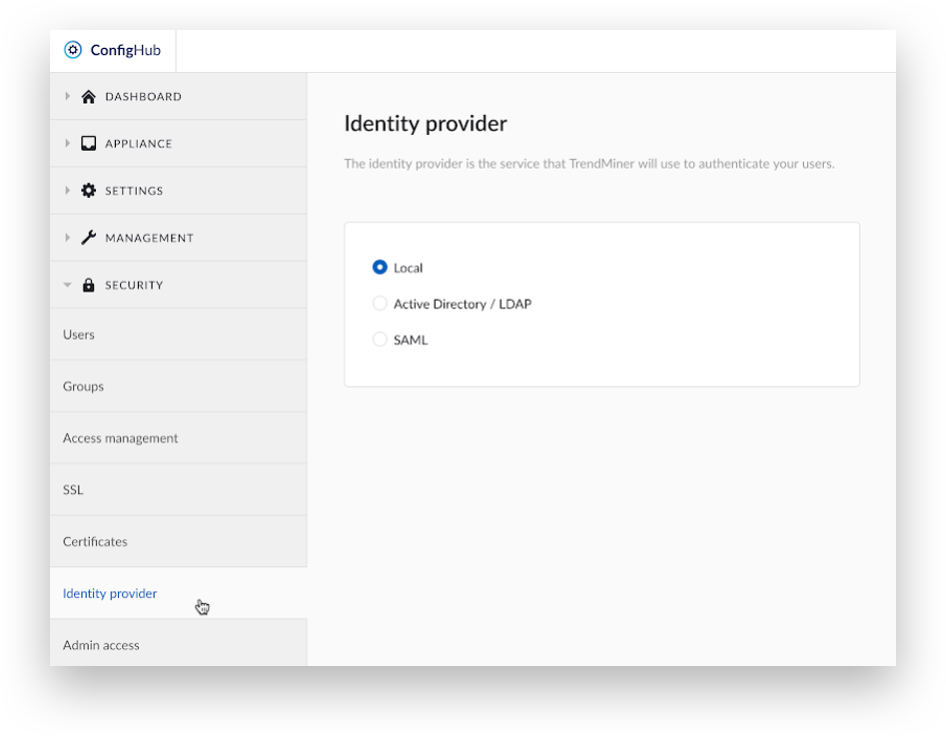
Select the 'SAML' option and click ‘Next step’.

To allow rollback to the final non-SAML state, create a backup first, otherwise click ‘Next step’.

Self-signed certificates could be required to validate SAML metadata or assertions. This step provides a reminder about this. When self-signed certificates are required and they have not yet been uploaded, click ‘here’ to be redirected to the upload page.

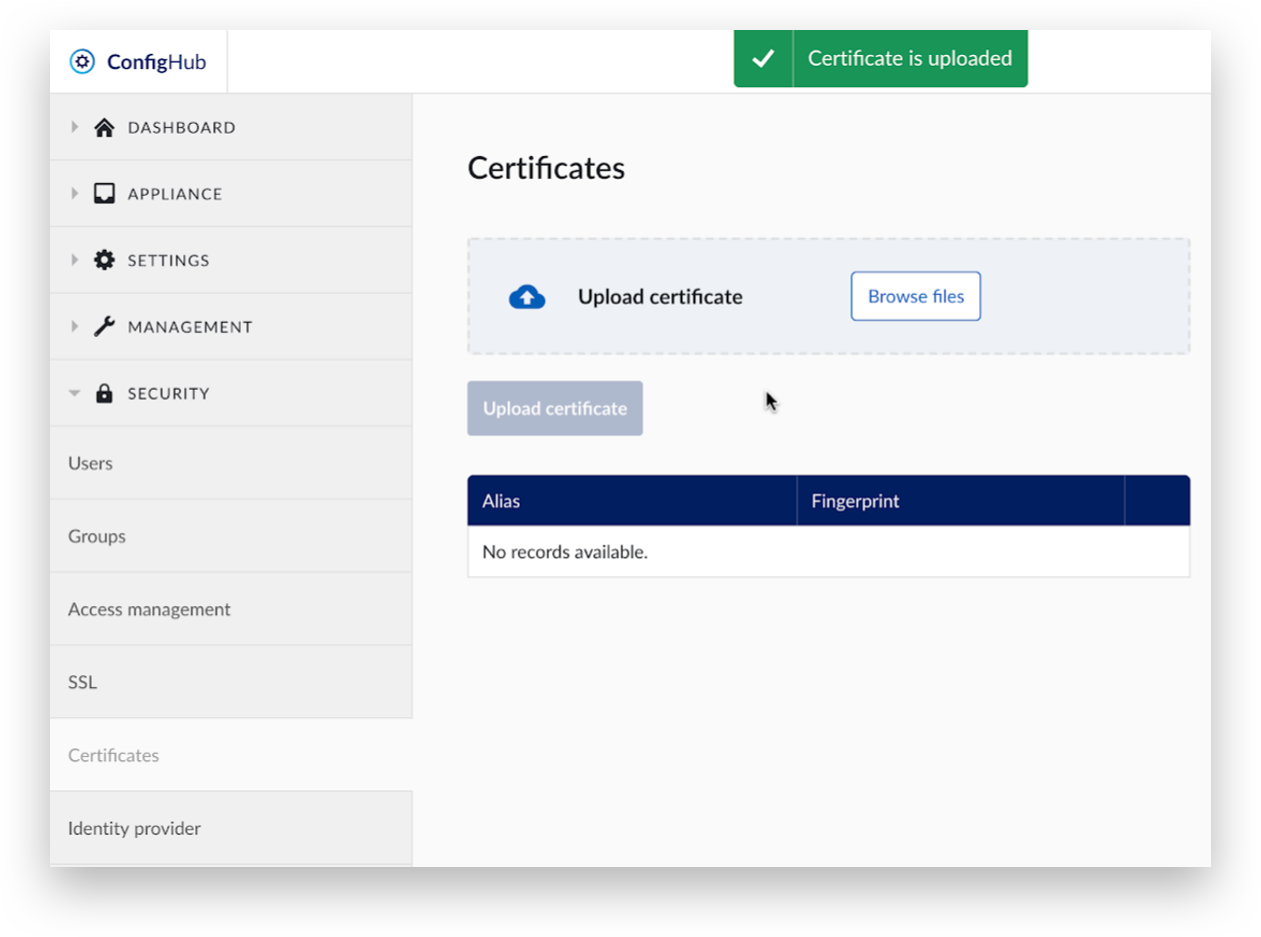
Select ‘Browse files’.
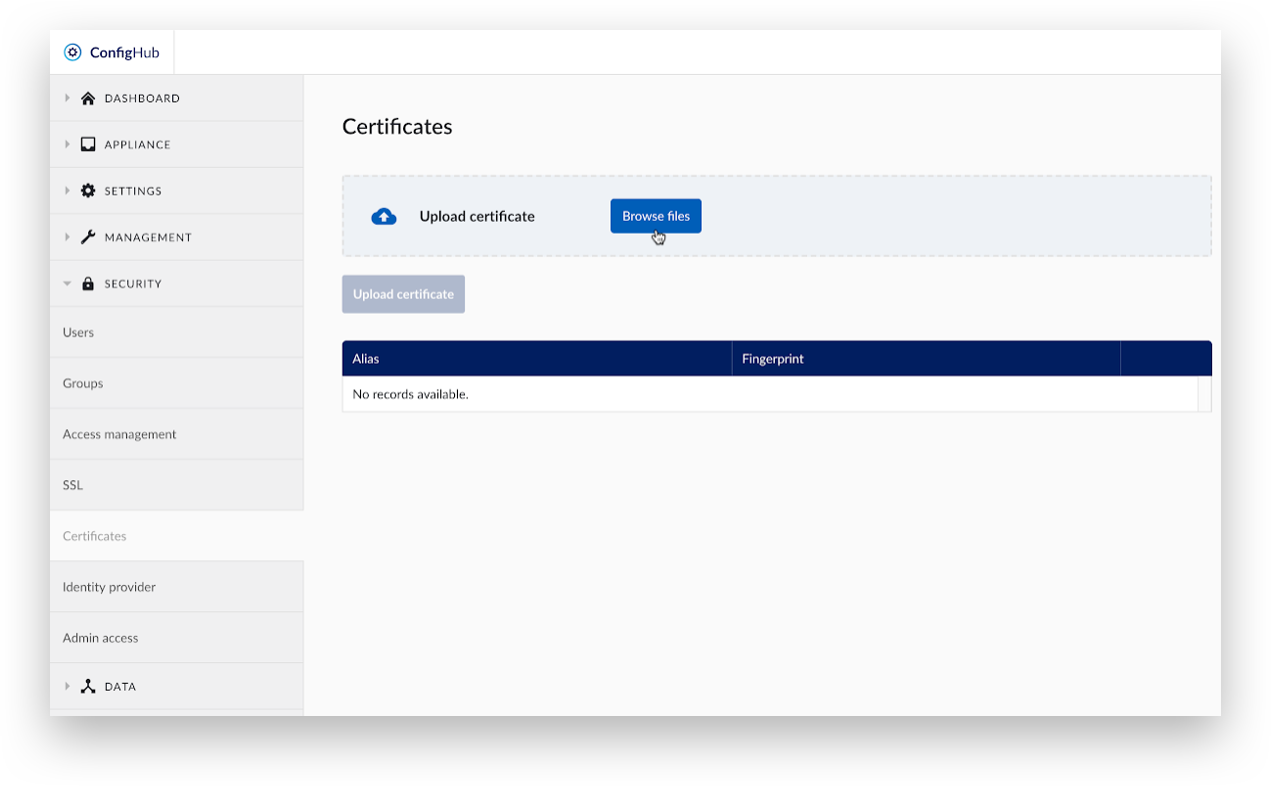
Find and open the self-signed certificate file. Only certificates in the PEM format are accepted.

Click ‘Upload certificate’.
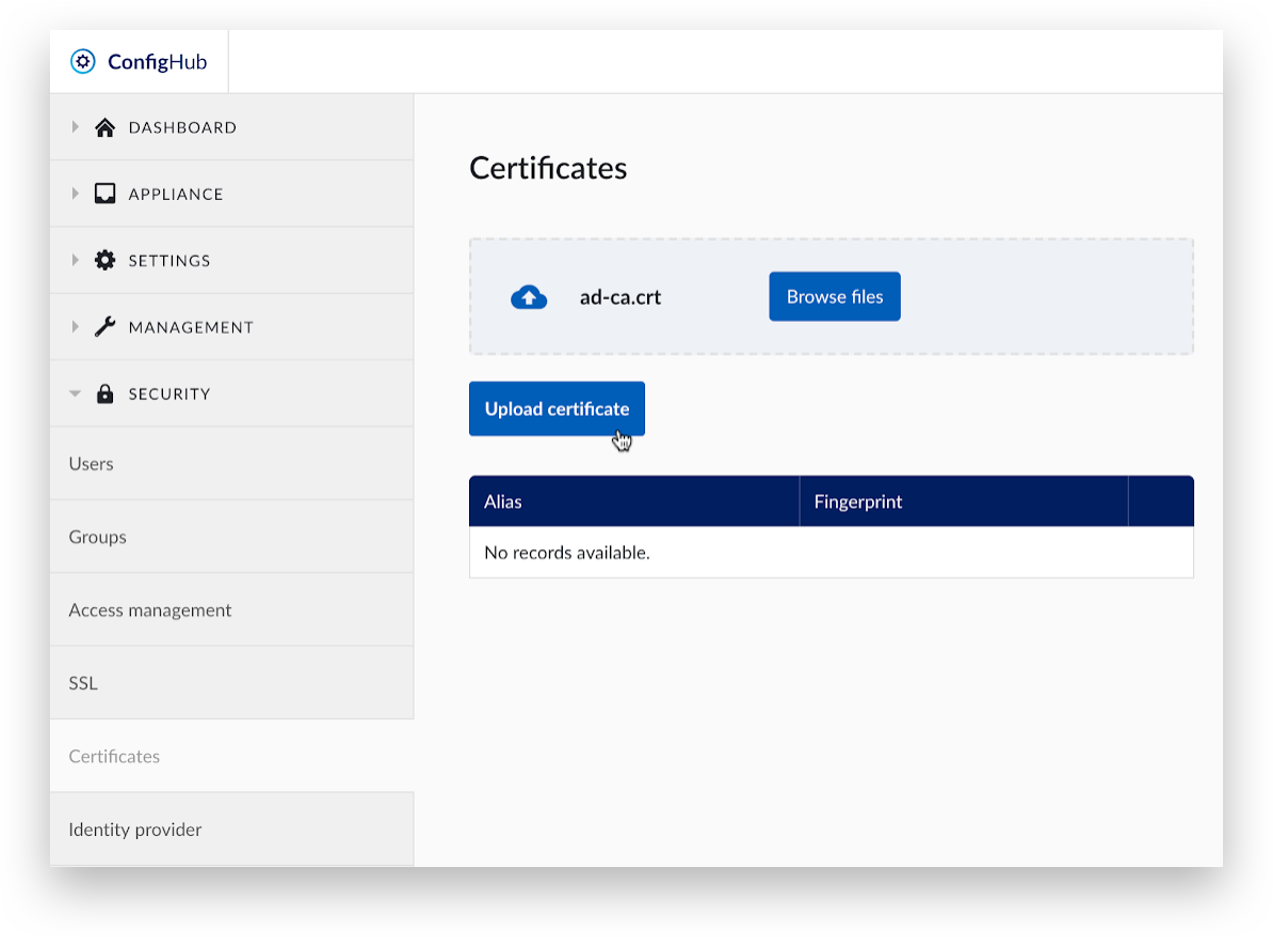
A green message ‘Certificate is uploaded’ will appear at the top.
Once all required self-signed certificate(s) have been uploaded, go back to ‘Identity provider’ under the ‘SECURITY’ menu to complete the rest of the SAML steps. Click ‘Next step’ to proceed.

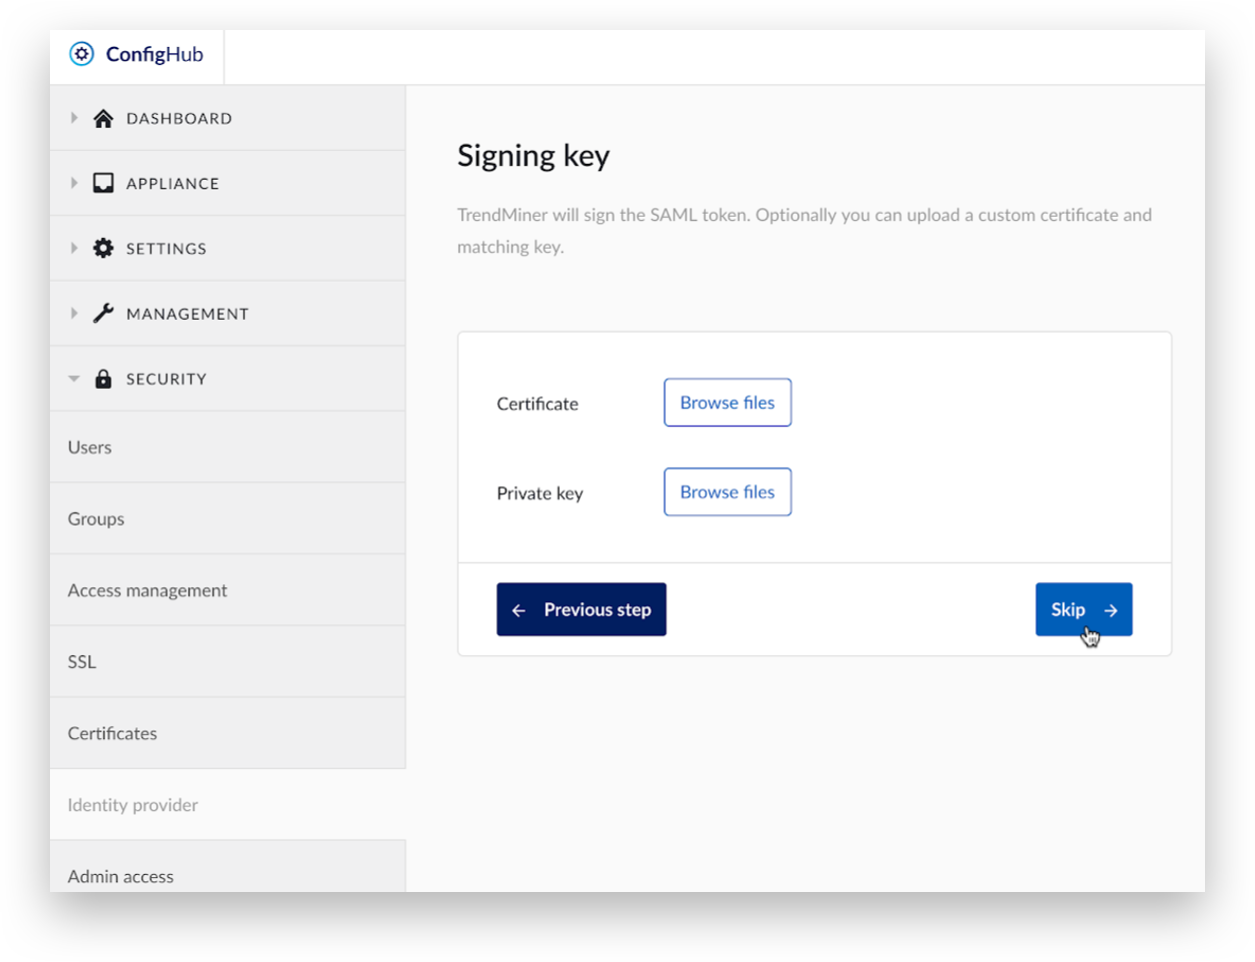
Here, either skip this step or upload a custom certificate and a matching key.
Configuration
The following attributes have to be configured to allow successful integration with an external SAML Identity Provider.
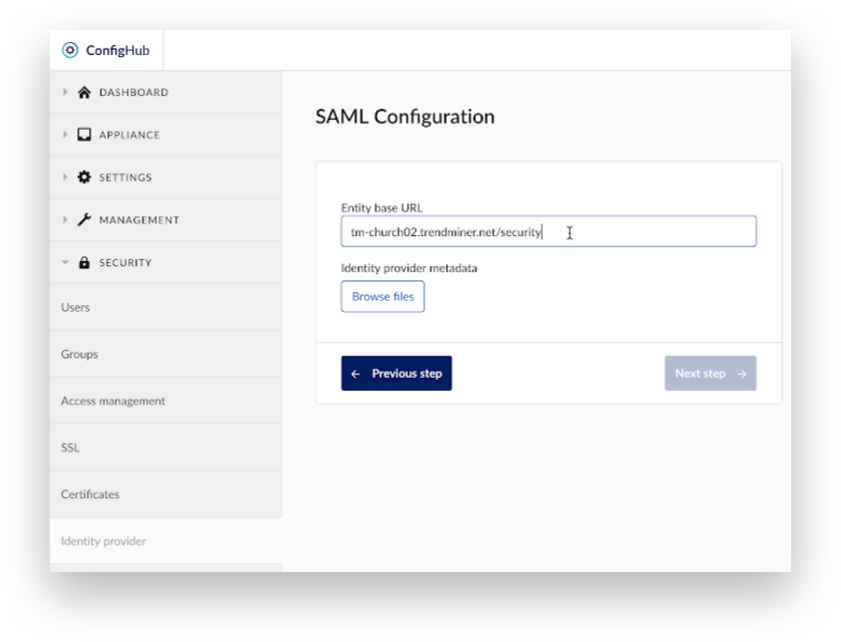
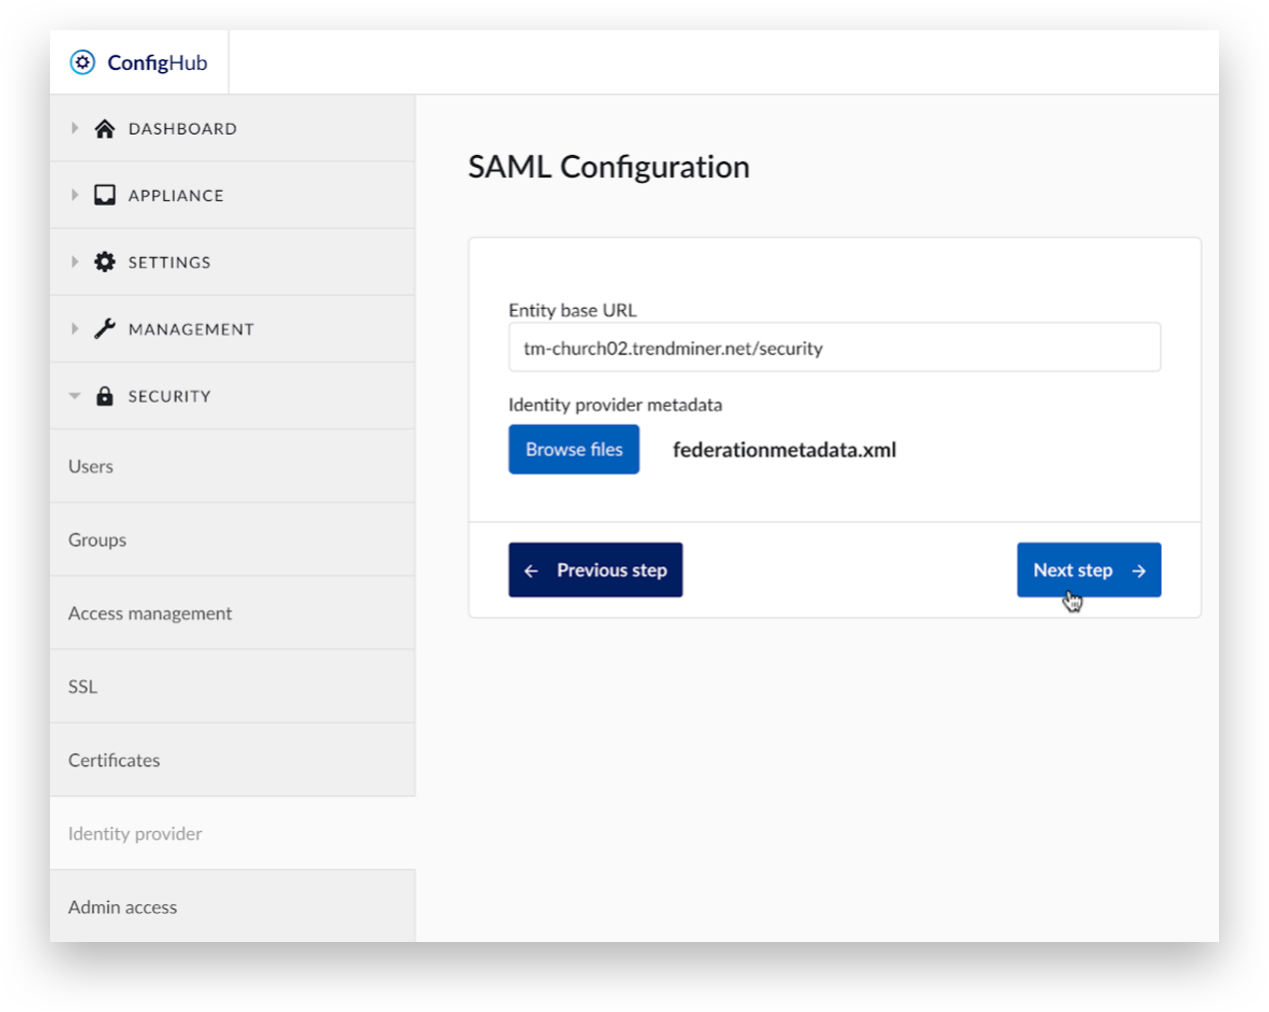
Entity base URL: The entity base URL defines the location of TrendMiner used in requests to the SAML identity provider. It should be:
http(s)://<trendminer_address>/securitywhere <trendminer_address> is the address users use to access TrendMiner.Identity provider metadata: Upload an XML file containing the metadata provided by the SAML identity provider. The procedure to generate this is identity provider specific. An example for Okta is provided in this document.
Fill in ‘Entity base URL’ .
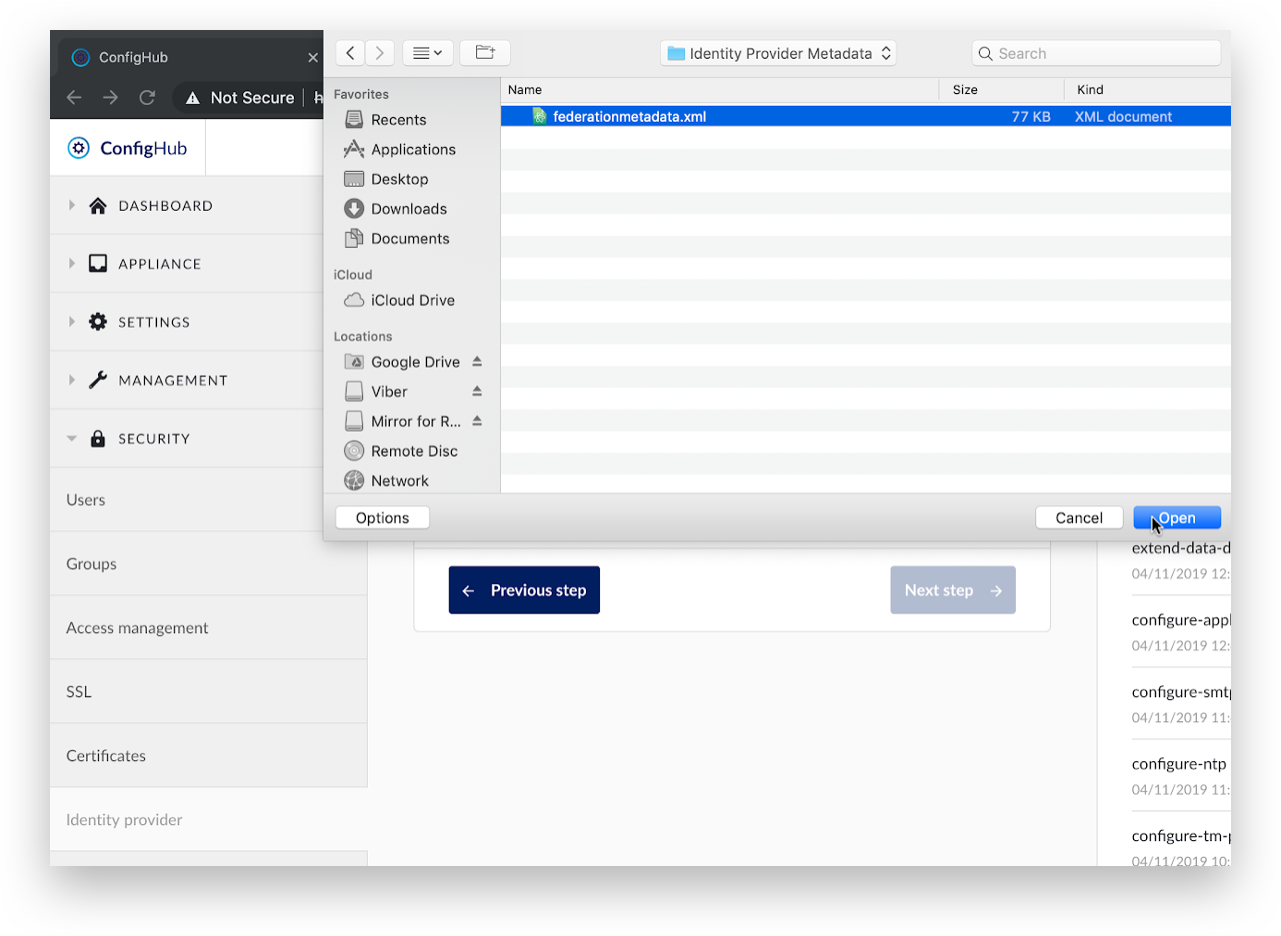
Browse to the Identity Provider metadata XML file.

Open the Identity Provider metadata XML file.
Click 'Next step' to start migrating existing local users to SAML.
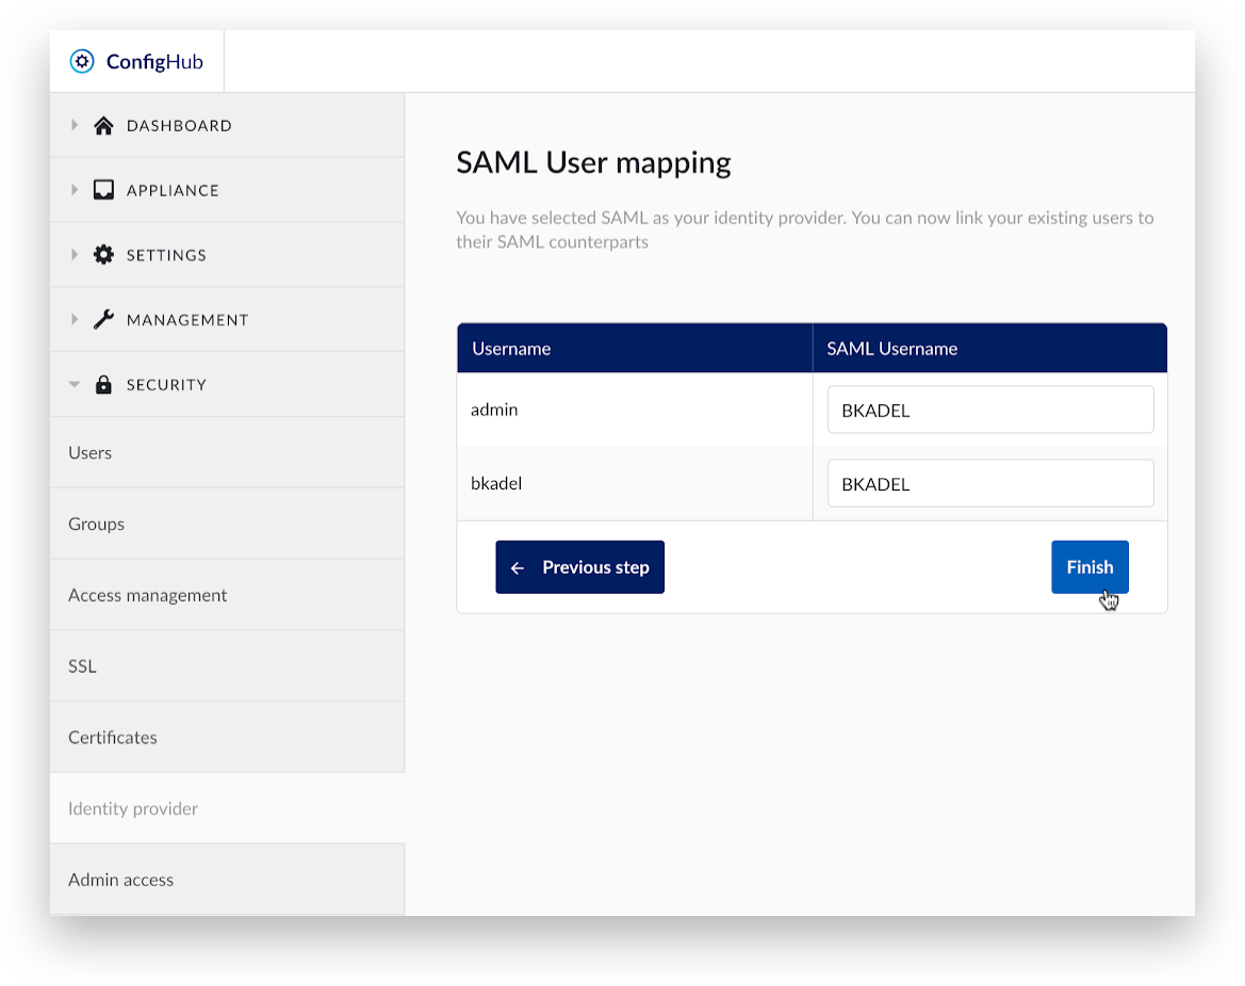
A green message ‘Connection successful’ will appear at the top, and a list of local TrendMiner accounts will appear.
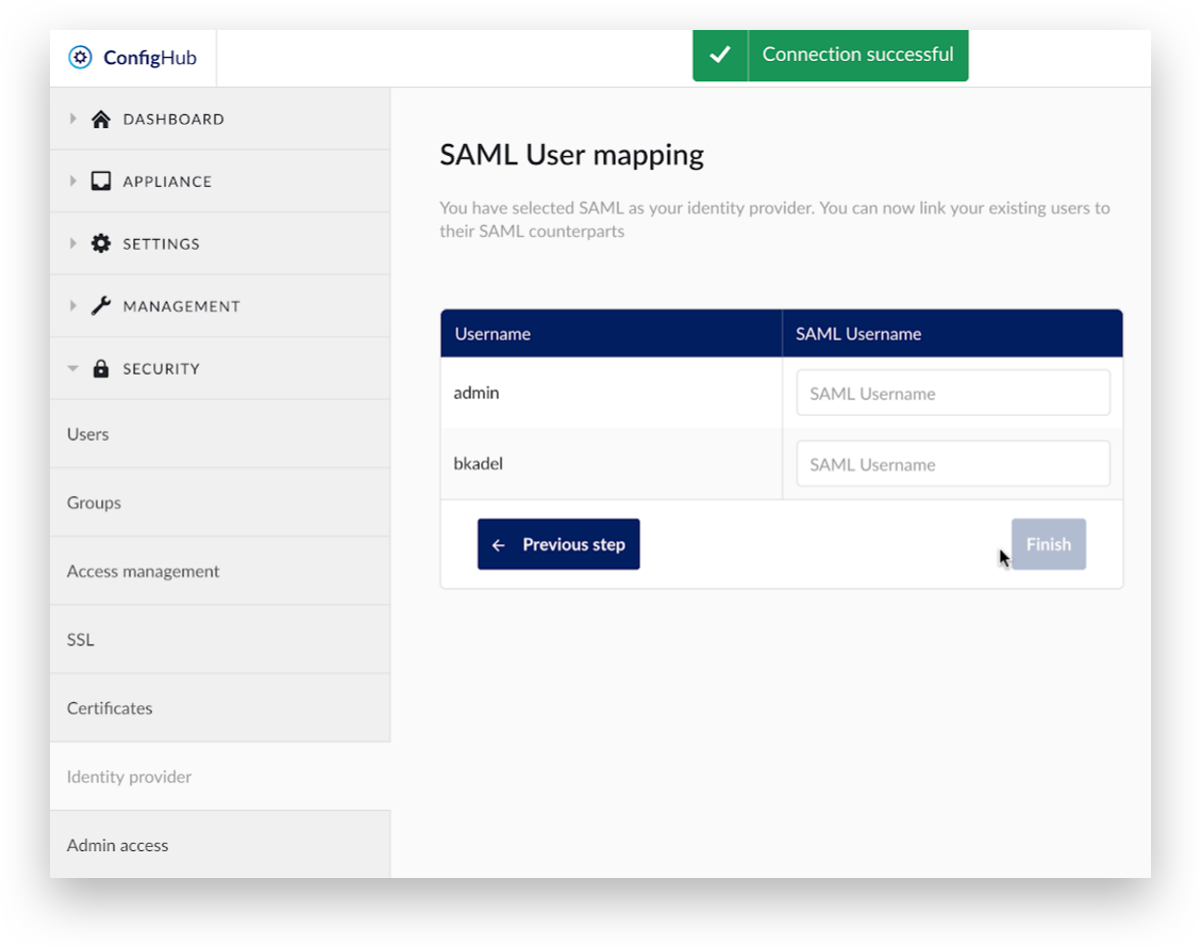
Enter the corresponding SAML users. Users left blank will not be able to access their old data. Click 'Finish’ to complete the user mapping.
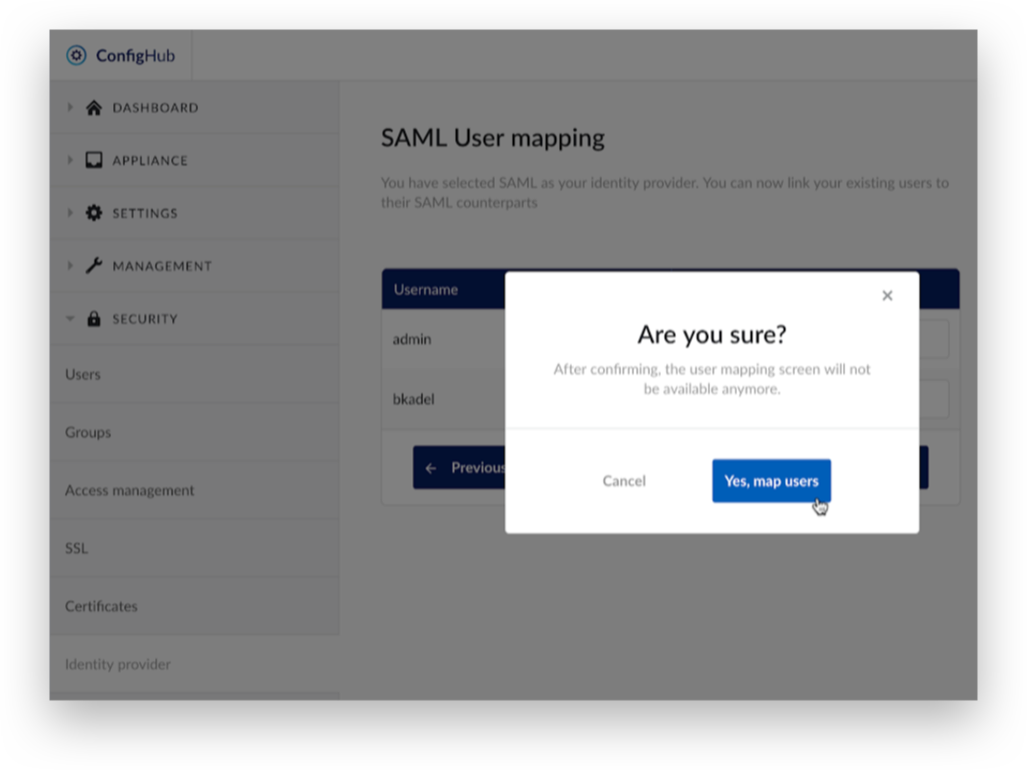
As a final confirmation, click ‘Yes, map users’.
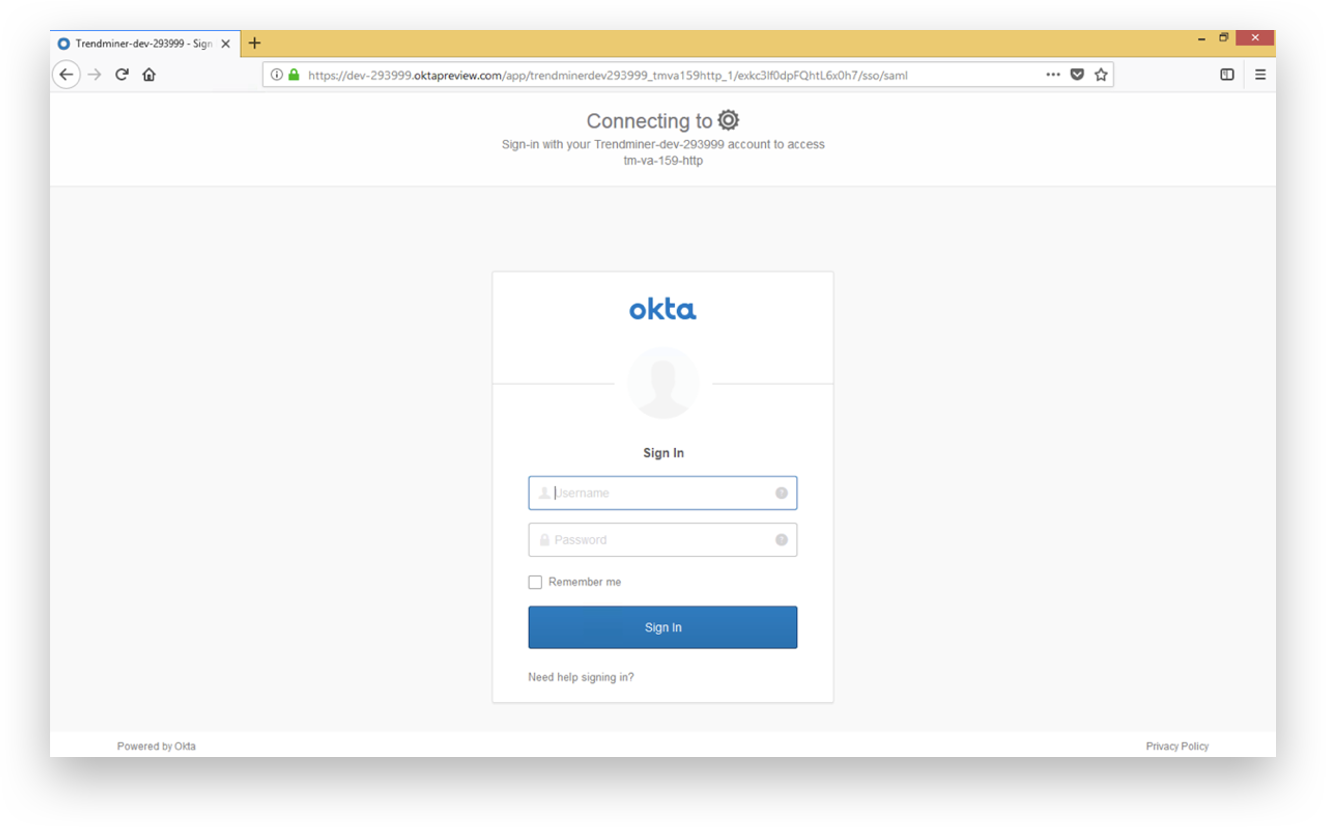
Users authorized by the identity provider to access TrendMiner can now log in.
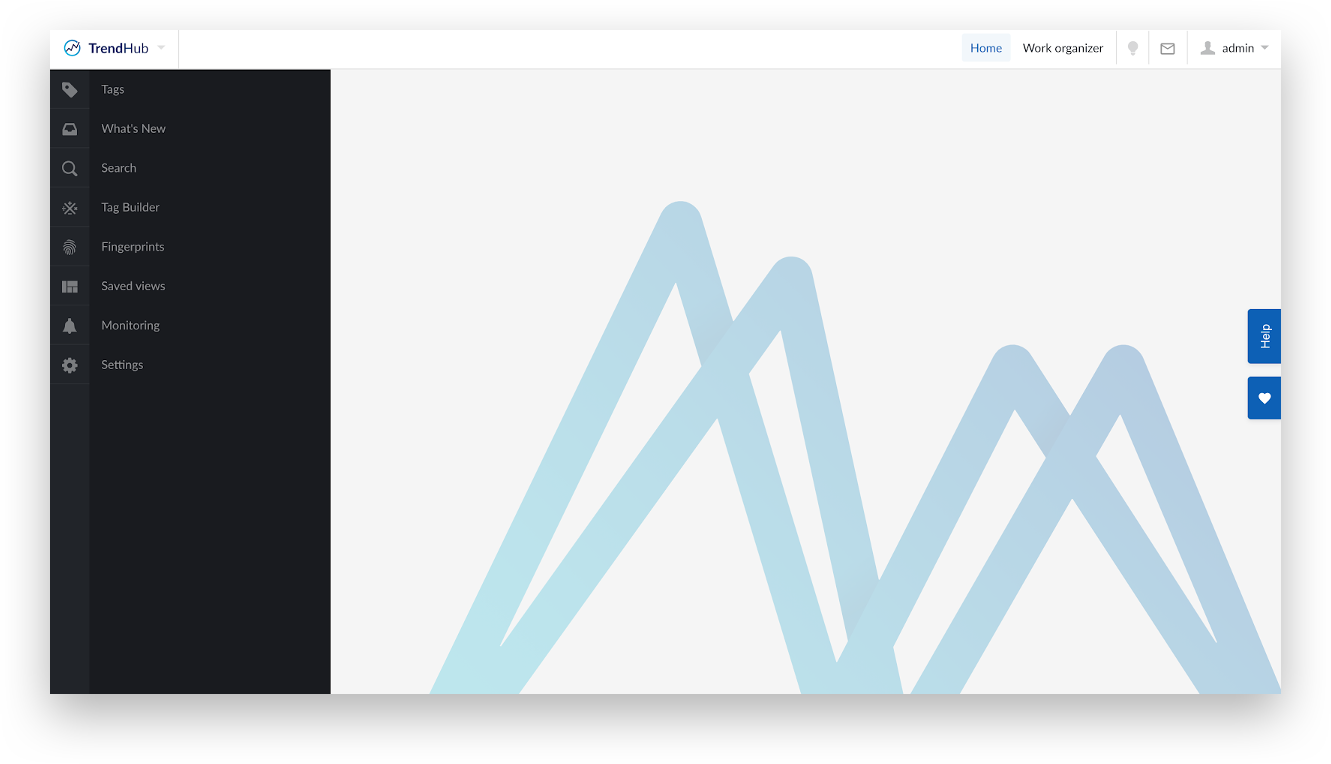
After logging in, the TrendMiner home page is displayed.
Example: Generate SAML metadata in Okta
This example generates SAML metadata for a TrendMiner installation at http://tm-va158.trendminer.com/ in Okta.
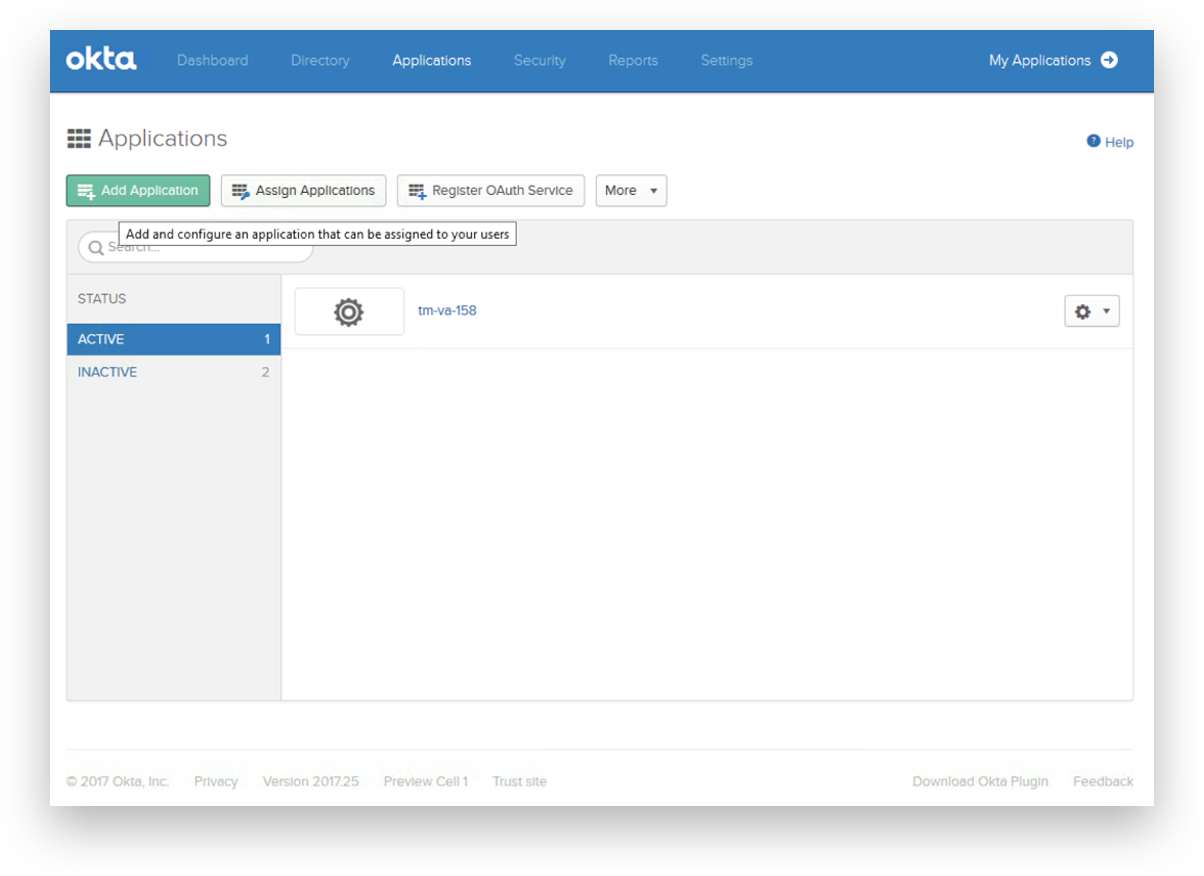
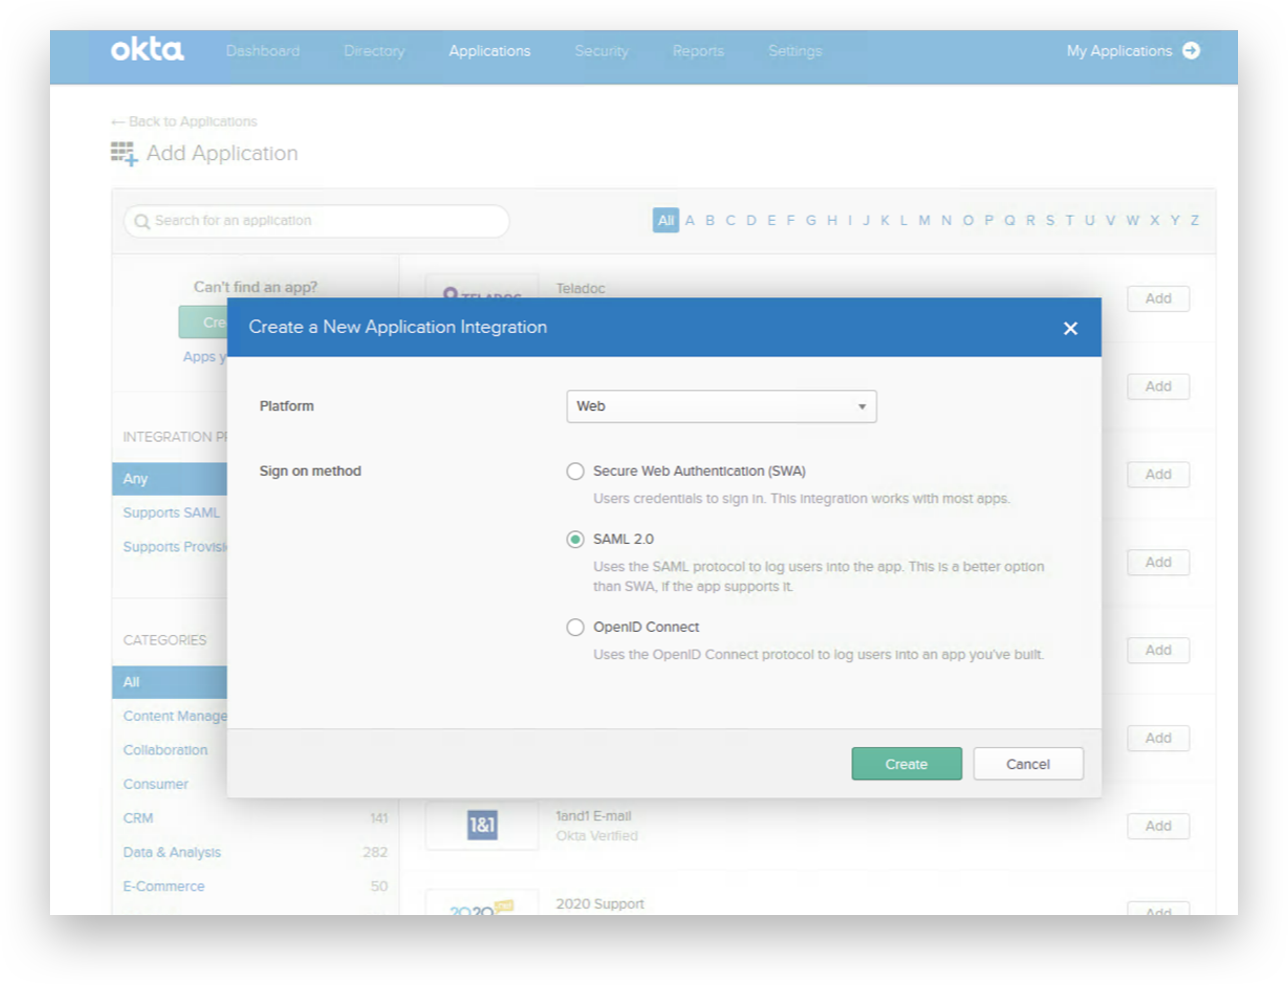
Login to Okta as admin, go to applications and click 'Add Application'.
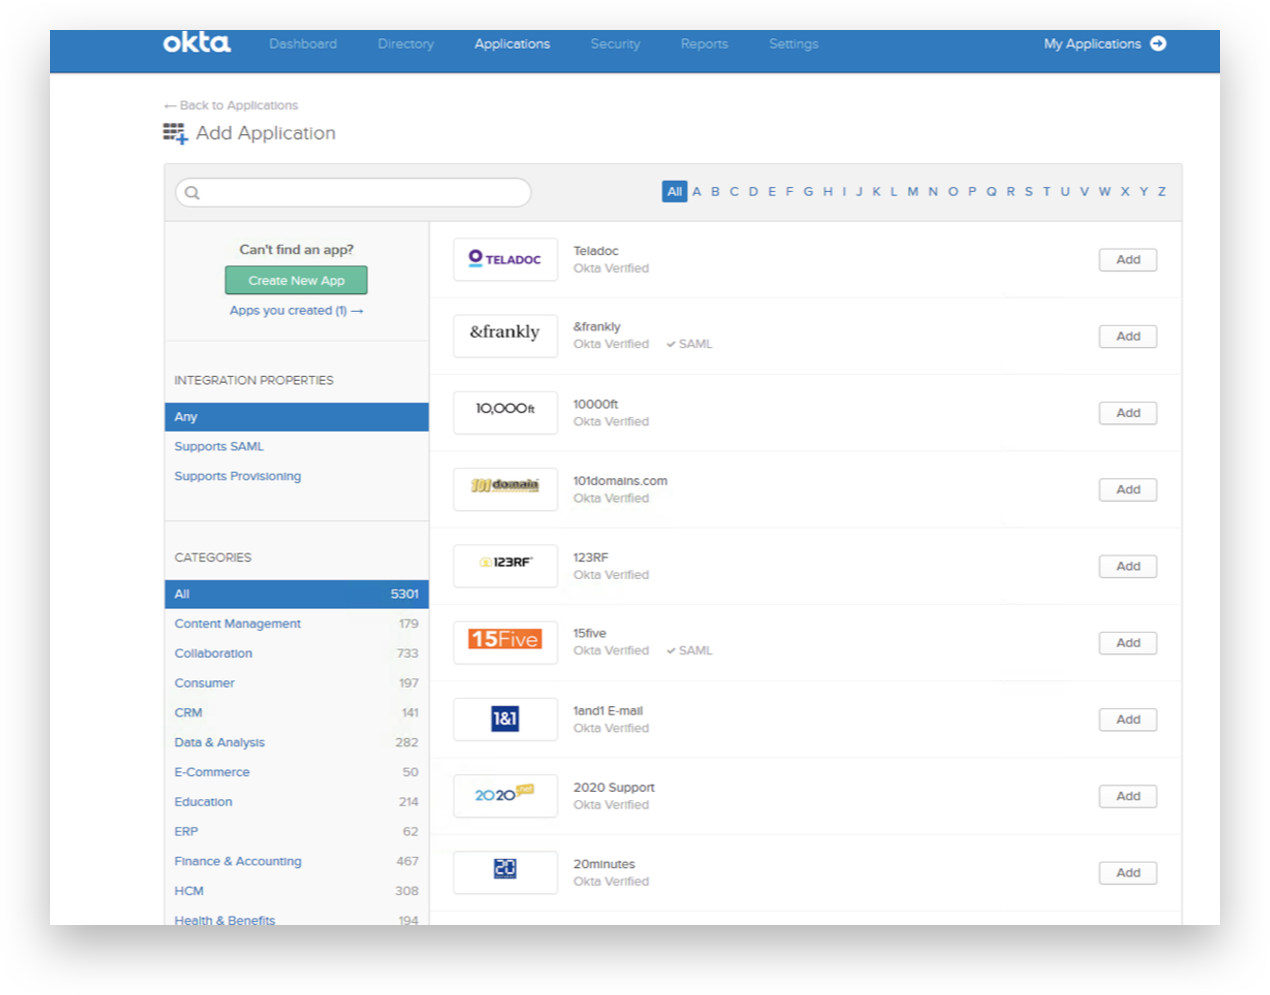
Select 'Create New App'.
Select 'SAML 2.0'.
Define the application name and optionally a logo.

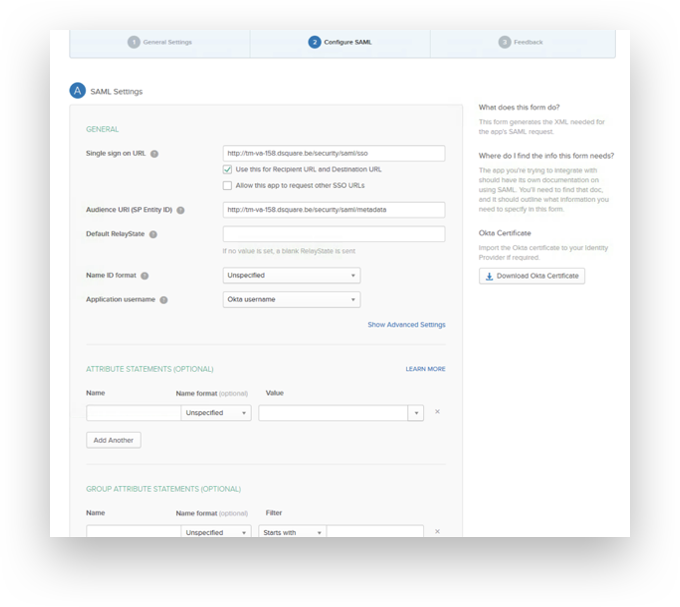
Complete the SAML settings
TrendMiner provides two endpoints:
SAML Assertion Consumer Service: http(s)://<trendminer_address>/security/saml/SSO
Service Provider Entity ID: http(s)://<trendminer_address>/security/saml/metadata
The first endpoint is used by the identity provider to redirect the user after logging in. Okta, provides it as a ‘Single sign on URL’.
The second endpoint defines the SAML metadata of TrendMiner. This is the ‘Audience URI in’ Okta terminology.
Click 'Next' at the bottom of the screen to continue.
Select 'I'm a software vendor. I'd like to integrate my app with Okta' and click 'Finish'.

Select the 'Sign On' tab and download the 'Identity Provider' metadata file.

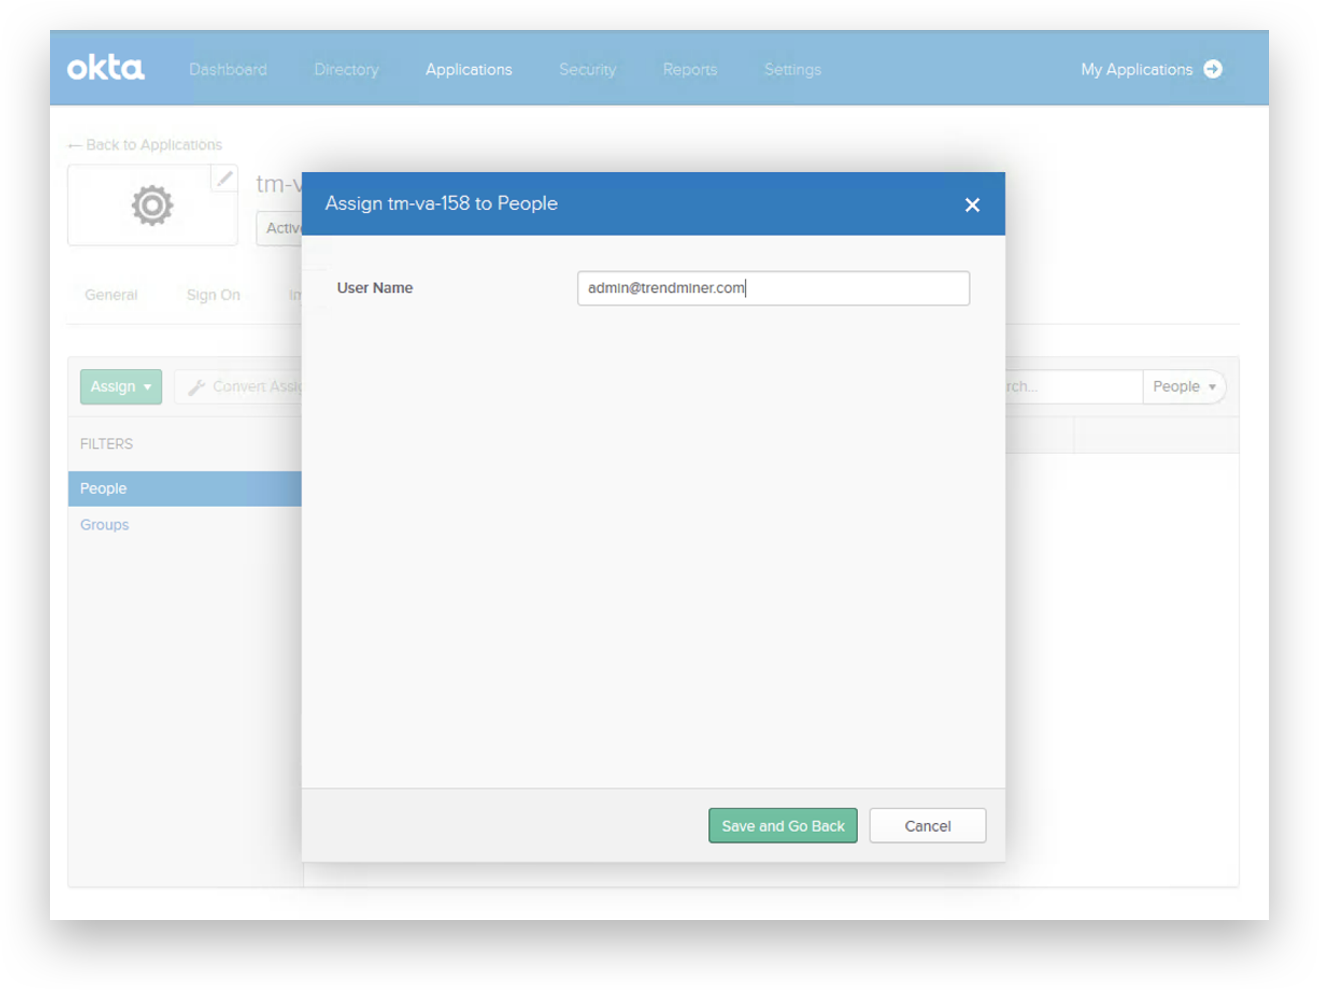
Select the 'Assignments' tab. Assign access rights to all users and groups that need TrendMiner access.
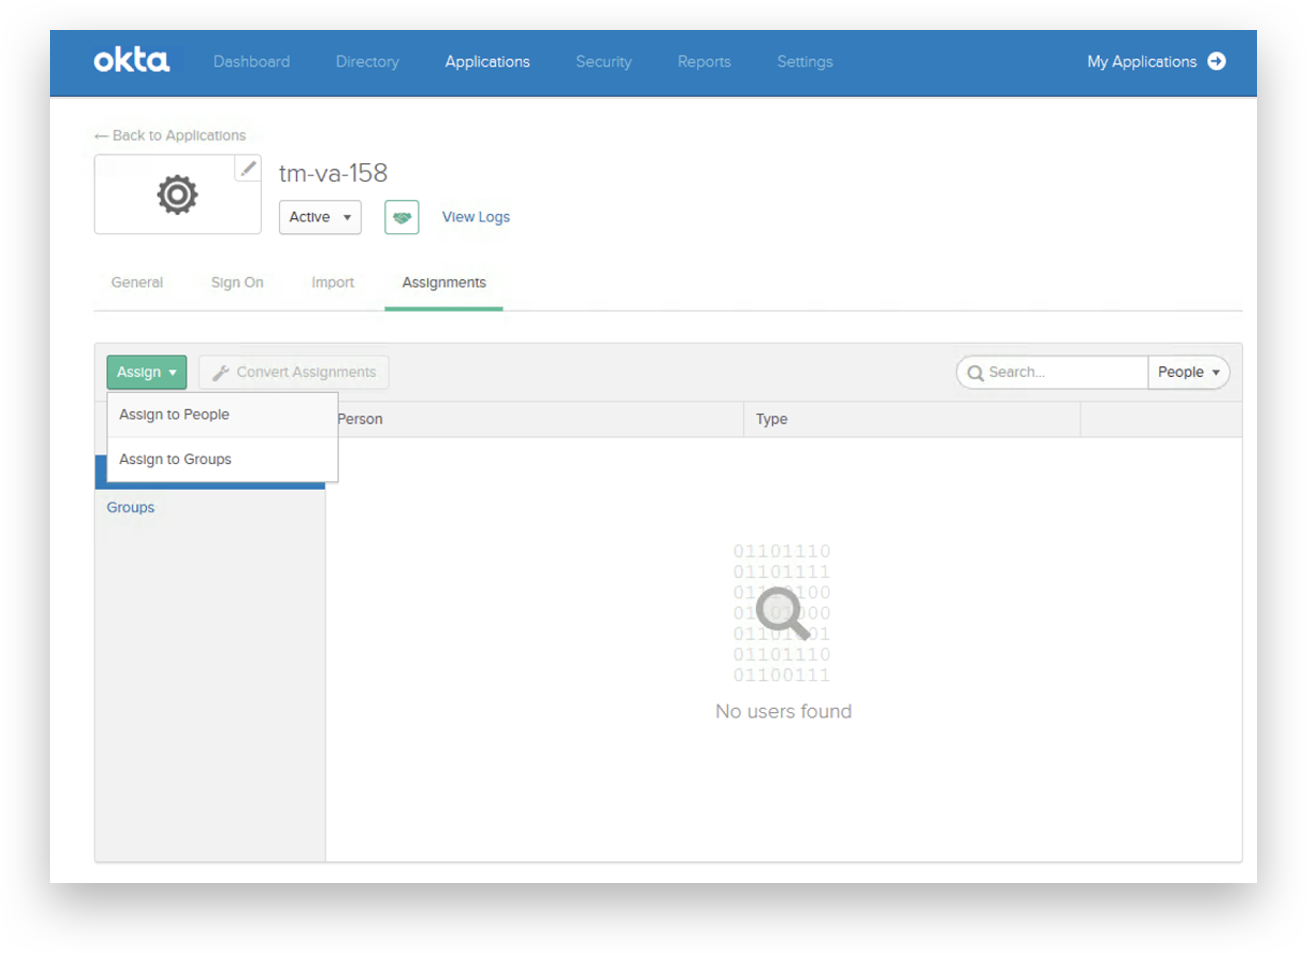
Add username or group name and click ‘Save and Go Back’ to the 'Assignments' tab.