How to connect to time series data sources?
Install a connector. If your connector is already connected, this step can be skipped.
In ConfigHub select the tab "Connectors".
Click "+ Add connector" and fill in the details of the connector.
In ConfigHub select the tab "Data sources".
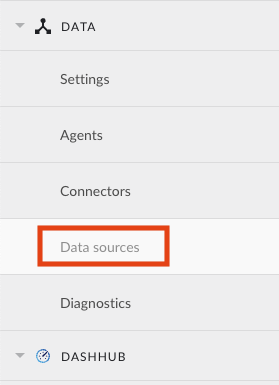
Click "+ Add data source". Datasource creation modal will appear.

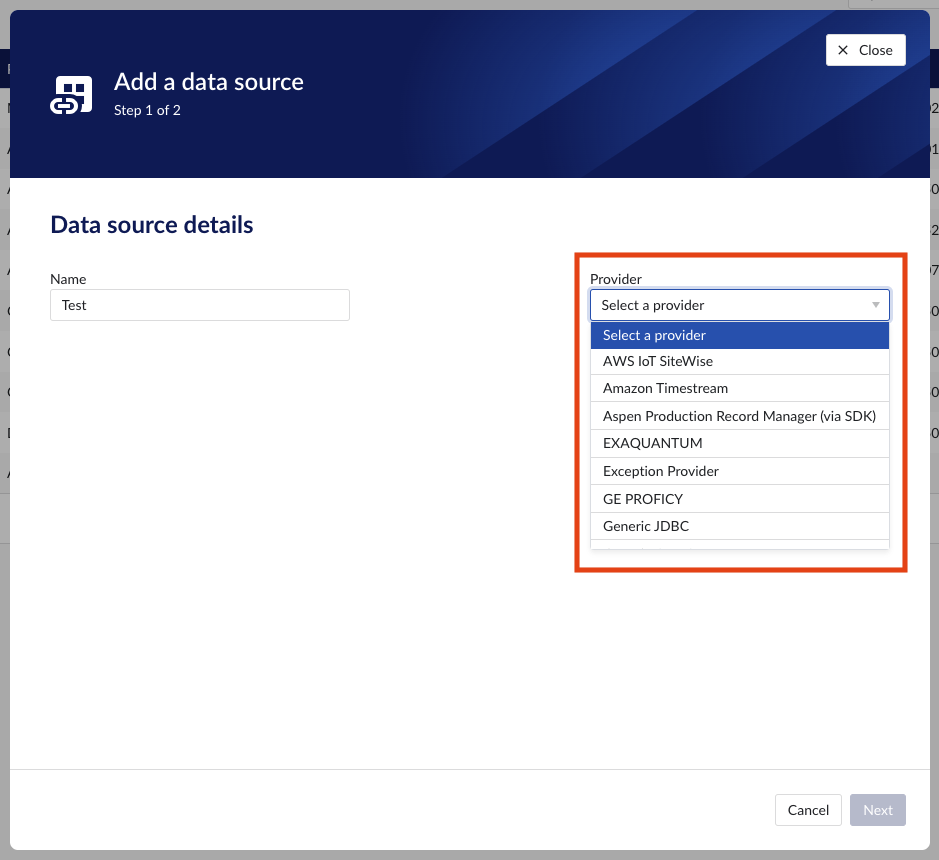
Fill out 'Data source details' step:
Name the data source.
Select the provider you would like to use. If the provider of your choice is not listed, this implies none of the connected connectors supports this data source type and you have to add a connector which does, or check your implementation in case you implemented your own custom connector.
A list of providers which TrendMiner supports out of the box can be found here.
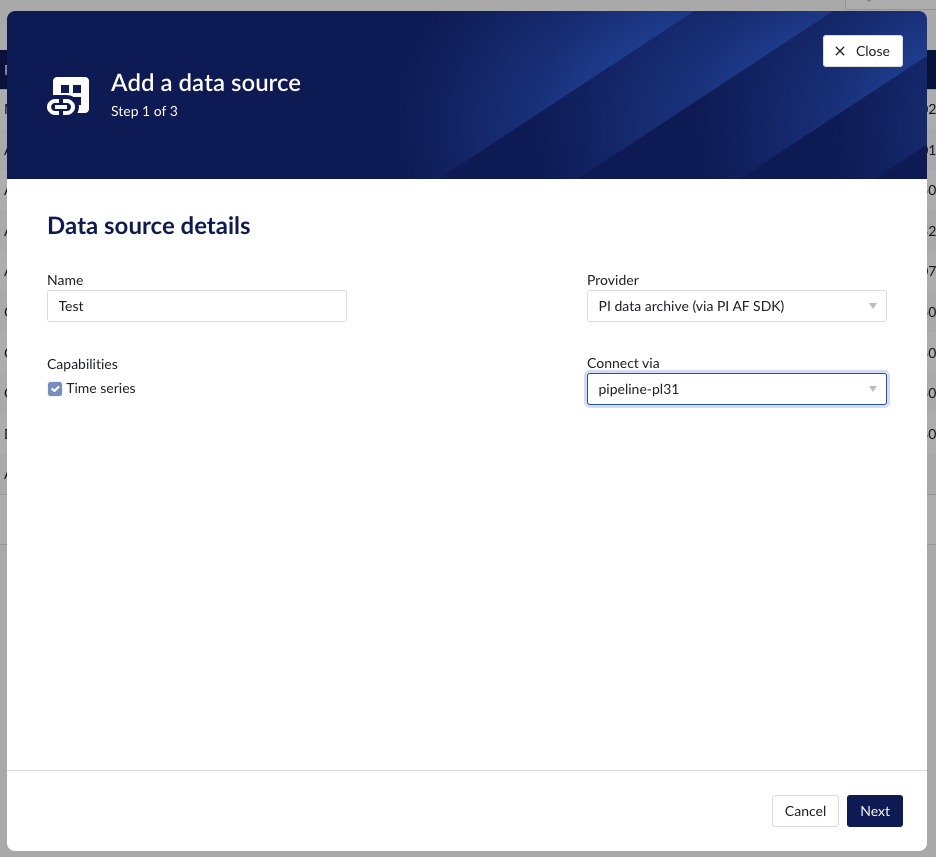
Select the connector you want to use for connecting the data source via 'Connect via' dropdown (if the provider of your choice requires a connector). If the connector of your choice is not listed, this implies this connector does not support this provider and you have to select a different connector or check your implementation in case you implemented your own custom connector.
Make sure to select the "Time series" capability checkbox. If this checkbox is not visible, it means this provider does not support time series data. You can check which connectivity options TrendMiner supports out of the box here.
Each data source with time series capability has some basic configuration options like "Host", "Username", "Password", "Parallel connections" etc. More information about these parameters can be found in our user documentation.
Besides the basic configuration each data source can have some historian specific configuration and installation requirements which can be found via the following links: