Step 5: Validate
You have reached the final step! Please use the checklist below to ensure you’ve successfully completed a full TrendMiner installation:
Management Interface Validation: Go to ‘Services’ page under DASHBOARD and confirm all services show a green status.
Data Source Connections: Go to the ‘Data Source’ page in ConfigHub and run a test Connection from the Options dropdown for each entry.
Access Control List (ACL) Validation: Follow the procedure detailed here and make sure you can log in and have access to all the configured data sources.
Monitor Verification: Send yourself a test email from the ConfigHub page to make sure the mail relay is correctly configured.
Speed/Indexing Check: Add any tag and ensure the indexing status reaches Up-to-date within a reasonable time. It should not take more than 1-2 minutes for TrendMiner to fully index around 5 years of data. This will depend on the tag resolution. If it does take significantly longer to index the tag or you get some error messages, involve TrendMiner technical support so we can troubleshoot.
Tip
It is possible to batch index a list of tags. This will ensure that the most relevant tags’ data is already indexed and available in TrendMiner for quick analysis. Align with your Customer Success Manager for TrendMiner for best practices on how to perform this process. Instructions on how to perform this batch indexing operation can be found here.
Note
If you experience performance issues, you might need to adjust some the default configuration parameters found in ConfigHub in the ‘Settings’ section under DATA. Consult with your Customer Success Manager and/or the Support Team.
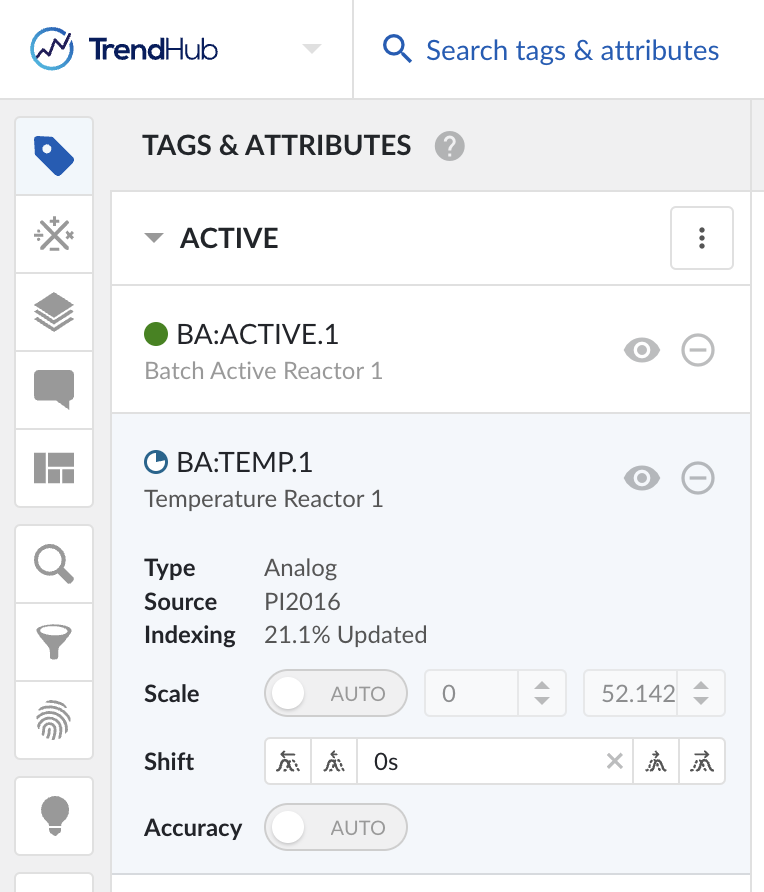
Tag Type Verification: Add a tag of each type available in your data source (e.g. Analog, Discrete, etc.) to ensure the tags are properly mapped and displayed in TrendMiner
ACL Validation
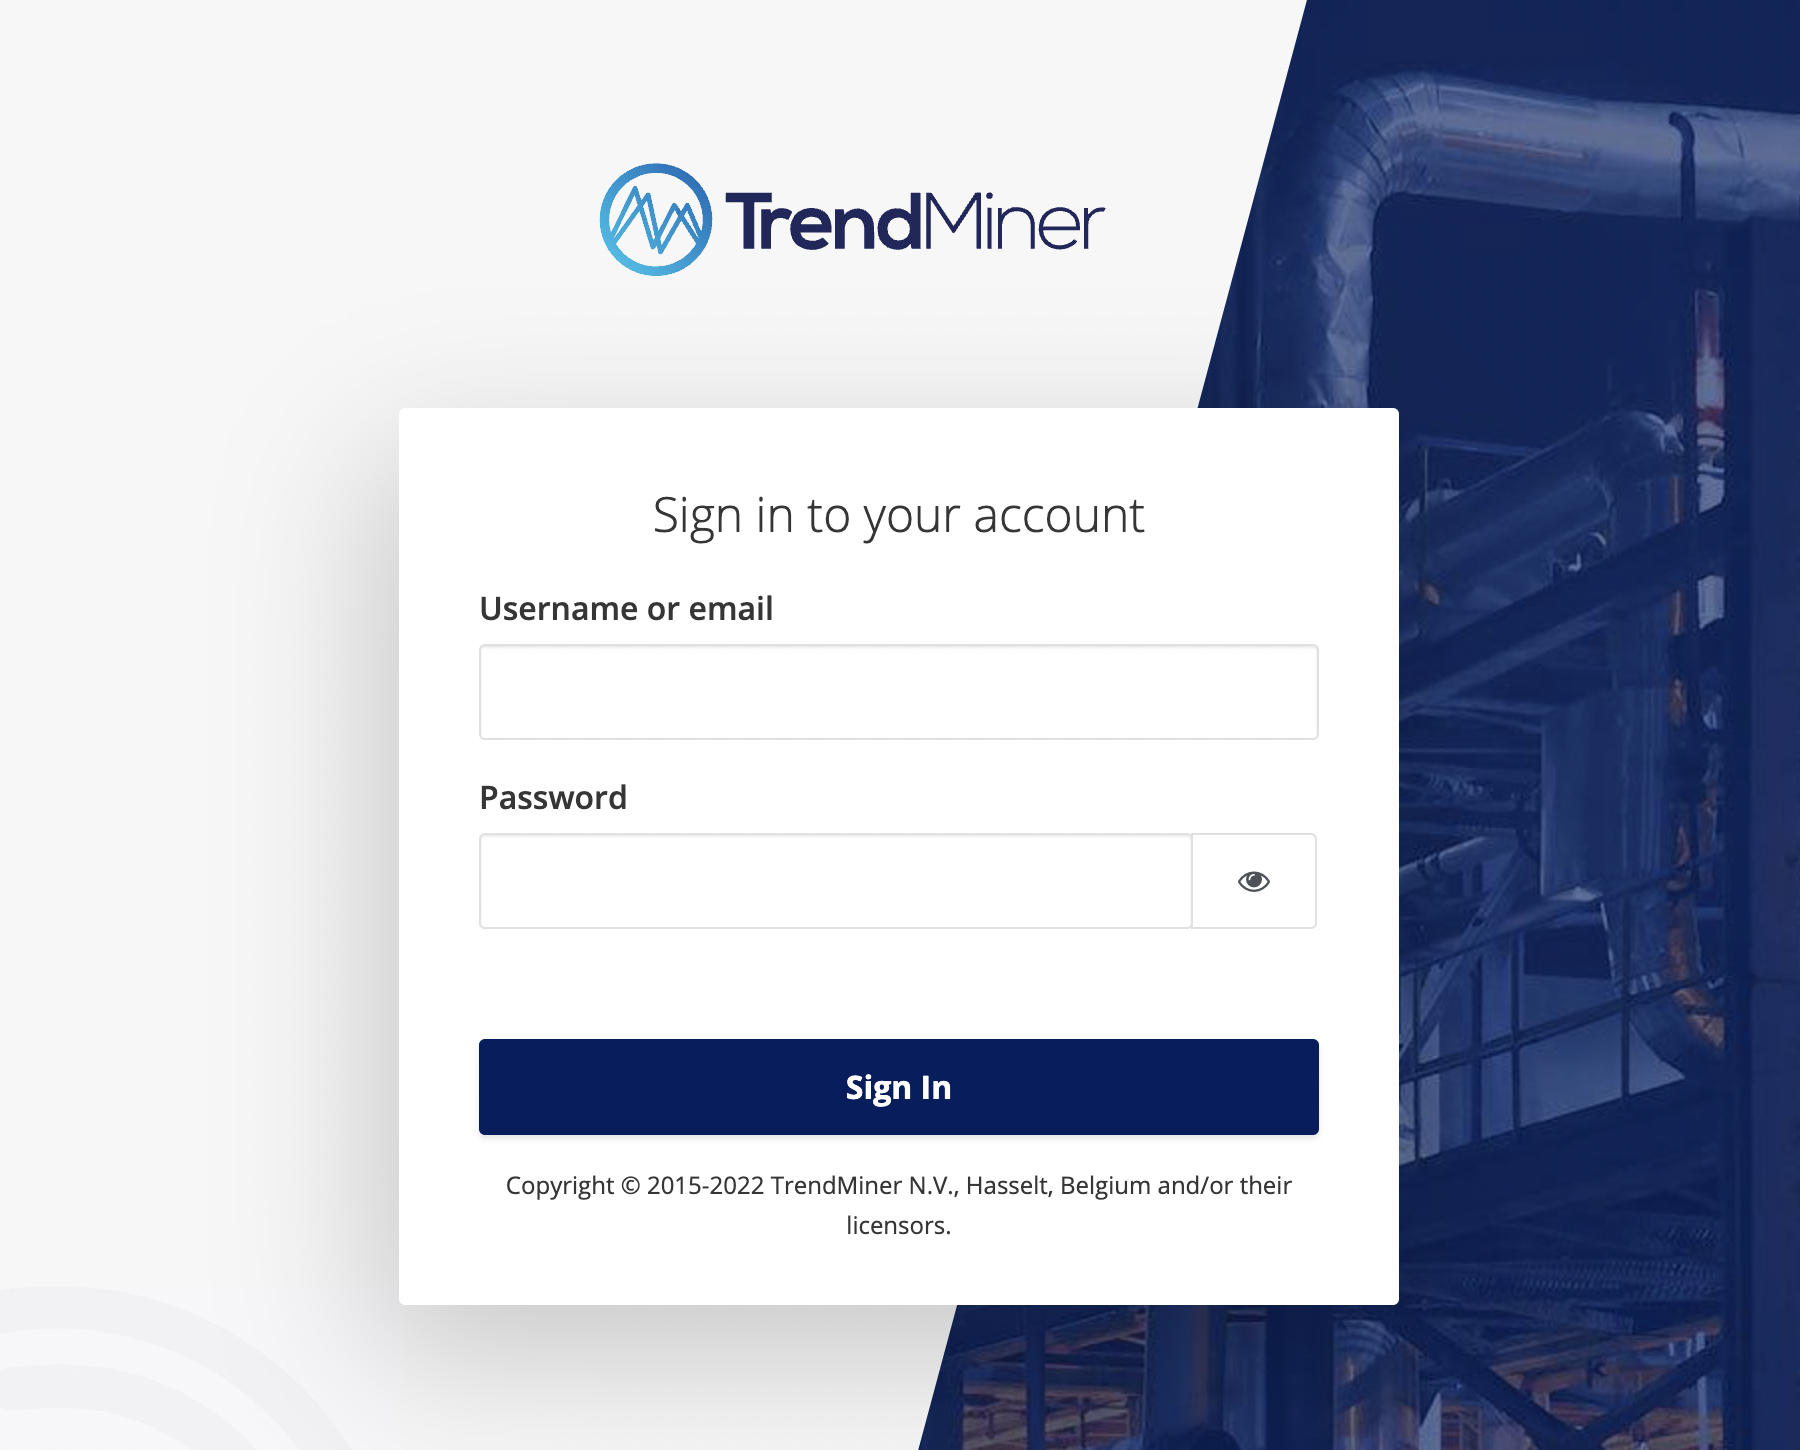
Log in to TrendMiner at http://<trendminer_address>/
Go through the first login procedure:
Accept the EULA
Tip
Scroll down through the text to enable the 'Accept' button
Accept the privacy policy
Update your password according to the password policy rules
Update you account information
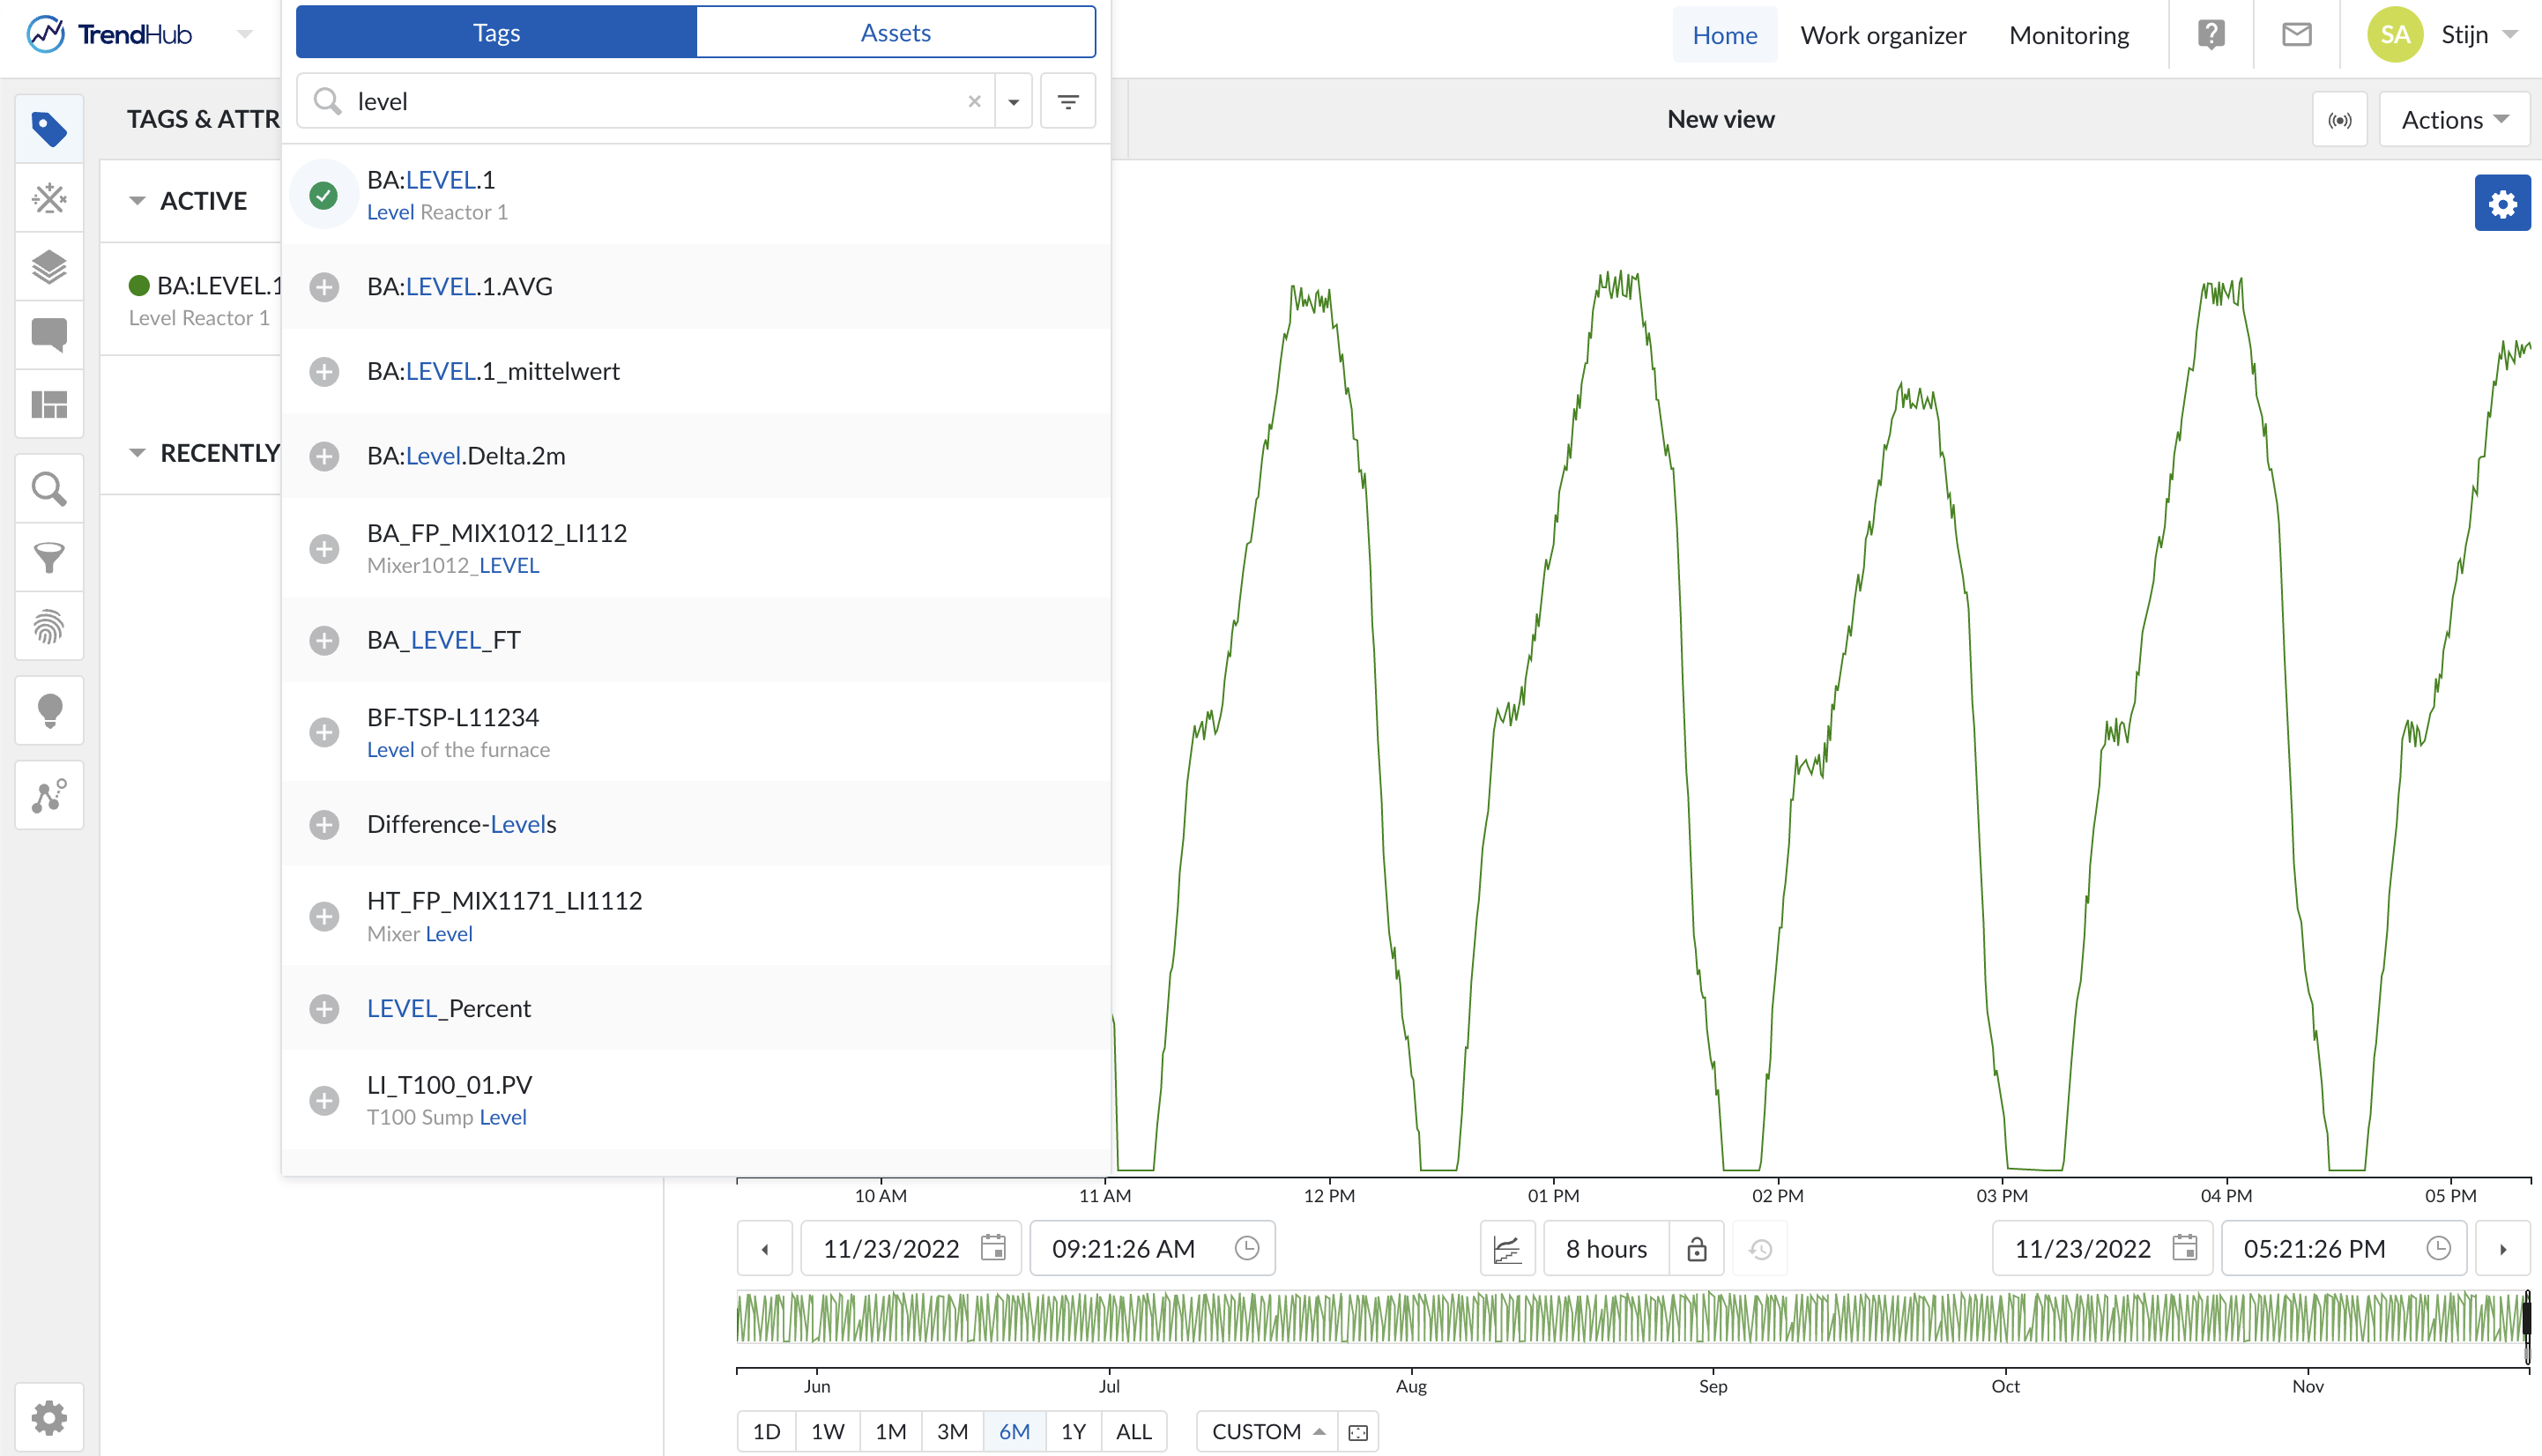
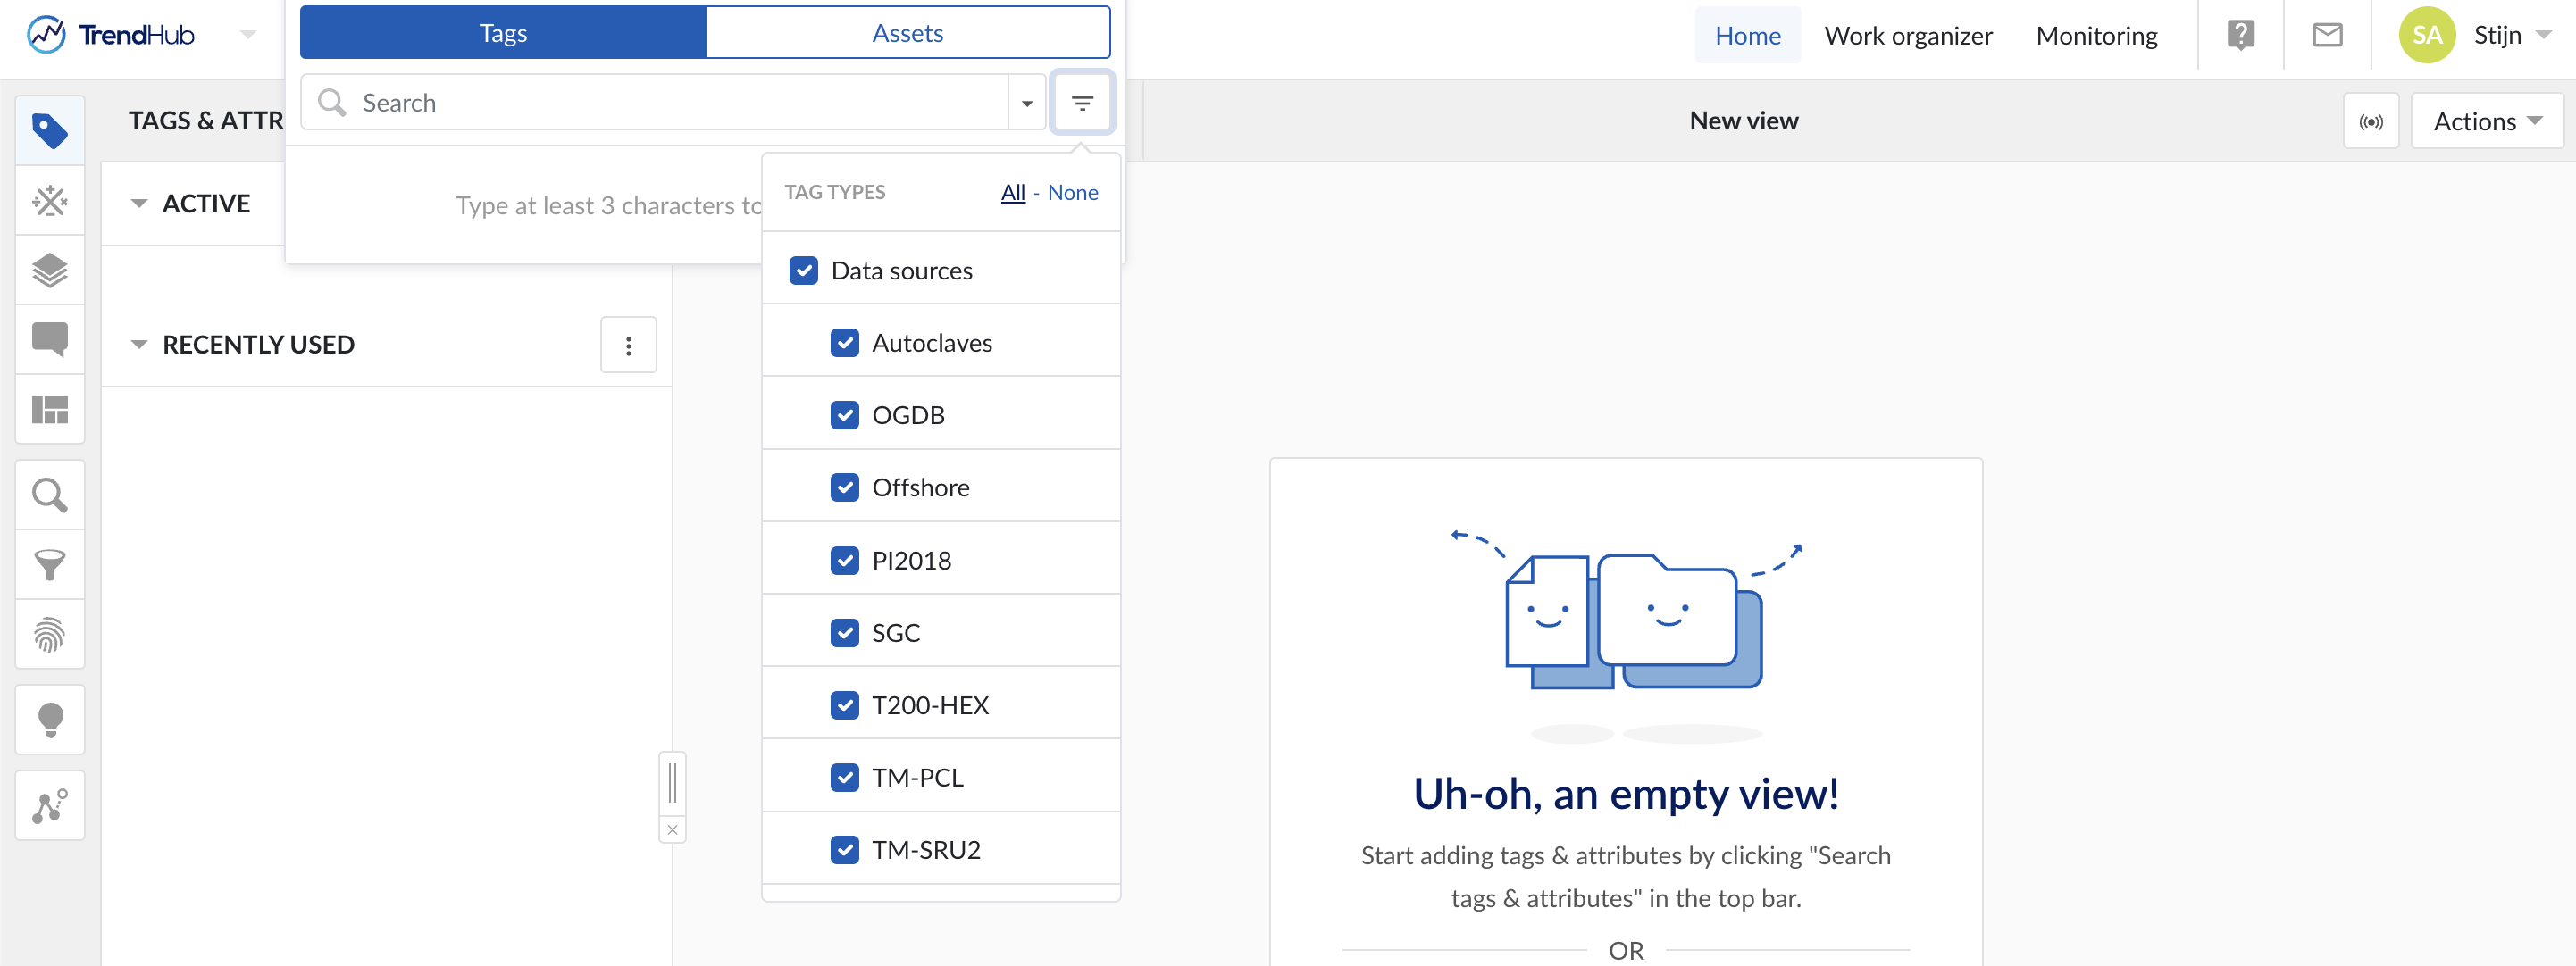
Click on 'search tags and attributes' followed by the filter icon to verify that the connections and permissions as configured in the previous sections are correct. Under 'Data sources' you should see a list of all data sources which are configured in ConfigHub and for which ACLs are assigned to the logged in user.
Note
If you make changes in the ACLs in ConfigHub, the user needs to explicitly log out and log in again for the new permissions to become visible in TrendHub.
Start typing a tag name inside of the search box.

Tags that match the input will show up in the dropdown. Click on the plus icon (+) to visualize. TrendMiner displays a trend view of the tag and starts the indexing process.