Using AWS S3
Create your storage location using Amazon S3 Provider
You have full admin permissions on a AWS account, or at least the permissions to create a new S3 bucket, IAM Rules and the access to use CloudFormation templates
Download this file, you need it during setup: cfn-backup-s3-customers.yml
login to your AWS account (https://aws.amazon.com)
Click on “sign in to the Console”

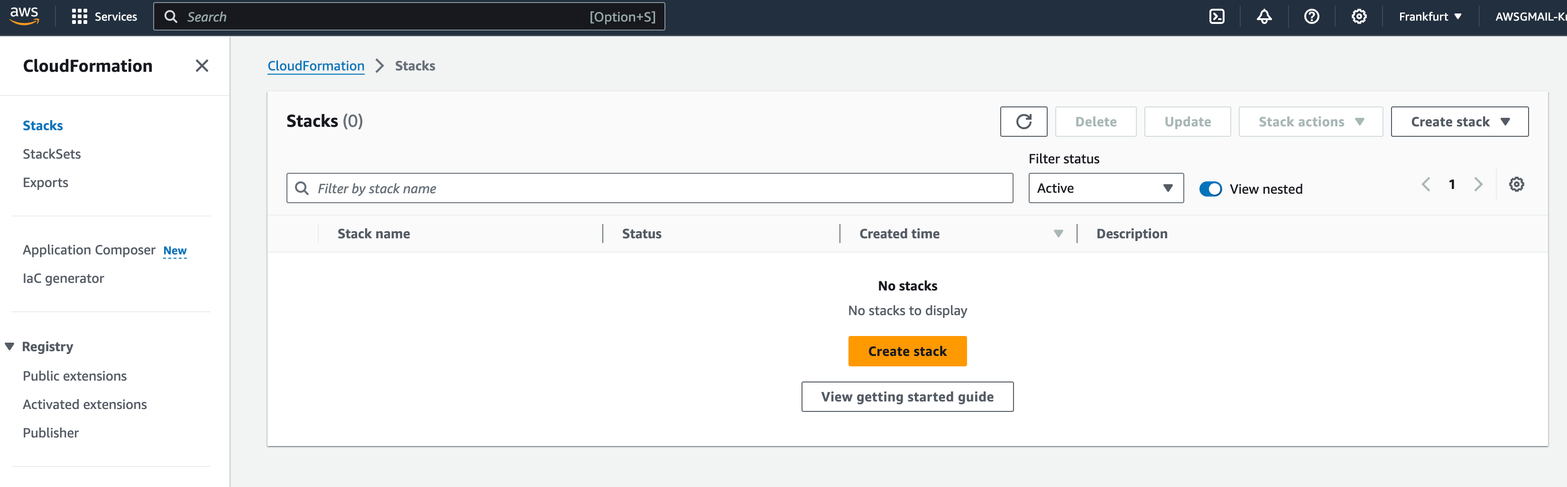
Open CloudFormation, and click on “Create Stack”
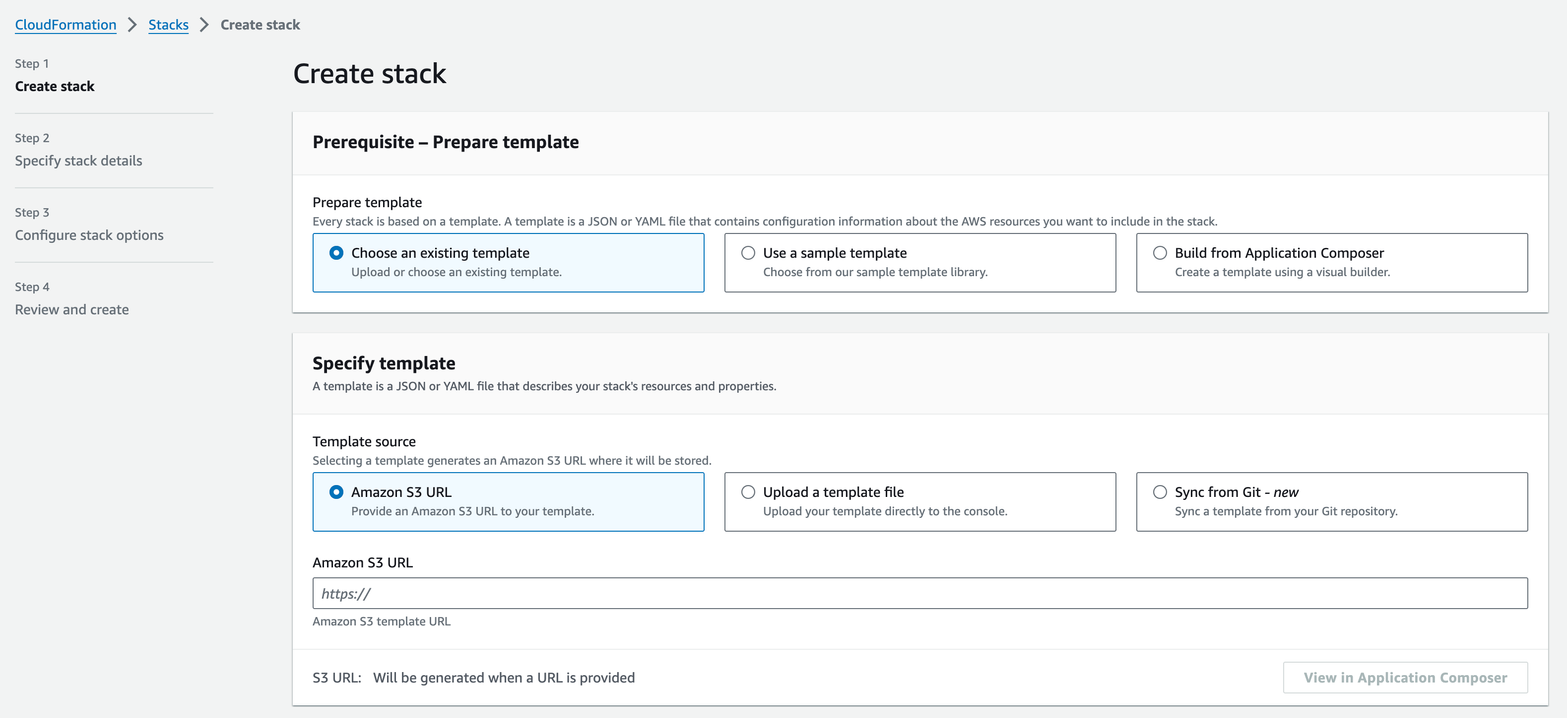
Click on “Upload a template file” , then choose the file you have downloaded in the prerequisite step
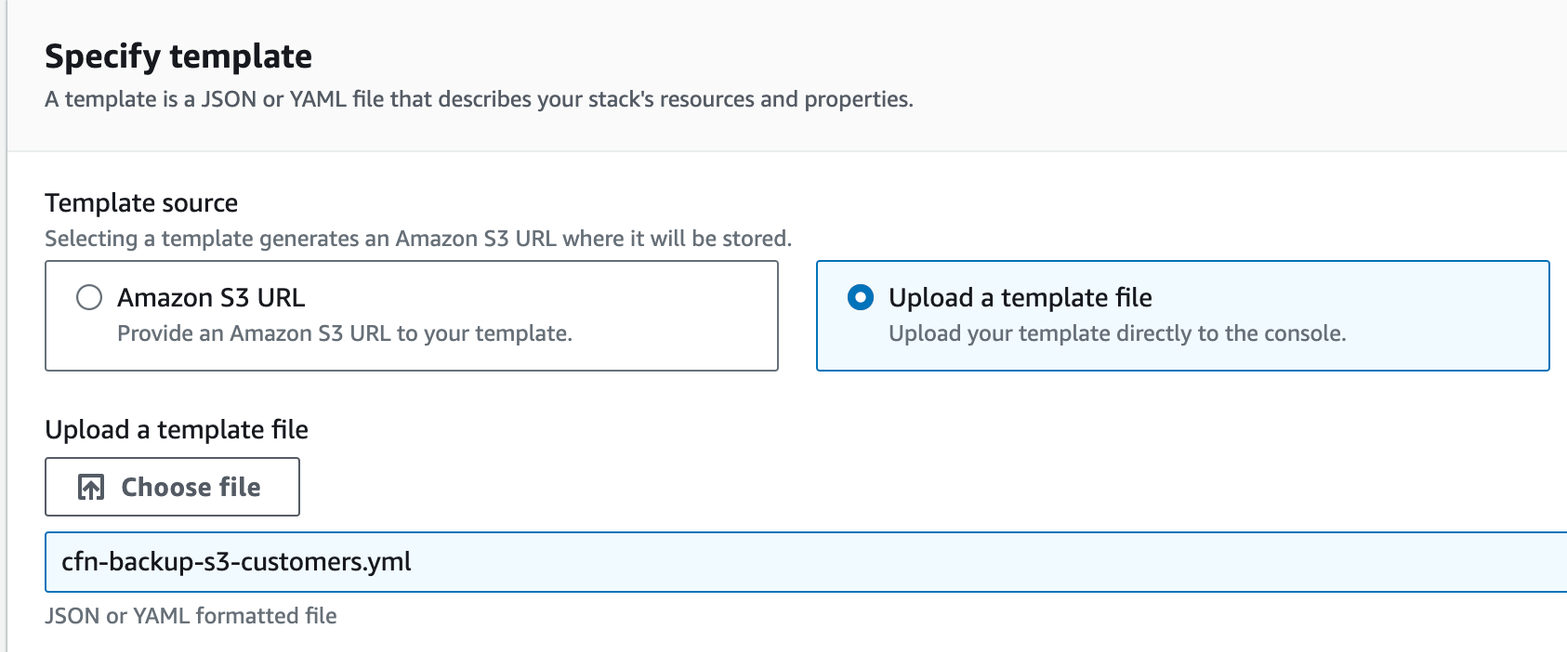
Click Next
On the “Specify stack details” page fill in the Stack Name
the stack name is used to create the S3 storage and credentials. Please use something meaningful, that you can easily find back like tm-s3backup. The Stackname will also be the name of your bucket. This you will need when configuring Trendminer.
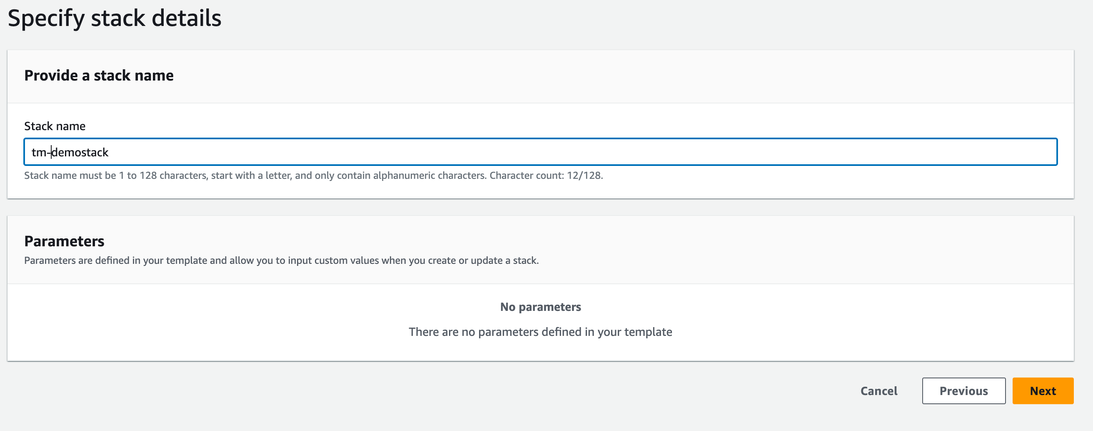
Click Next
The “Configure stack options” are optional. Just click Next
On the “Review and create”
scroll down, read & accept the terms

Click Submit
Wait until the Stack is created
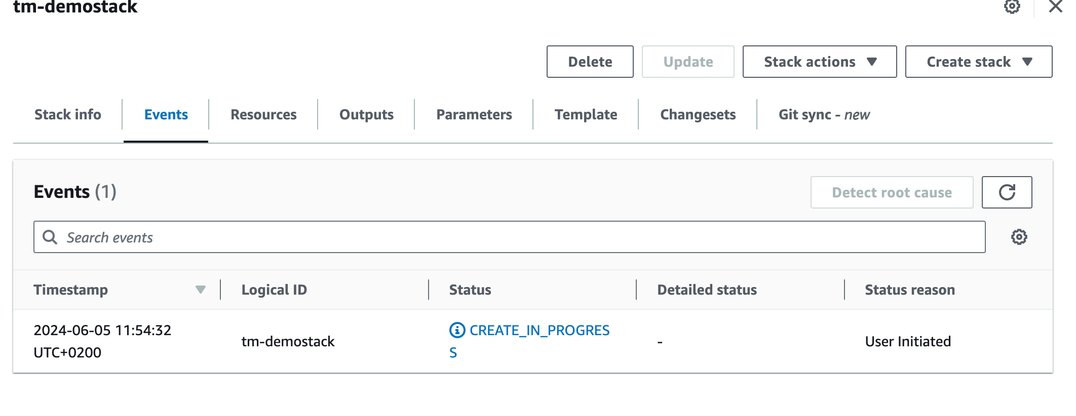

you might need to click on the refresh icon, to see the status change.
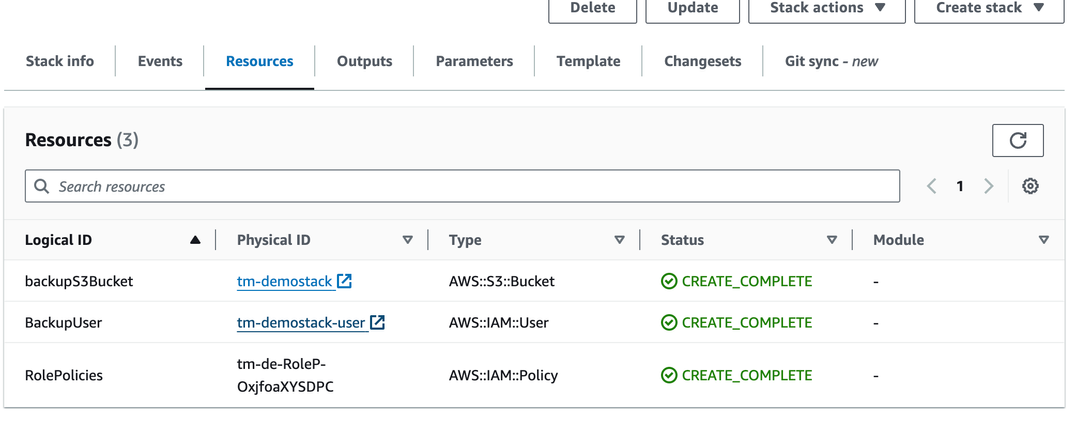
To get your S3 access credentials navigate to Resources and then click on the physical ID link next to BackupUser to open the user details and configure access credentials
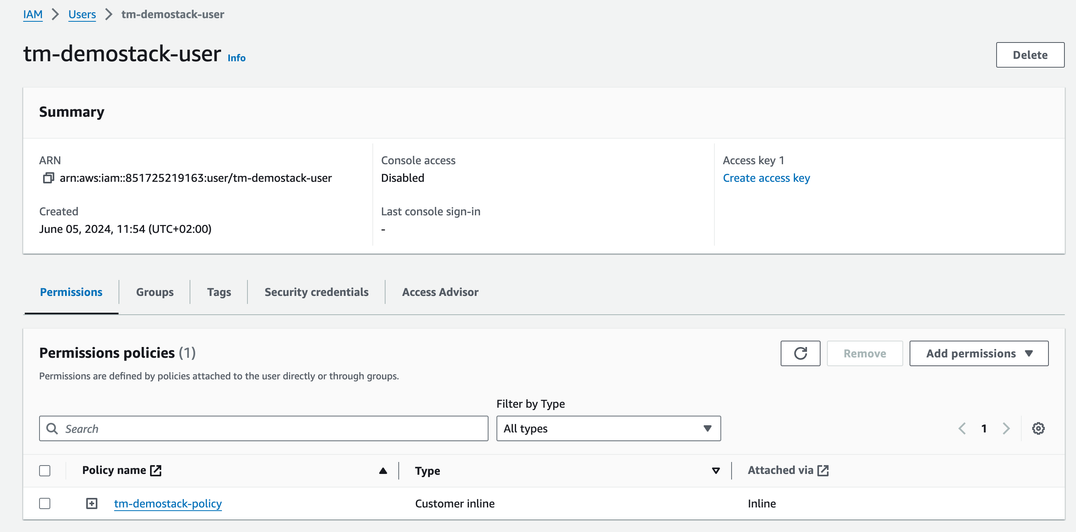
you should have been redirected to the IAM User section.
Please create an access key under the "User summary" by clicking on "Create access key" on the right-hand side.
Select Other
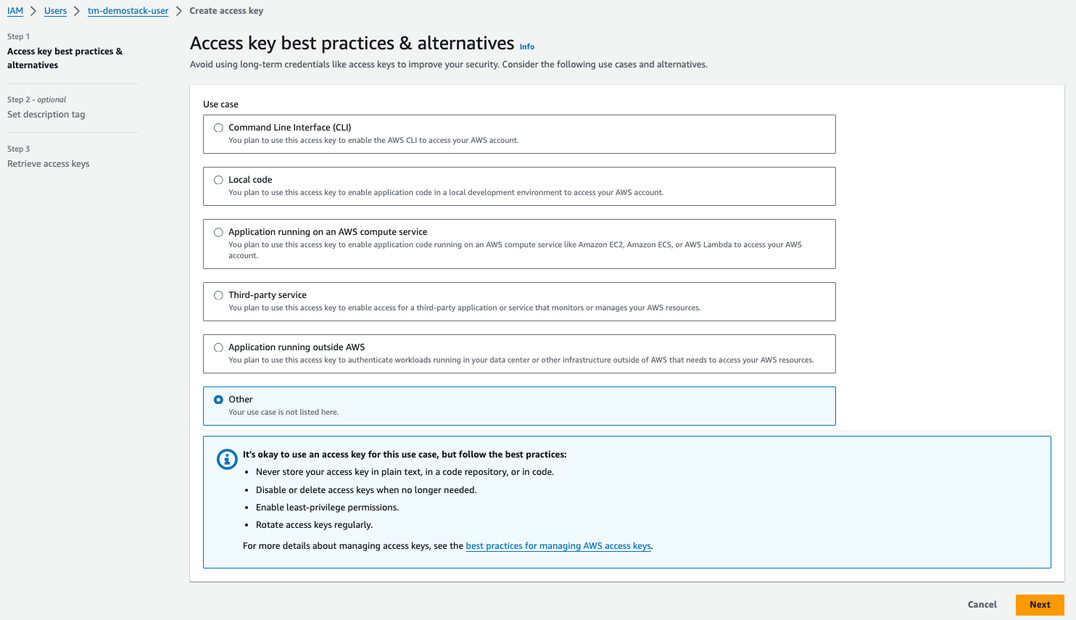
Click Next
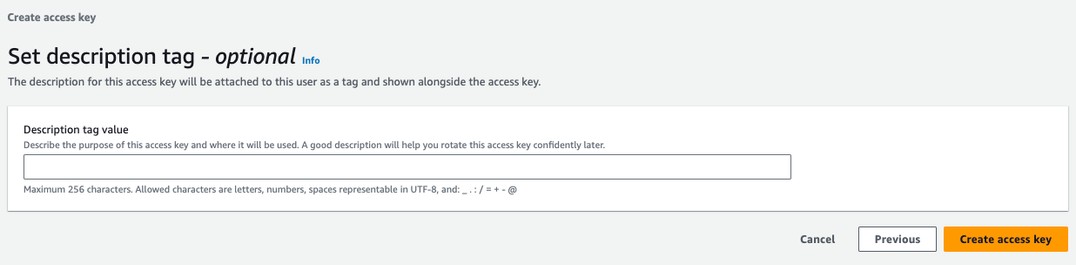
on the “Set description tag” you can optionally specify a tag. After that click “Create access key”
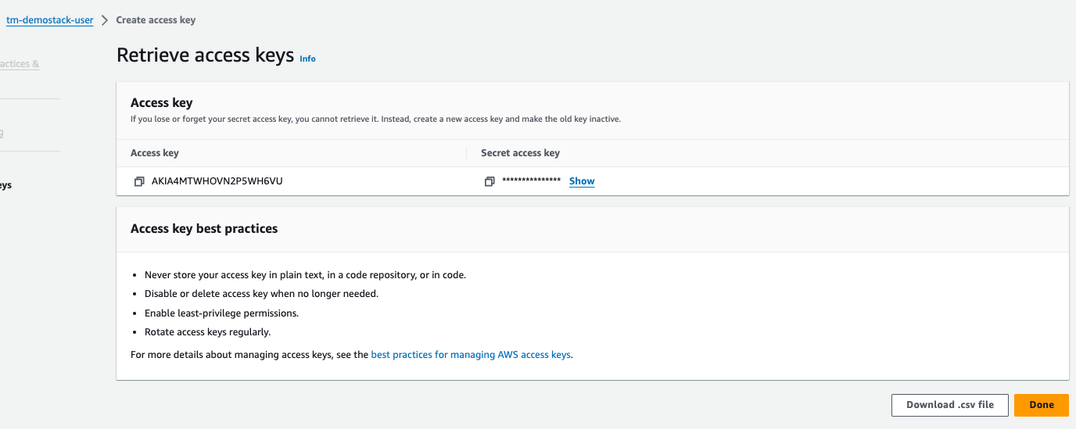
The access key is now visible on the screen. Save the access key information displayed on the screen to a secure location, either by storing it manually or downloading the CSV file and securing it accordingly.
Important
Deleting the Cloudformation stack on Amazon, will delete the IAM user but not the S3 storage bucket.
The information from this procedure you need to save to be able to configure backup/restore in TrendMiner.
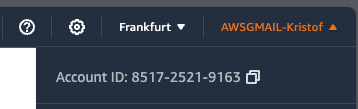
AWS account ID. This information is located in the upper right corner when clicking on your account name, example:
The bucket name: this is the same as the Stack name.
Access Key
Secret Access Key
Configure your AWS S3 storage provider in Edge Manager
you have created the AWS S3 credentials according to our procedure.
You are running a TrendMiner 2024.R2.0 or later
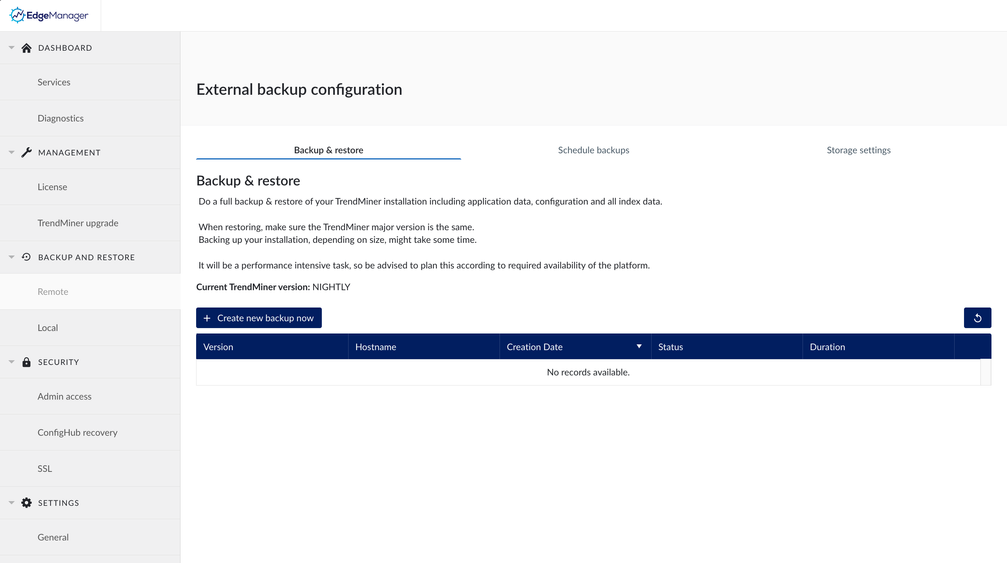
Login to TrendMiner Edge Manager
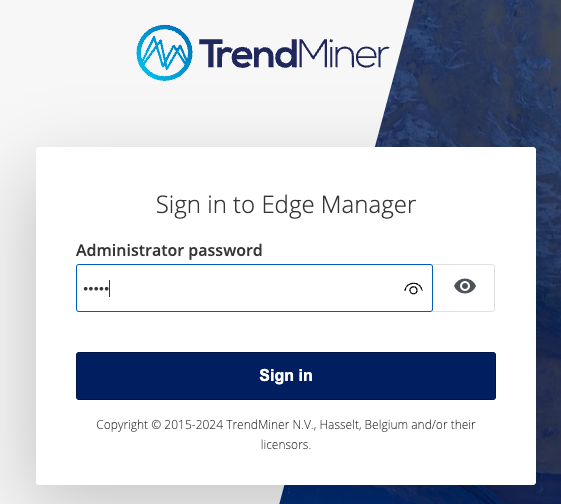
Click “Sign In”
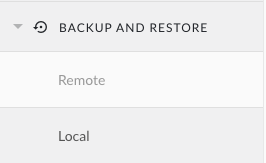
Navigate to “BACKUP AND RESTORE” -> Remote
Click on Storage Settings
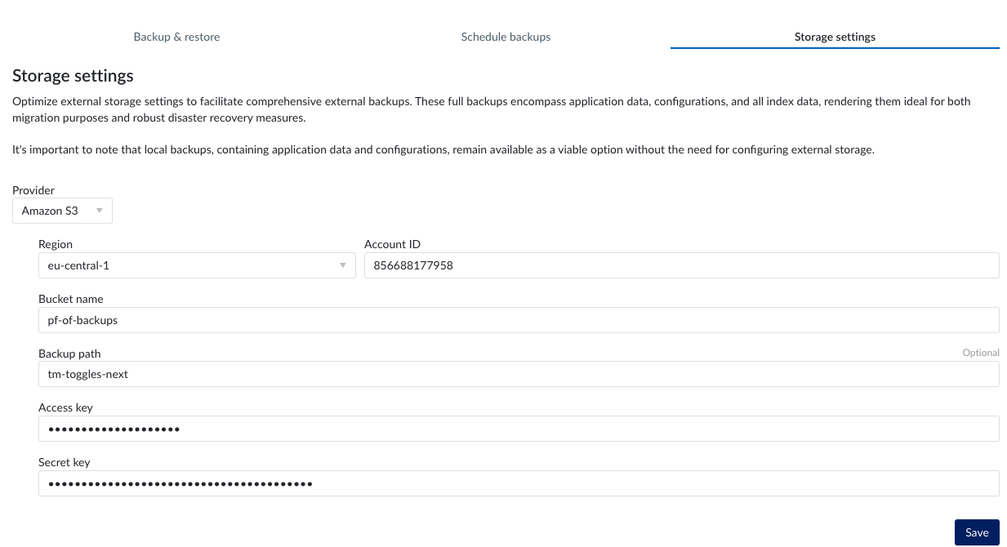
In this procedure we use Amazon S3 (default). After selecting the storage provide you need to fill in all information required, as shown in the screenshot below.
You should be able to fill in all information from the procedure to create the S3 bucket, except for the backup path.
 |
Click Save
Note
You can choose a backup path yourself. E.G. name of the server that your are backing up.
One storage account, can be used for multiple TrendMiner installations, however, it is advised to use at least another backup path to be able to use the same storage account.
There are 4 reasons for this recommendation:
It simplifies backup management for each environment.
It ensures that backups for each environment remain separate, minimising the risk of accidentally restoring from one environment with backups from another.
It streamlines the process of deleting backups specific to an environment.
It prevents scheduled backups from interfering with each other if they are executed simultaneously.
When restoring to a new server, make sure to use the same backup path on the destination server
Click Save
Wait until storage location is validated
you can click on Storage Settings tab, to refresh the page
The status should say Available before continuing with the next steps.
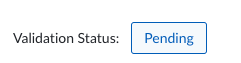 |
In case the status is as following
 |
Tip
In case something is going wrong (Status stays on Unavailable), these are some tips you can try to fix
make sure the date and time are correct on the server. Also NTP server need to be in place. Not setting it, will result in authentication failure for the backend tooling used to setup the remote storage
Double check all parameters provided.
Validate you can properly communicate to Amazon S3 from the TrendMiner Host.
In case all parameters are properly set, and it still doesn't work, please try to use a S3 client (E.g. FilezillePro https://filezillapro.com/) that you can run on your Laptop/Desktop to try to access the S3 bucket, to fully validate the parameters.
In case all above is not a option, please contact TrendMiner Support.
Create backup on the old server
Important
It is advised to inform your users and/or run backup creations during off peek hours as it could result in performance degradation. Optionally the scheduling functionality can be used for more flexible backup creation.
Login to TrendMiner Edge Manager
Click “Sign In”
Navigate to “BACKUP AND RESTORE” -> Remote
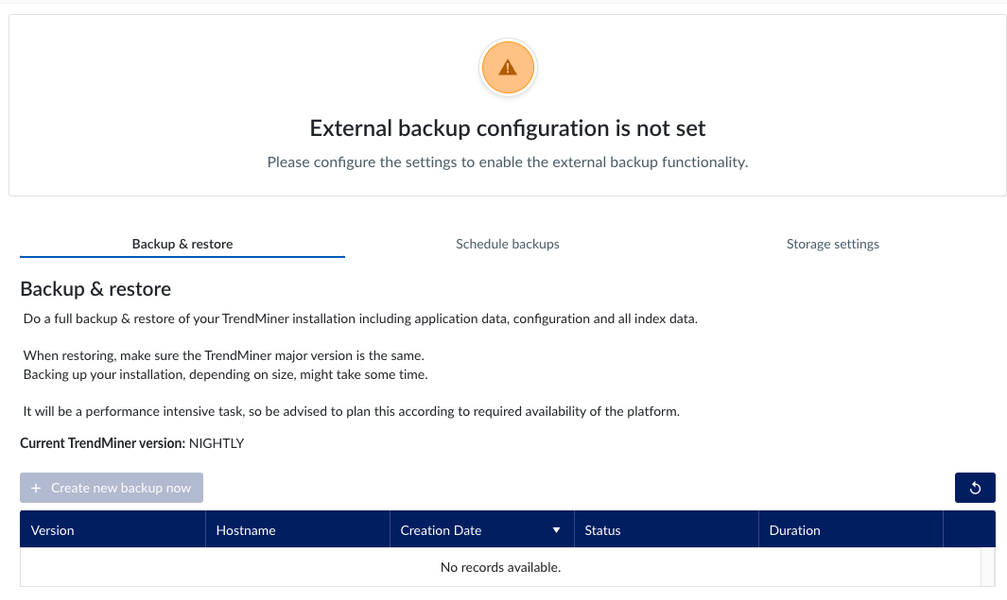
Click on “Create new backup now”
A notification popup in the bottom right corner will shown that a backup creation has started.
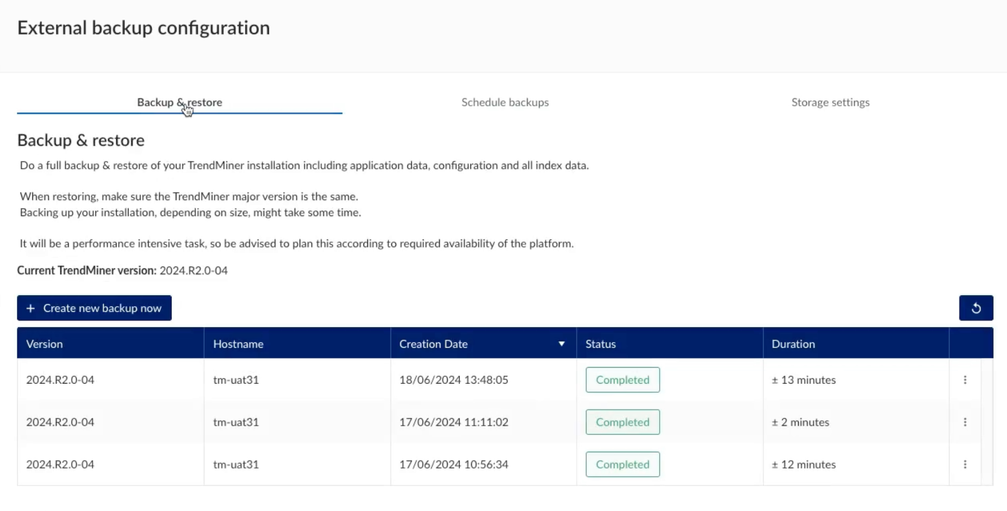
The backup will also be shown in the backup overview table:

Important
Creating a backup will take some time, especially the initial backup, as this will be a full backup. Any backup taken after the initial backup will be increments of the previous backup and will be more risk free related to potential performance degradations (depending on the data differences)
As the full backup takes long, it makes sense to execute that a week before the real migration is happening.
Full manual backups time out after 48 hours. Successive incremental backups time out after 4 hours. To prepare for the OS migration make sure to manually trigger the first backup to ensure it does not time out.
Right before the migration it is advised to do a incremental backup as this is way faster, and will save all differences from the last backup.
Depending on the size of the backup and the network upload speed the time it takes can differ. A simple calculator to calculate the upload time can be found here: Free Download/Upload Time Calculator | Site24x7 Tools.
Backup creation and upload time can vary based on the following factors:
The available upload speed (bandwidth) which is often shared with other servers on the network.
Disk performance.
Other overhead on the network like meta data traffic from the Storage Provider.
Wait until the backup creation has completed (changing from 'in progress' to 'completed')


Click the refresh button to update the latest status (status does not auto refresh).

When the backup creation has finished the entry in the table will also show how much time the creation took.
In case something went wrong an error “Partially Failed” will be shown. In case this happens, please reach out to TrendMiner Support.
Restore backup on the new server
For the OS migration scenario we assume the new server is a clean installation and no user data is present on the server yet. Despite no user data can get lost we still advise to take a VM snapshot of the clean server installation for easy recovery in case something should go wrong during the backup restore.
Important
It is required to shutdown the old server just before you start your restore on the news server, to avoid any issues with the backup/restore functionality. Its also adviced to keep this server shutdown.
Configure and validate remote storage settings. To access the remote backup(s) from the old server first configure your remote storage location, exactly the same as it was configured on the old server (AWS S3 or Azure Blob Storage).
The storage configuration page should look similar to this one, and the validation status should be “Available”.

When the configuration of the remote storage location is successful the remote backups should show up.
To initiate the restore, click on the 3 dots on the line of the backup you want to restore and then click on 'Restore'.
Note
Make sure you choose the latest backup you have created on the old server.

A popup window will show, warning you about the impact of this restore.
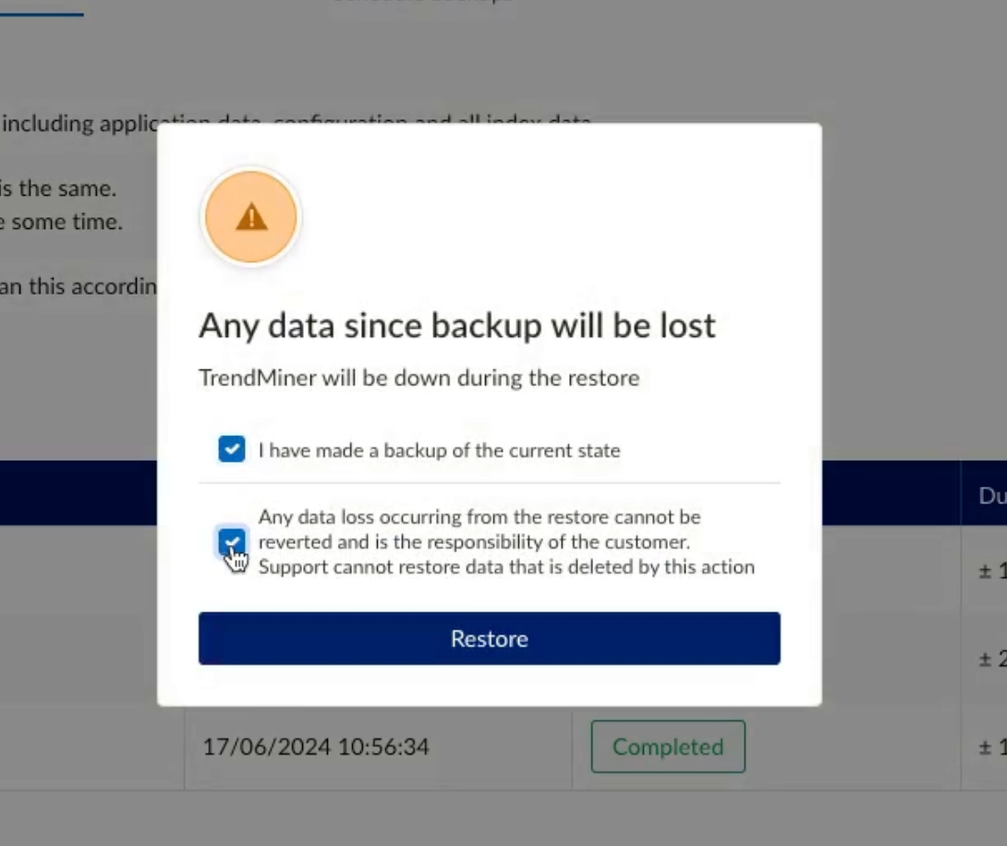
Click on 'Restore' to start the restore process.
Danger
The restore will wipe any existing data and configurations present on the server and restore the data and config from the selected backup.
A banner will be shown on the top of the Edge Manager page to indicate that a restore is in progress.
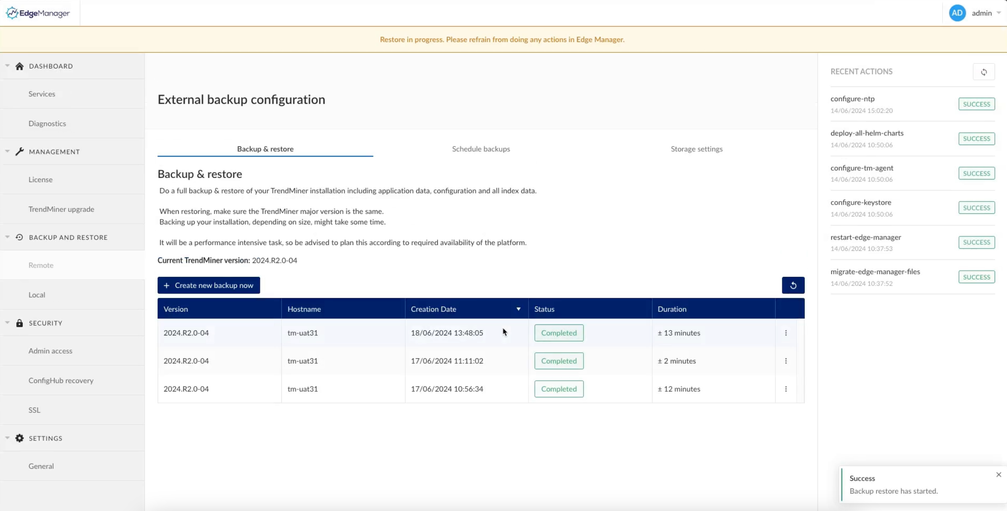
Warning
From this point on do not interact anymore with the TrendMiner server until the restore process has finished.
The restore procedure will download all the files from the configured remote storage and restore its setup and configuration. Depending on the size of the backup and the network download speed the time it takes can differ. A simple calculator to calculate the download time can be found here: Free Download/Upload Time Calculator | Site24x7 Tools.
Part of the restore process is also the booting of all TrendMiner services which on its own will take some time (around 15-30 minutes depending on the performance of the server).
Note
In case of doubt about the progress of the restore, please contact TrendMiner support before rebooting or interacting with the server to avoid breaking the system.
After the restore process has finished (yellow banner gone) some processes (playbooks) are still running to boot up and configure all TrendMiner services. Wait until these playbooks have finished (status 'success') as shown in the 'Recent actions' on the right side in Edge Manager.
Validate the successful restore.
Once the Restore completes you will see all the services on the services screen are up and running again, as in the screenshot below:
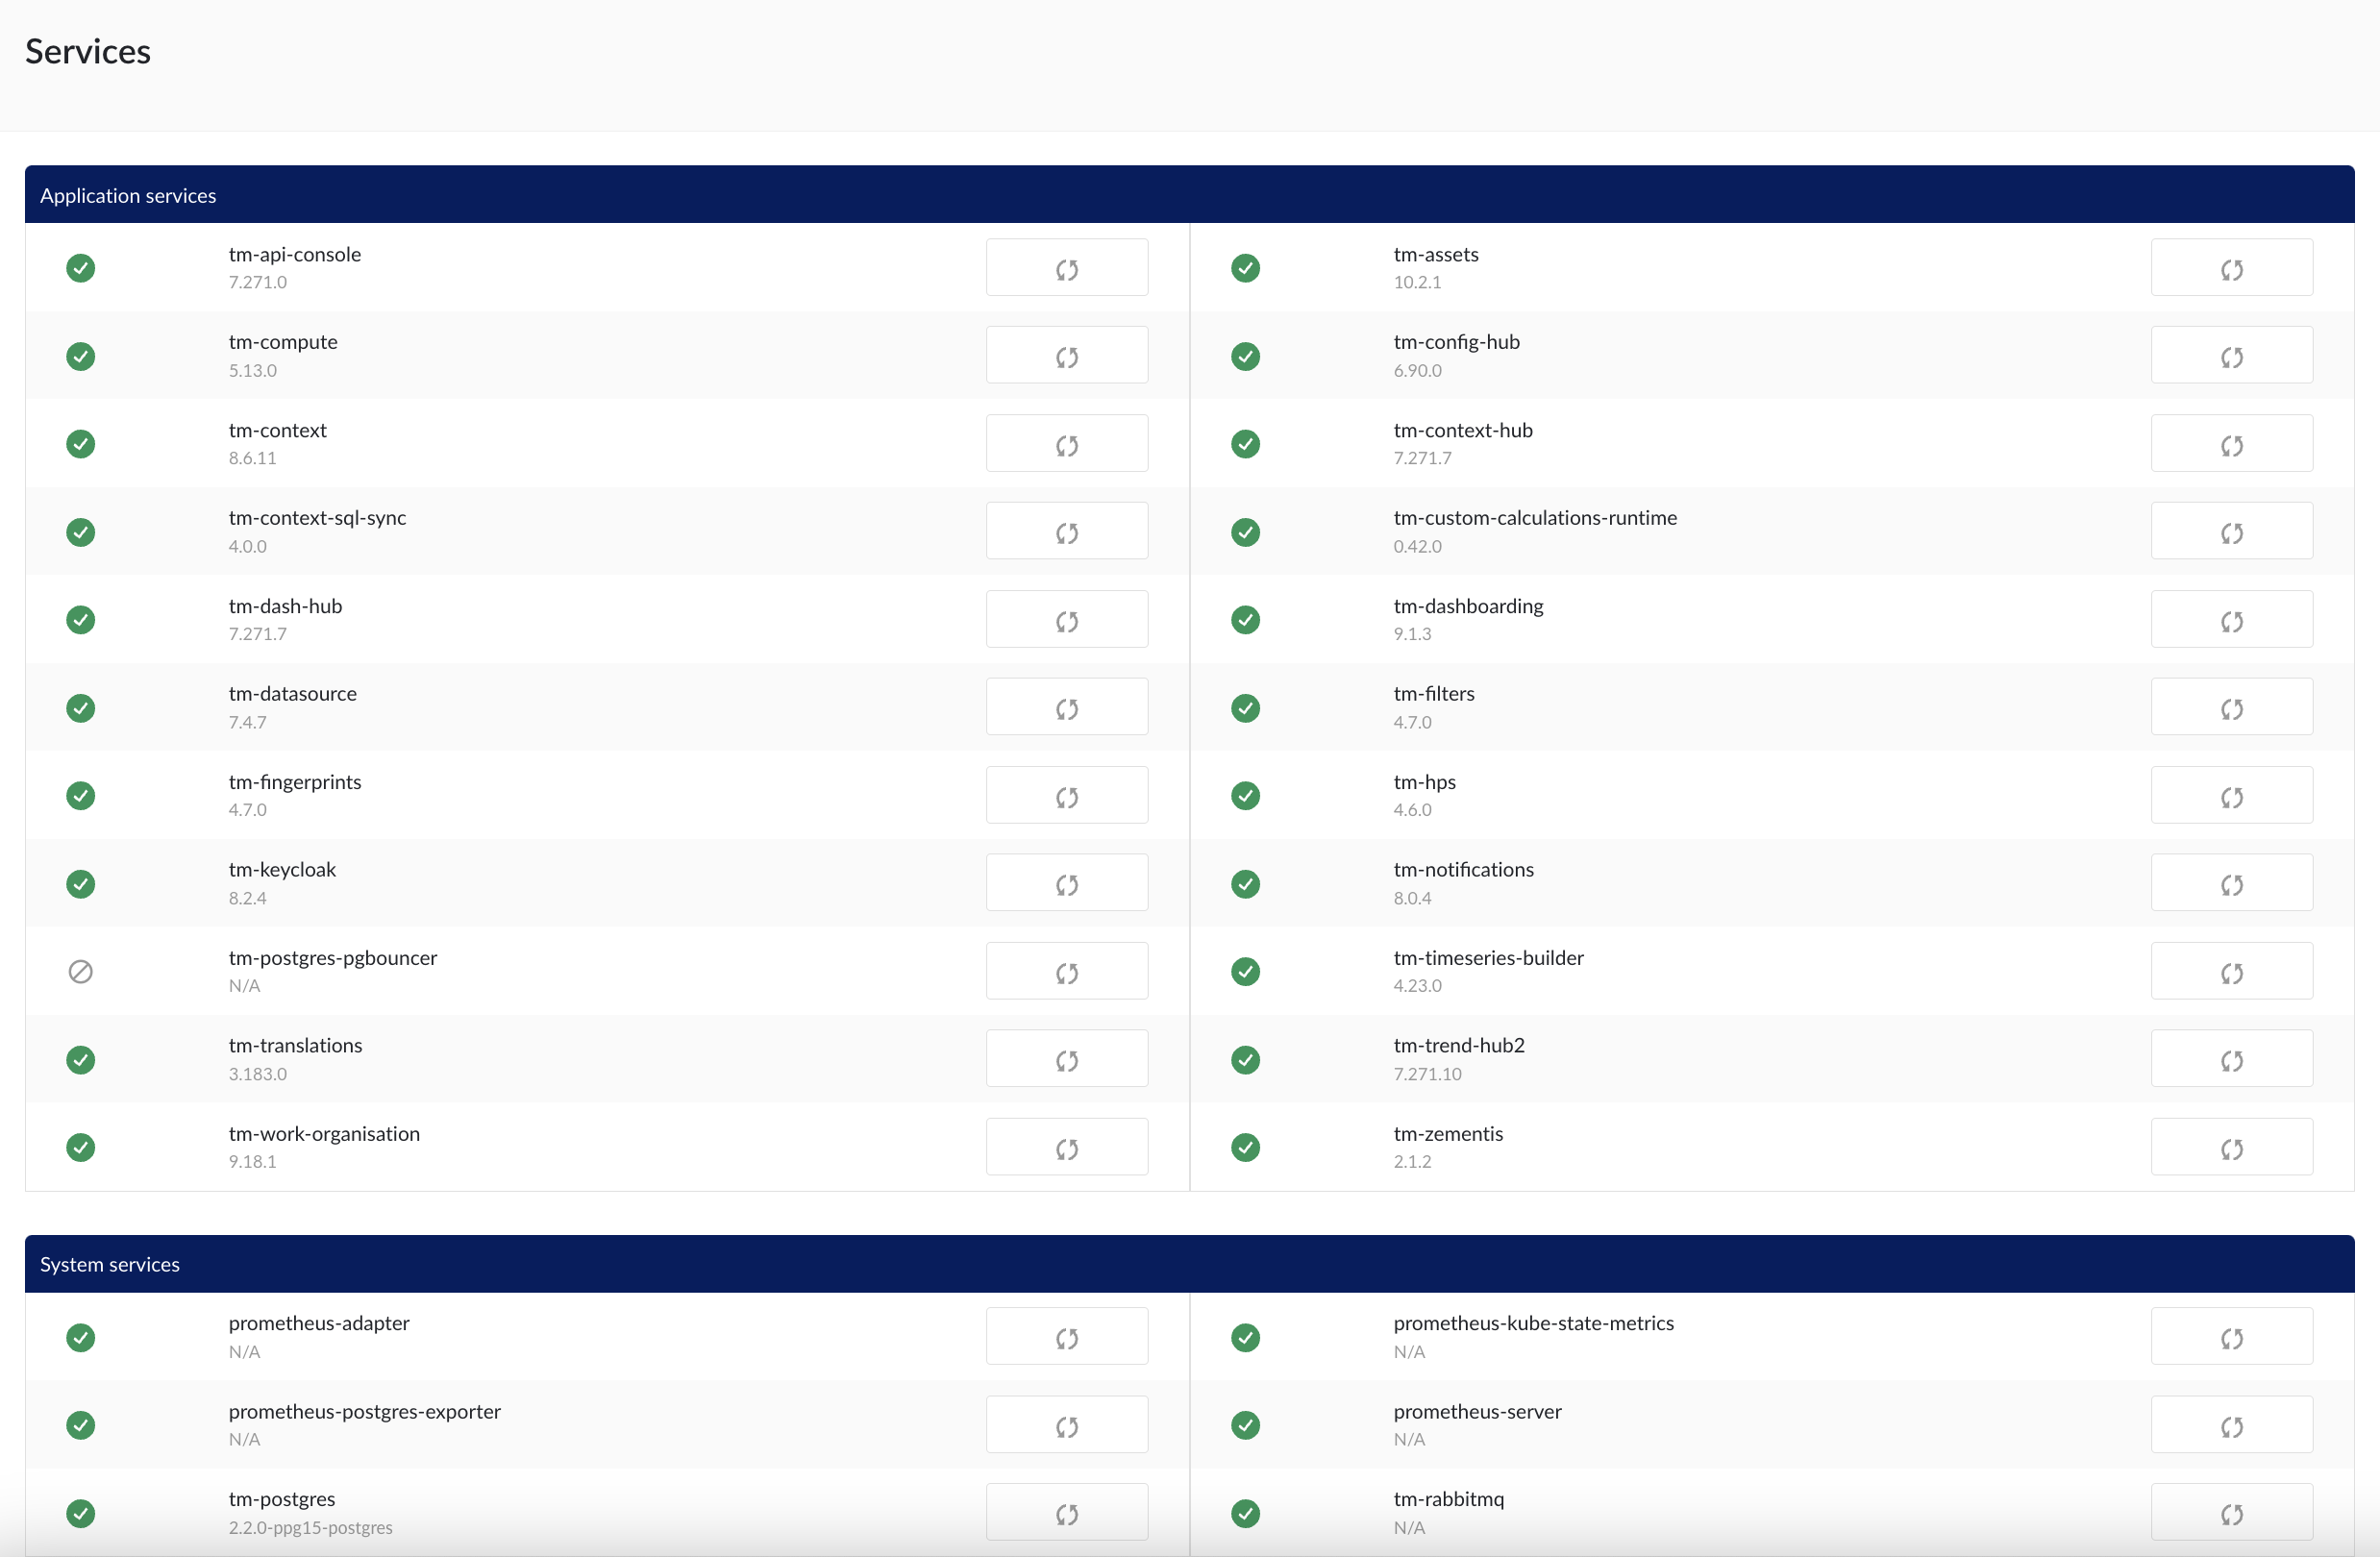
Validate that TrendMiner is working as expected. If all is working fine, you can trigger a new backup on the new server if you might need that for rollback scenario's later. After this steps the old centos backups shall not be used anymore.
Reconfigure SAML/SSO (optional)
In case you had configured a SAML IDP on your old server and you likely need to update the configuration (metadata.xml) again in your IDP (Entra AD/OKTA).
It should be sufficient to download the metadata.xml file again from ConfigHub and upload it again in your SAML IDP as documented here: SAML/SSO