Upgrade Connector
Before upgrading a connector, please make sure all TrendMiner appliances which connect to the connector are upgraded first as the TrendMiner appliance is backwards compatible but forward compatibility cannot be ensured (a newer appliance can connect with an older connector but not necessarily the other way around).
TrendMiner version 2026.R1 is compatible with connector versions 5.2.x. For the duration of the upgrade it is possible to connect to an older connector version but to ensure new features are successfully deployed connectors should be upgraded with every TrendMiner upgrade.
Important
Starting connector version 4.105 a migration will run which migrates all web.config settings into a database. This migration will only run the first time you upgrade from an older connector version (< v4.105) to a more recent version (>= v4.105, including the v5.x.x).
As of connector version 4.105 all connector configuration can be done from within ConfigHub -> Data sources. All configuration options are documented on the specific provider documentation, accessible from the connectivity overview page.
So in case you upgrade from connector version 4.103.x or lower to version v5.x.x please make sure to execute the additional step 11 documented below in the upgrade steps.
If you upgrade from connector version 4.105.x or higher this additional step must be skipped.
Download the Plant Integrations installation file
<PlantIntegrationsWebDeploy-dist-X.Y.Z.zip>from the TrendMiner download site.Before starting the upgrade, make a copy of your Plant Integration folder as a backup. This folder is usually located at C:\inetpub\PlantIntegrations.
Important
When a connector backup needs to be restored, only copy the files within the main directory (e.g. "PlantIntegrations"). Never overwrite the directory itself. Overwriting the directory will clear all configured permissions on the directory which will prevent you from updating data sources or making changes to configuration from the TrendMiner application.
In the ConfigHub UI this can be recognized by the data source errors
500 Internal Server ErrororFailed Error on remote service - HttpCode: '500'orAccess deniedTo reset the permissions you can follow the instructions listed in the connector installation guide.
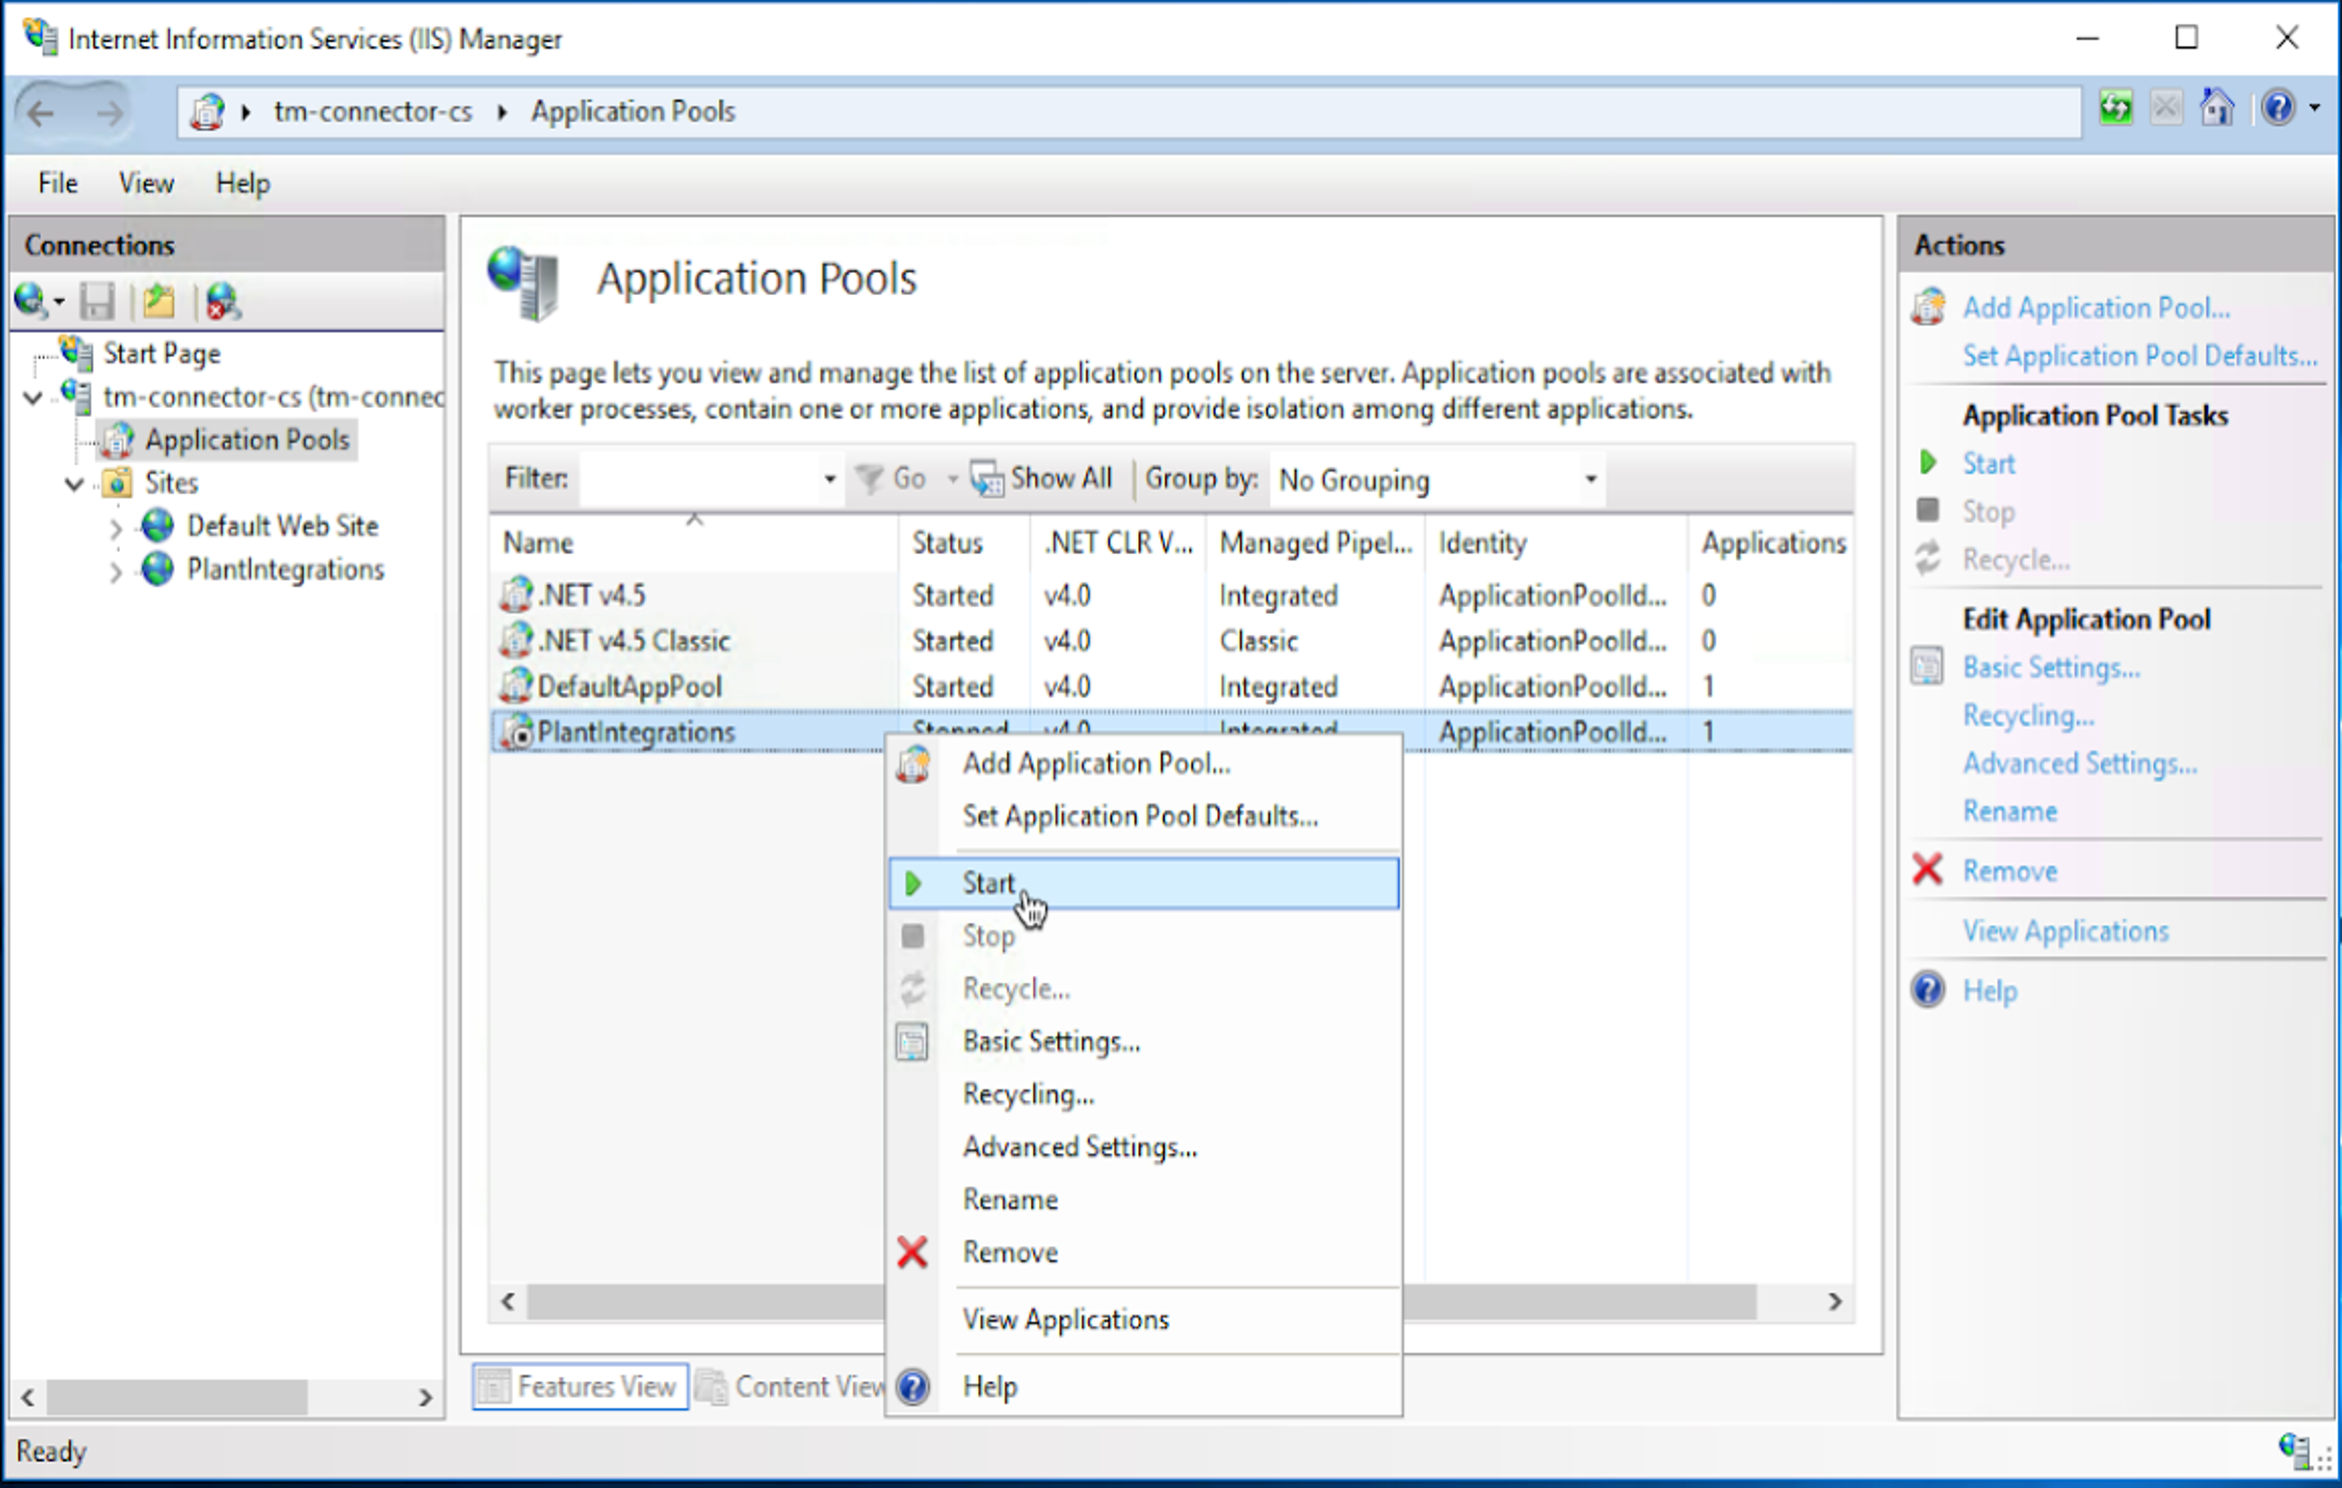
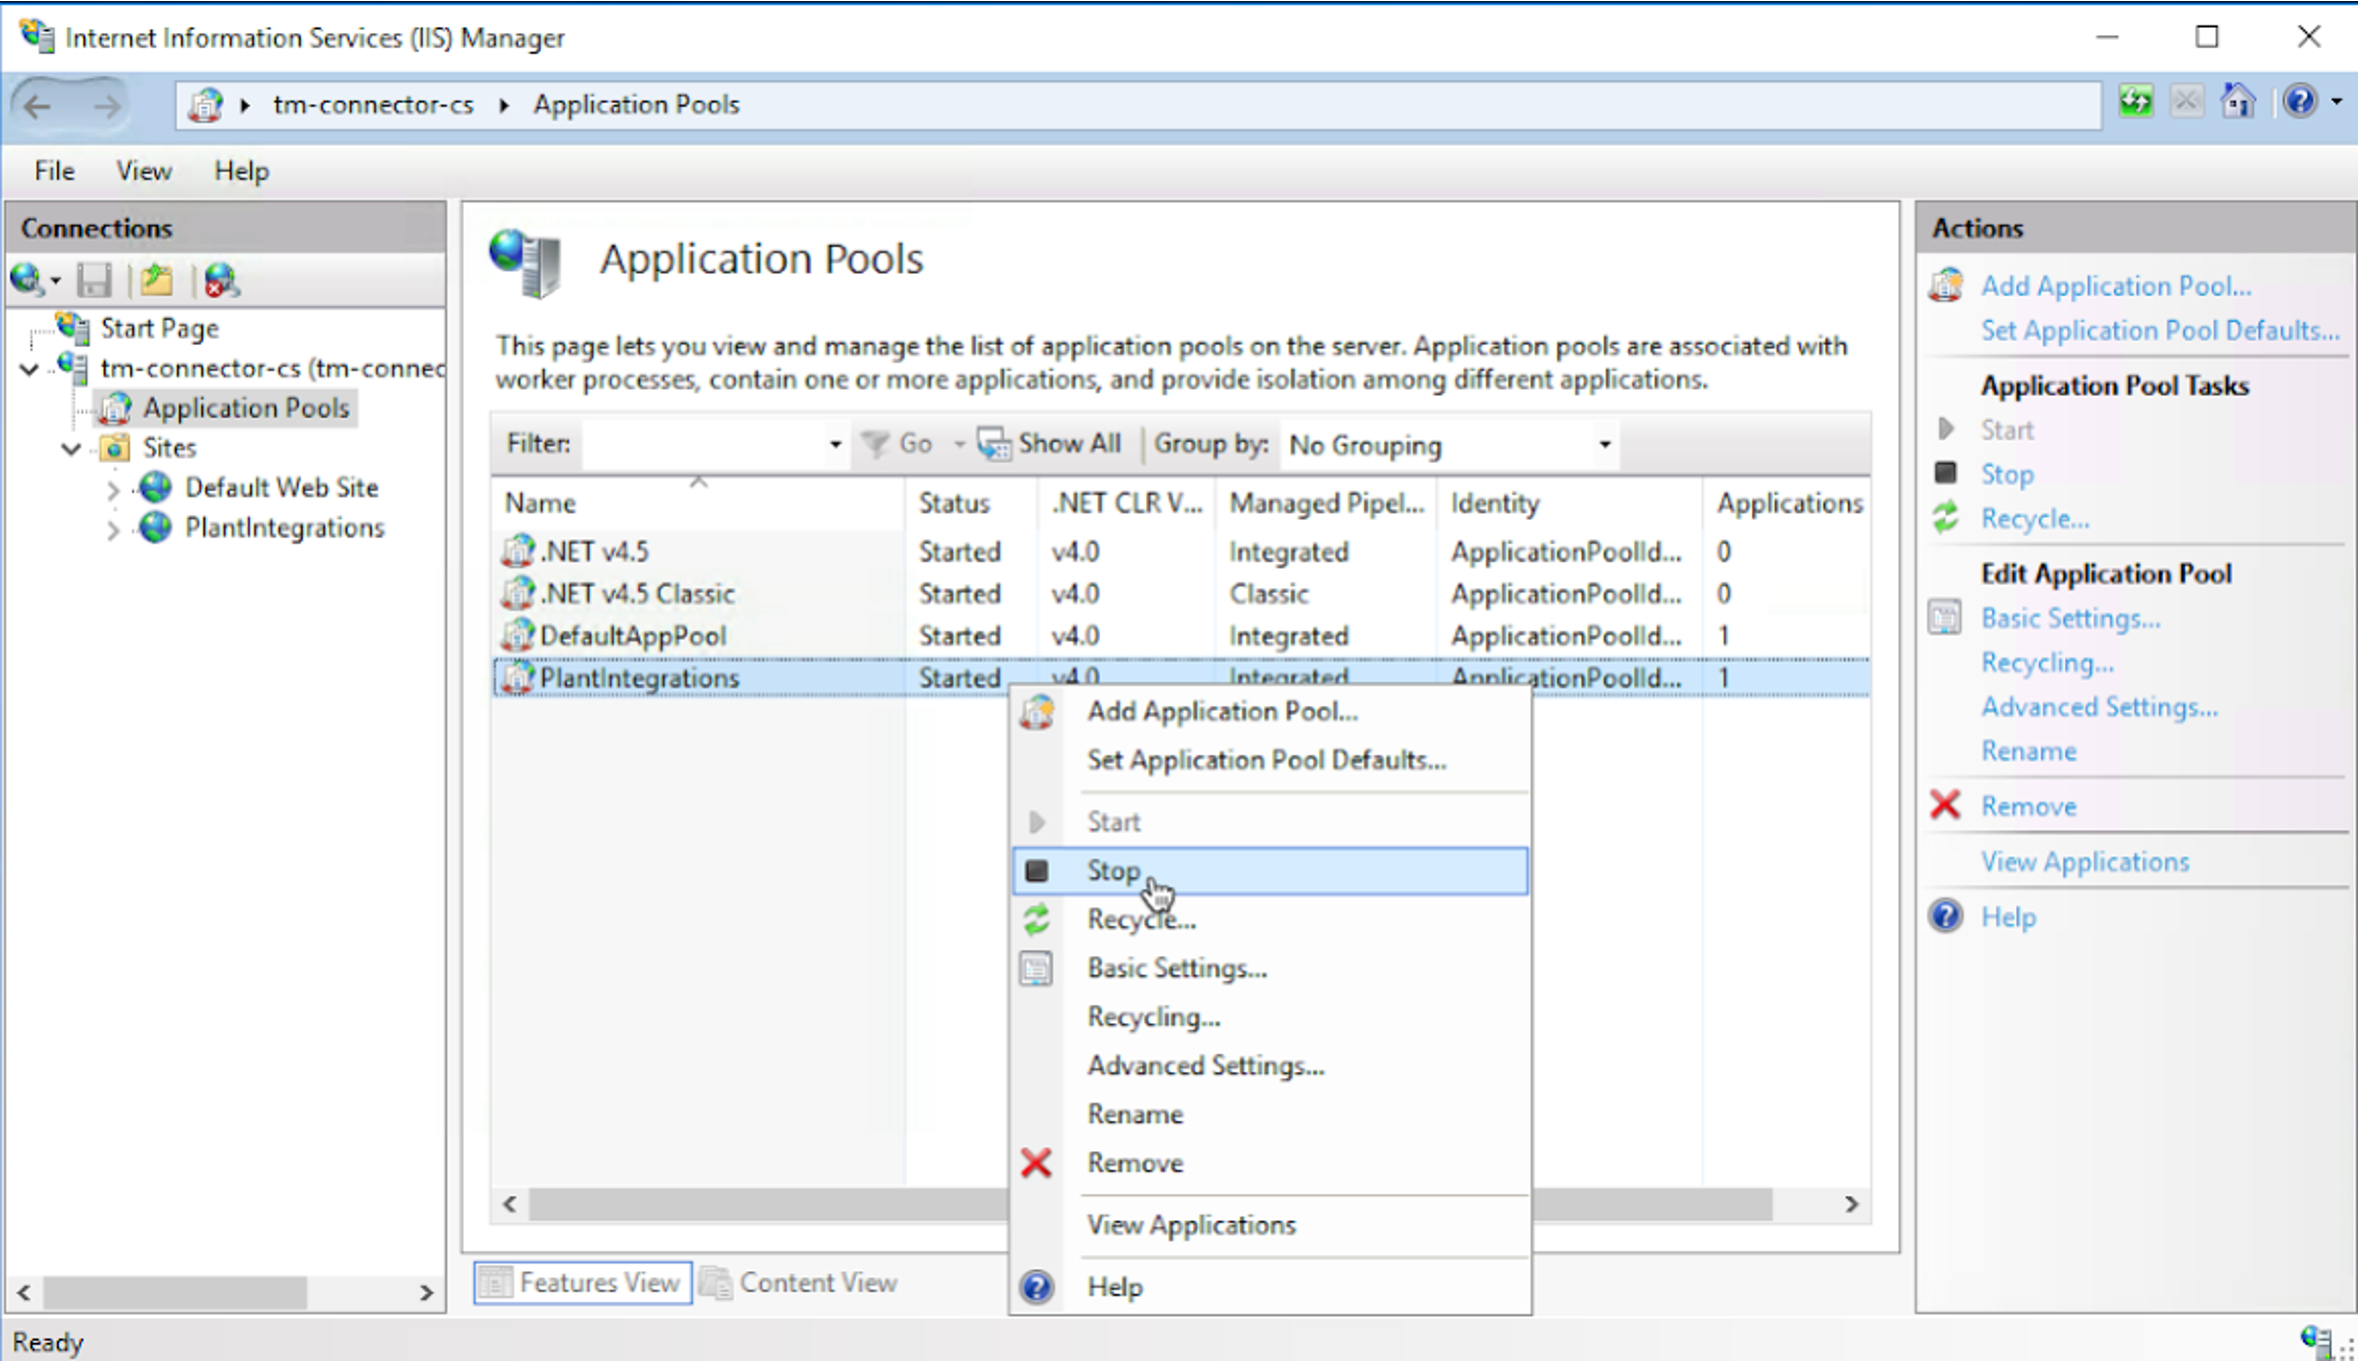
Stop the Plant Integrations application pool in ‘Application Pools’ to begin the upgrade steps.
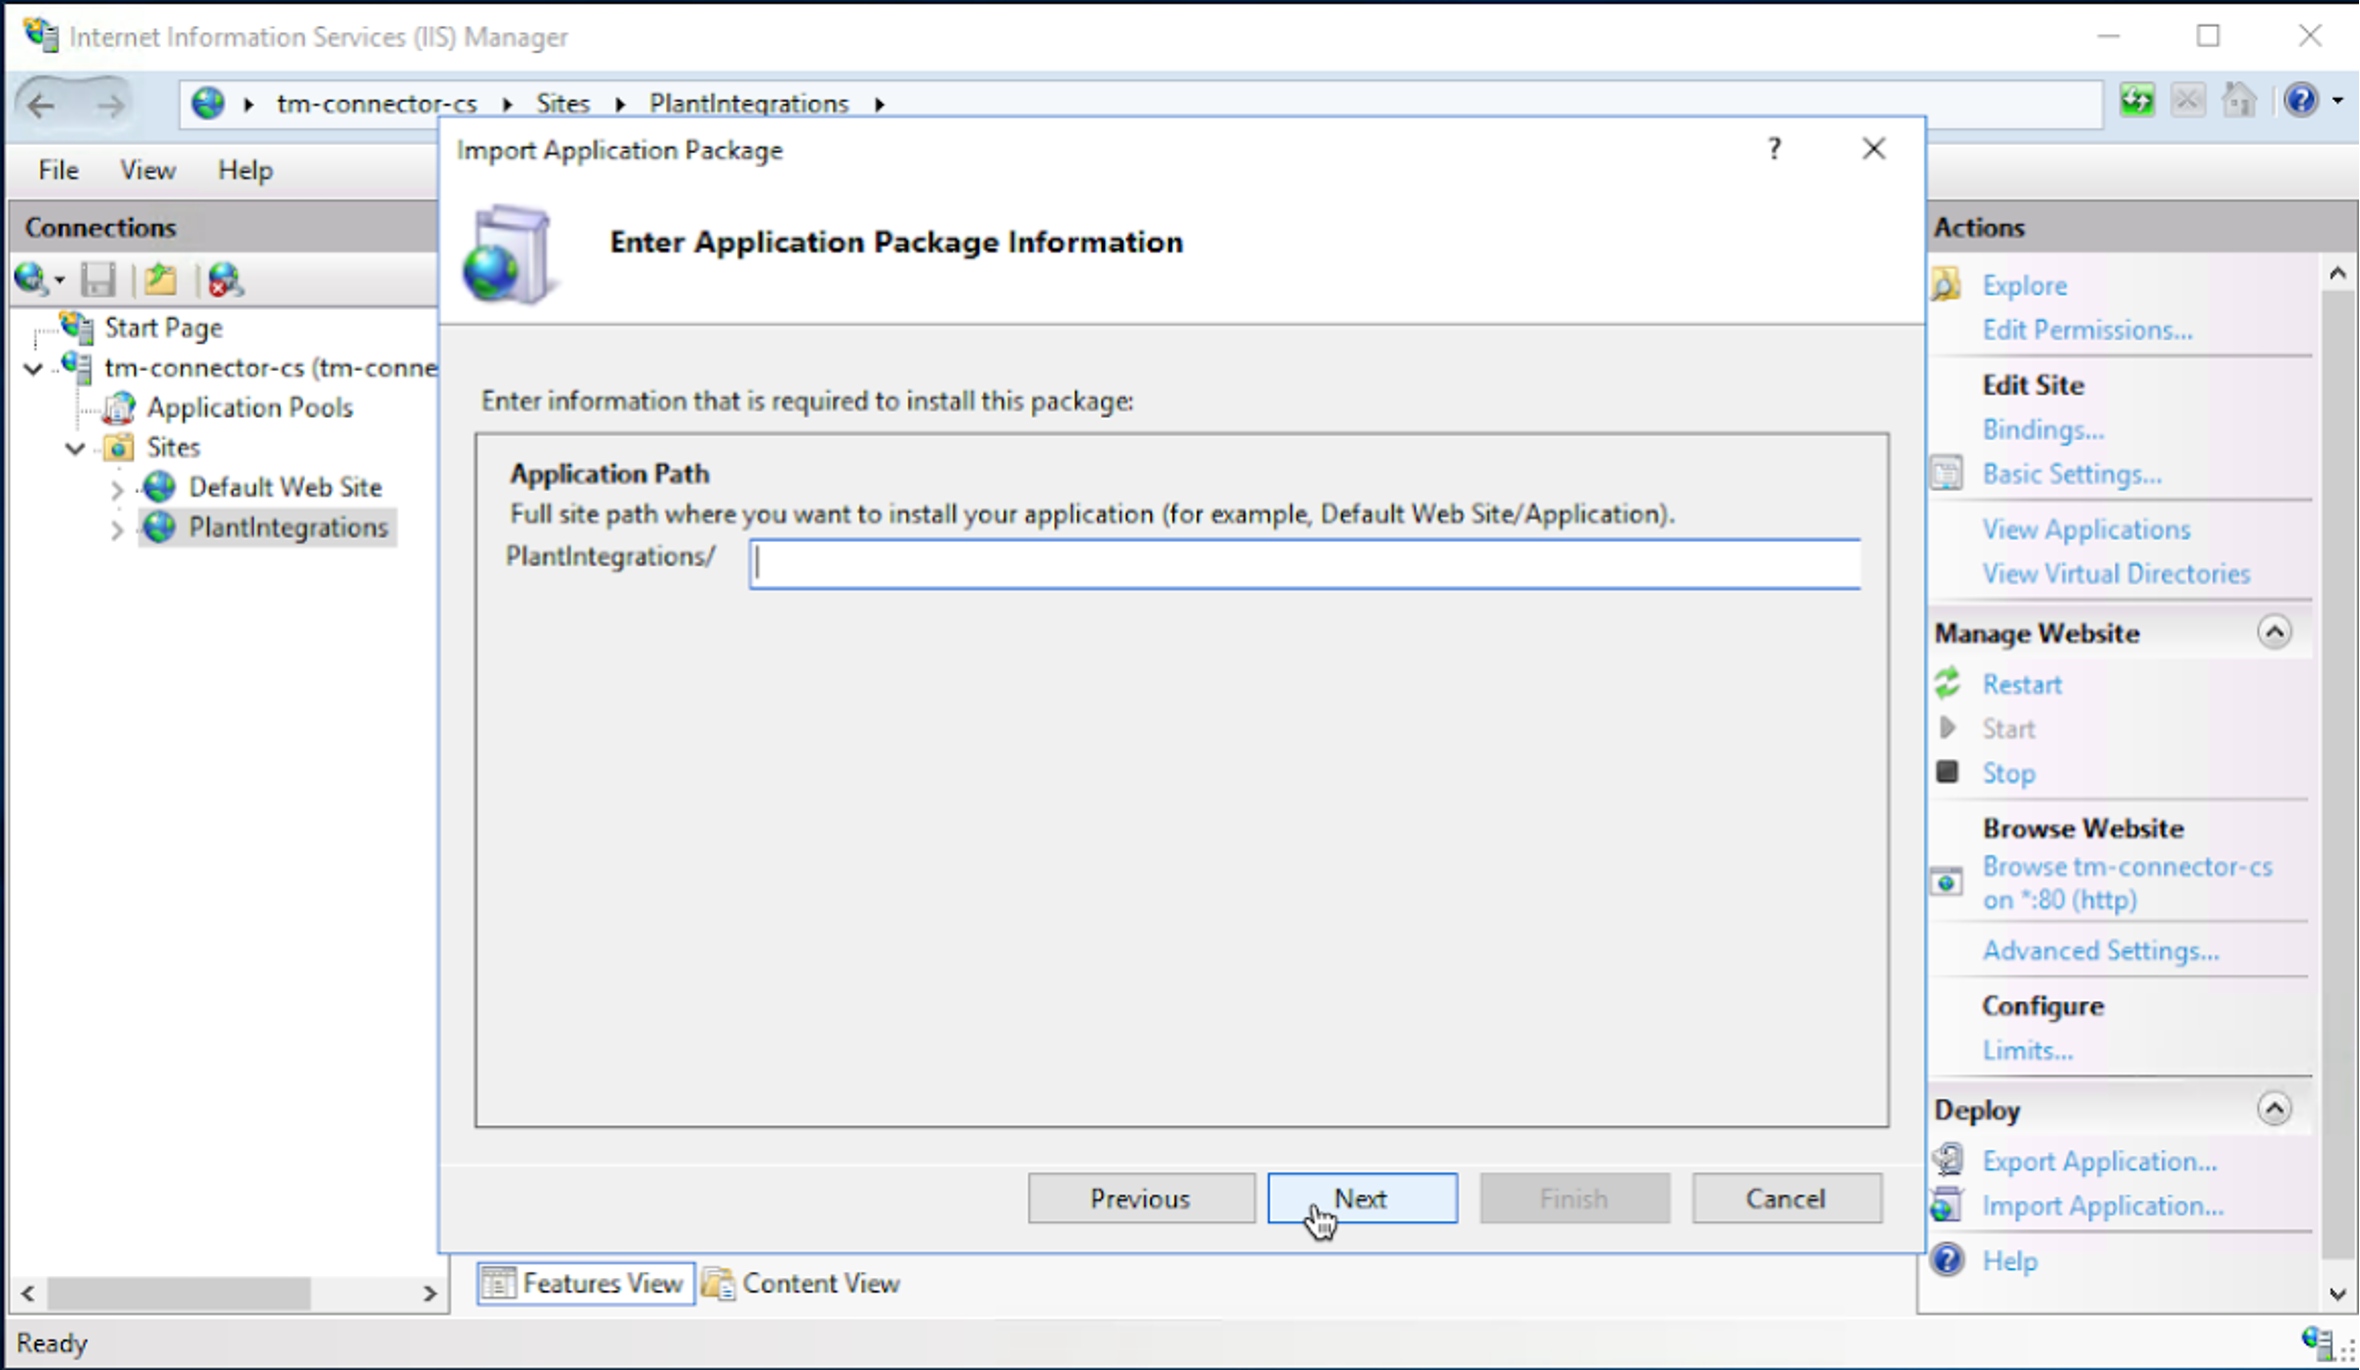
Right-click on the website and choose ‘Deploy’ - ‘Import Application’.

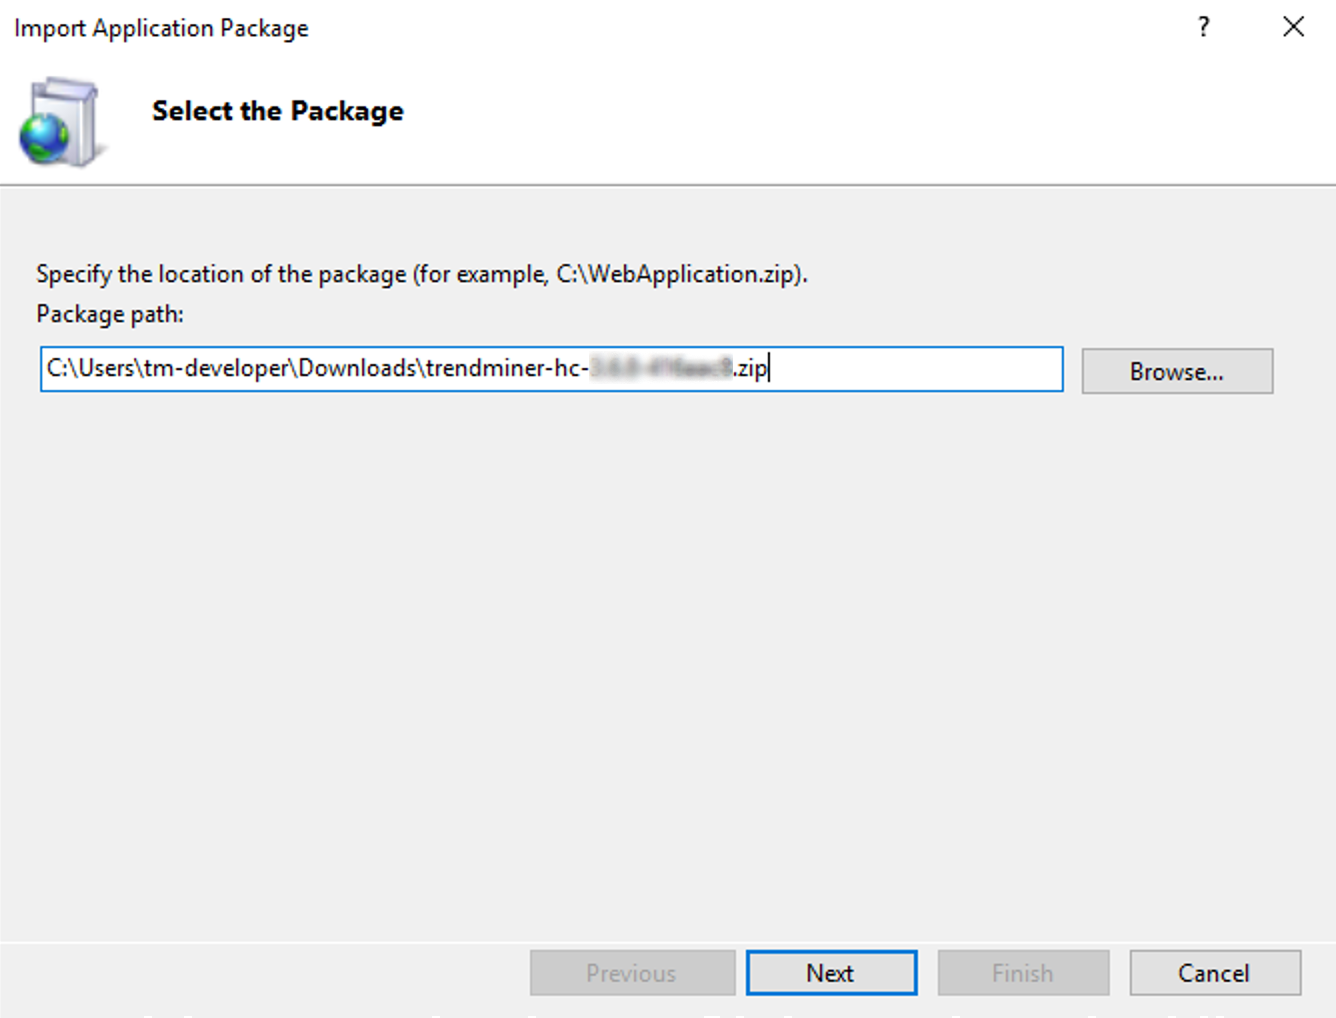
Select the TrendMiner Plant Integrations zip archive and click ‘Next’.
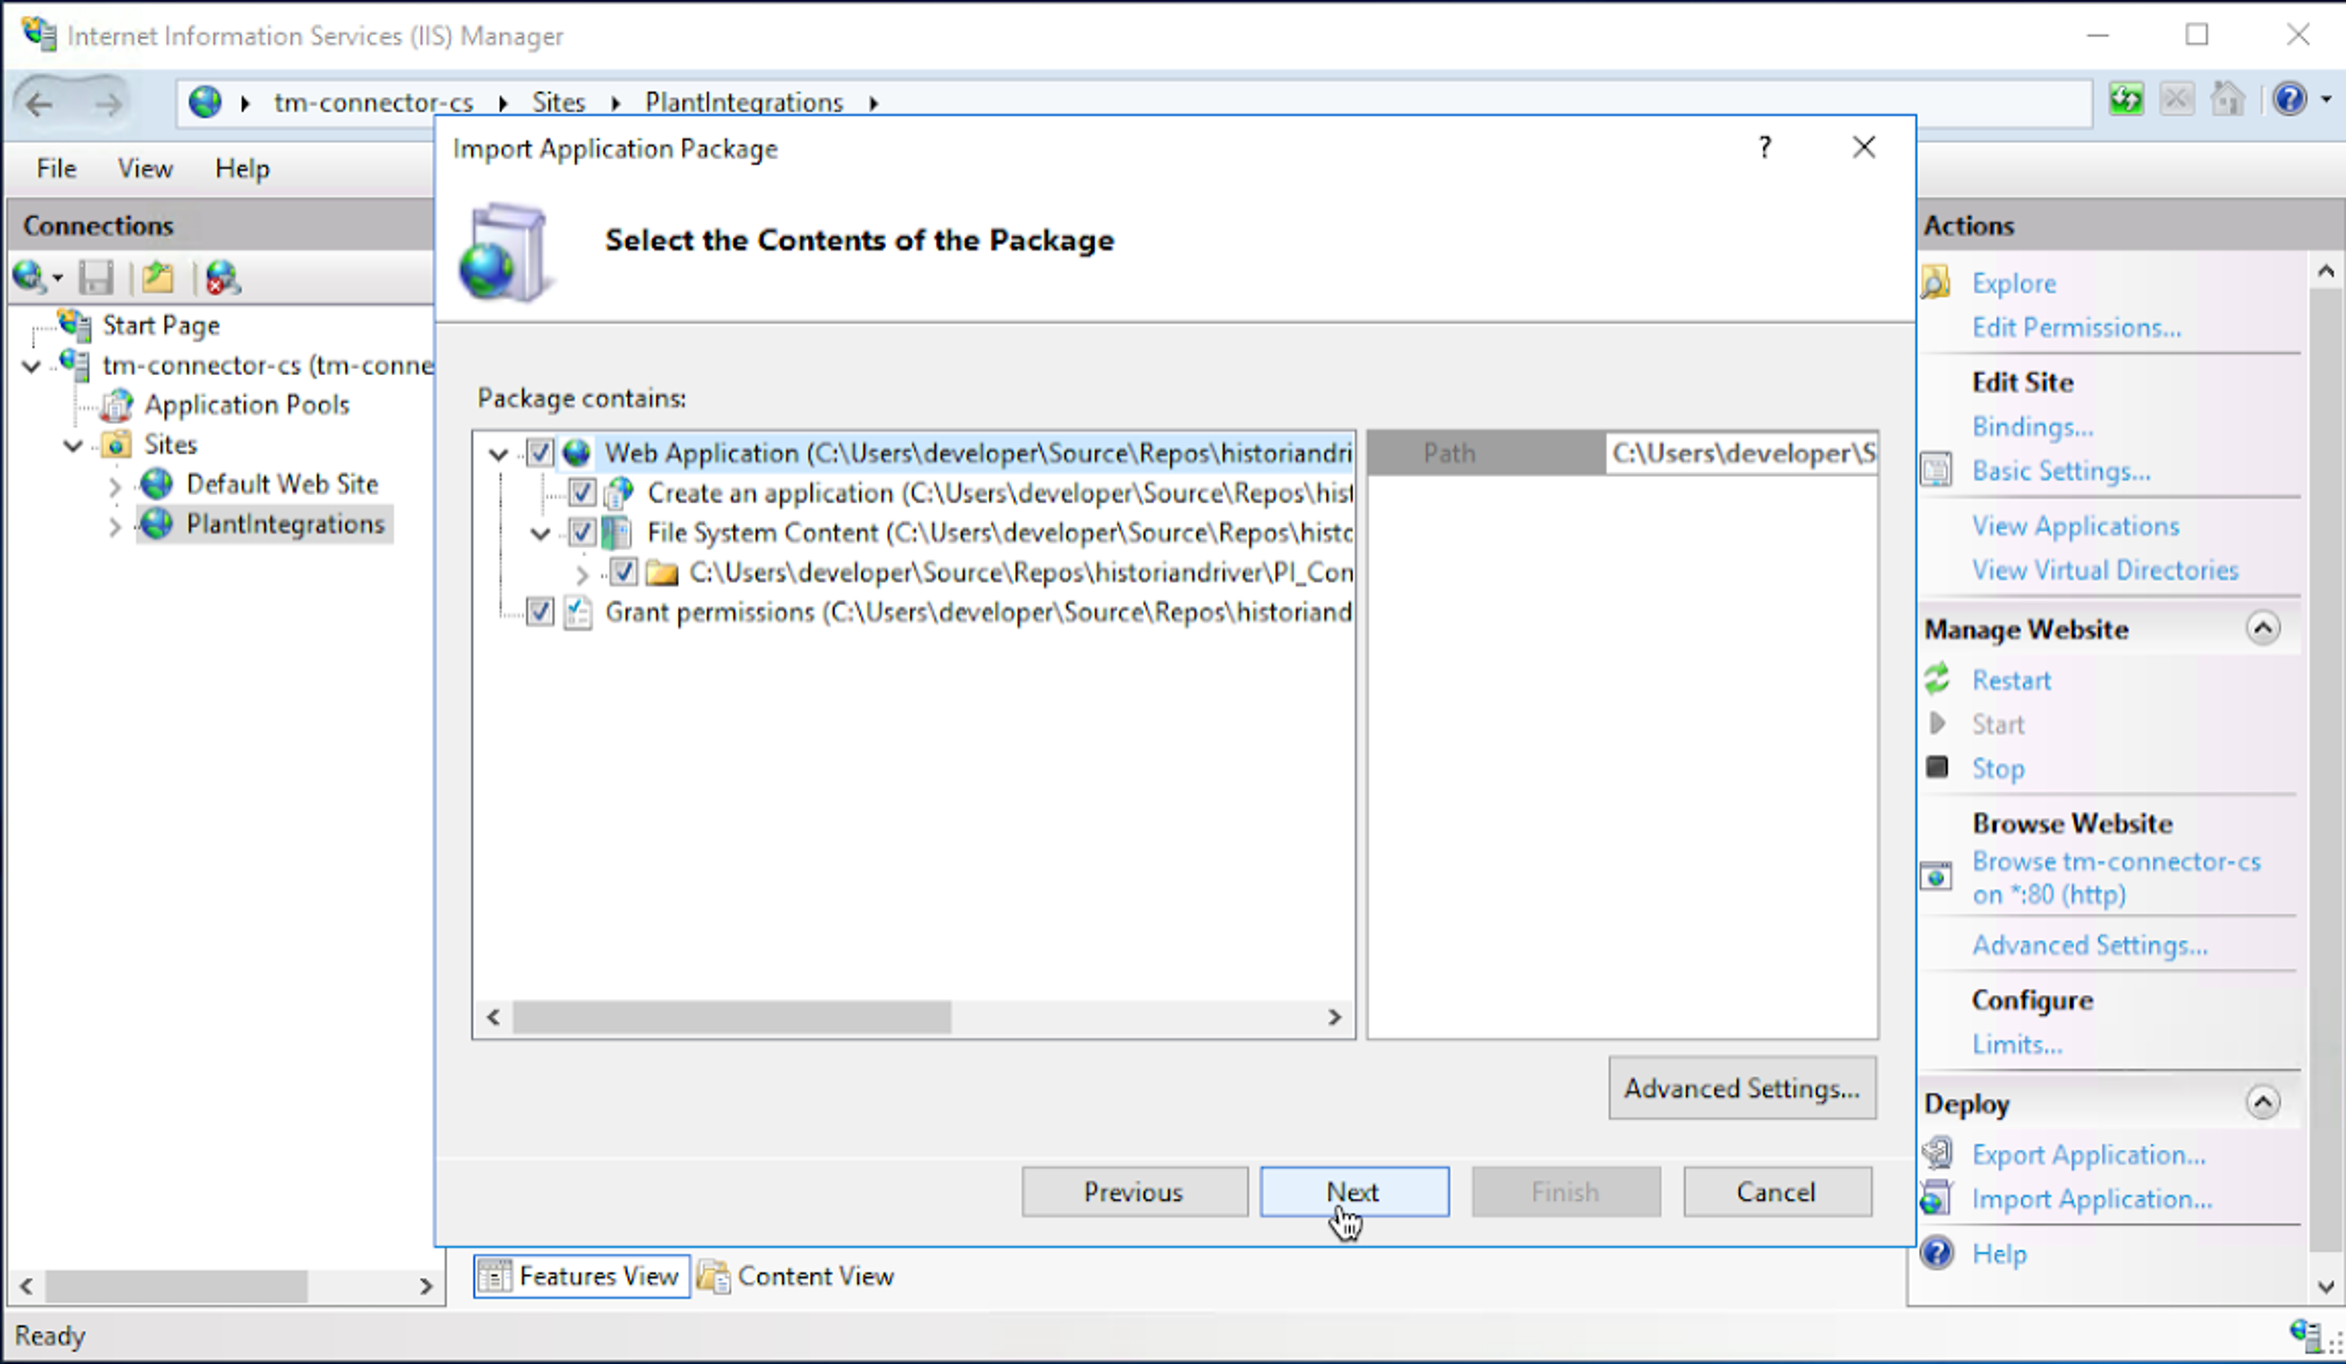
Click ‘Next’.
Remove the Application Path to a blank field (default will show HC) and click ‘Next’.
Click ‘OK’ to continue. If this warning message does not appear, go back to the previous step.

Click ‘Next’.

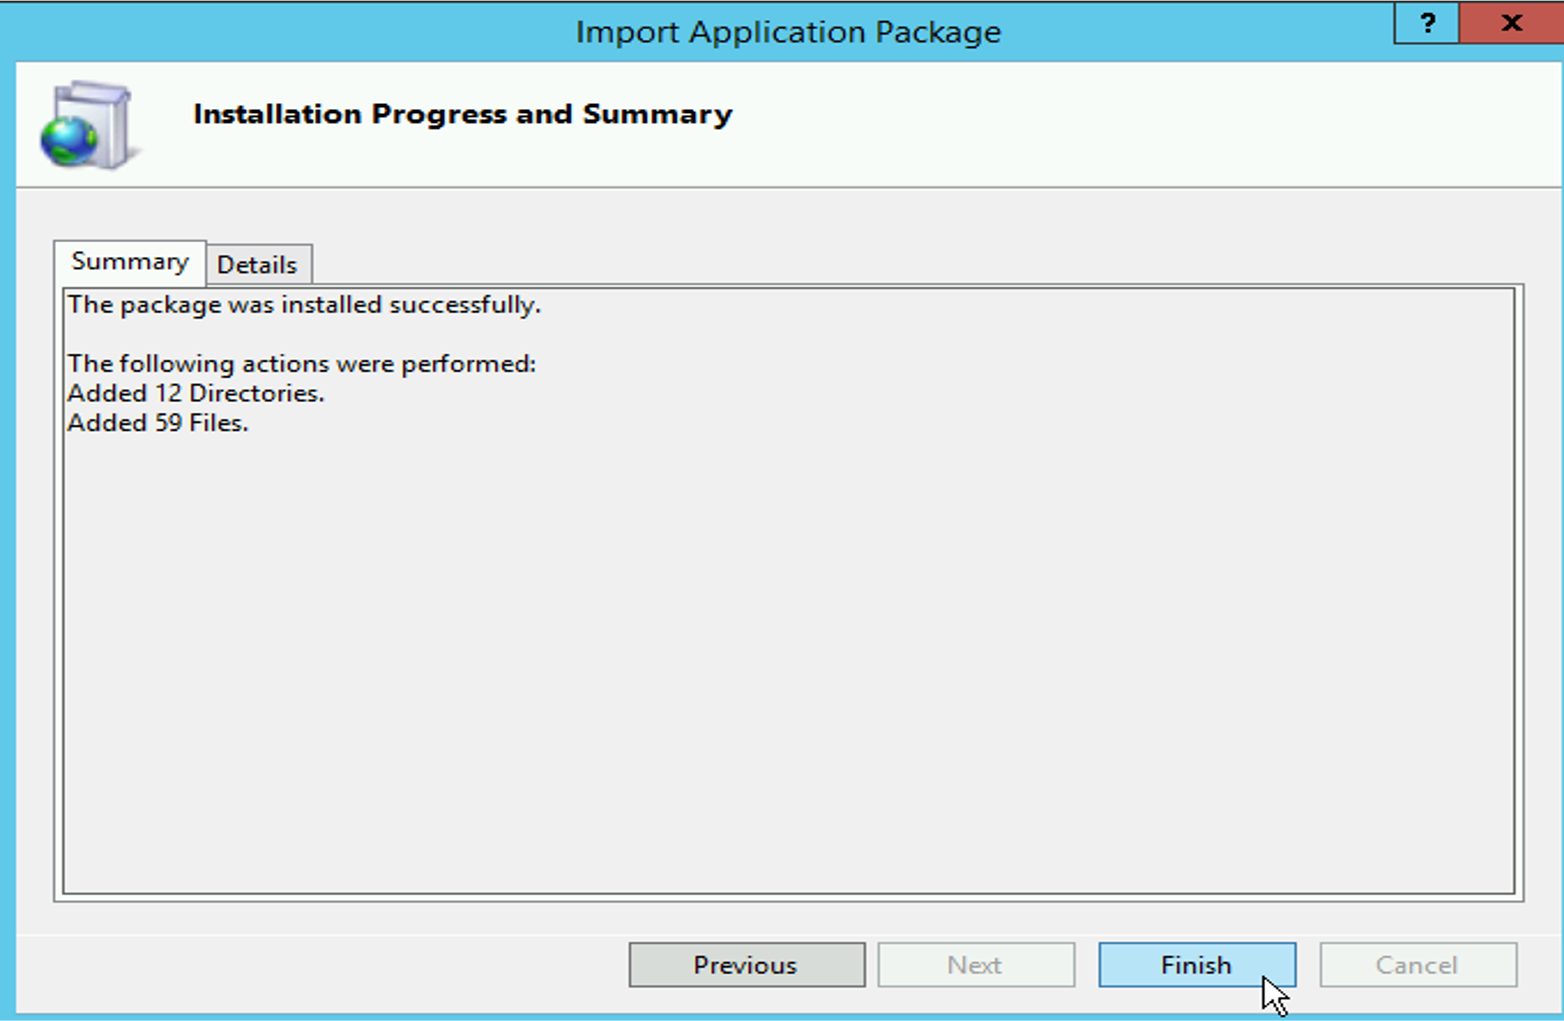
Click ‘Finish’ to complete the Plant Integrations deployment.
Important
This step must be executed only when upgrading from connector version 4.103.x or lower.
This step must be skipped when upgrading from version 4.105.x or higher.
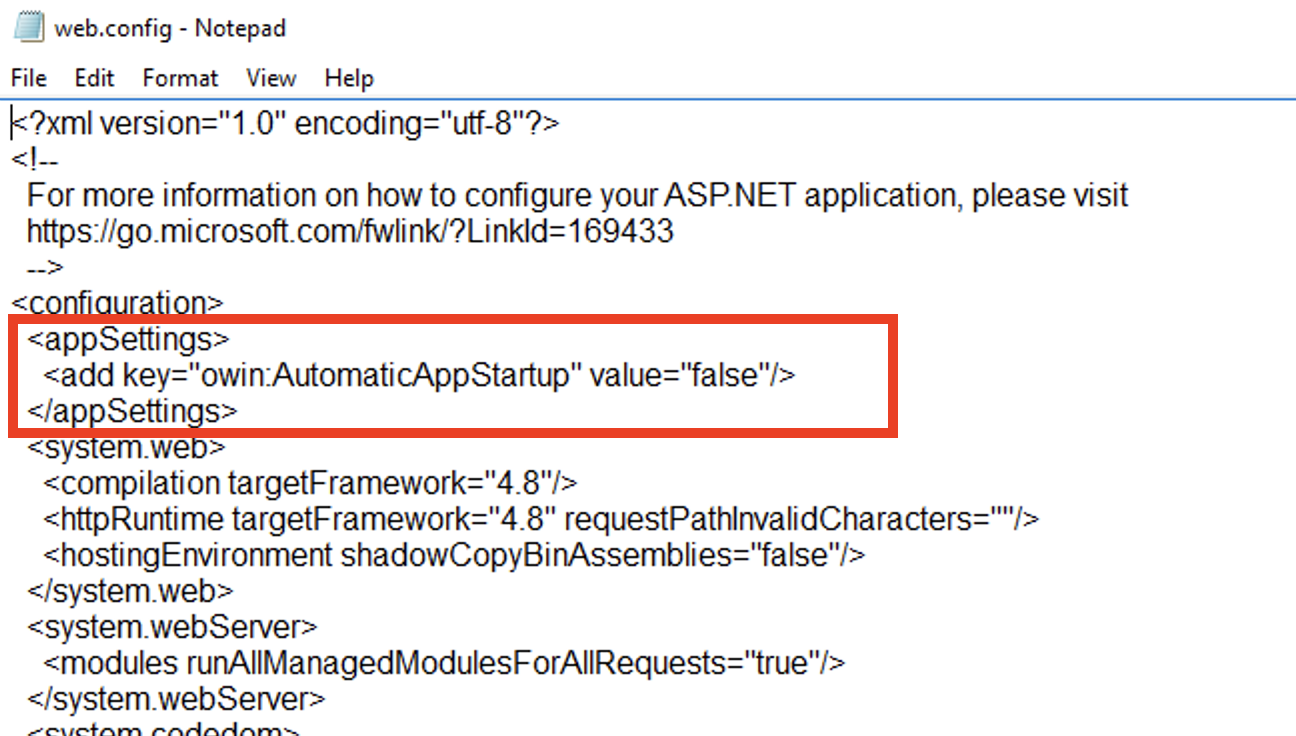
Open both the web.config file which is located in the backup of your Plant Integration folder and the web.config which is in your Plant Integration folder (usually located at C:\inetpub\PlantIntegrations). The web.config in your installation directory contains 1 or max a few keys under <appSettings>.
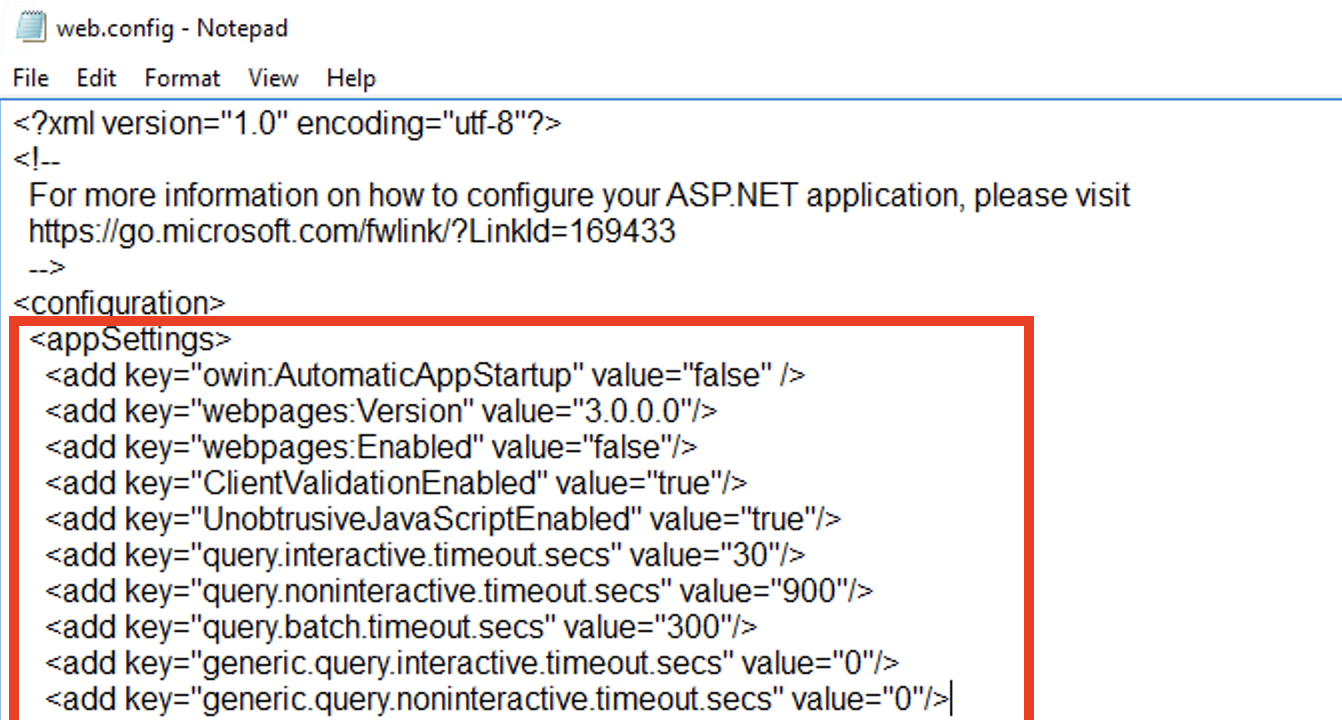
Copy over all keys under <appSettings> from the backup web.config to the current active web.config in the installation directory, e.g. like in the image below.
Start the Application Pool again.