How to connect to Wonderware?
Install the connector via the connector which you downloaded from the TrendMiner download site.
Install the Wonderware Trend Client Application onto the Plant Integrations server. Copy the file "aahClientManaged.dll" to the Plant Integrations bin folder:
On the AppHost version of the connector: copy to (default location)
C:\Program Files\TrendMiner\Plant Integrations\Connectorand restart the connector services.On the WebHost (IIS) version of the connector: copy to the Plant Integrations bin folder. The default location would be:
C:\inetpub\PlantIntegrations\bin
Important notes
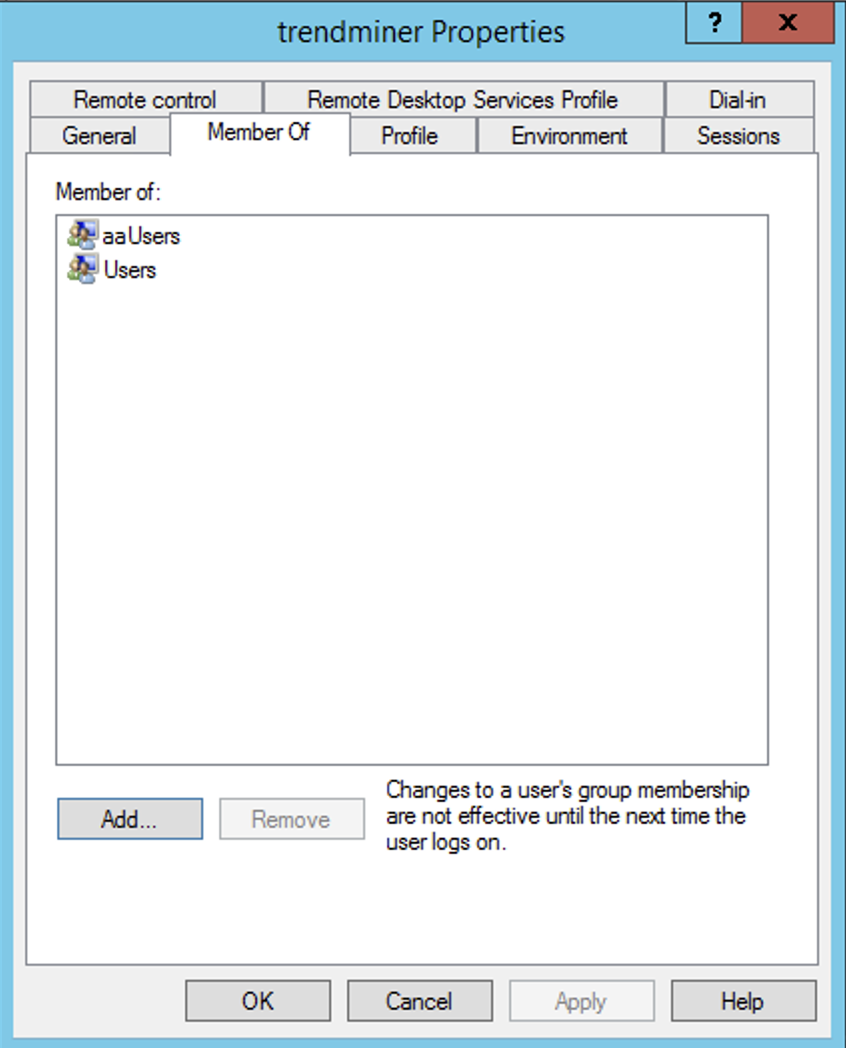
The user account used to connect to the Wonderware historian must be a member of the 'aaUsers' security group created as part of the Wonderware client installation. If the user is not a member of the aaUsers group TrendMiner will not be able to connect successfully and the following error message will be shown: "Message": "Unable to connect to 'Wonderware' [datasource=<datasource url>] (Wonderware error received code [AuthenticationFailed] type [CustomError] description [Authentication failed])"
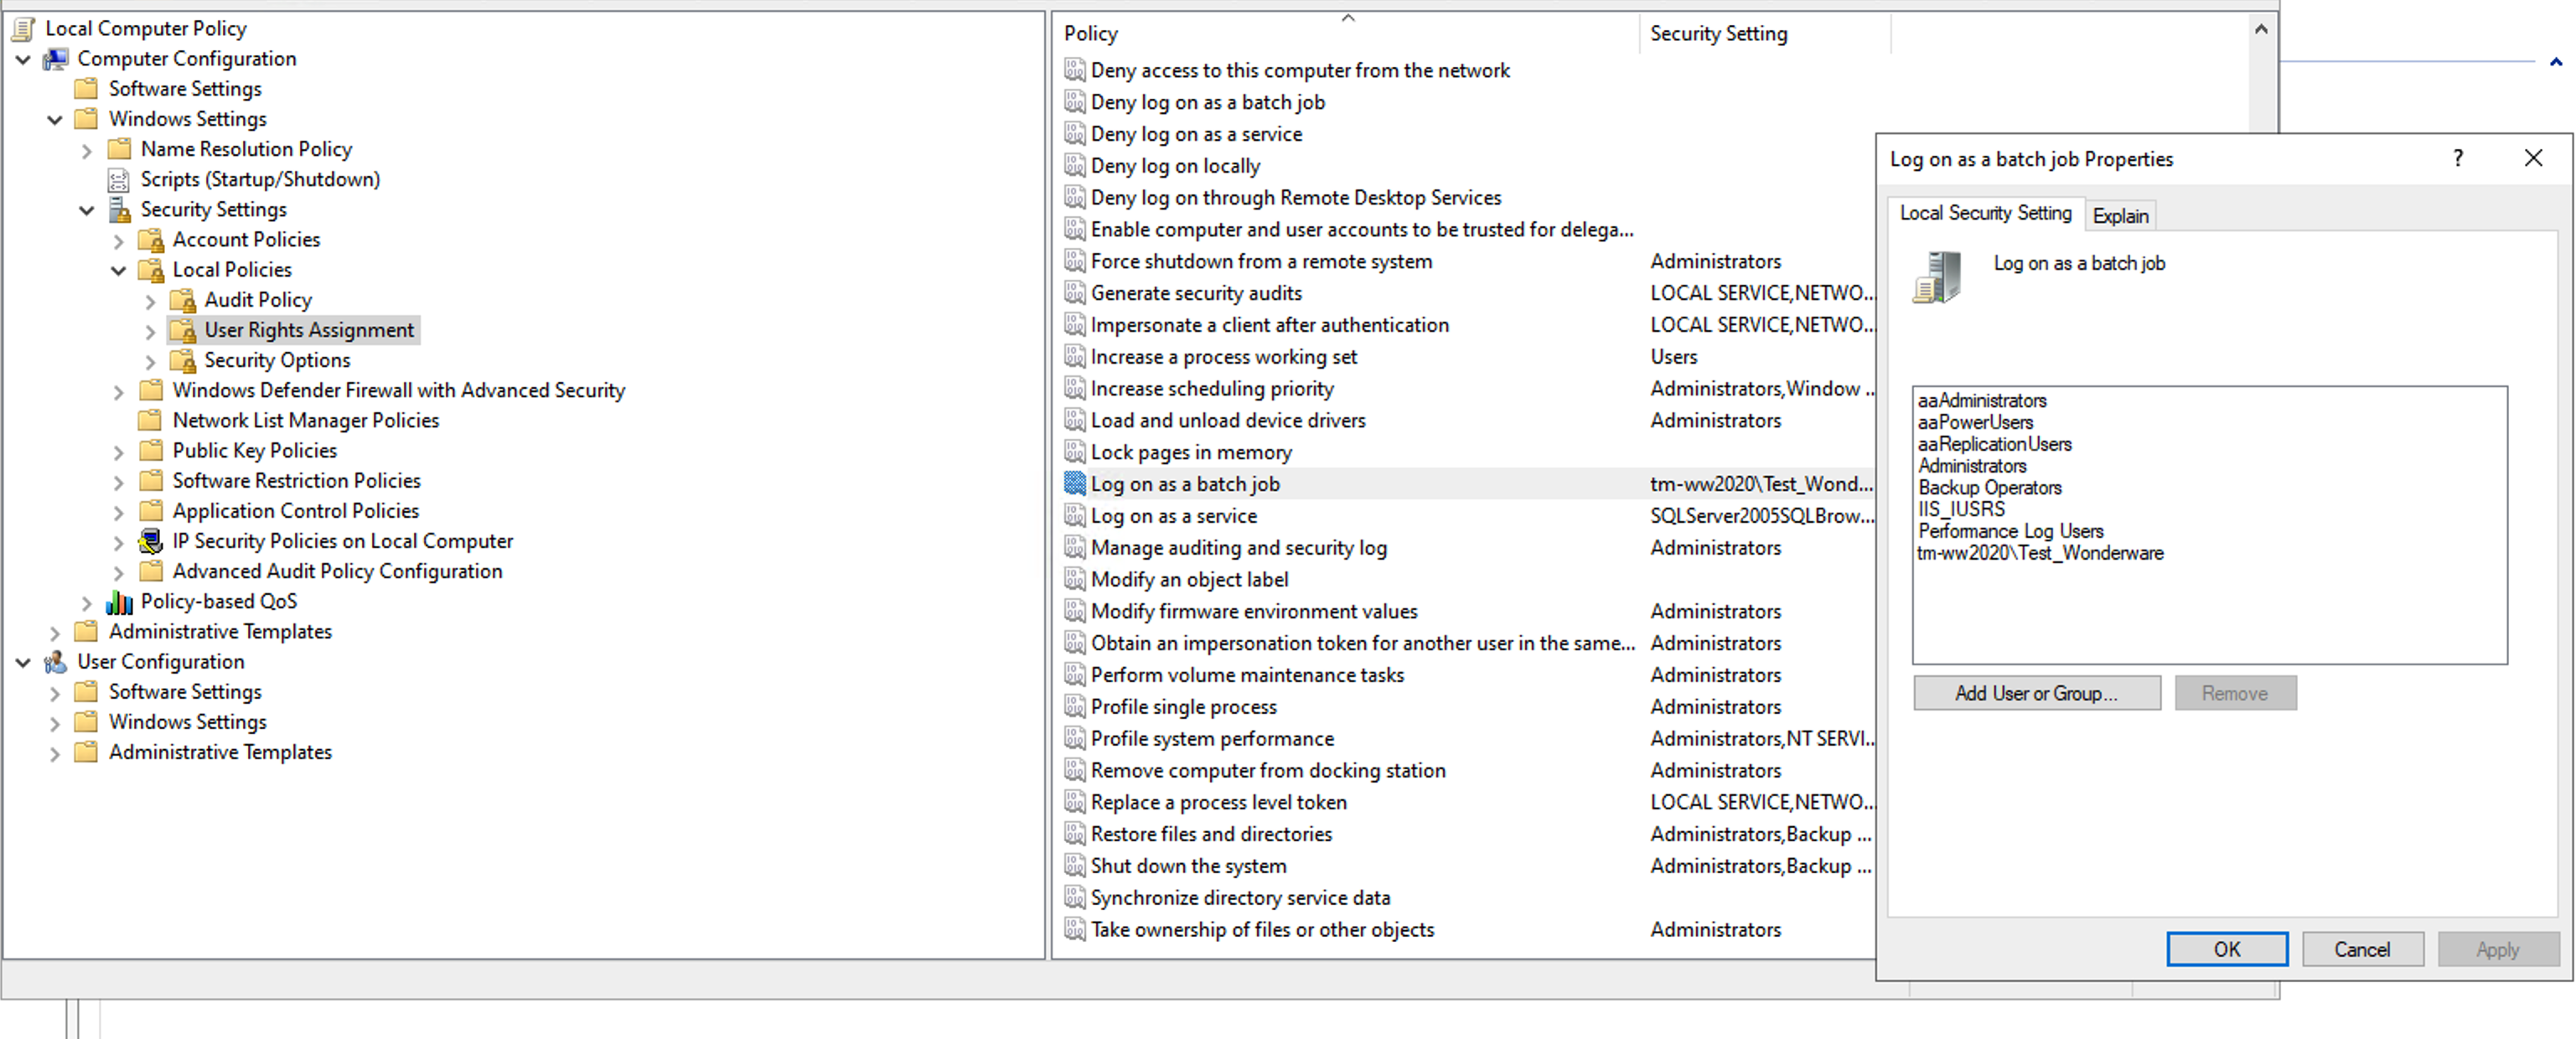
The user that is used to authenticate also needs to be part of the 'Log on as a batch job' policy. If the aaUsers group is not part of the 'Log on as a batch job' policy, please make sure to add your user directly to this policy.
Currently, TrendMiner does not support Write-Back or Backfilling function to the Wonderware Historian.
Adding data source in ConfigHub
Follow the steps for adding a new data source as detailed below.
To add a data source, in ConfigHub go to Data in the left side menu, then Data sources, choose + Add data source. Fill out 'Data source details' on the first step of the datasource creation wizard: type the name of the data source, select WONDERWARE from the Provider dropdown, then select the connector from the Connect via dropdown (if there are more than 1). Time series capability will be selected automatically. Click Next.
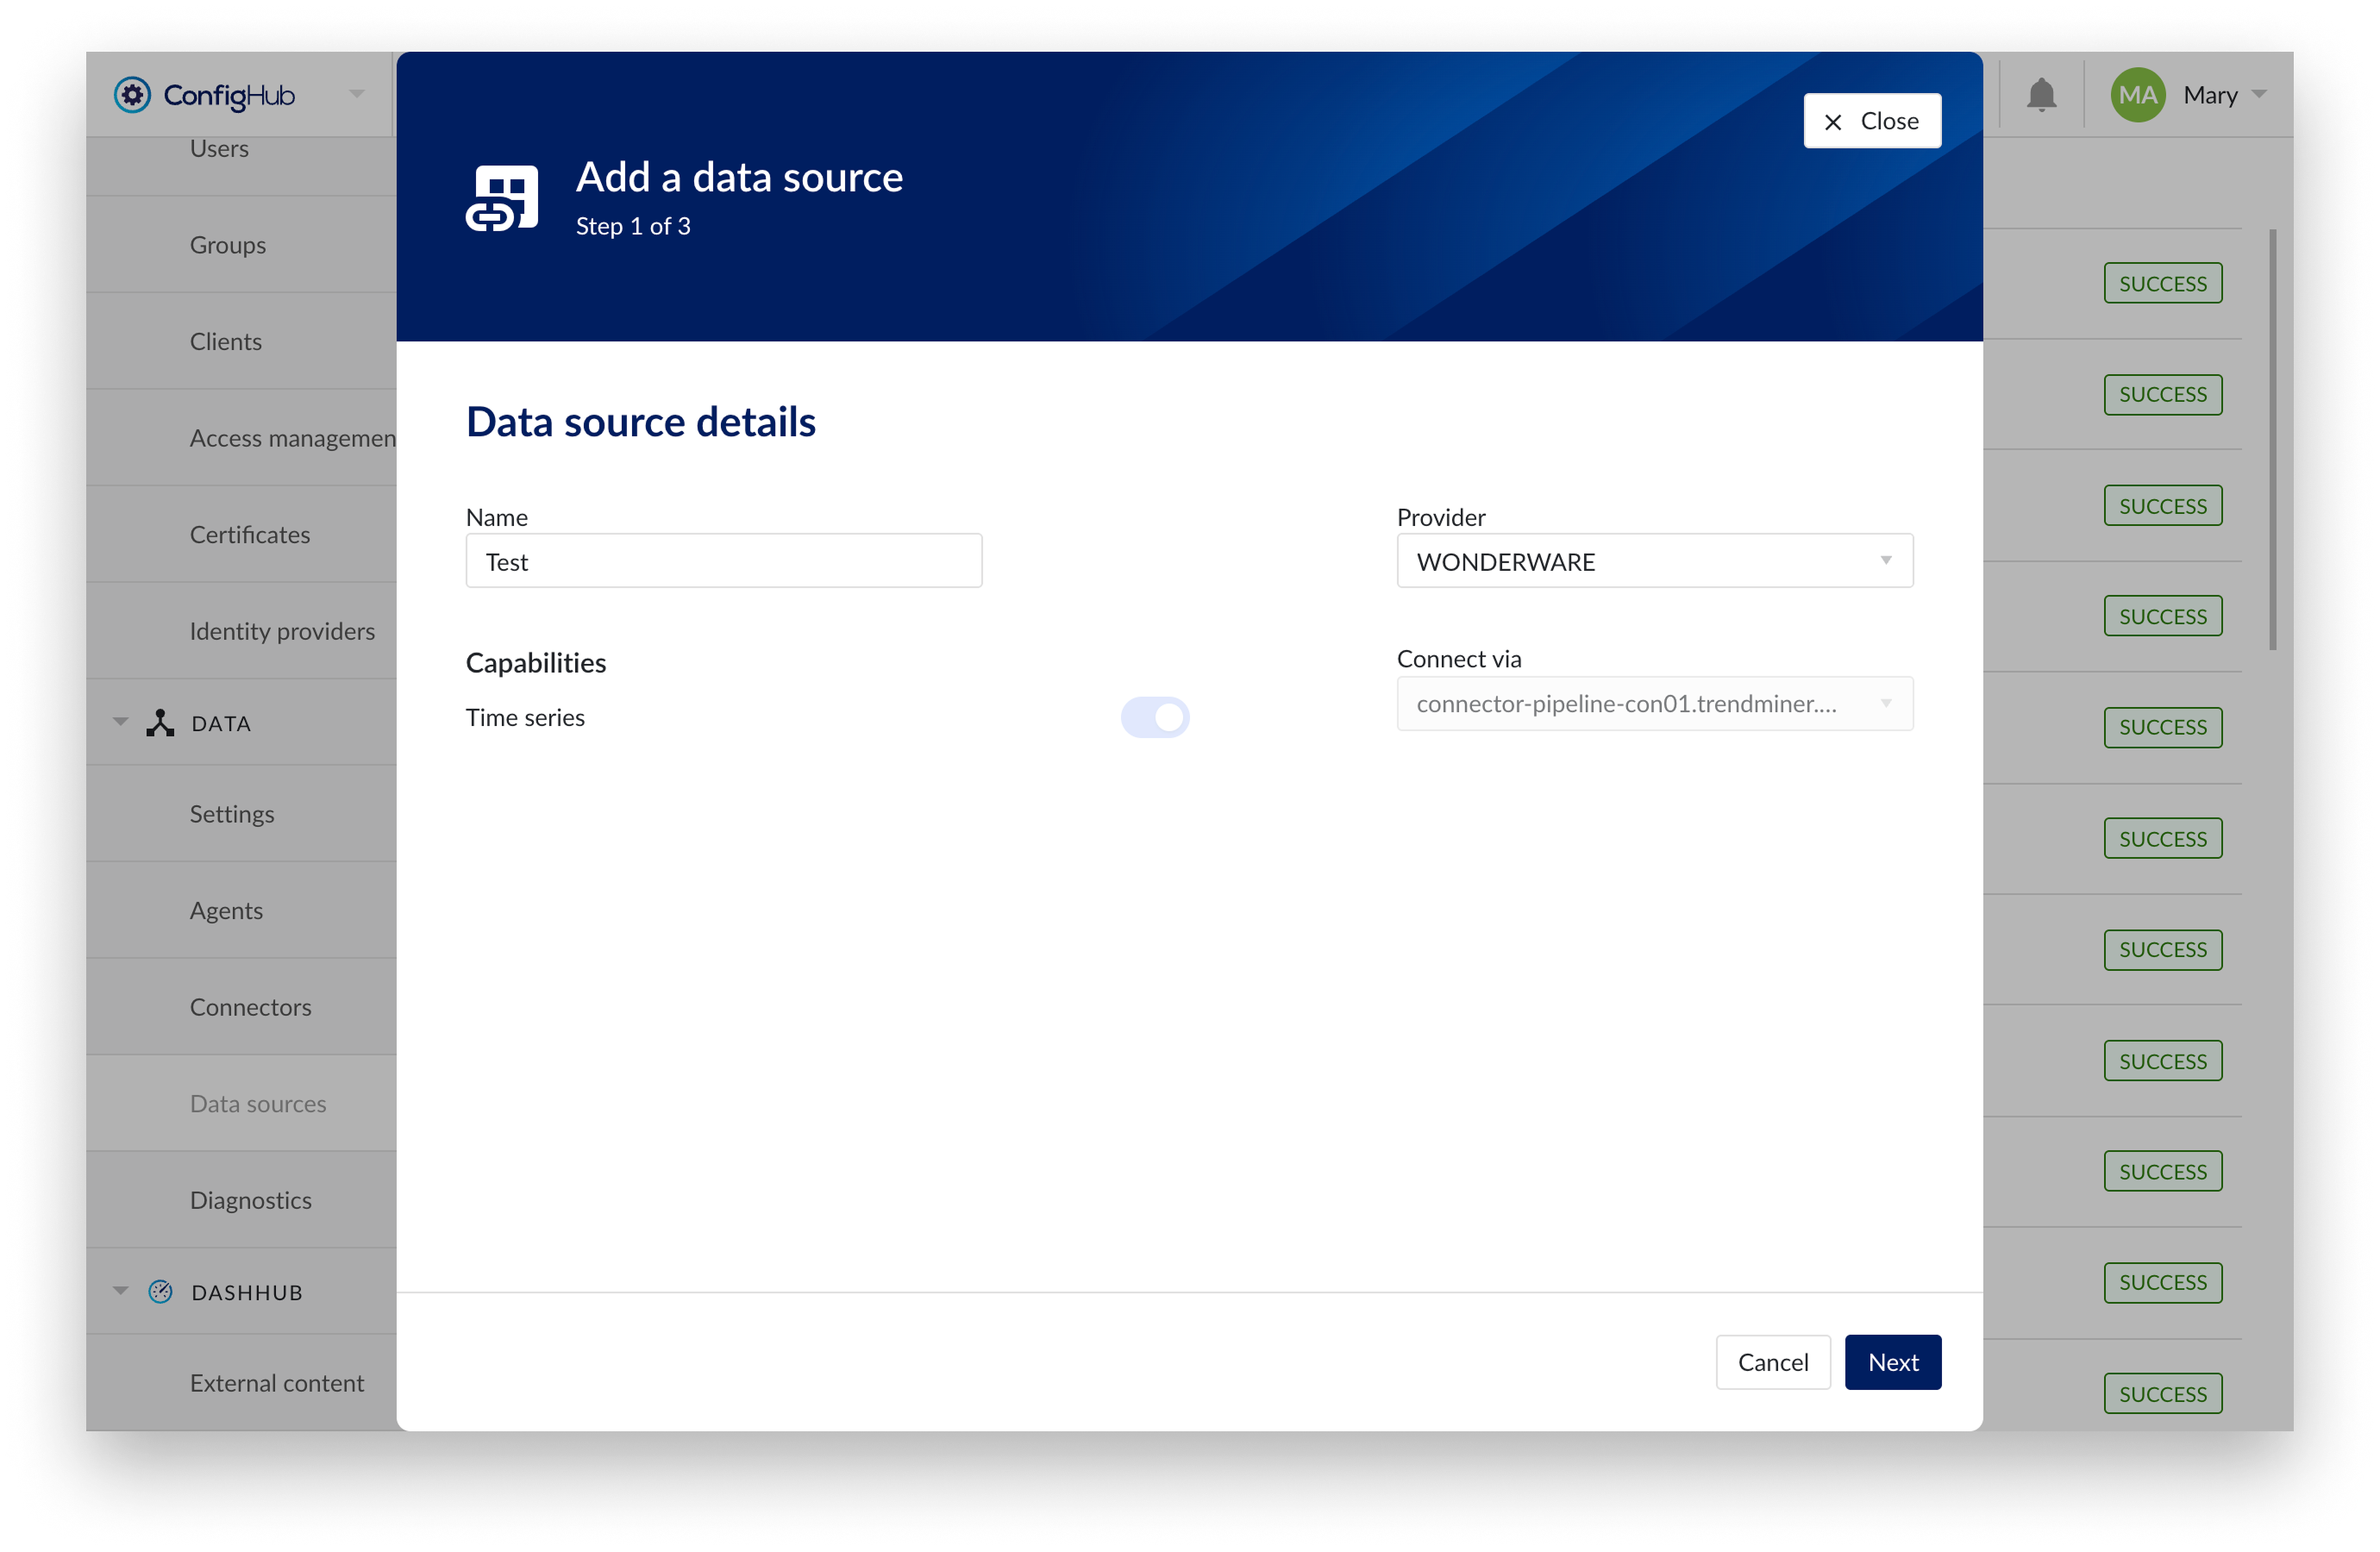
Data source details step in creation wizard
Connection details step lists properties related to the configuration of the connection that will be established with a datasource. Following properties need to be populated to establish a connection to the Wonderware historian:
“Host" - mandatory host URL of Wonderware historian
"Username" - optional username used to establish a connection to Wonderware historian
"Password" - optional password used to establish a connection to Wonderware historian
“Max connection pool size” - defines the maximum number of parallel connections per data source between connector and historian. Default value is 10.
“Connection pool TTL” - defines the duration (in seconds) a connection remains open. Default value is 3600 seconds.
Wonderware uses an asynchronous connect mechanism that makes the connector need to check from time to time if the connection is performed. To avoid infinite checks there are 2 parameters to configure this behavior:
"Time between connection attempts" - defines the interval in milliseconds between connection attempts. Default value is 500 milliseconds.
“Max number of connection attempts" - defines the maximum number of connection attempts before termination. If exceeded, the connection fails, and an error is returned. Default value is 40.
Wonderware as a system configuration can indicate the tag type for Integer and Float types. To allow the same configuration to be done in provider configuration, following properties can be set:
“Override system default” - when set to false, the Integer system default and Float system default properties are ignored, and the values are retrieved directly from the Wonderware server's system parameters. Default value is false.
“Integer system default” - defines the tag type in TrendMiner for Integer data type. Allowed values are ANALOG or DISCRETE (default).
“Float system default” - defines the tag type in TrendMiner for Float data type. Allowed values are ANALOG (default) or DISCRETE.
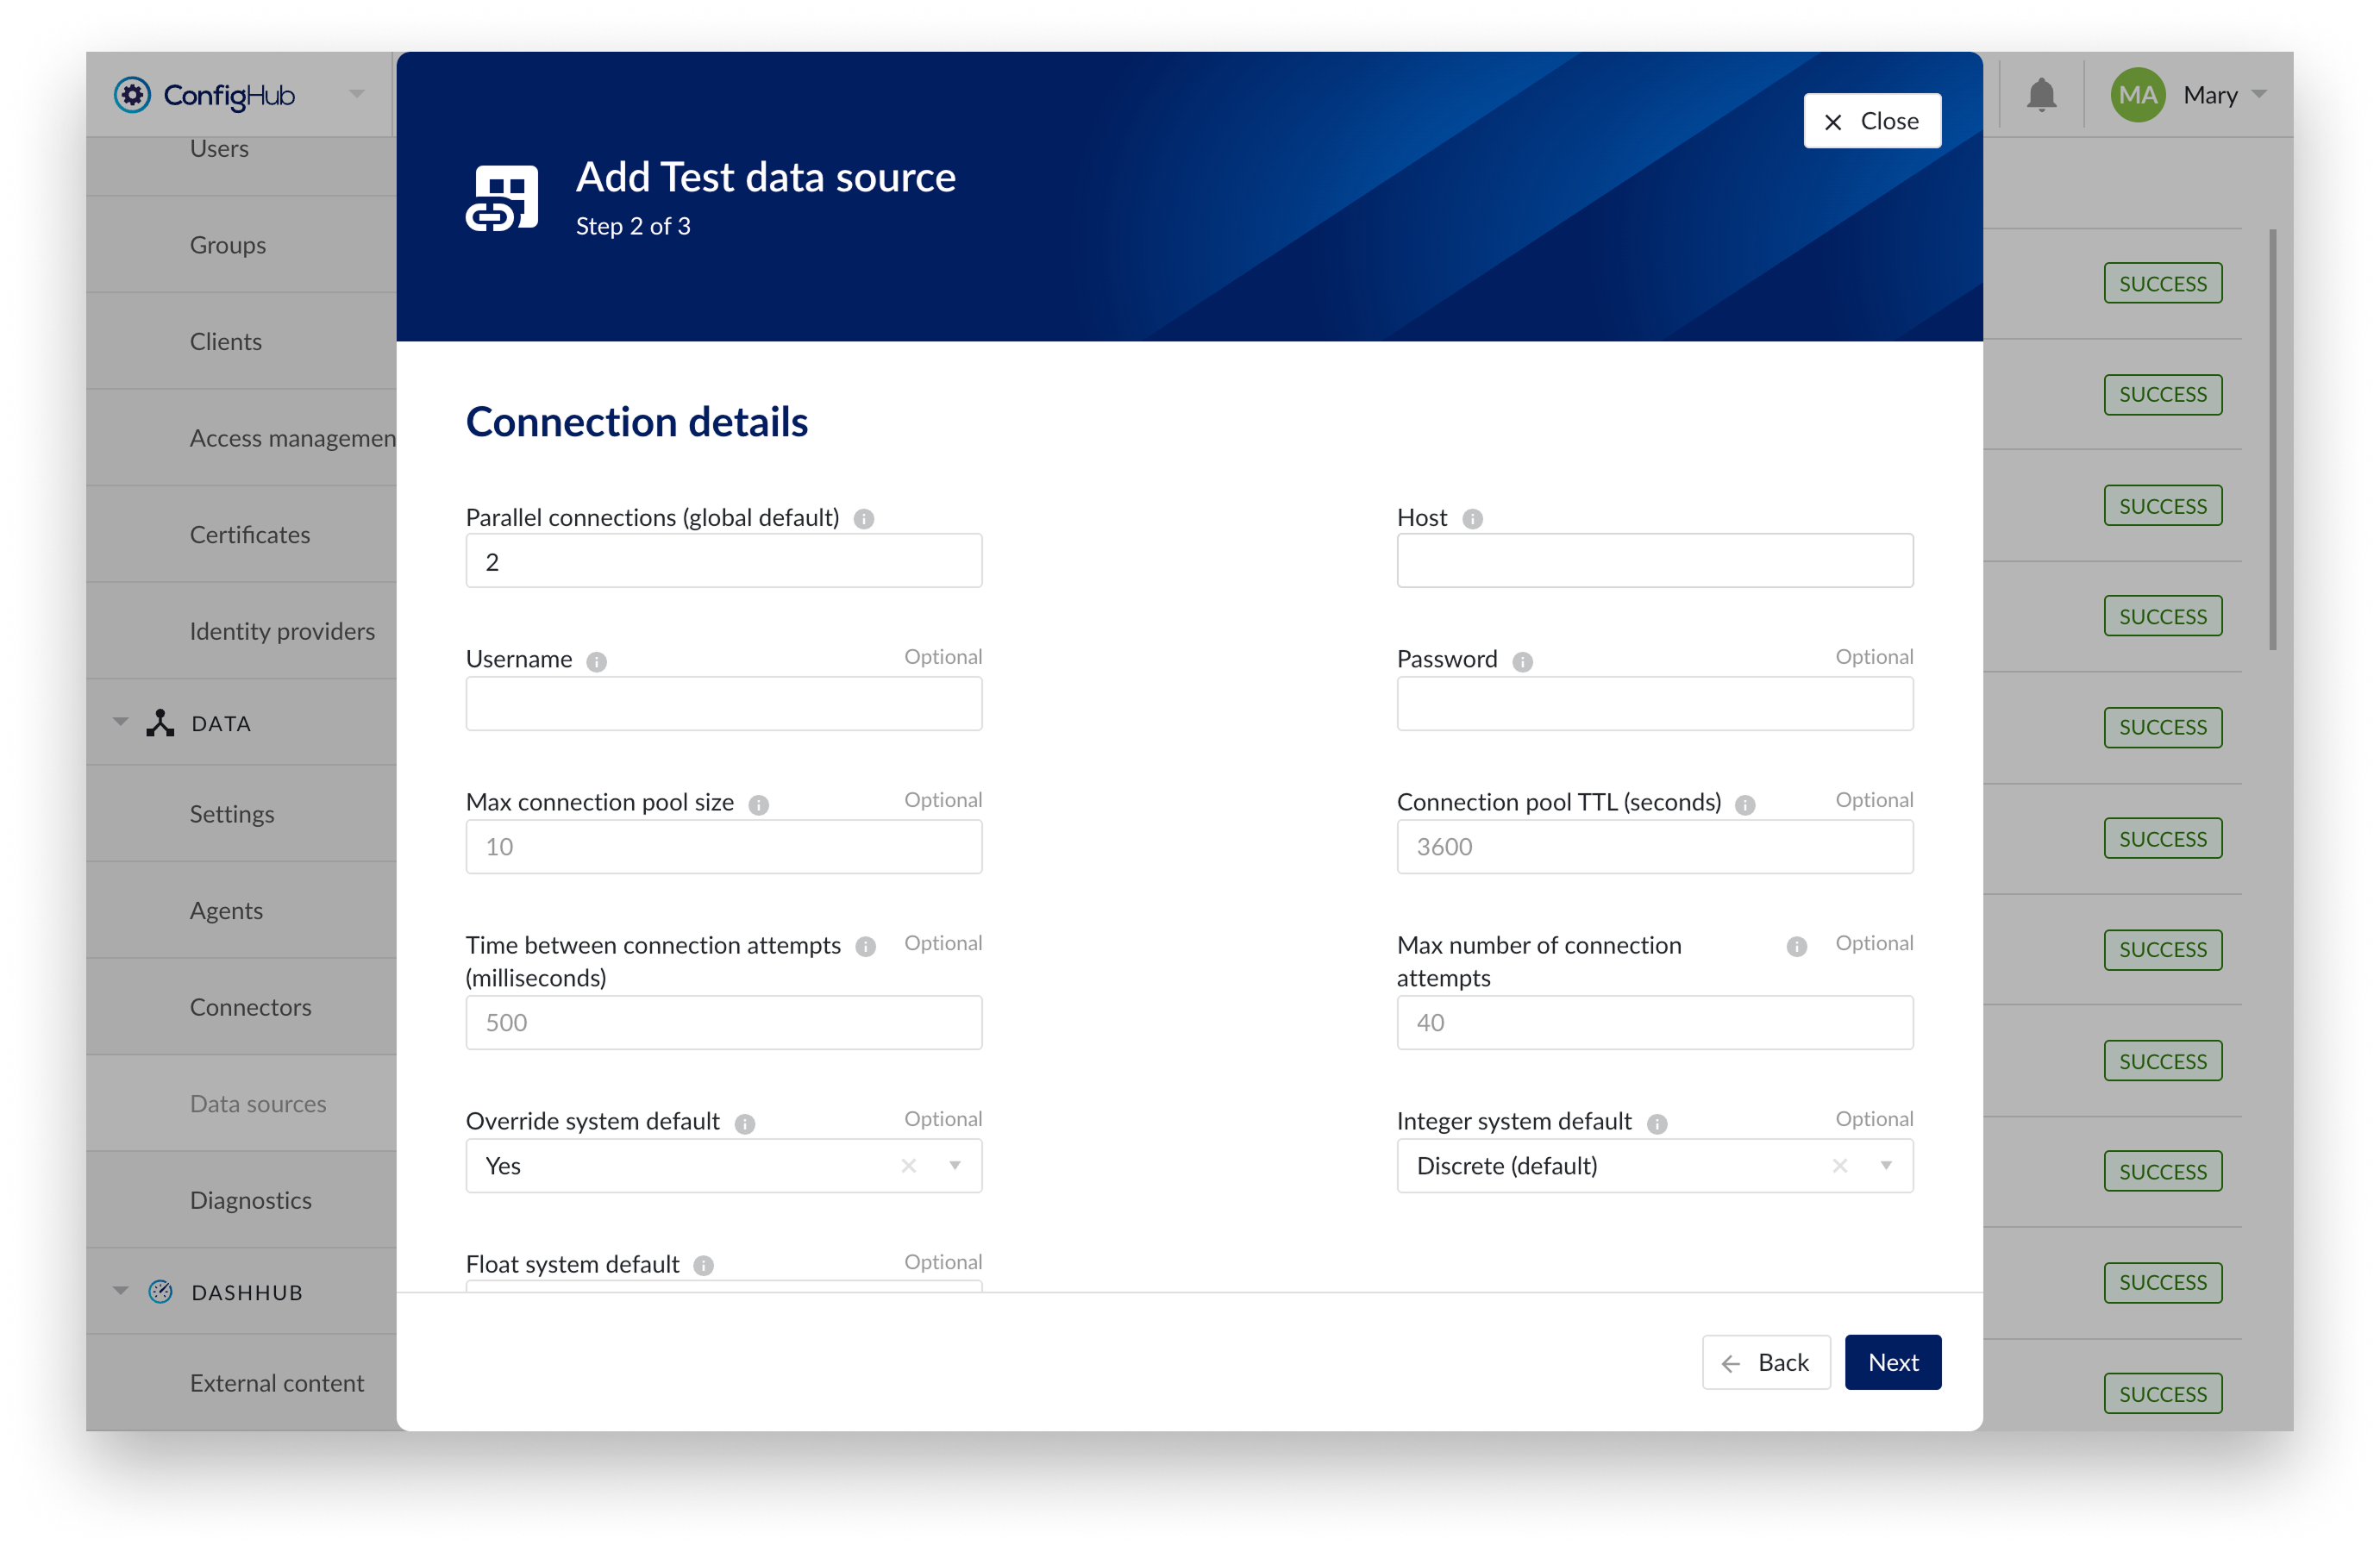
Connection details step in creation wizard
Time series details step lists properties relevant for the time series data:
“Prefix” - optional text can be entered here that will be used to prefix the tag names in TrendMiner, if a value is entered. Warning: this cannot be changed. The datasource can however be deleted and you can start the configuration over again.
“Tag filter” - an optional regular expression to be entered. Only tags with names that match this regex will be retained when creating tags (using the tag list query).
“Data retrieval mode” - administrators can override the default retrieval mode - BestFit - to e.g. Cyclic retrieval mode, for greater flexibility. This allows users to select the most suitable mode based on their analysis needs. For more details on the available retrieval modes in Aveva Wonderware, refer to this AVEVA documentation.
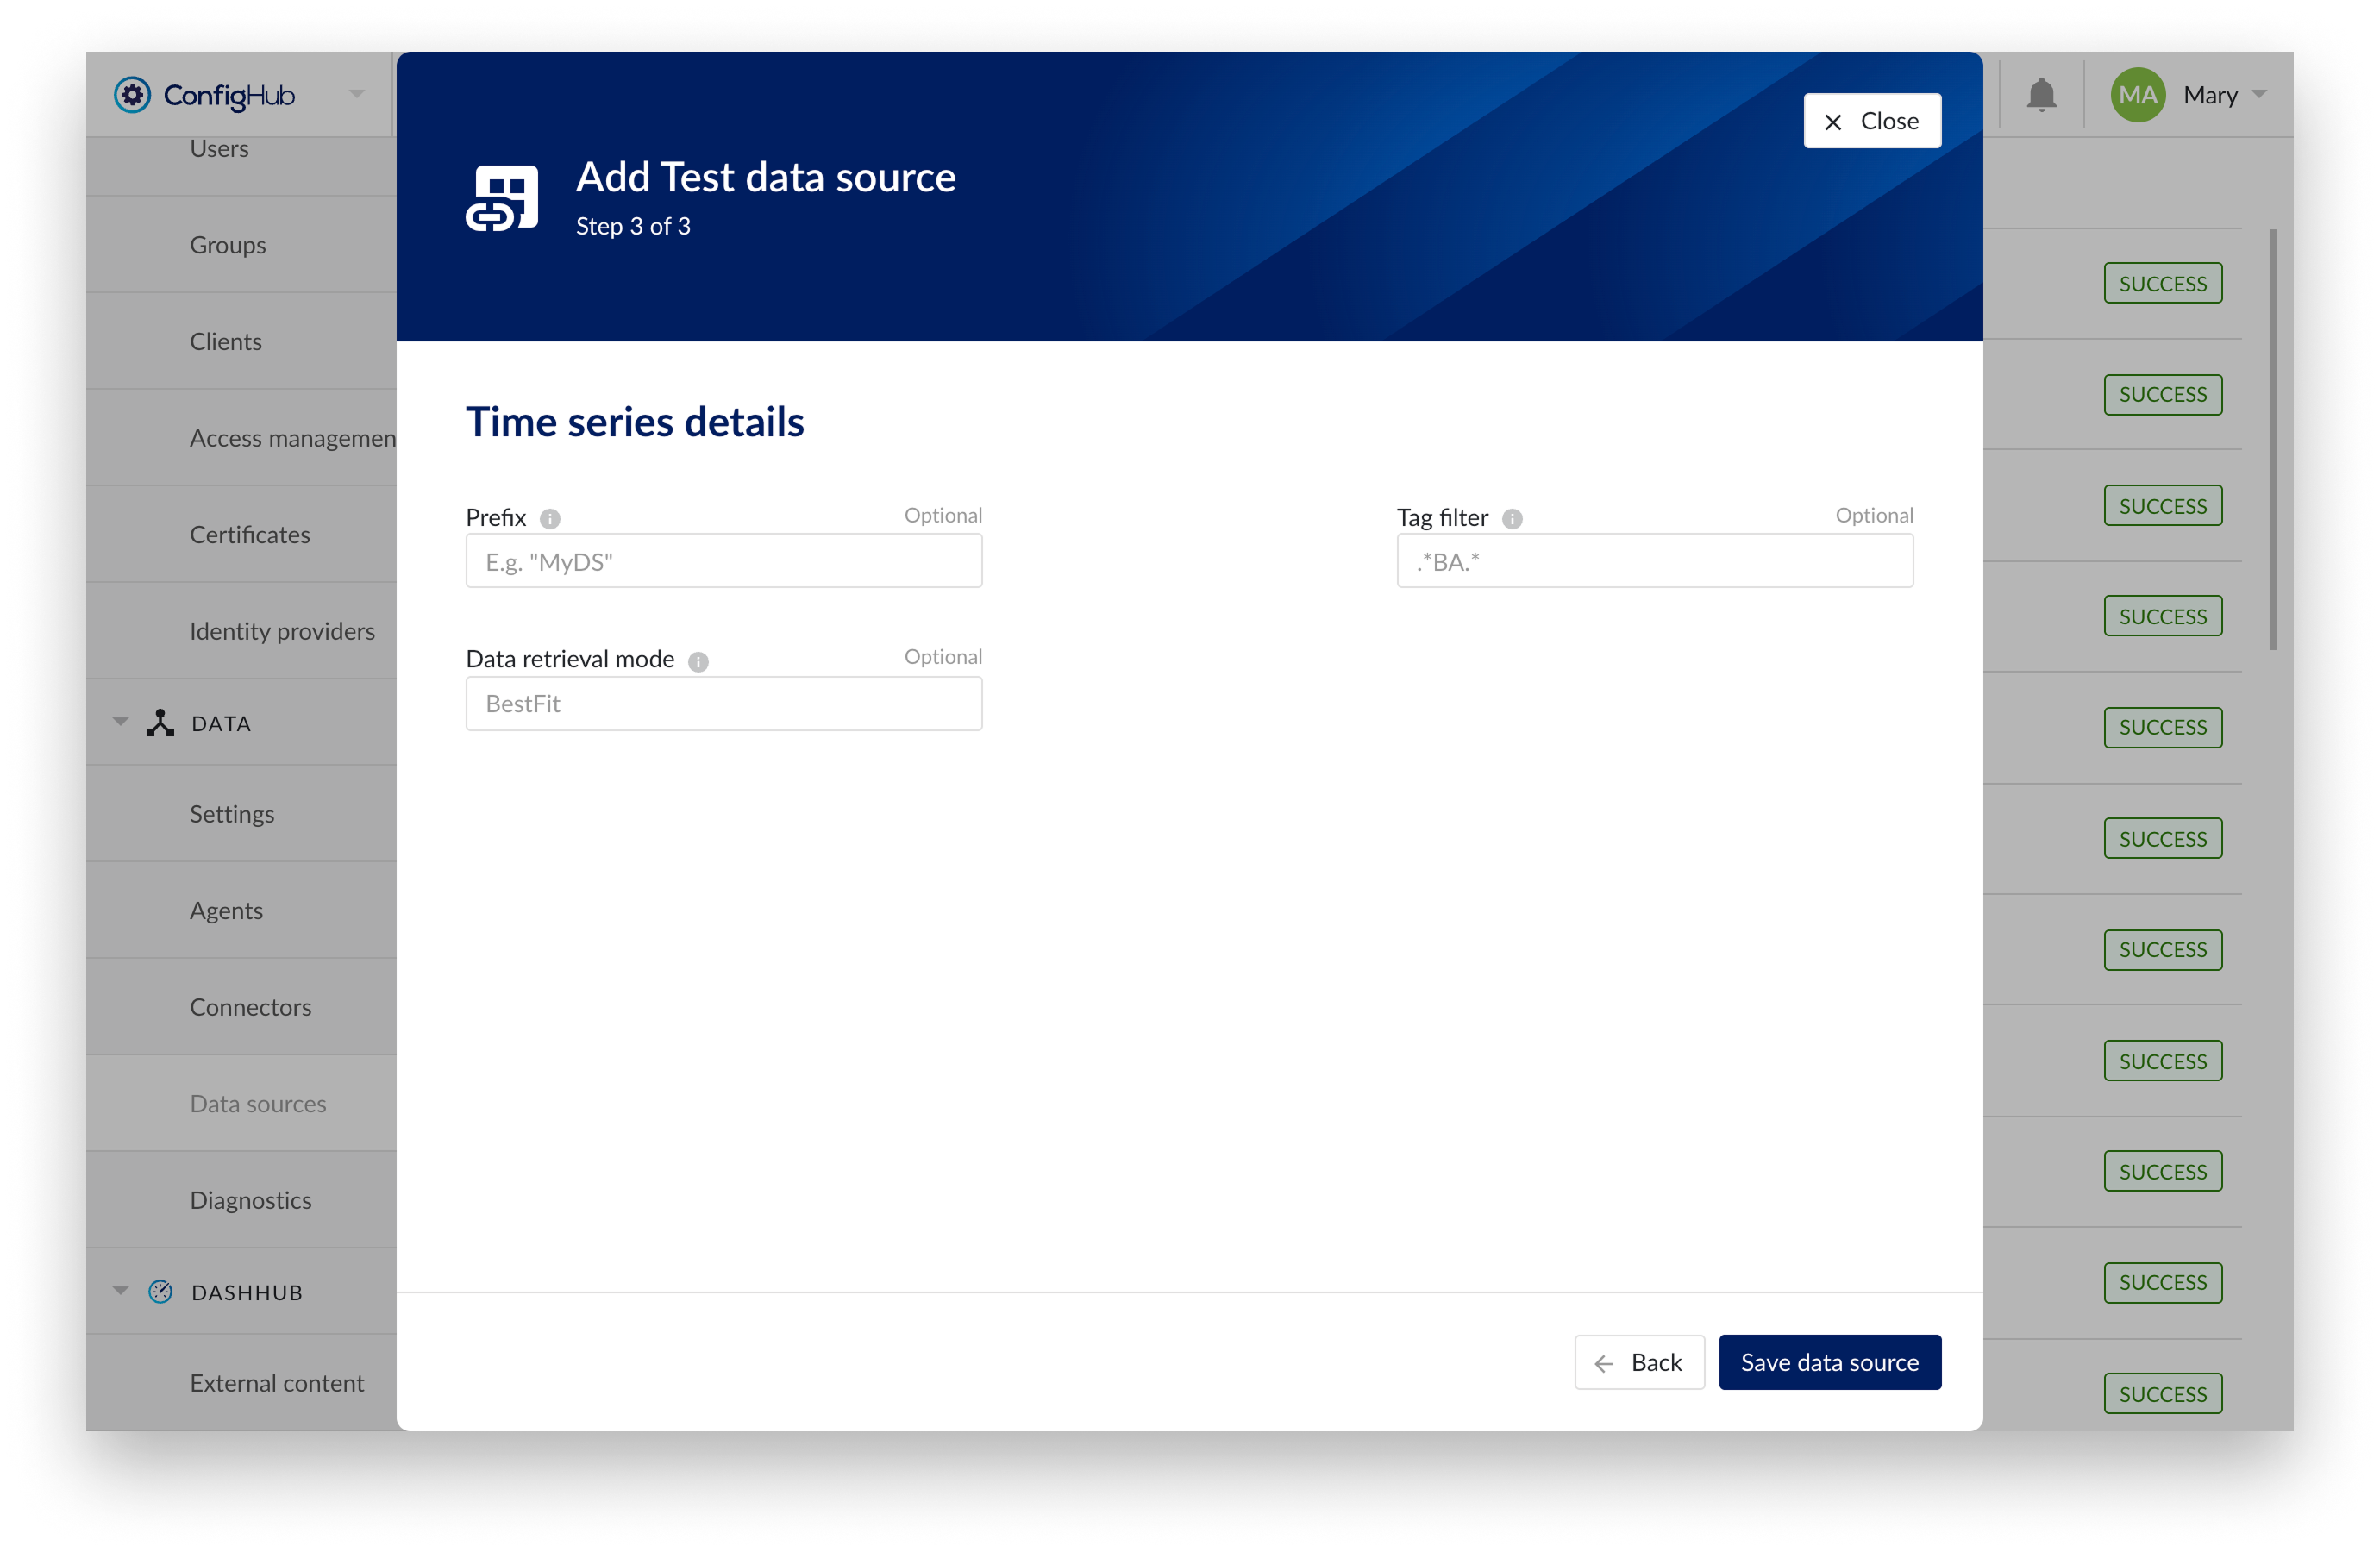
Time series details step in creation wizard