AlmaLinux installation
Boot up VM
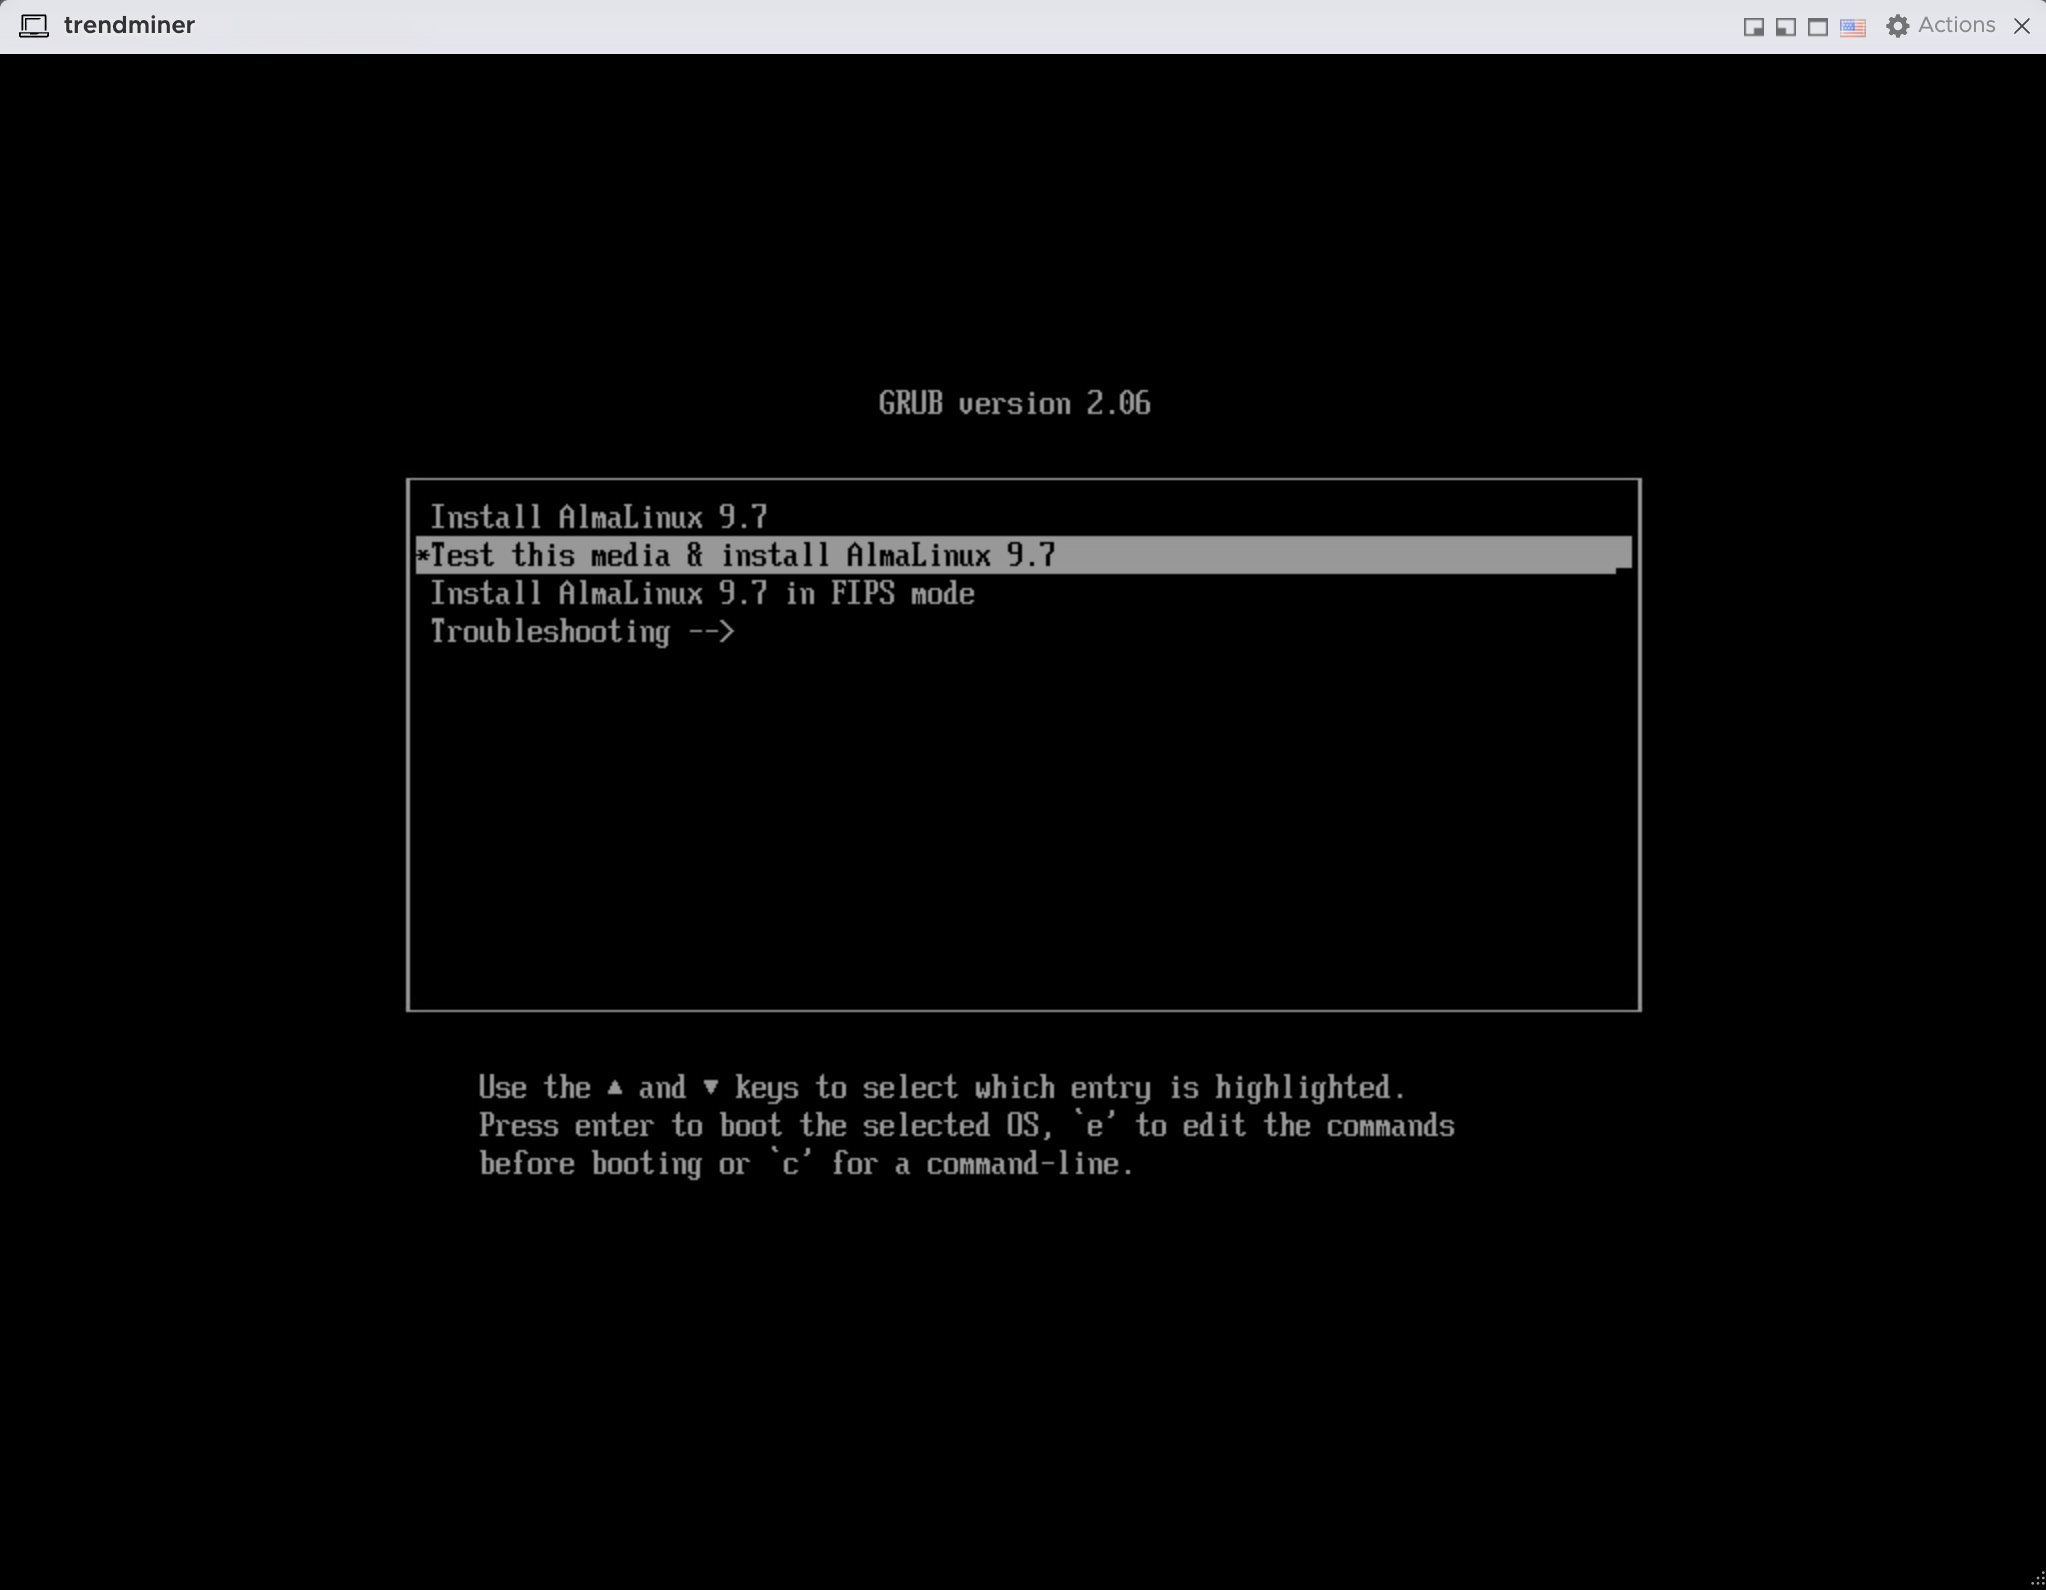
Power on the virtual machine and open the console window.
The AlmaLinux iso is booted and an installation menu is presented. Select "Test this media & install AlmaLinux 9.7".
Wait for the installation to finish.
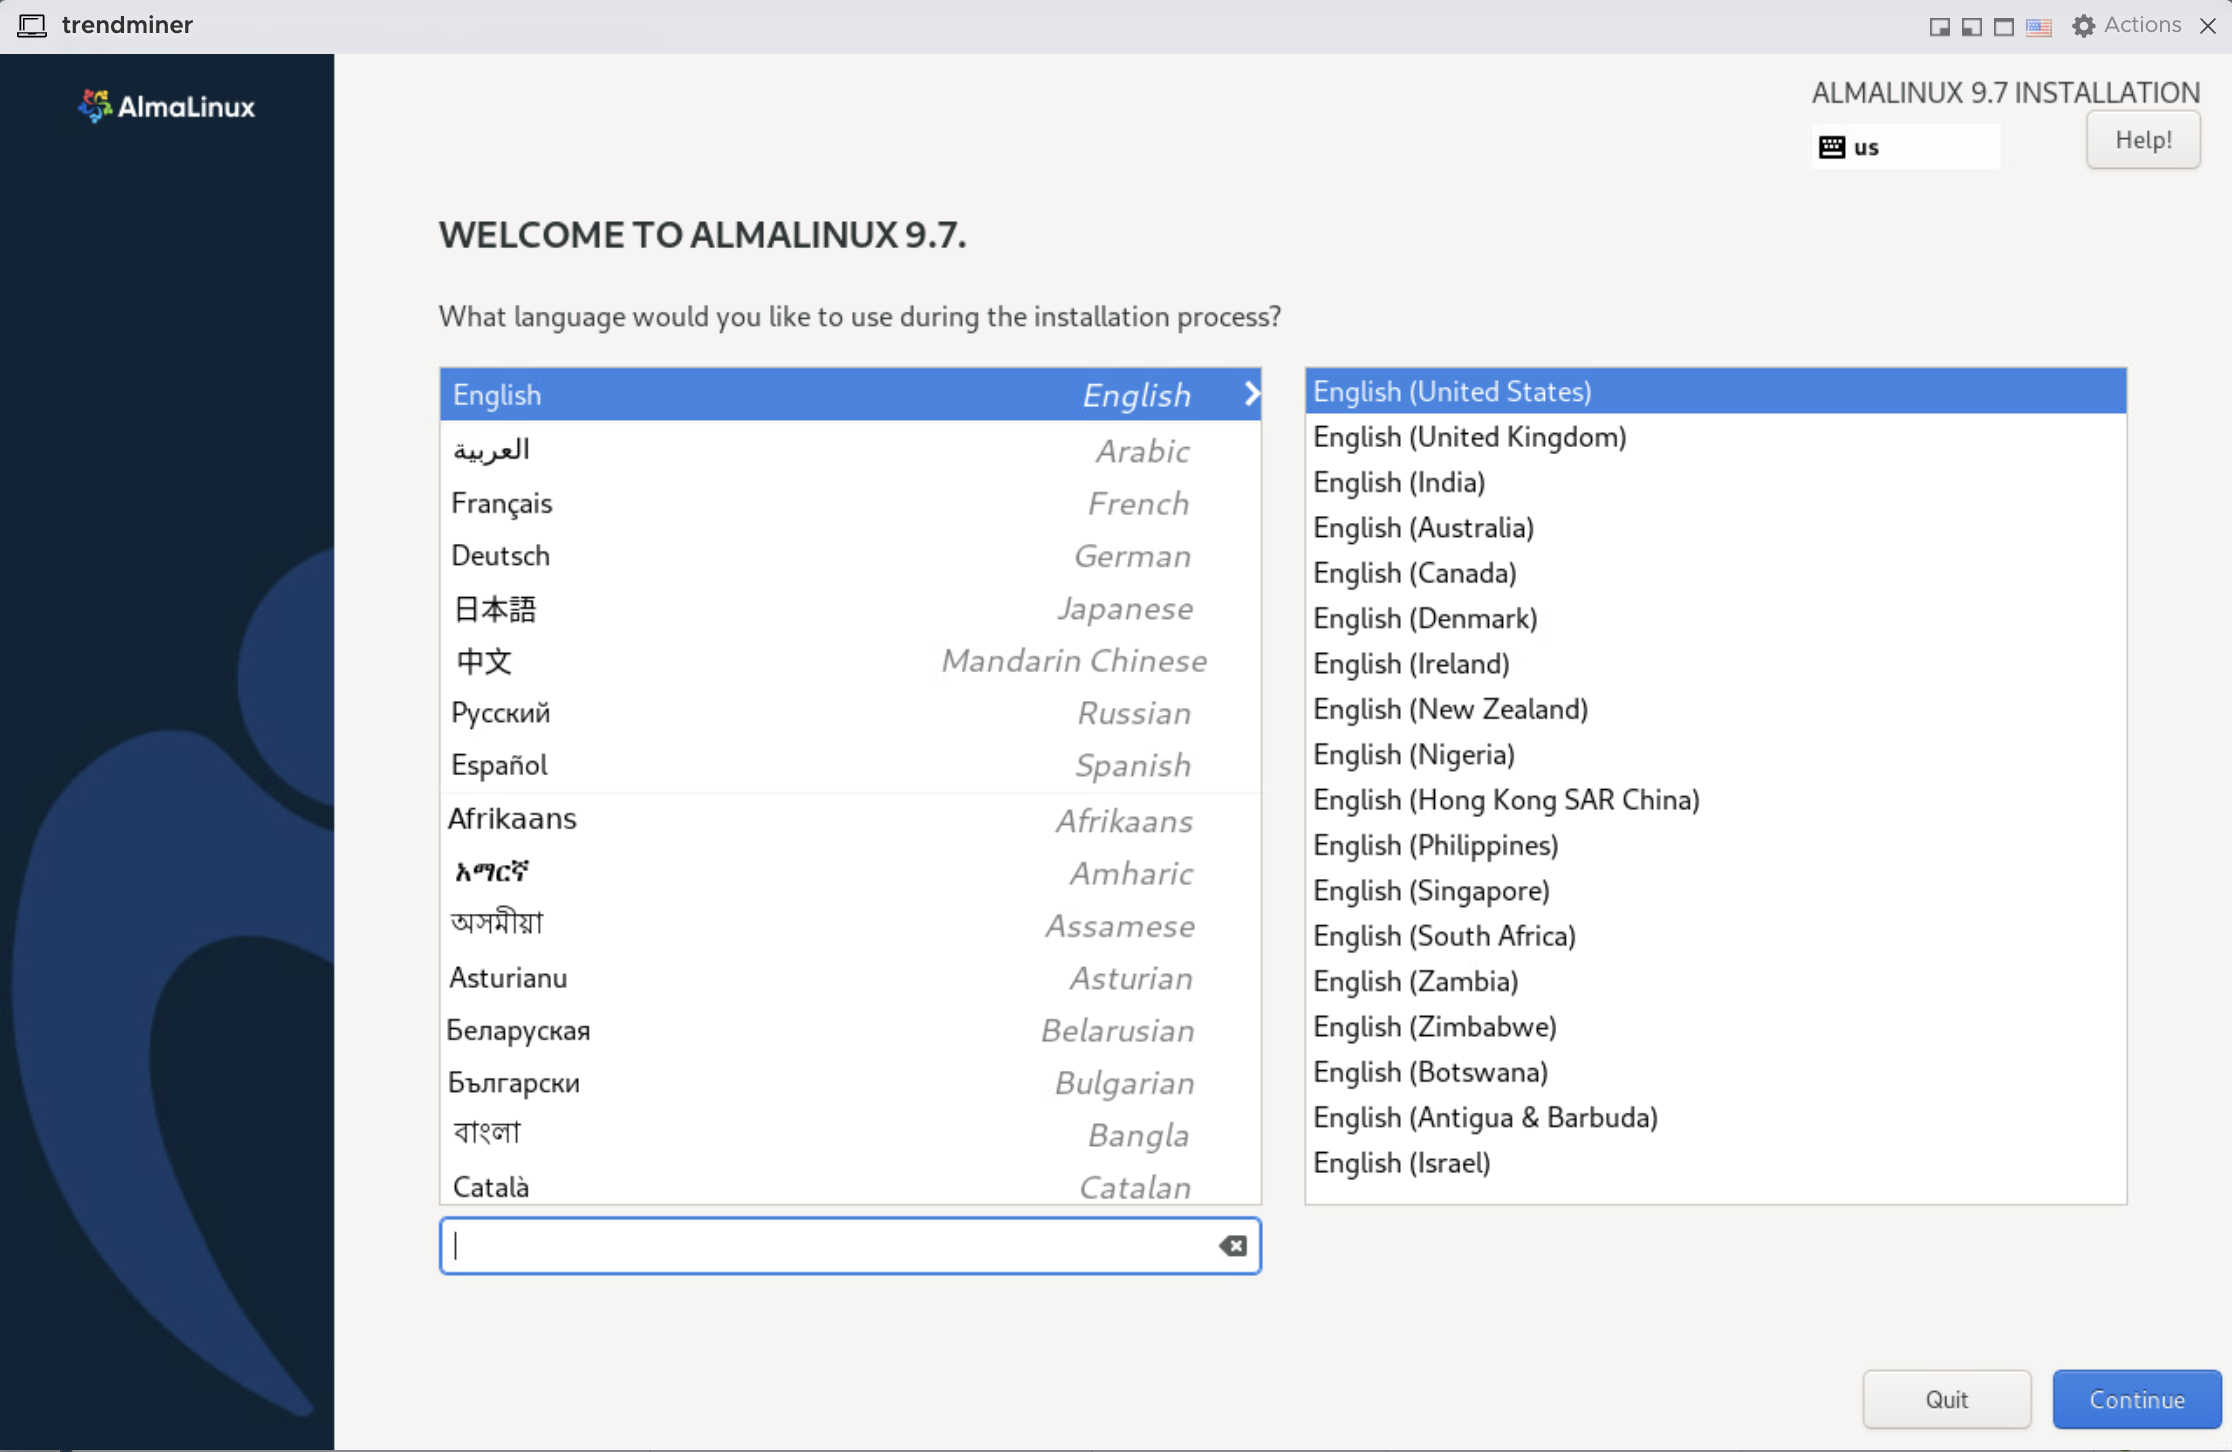
Select your language. Click continue.
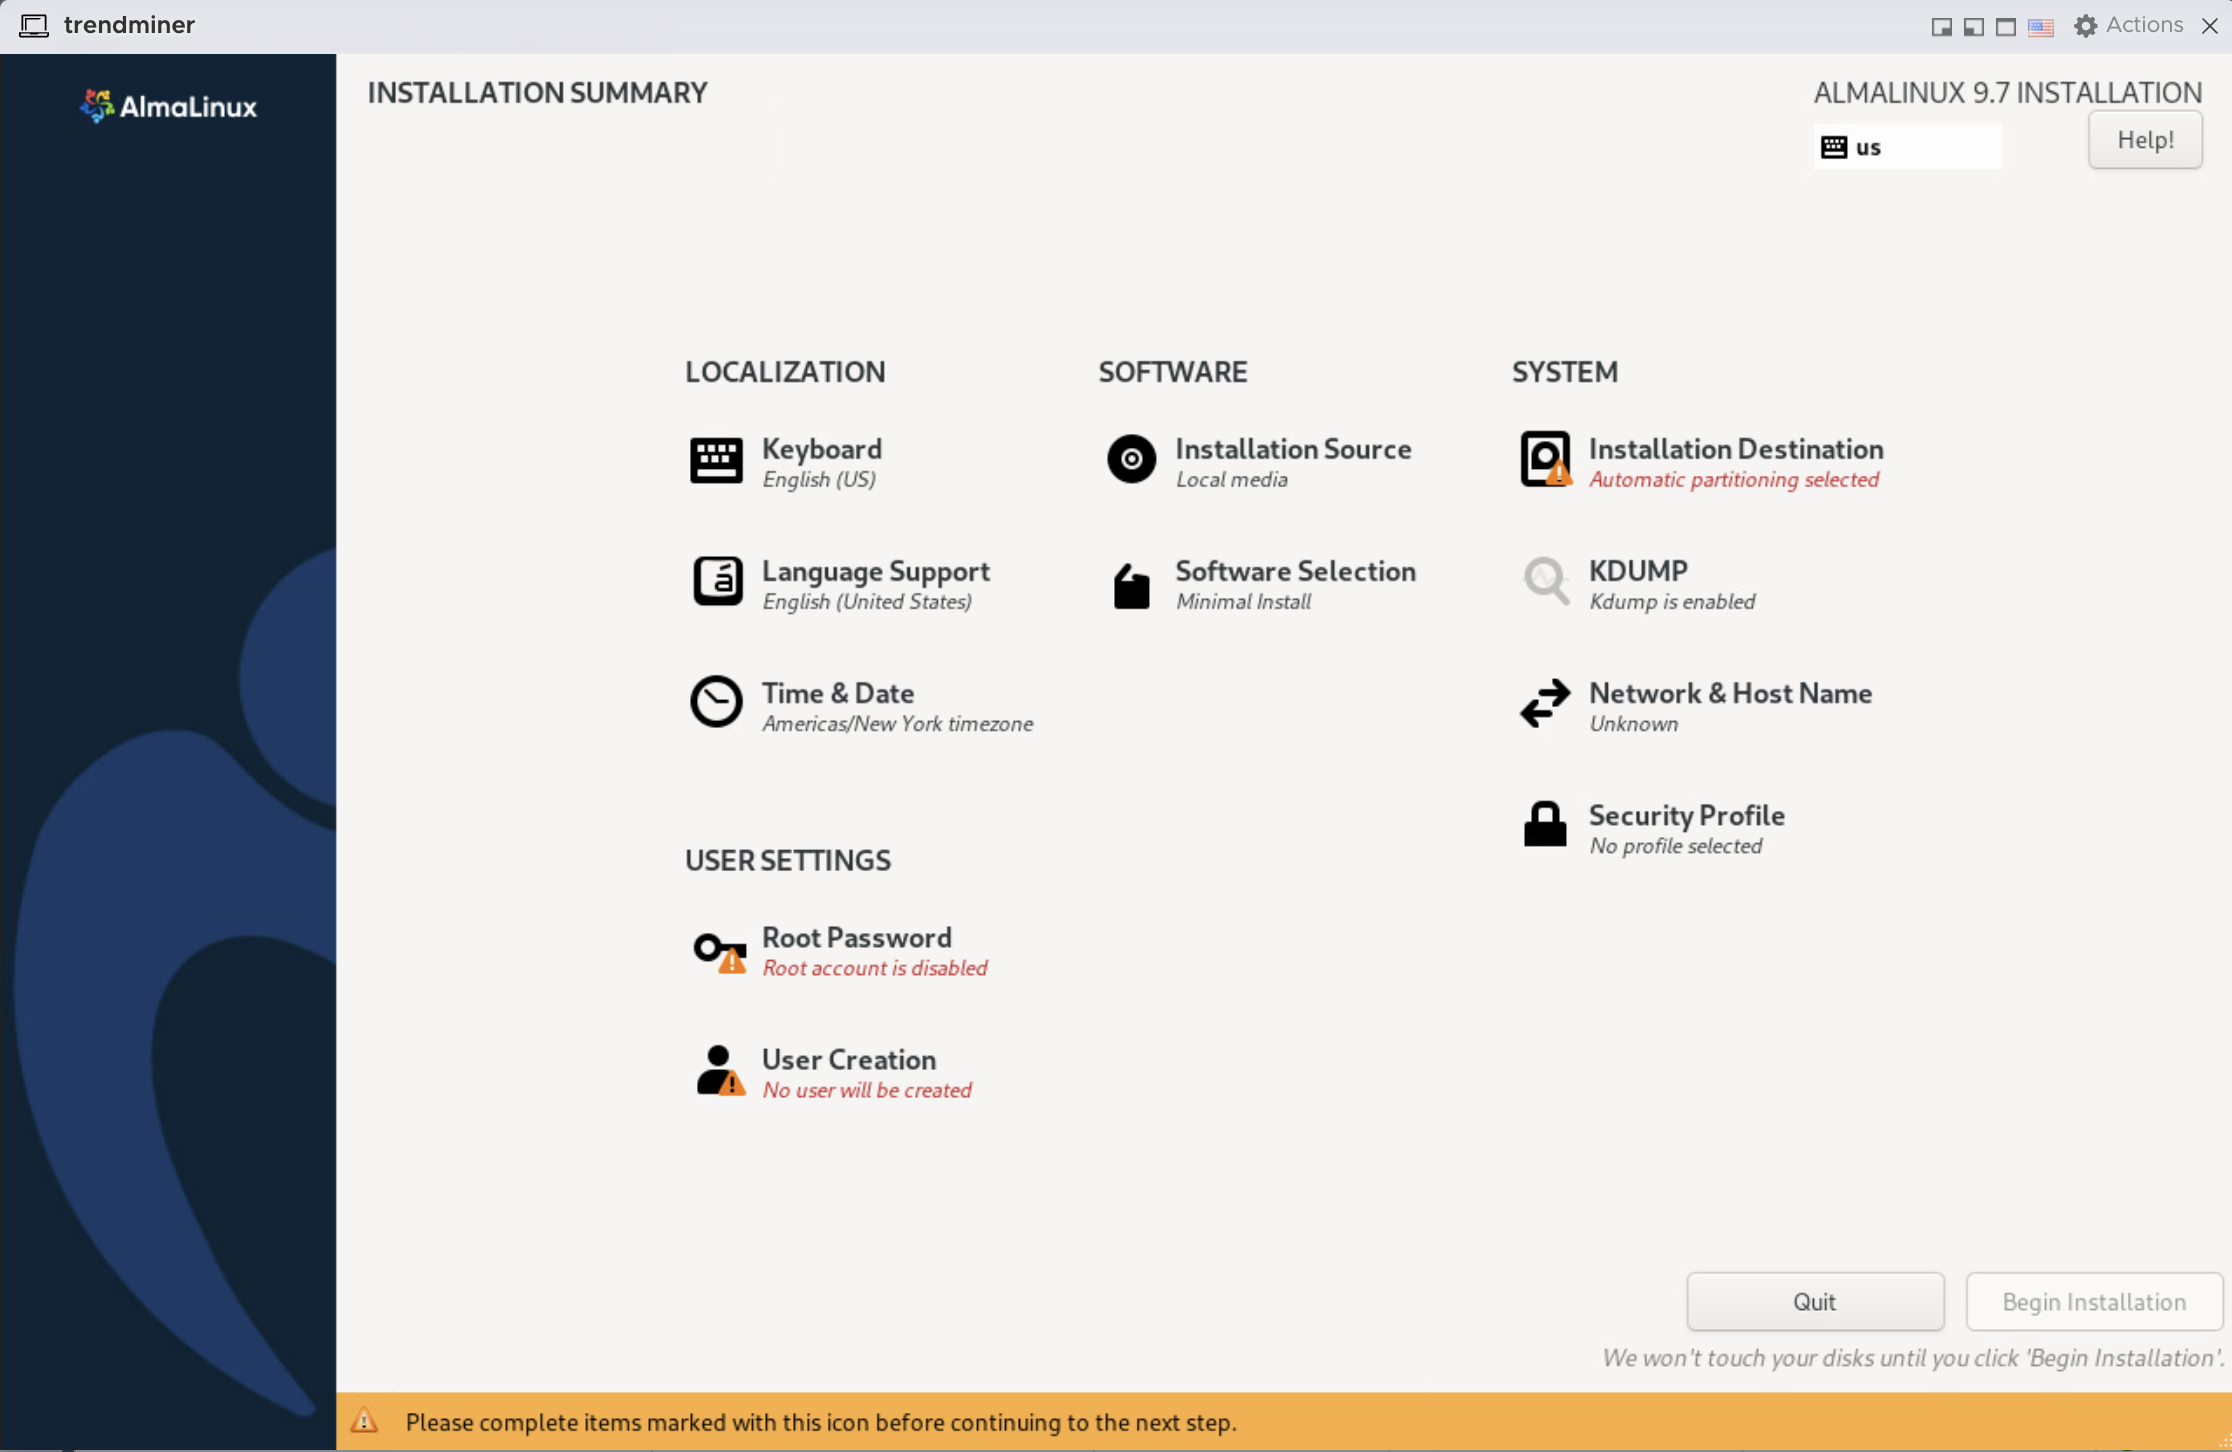
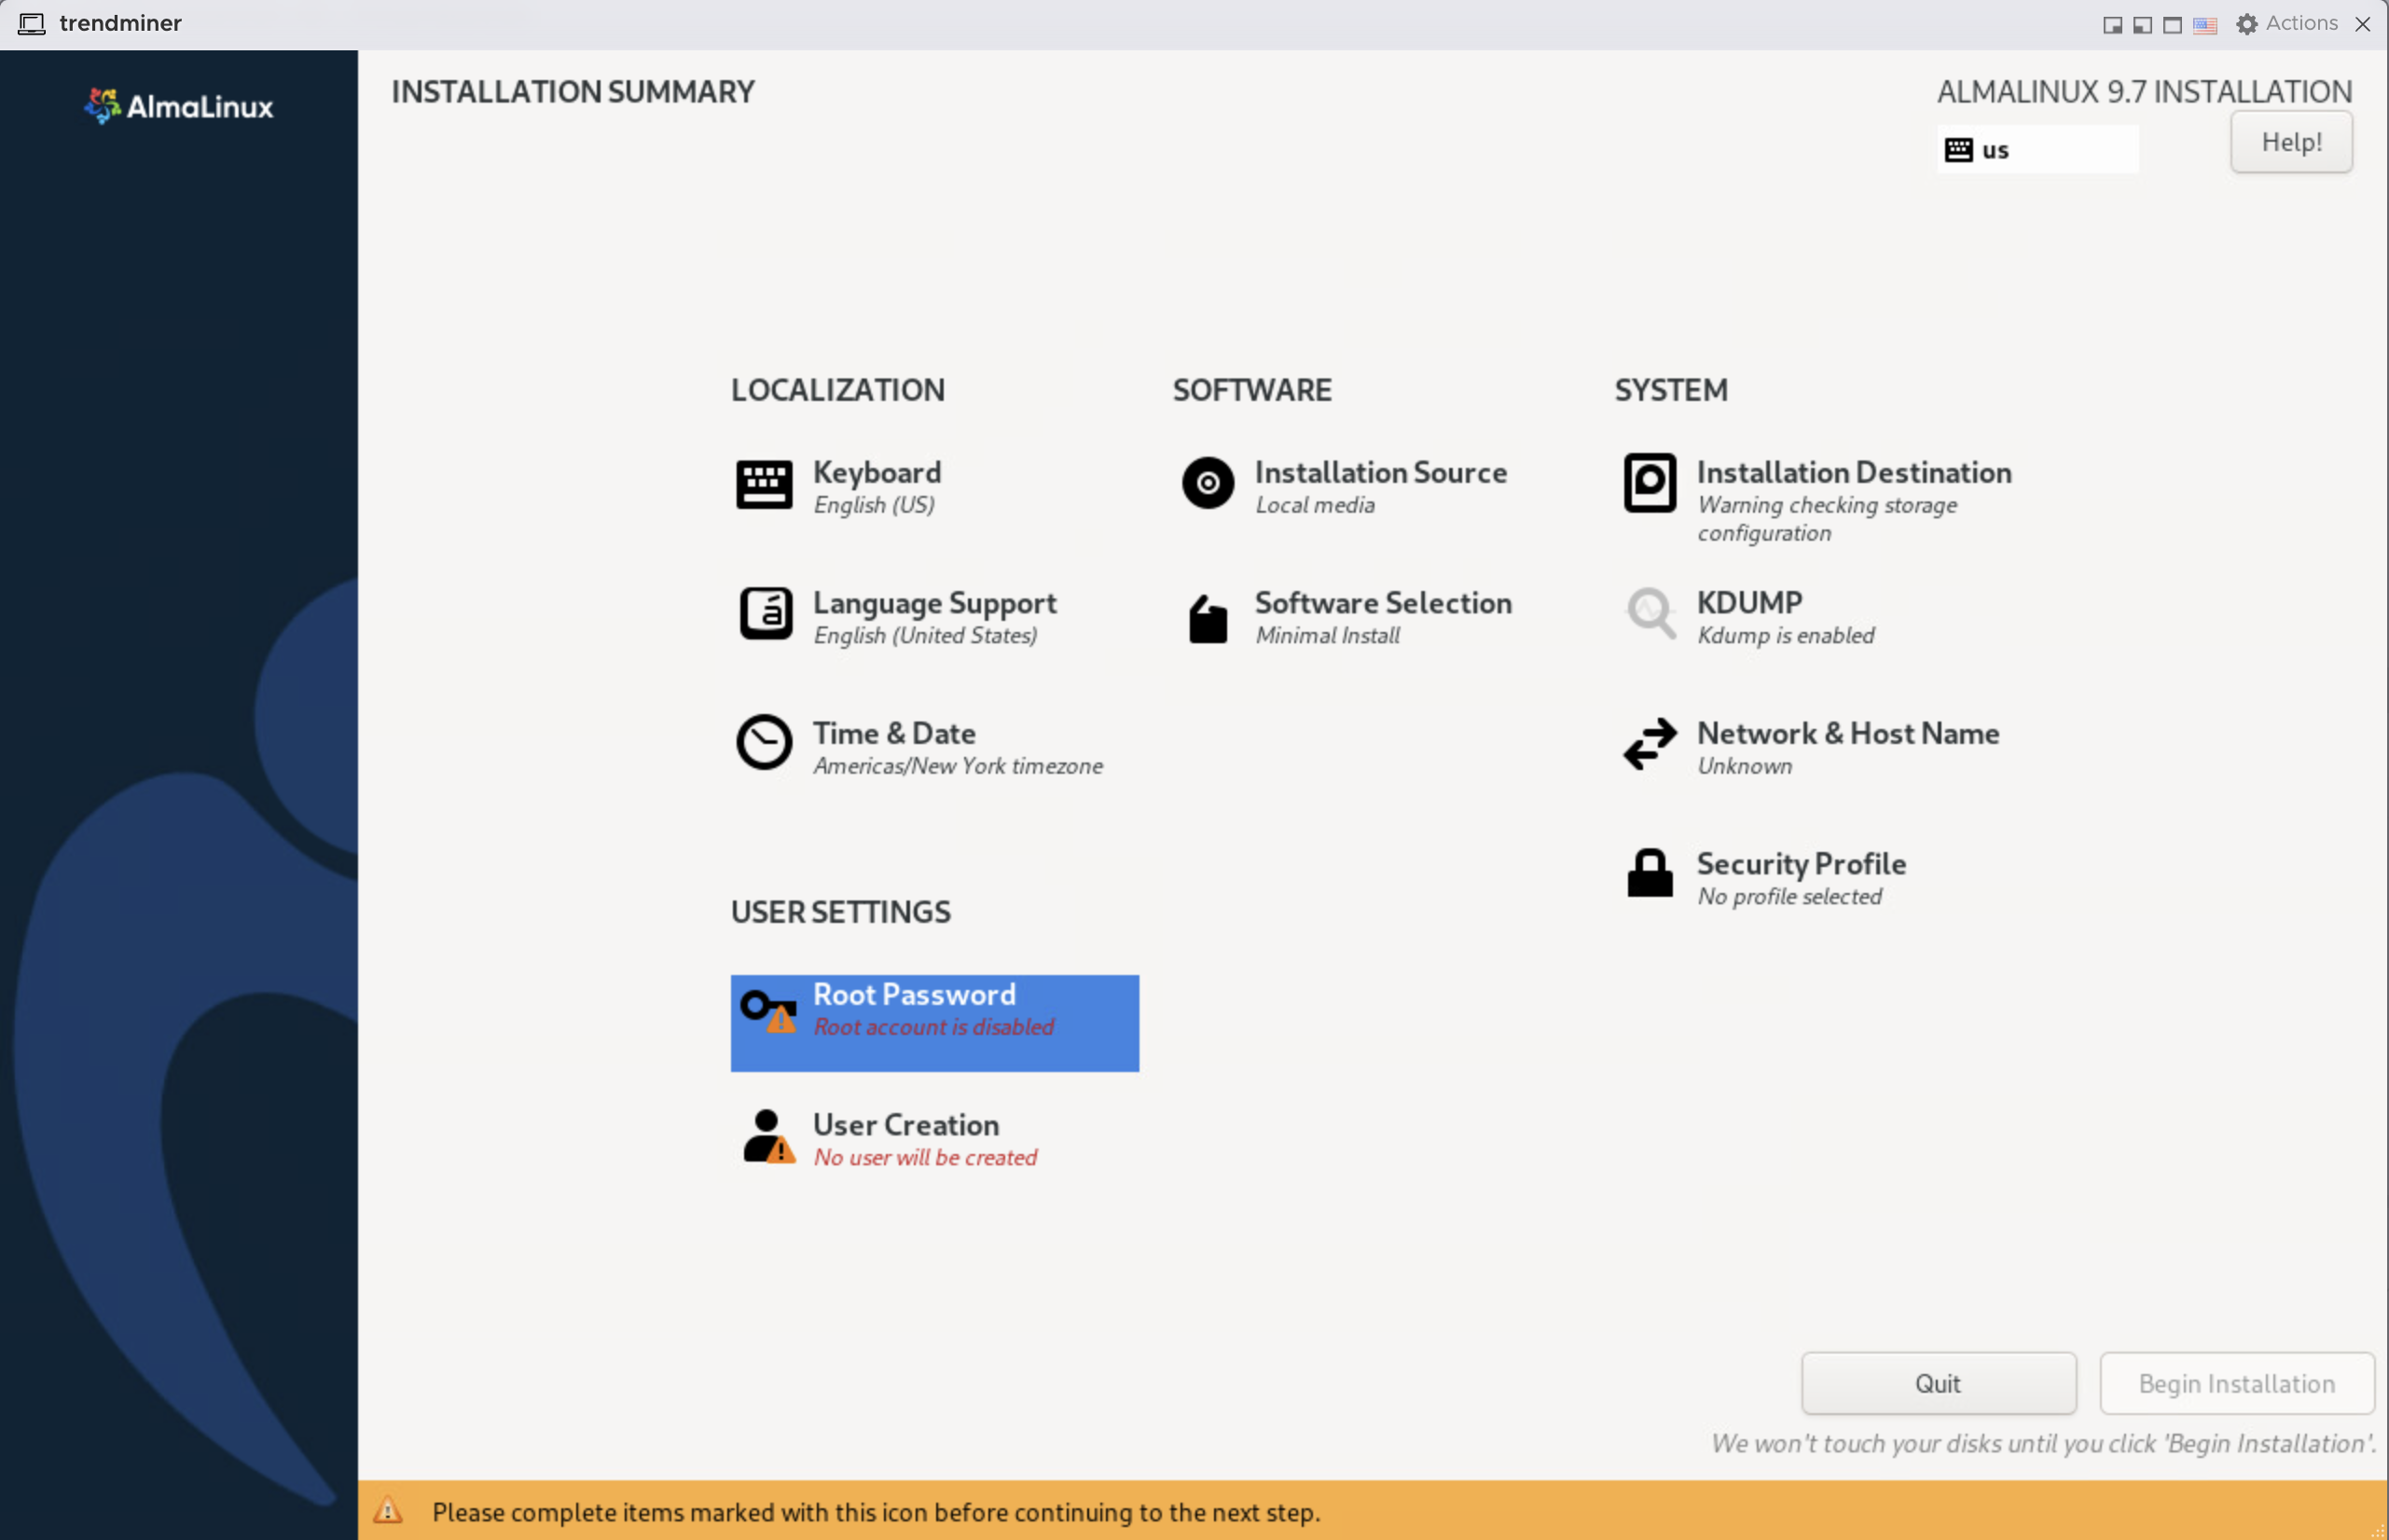
The installation summary opens.
Disk configuration
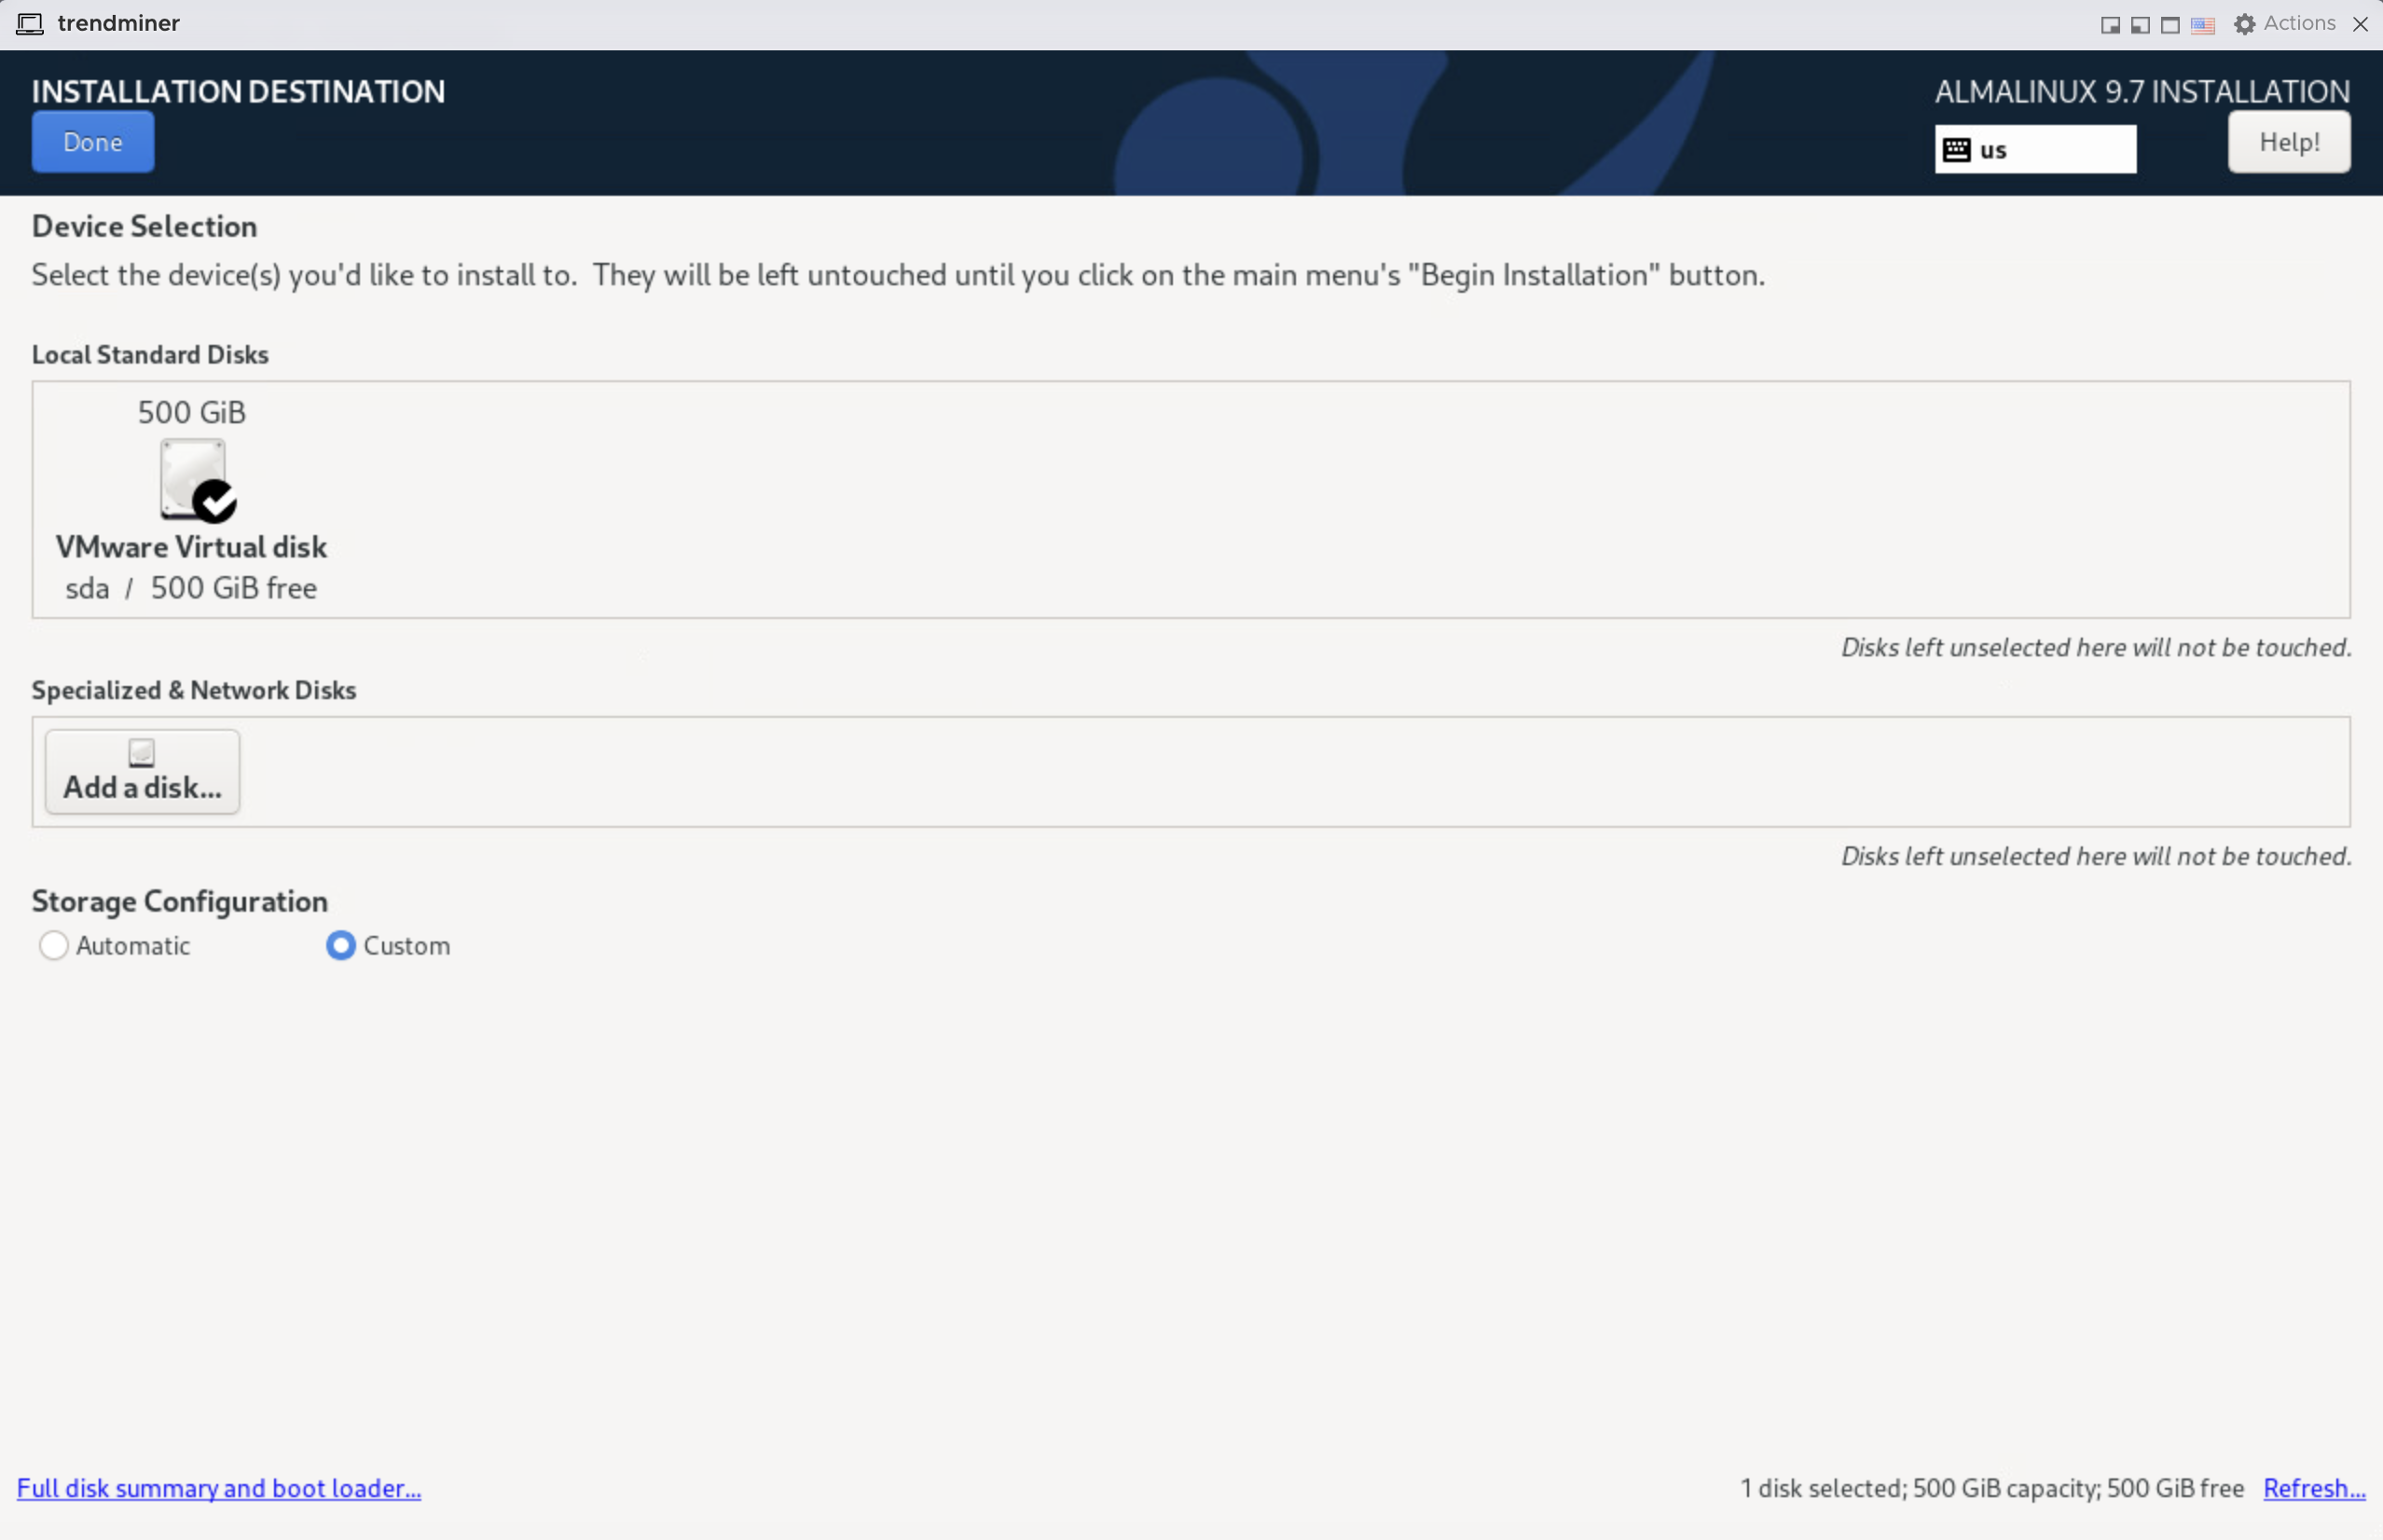
On the installation summary screen, click 'Installation Destination'.
Select the local standard disk (if not yet selected) and make sure to select "Custom" under "Storage Configuration". Click on 'Done' in the top left.
The manual disk partitioning screen opens.
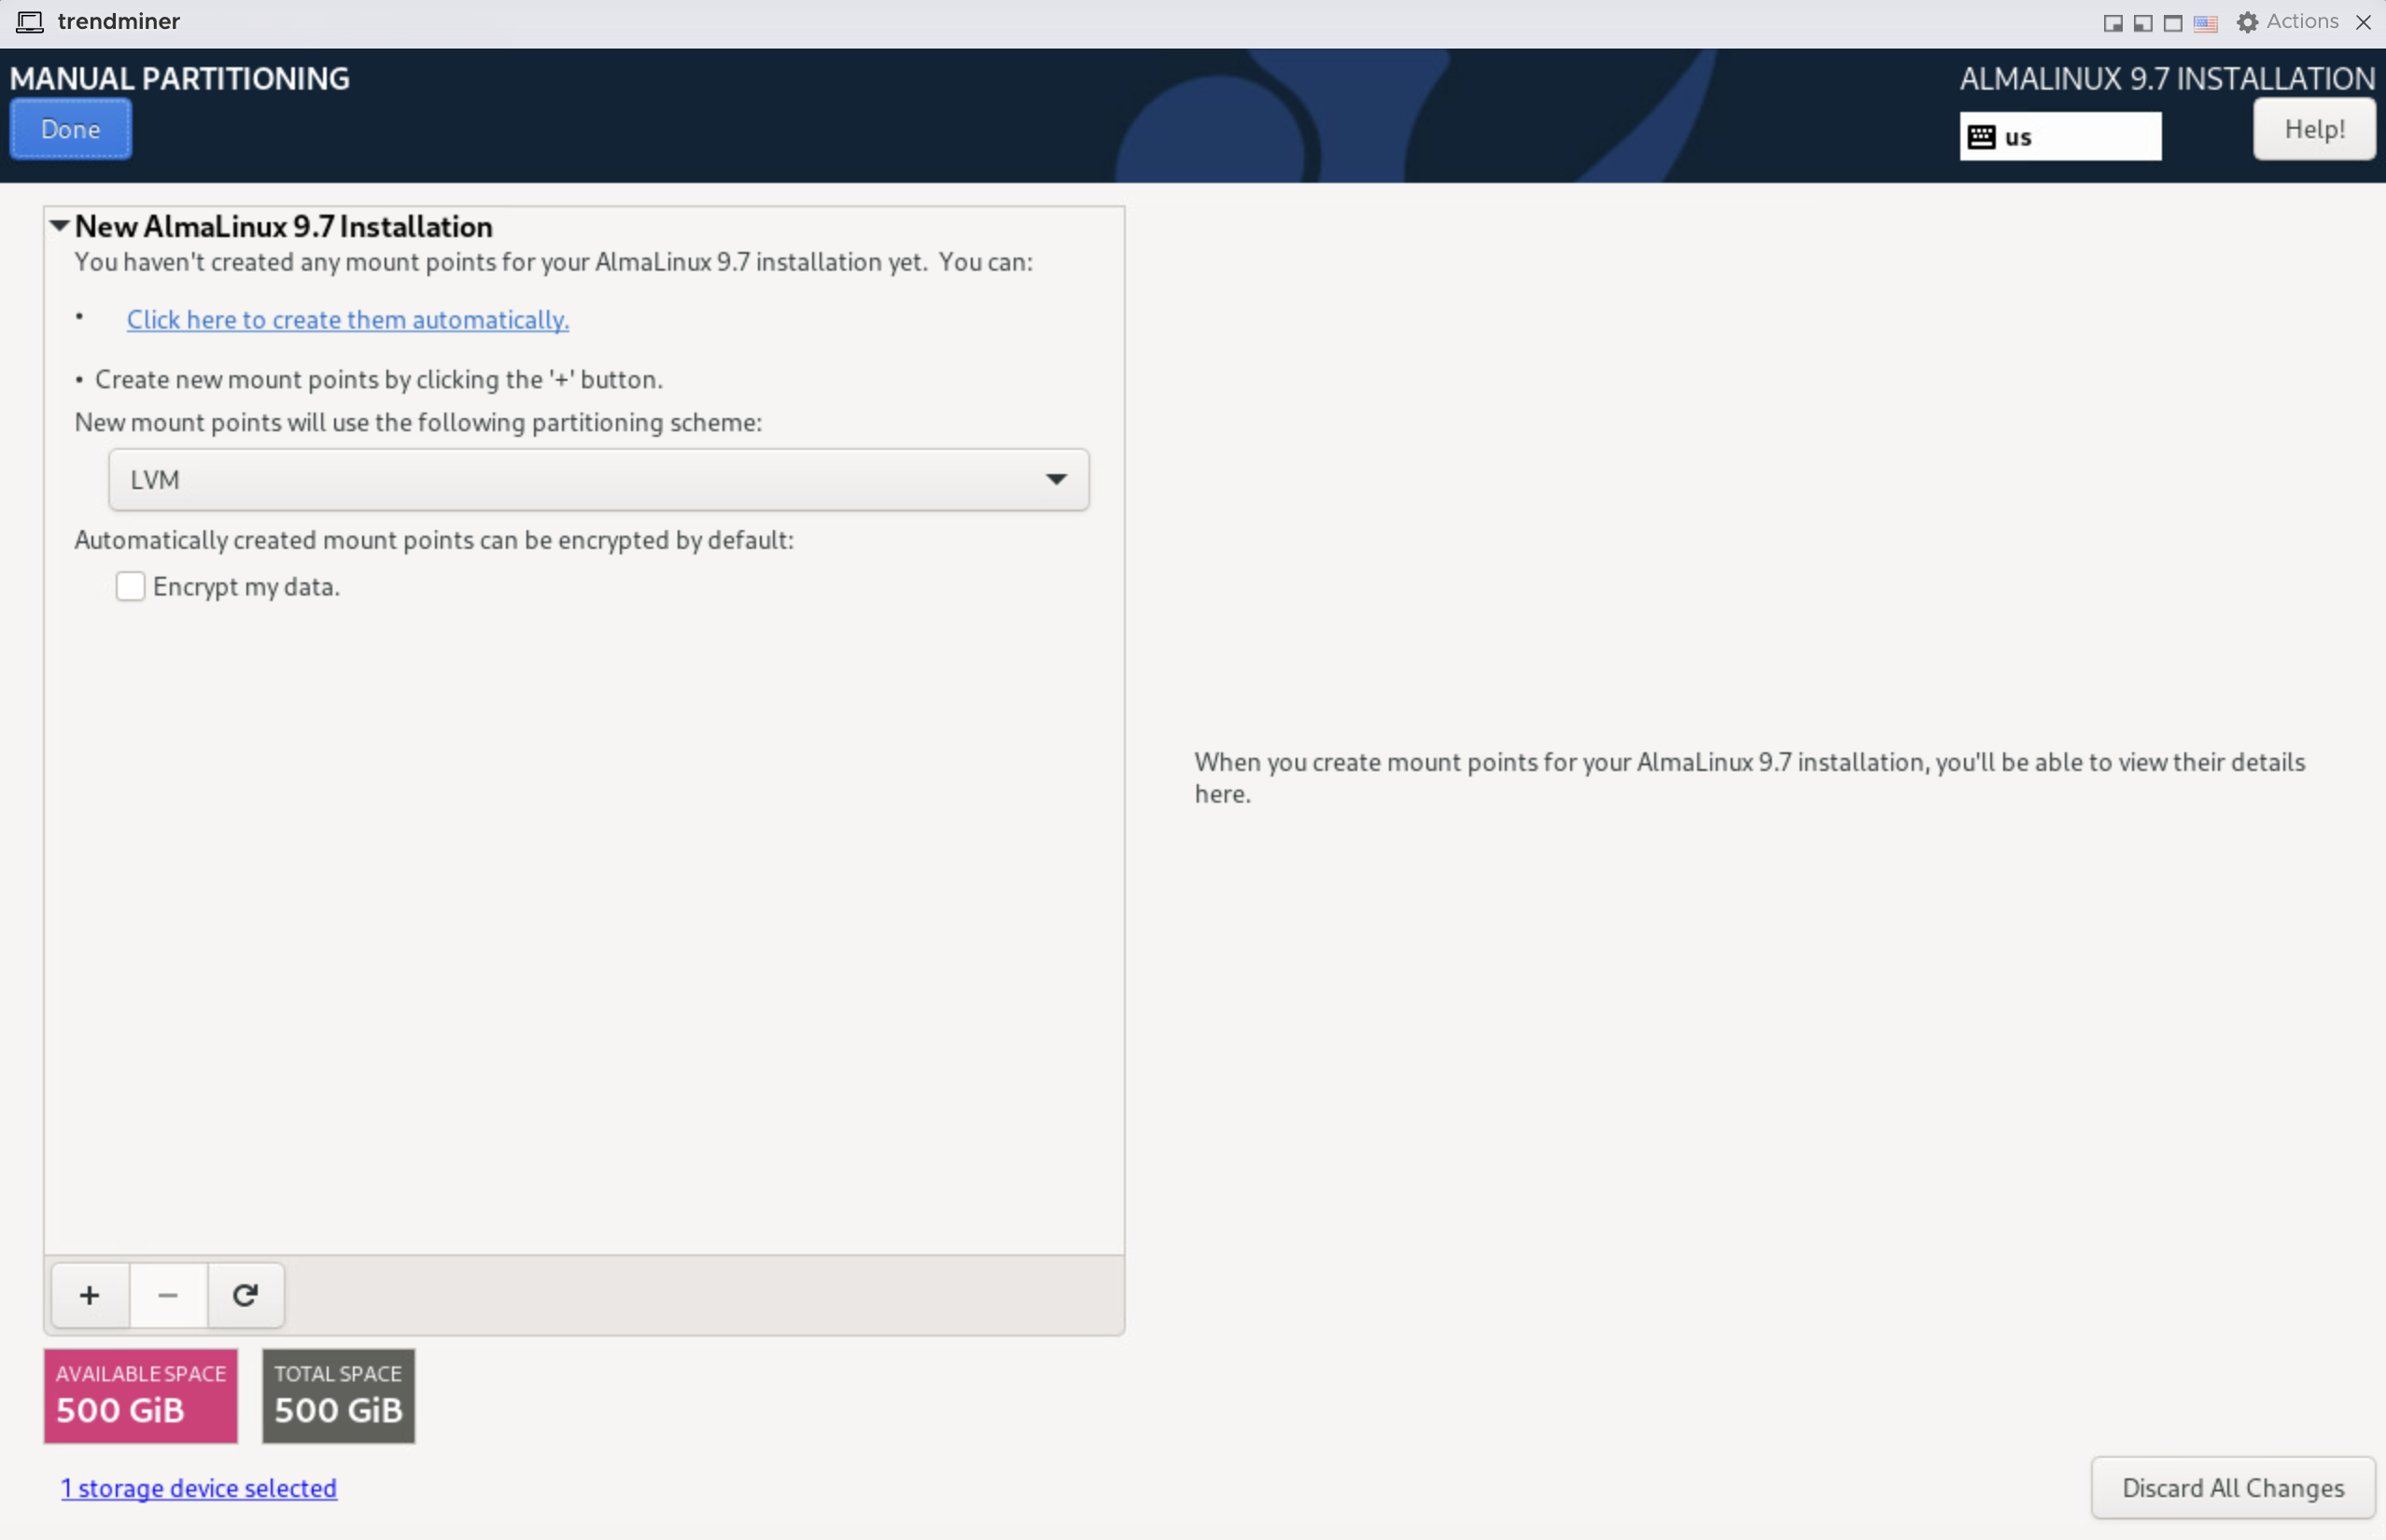
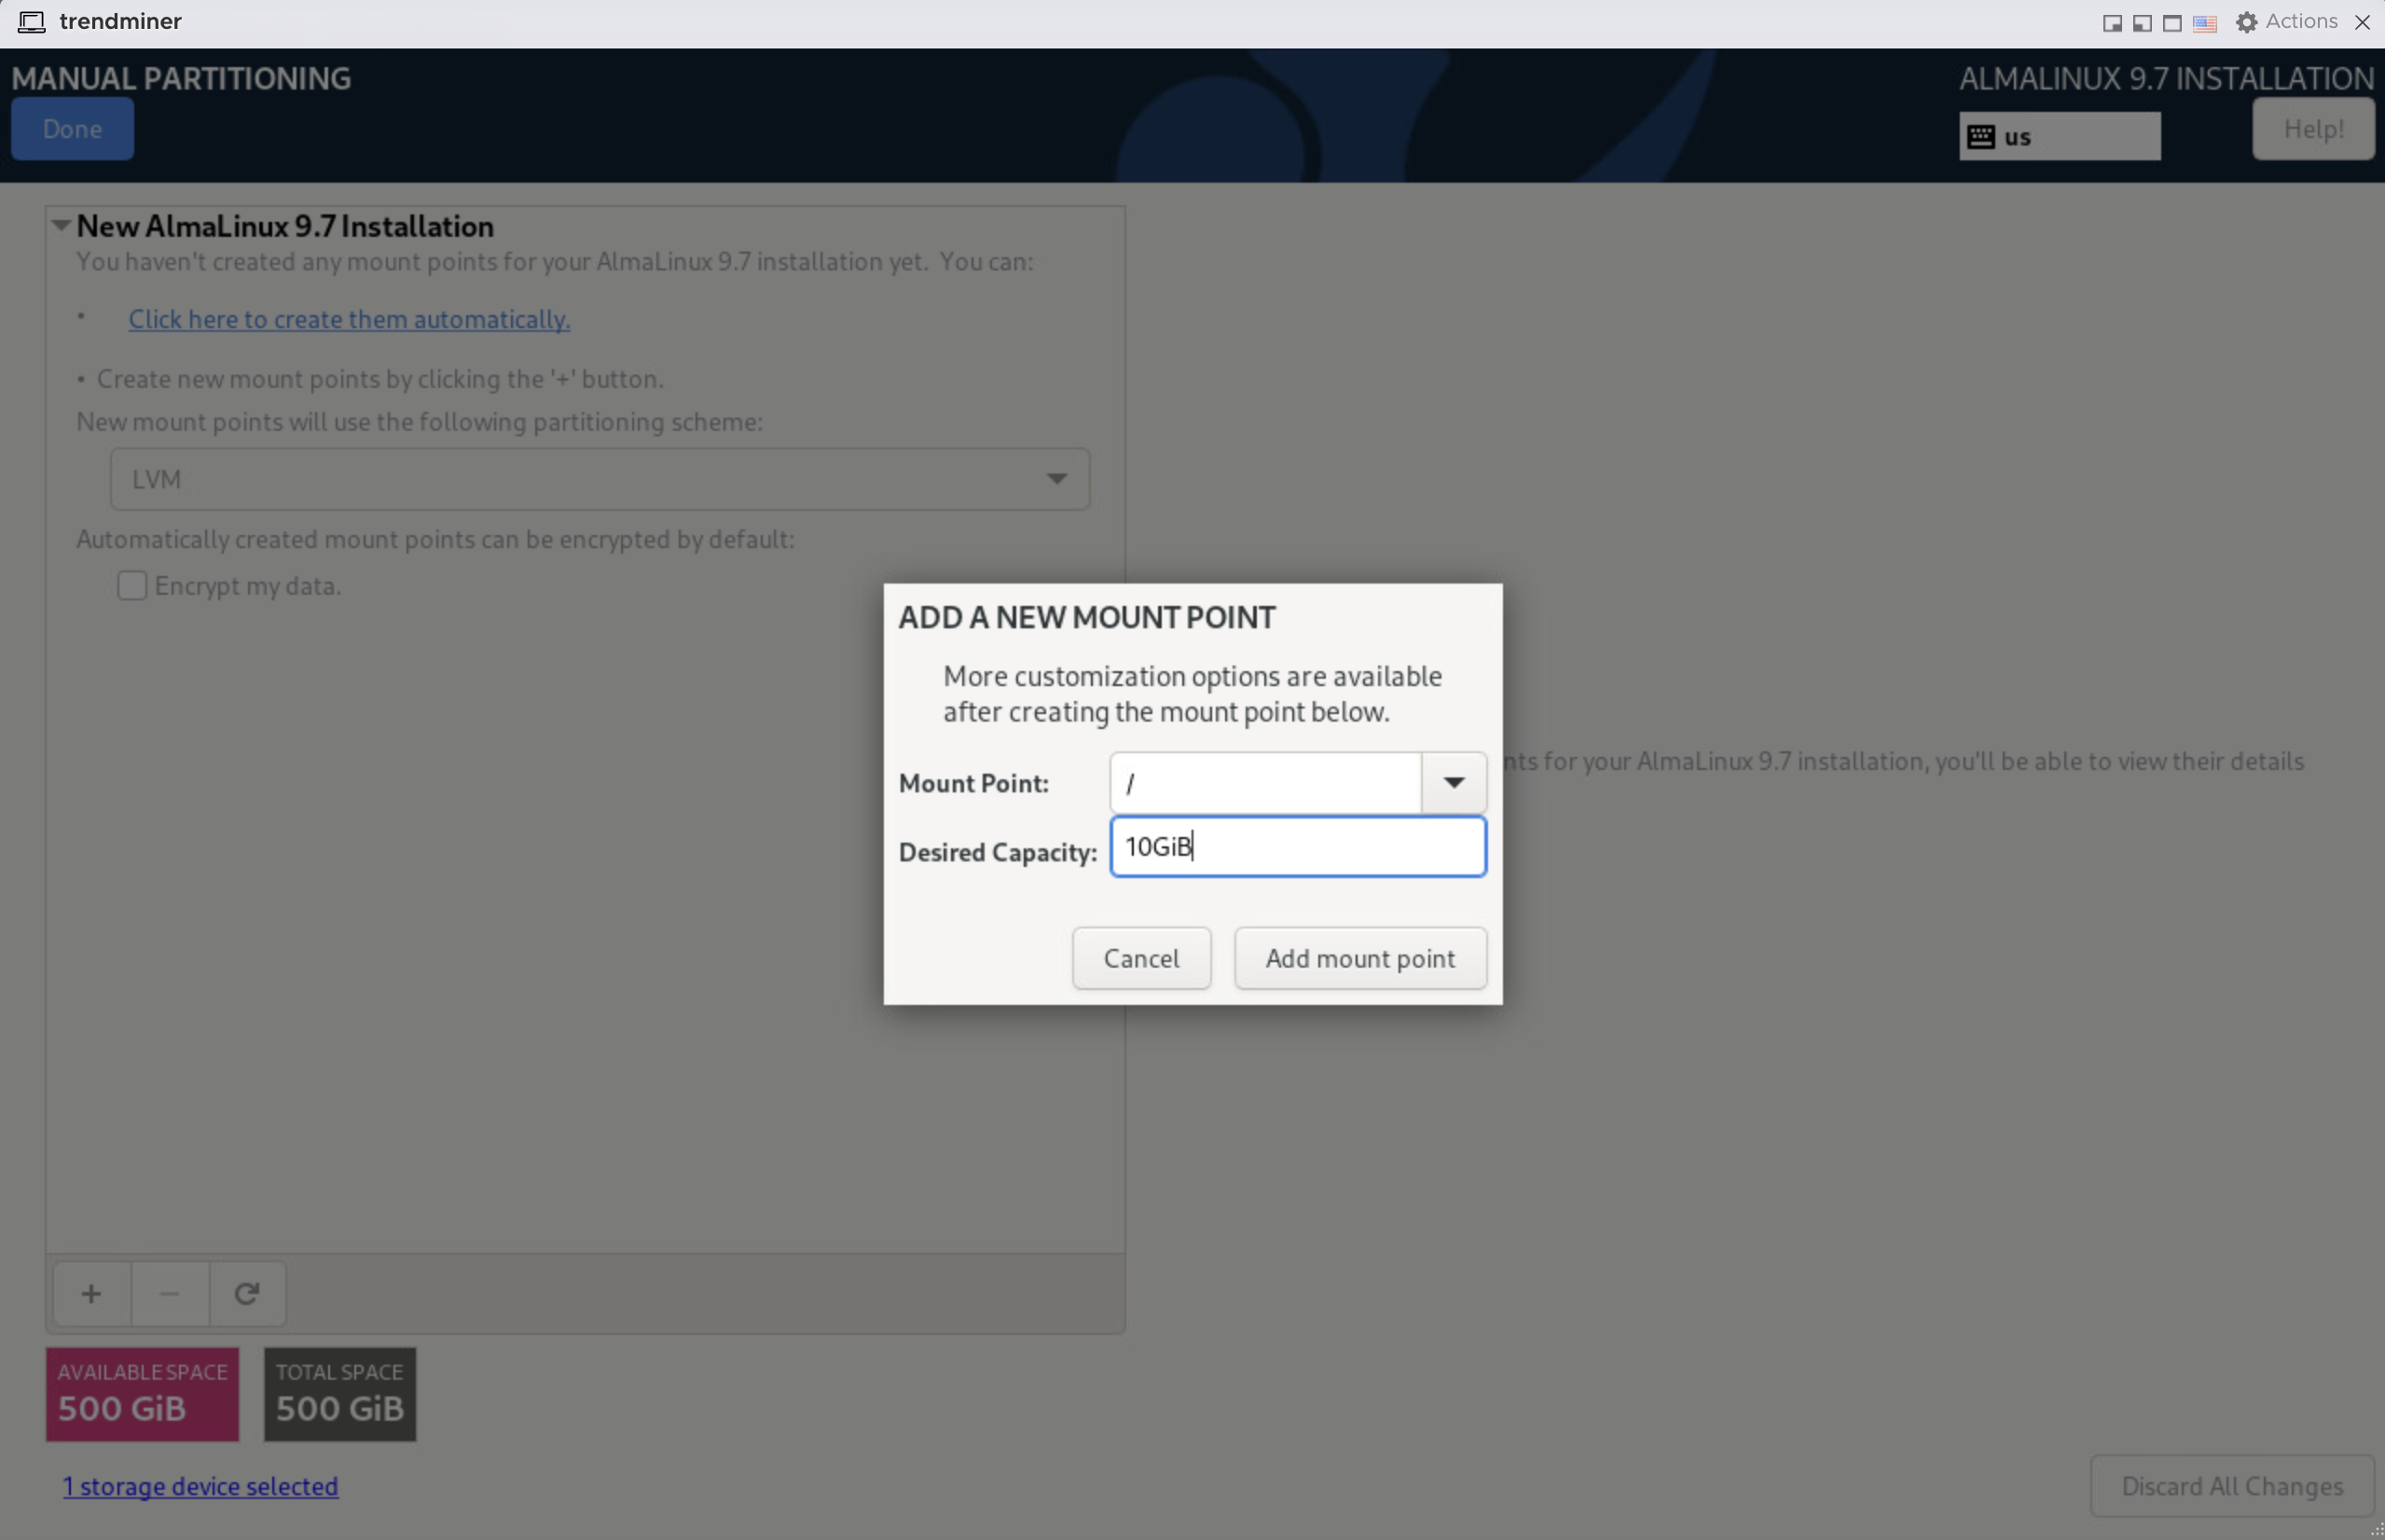
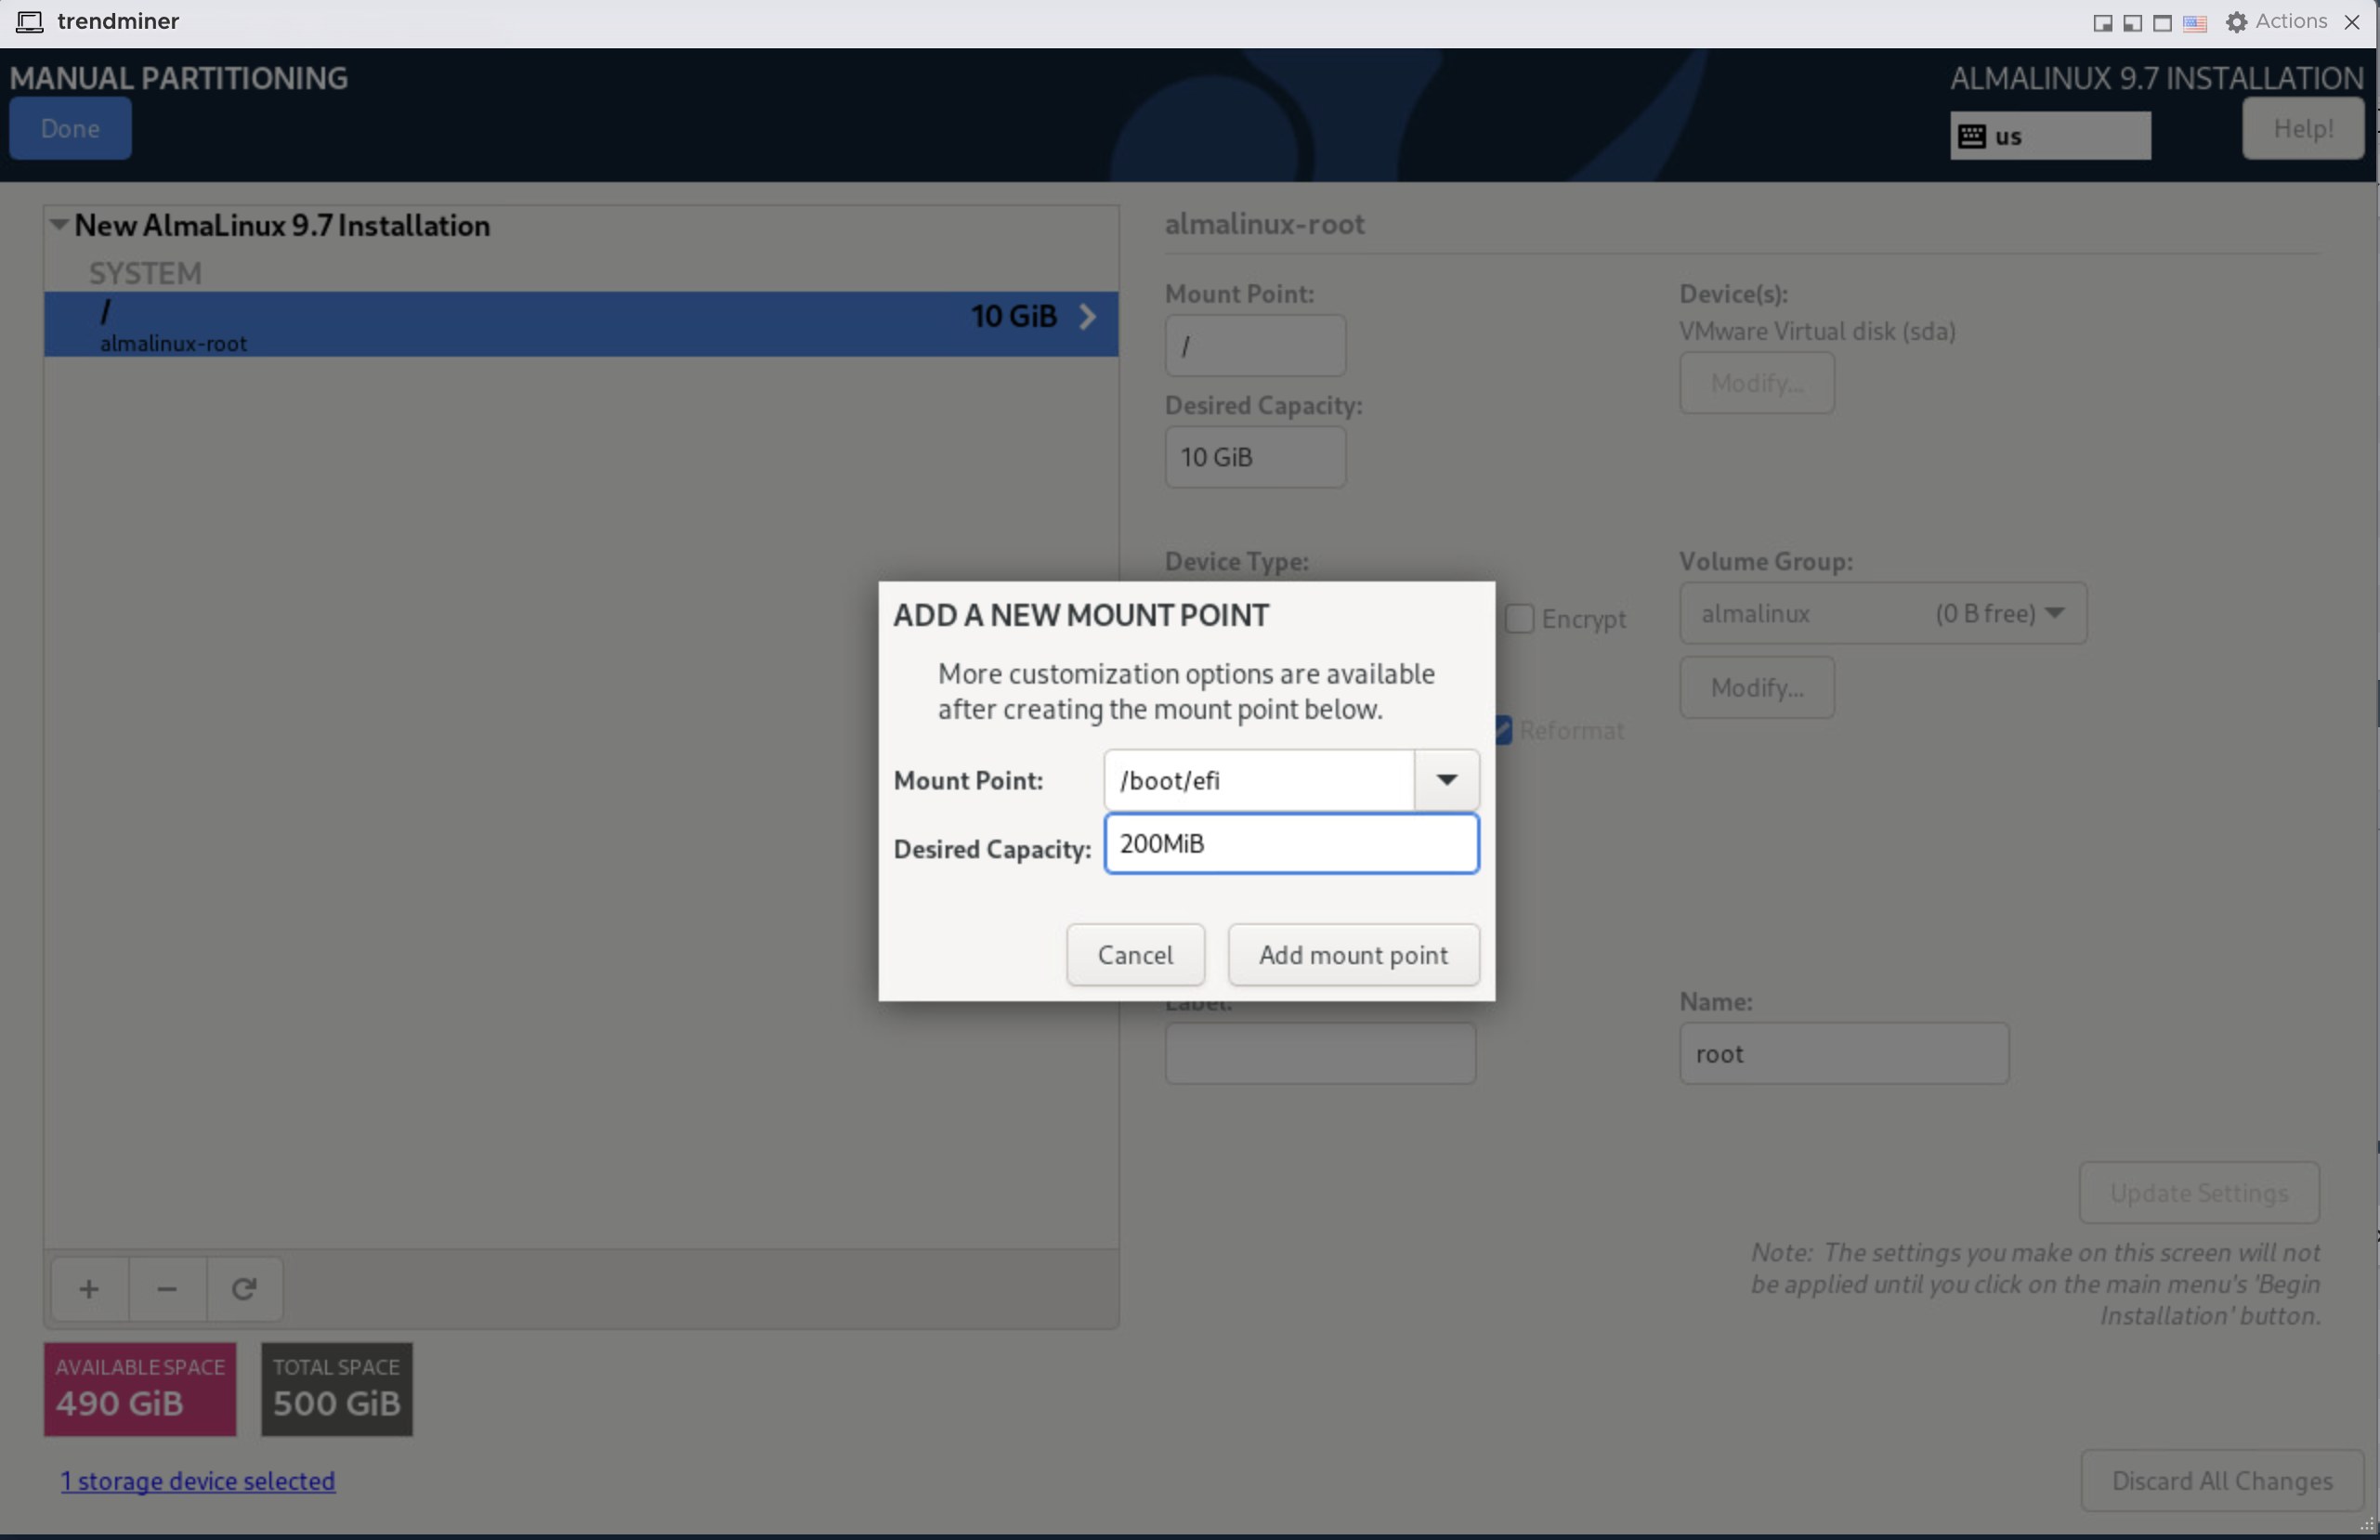
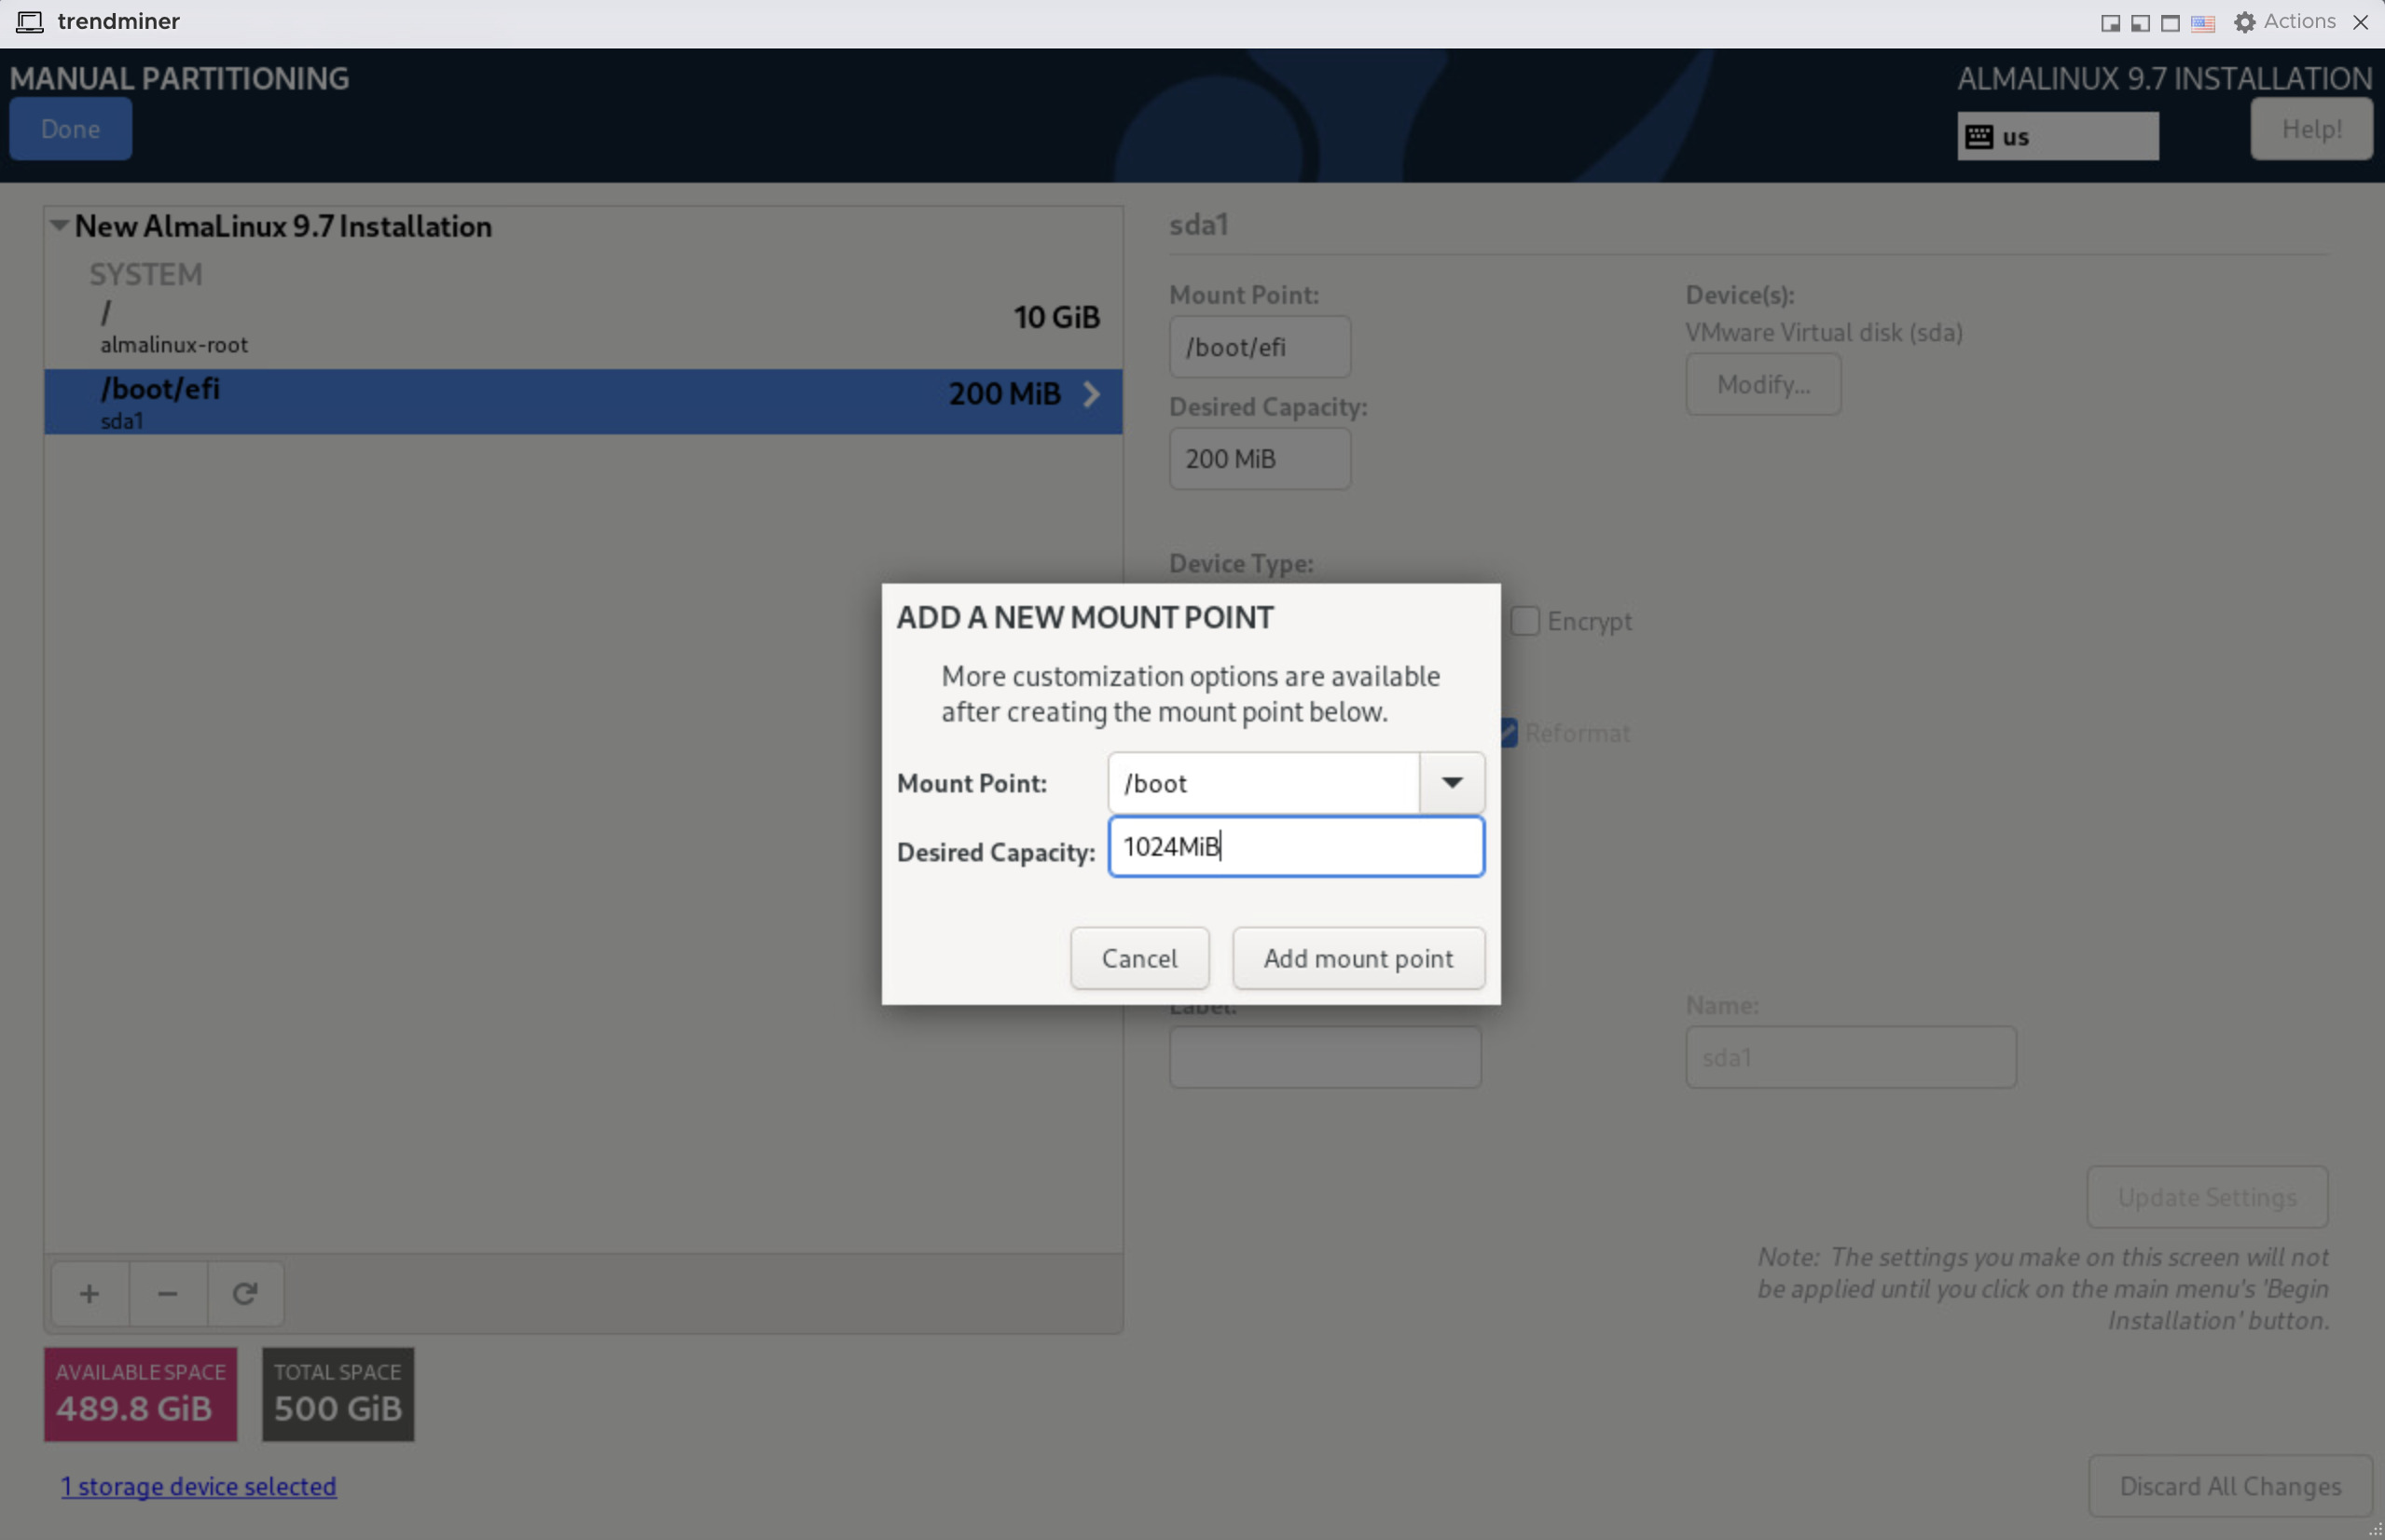
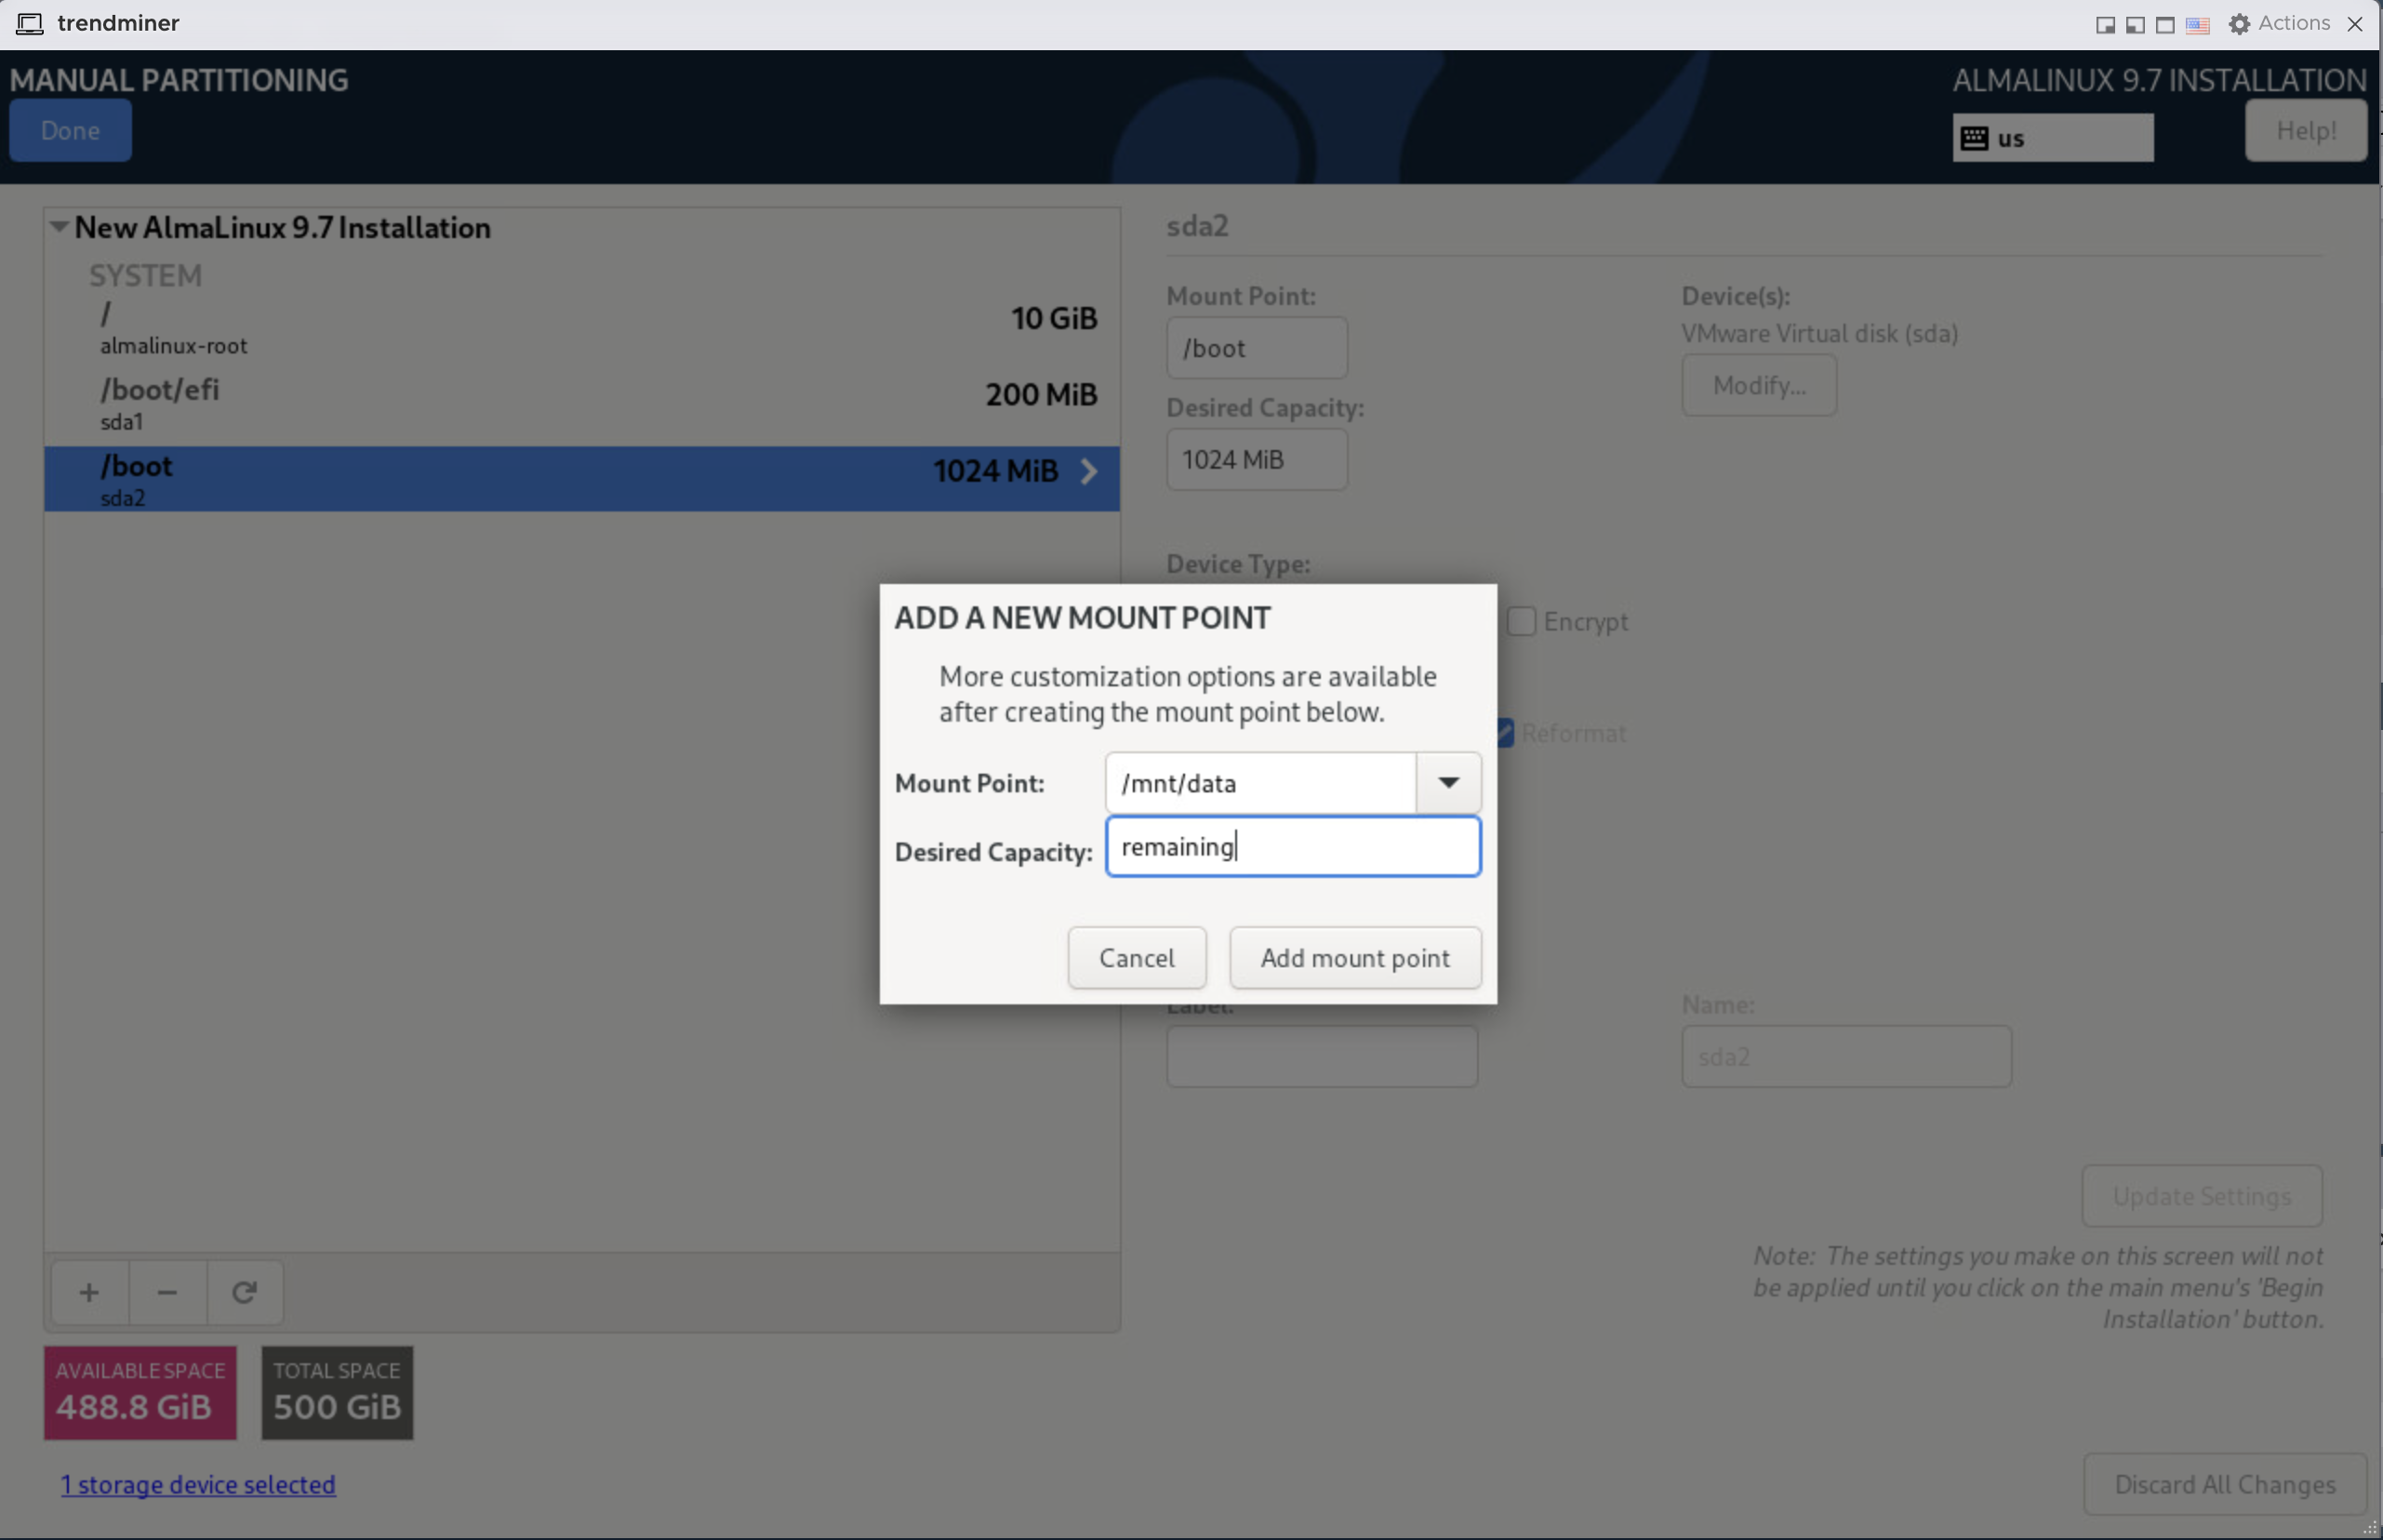
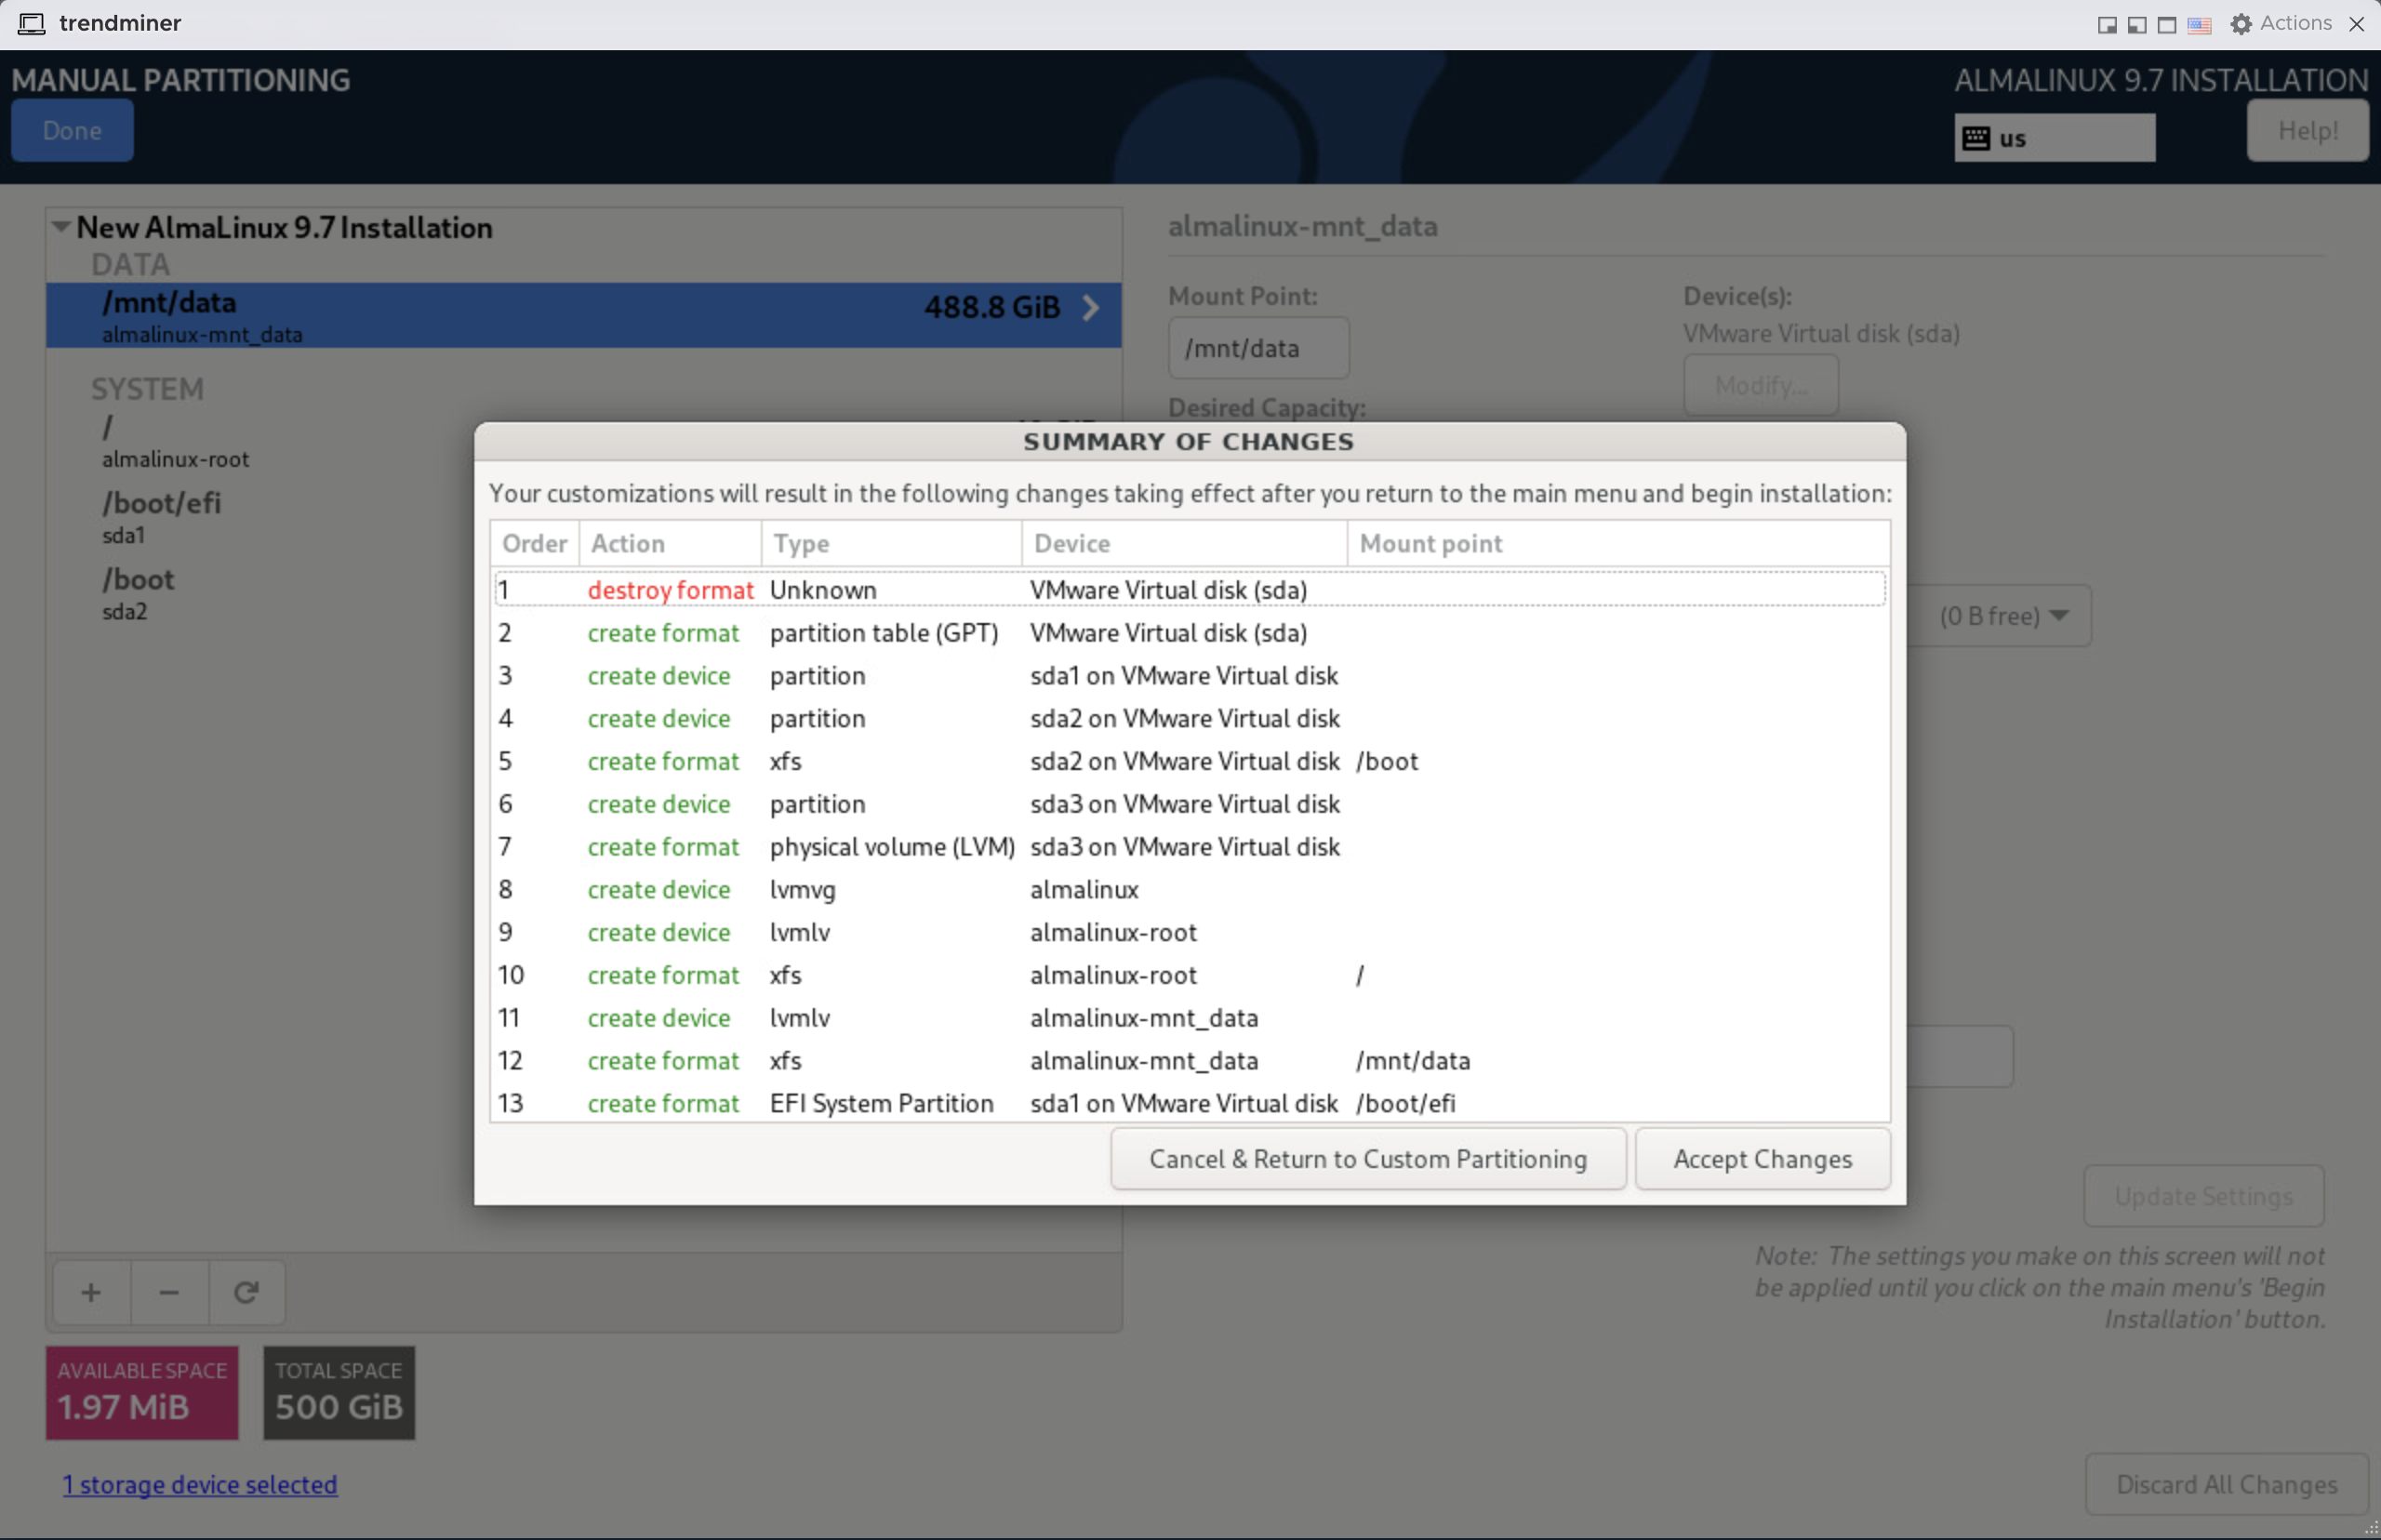
Create the following partitions on the disk by clicking on the '+' icon in the bottom left:
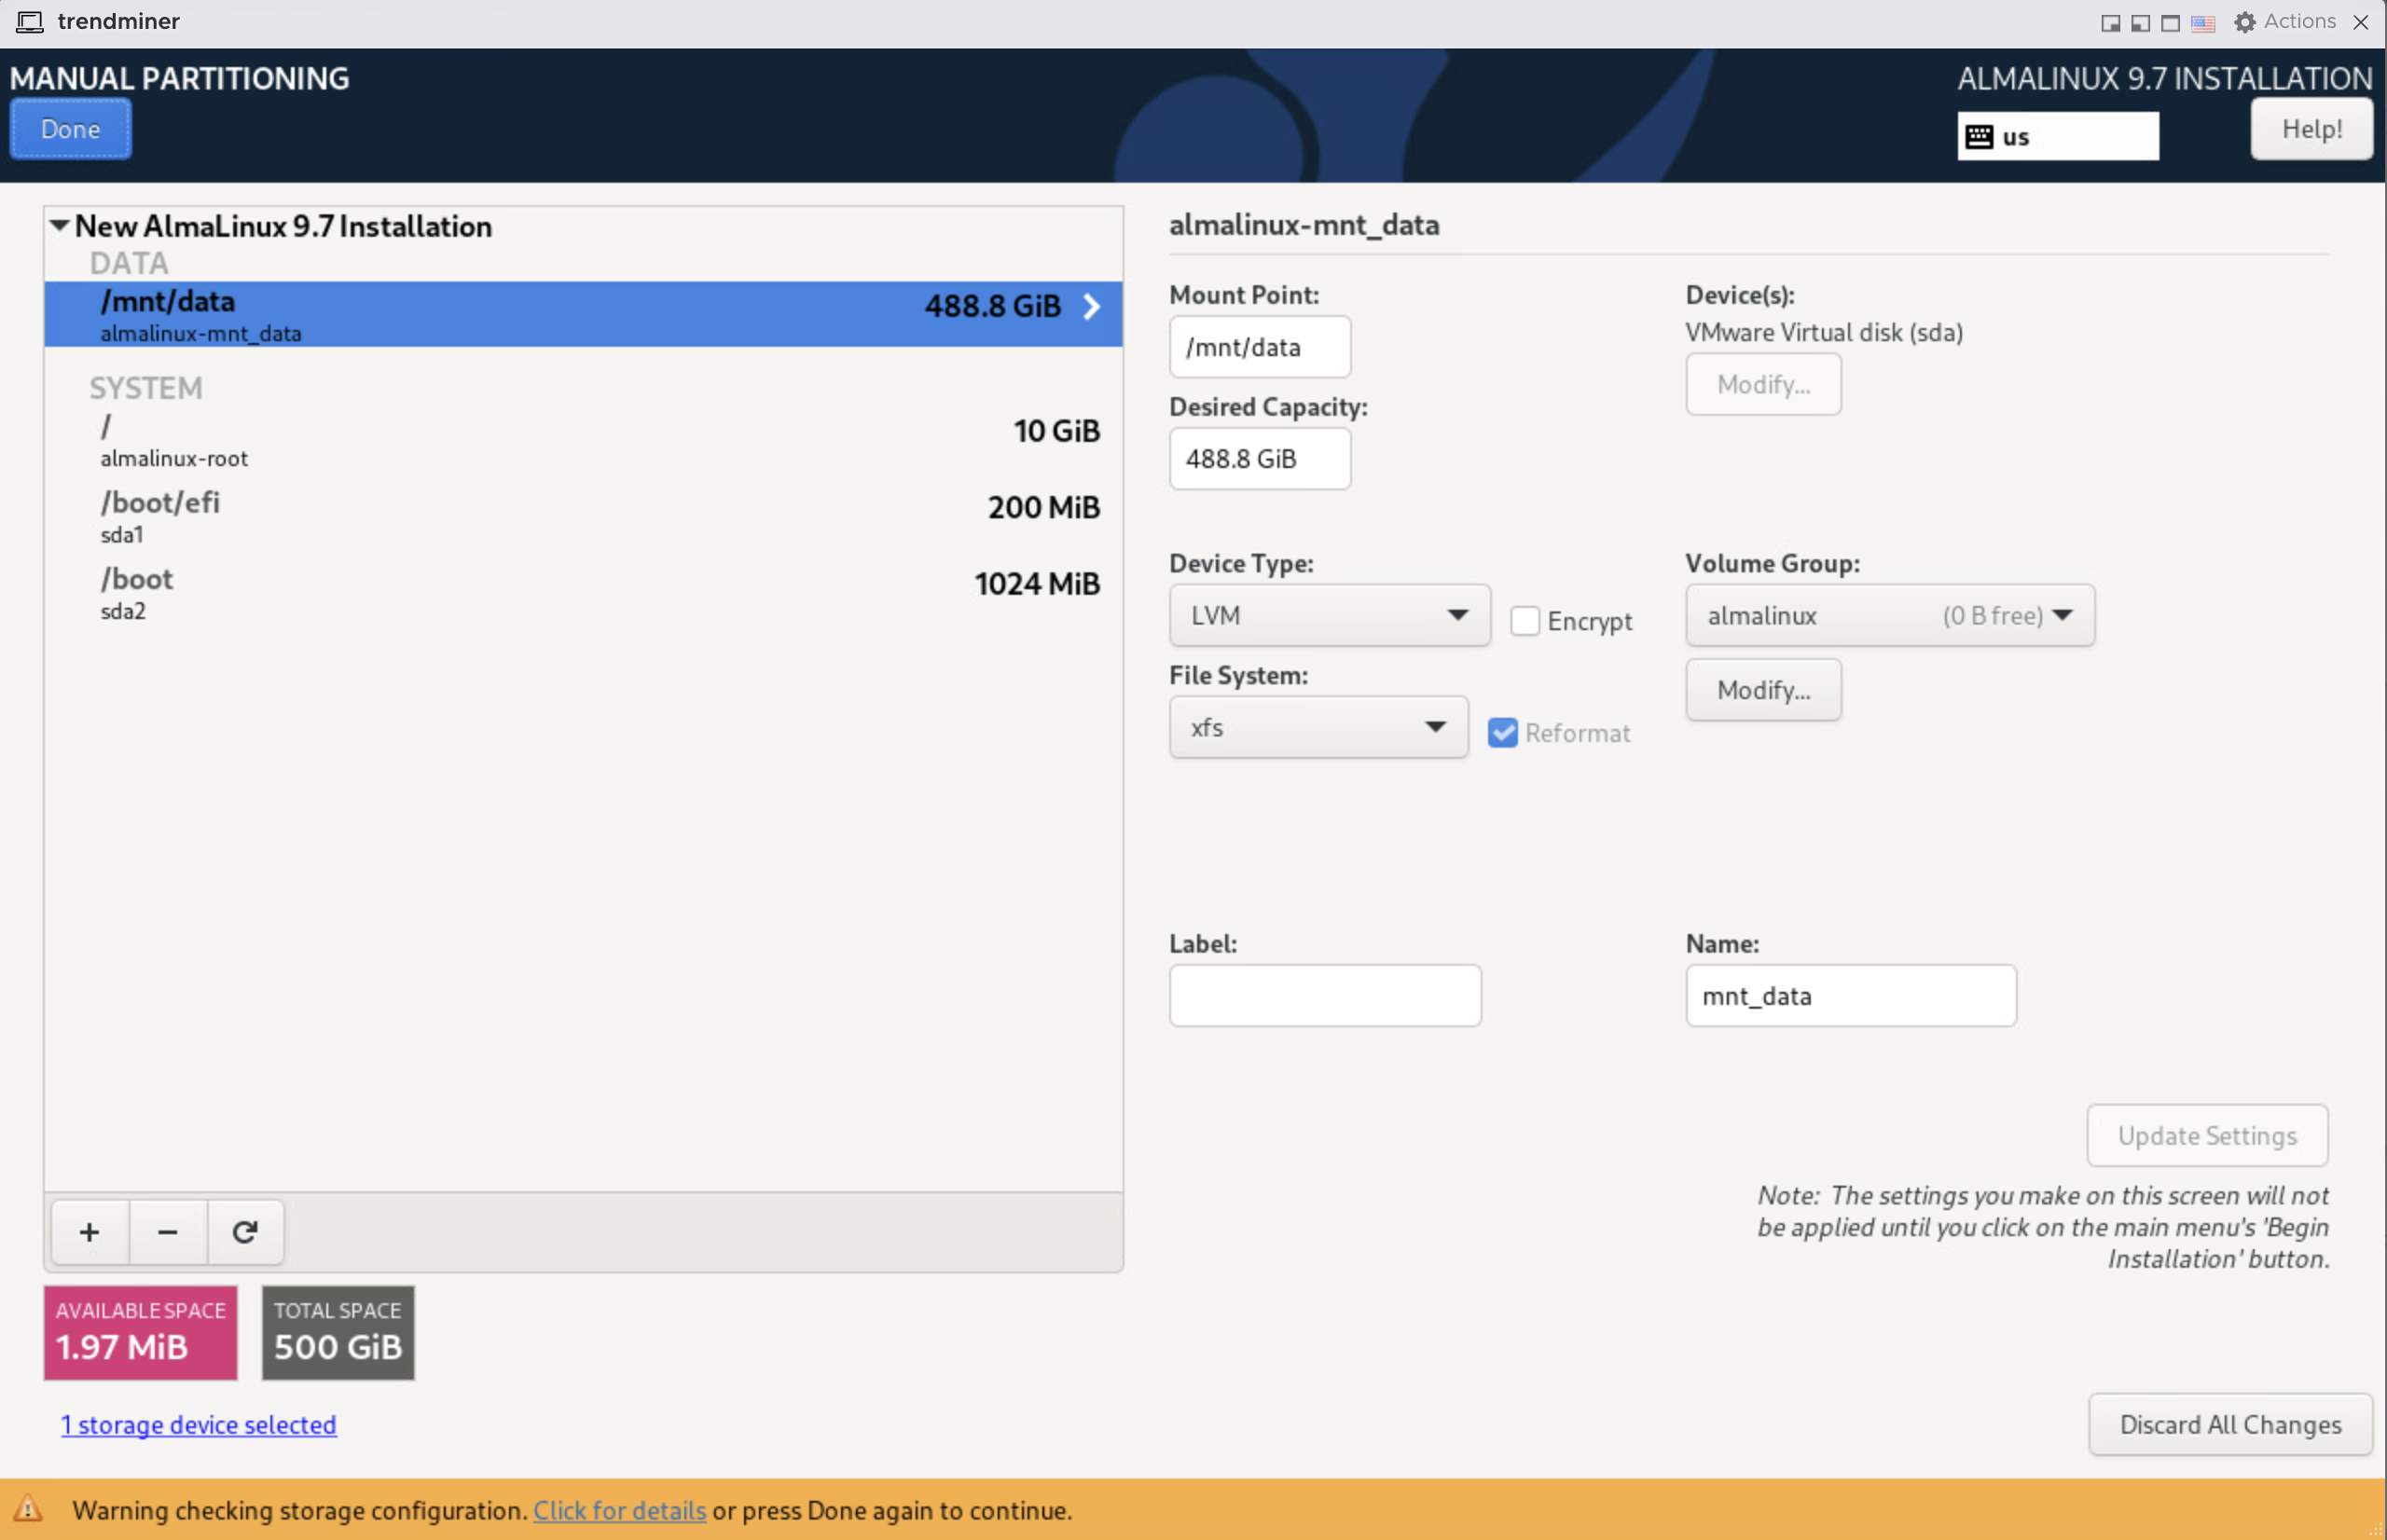
/(root): 10GiB/boot/efi: 200MiB/boot: 1024MiB/mnt/data: remaining
Click on 'Done'. If a warning pops up on the bottom of the screen ignore it and click 'Done' again.
In the summary of changes screen, click 'Accept changes'.
Root password configuration
On the installation summary screen, click 'Root Password'
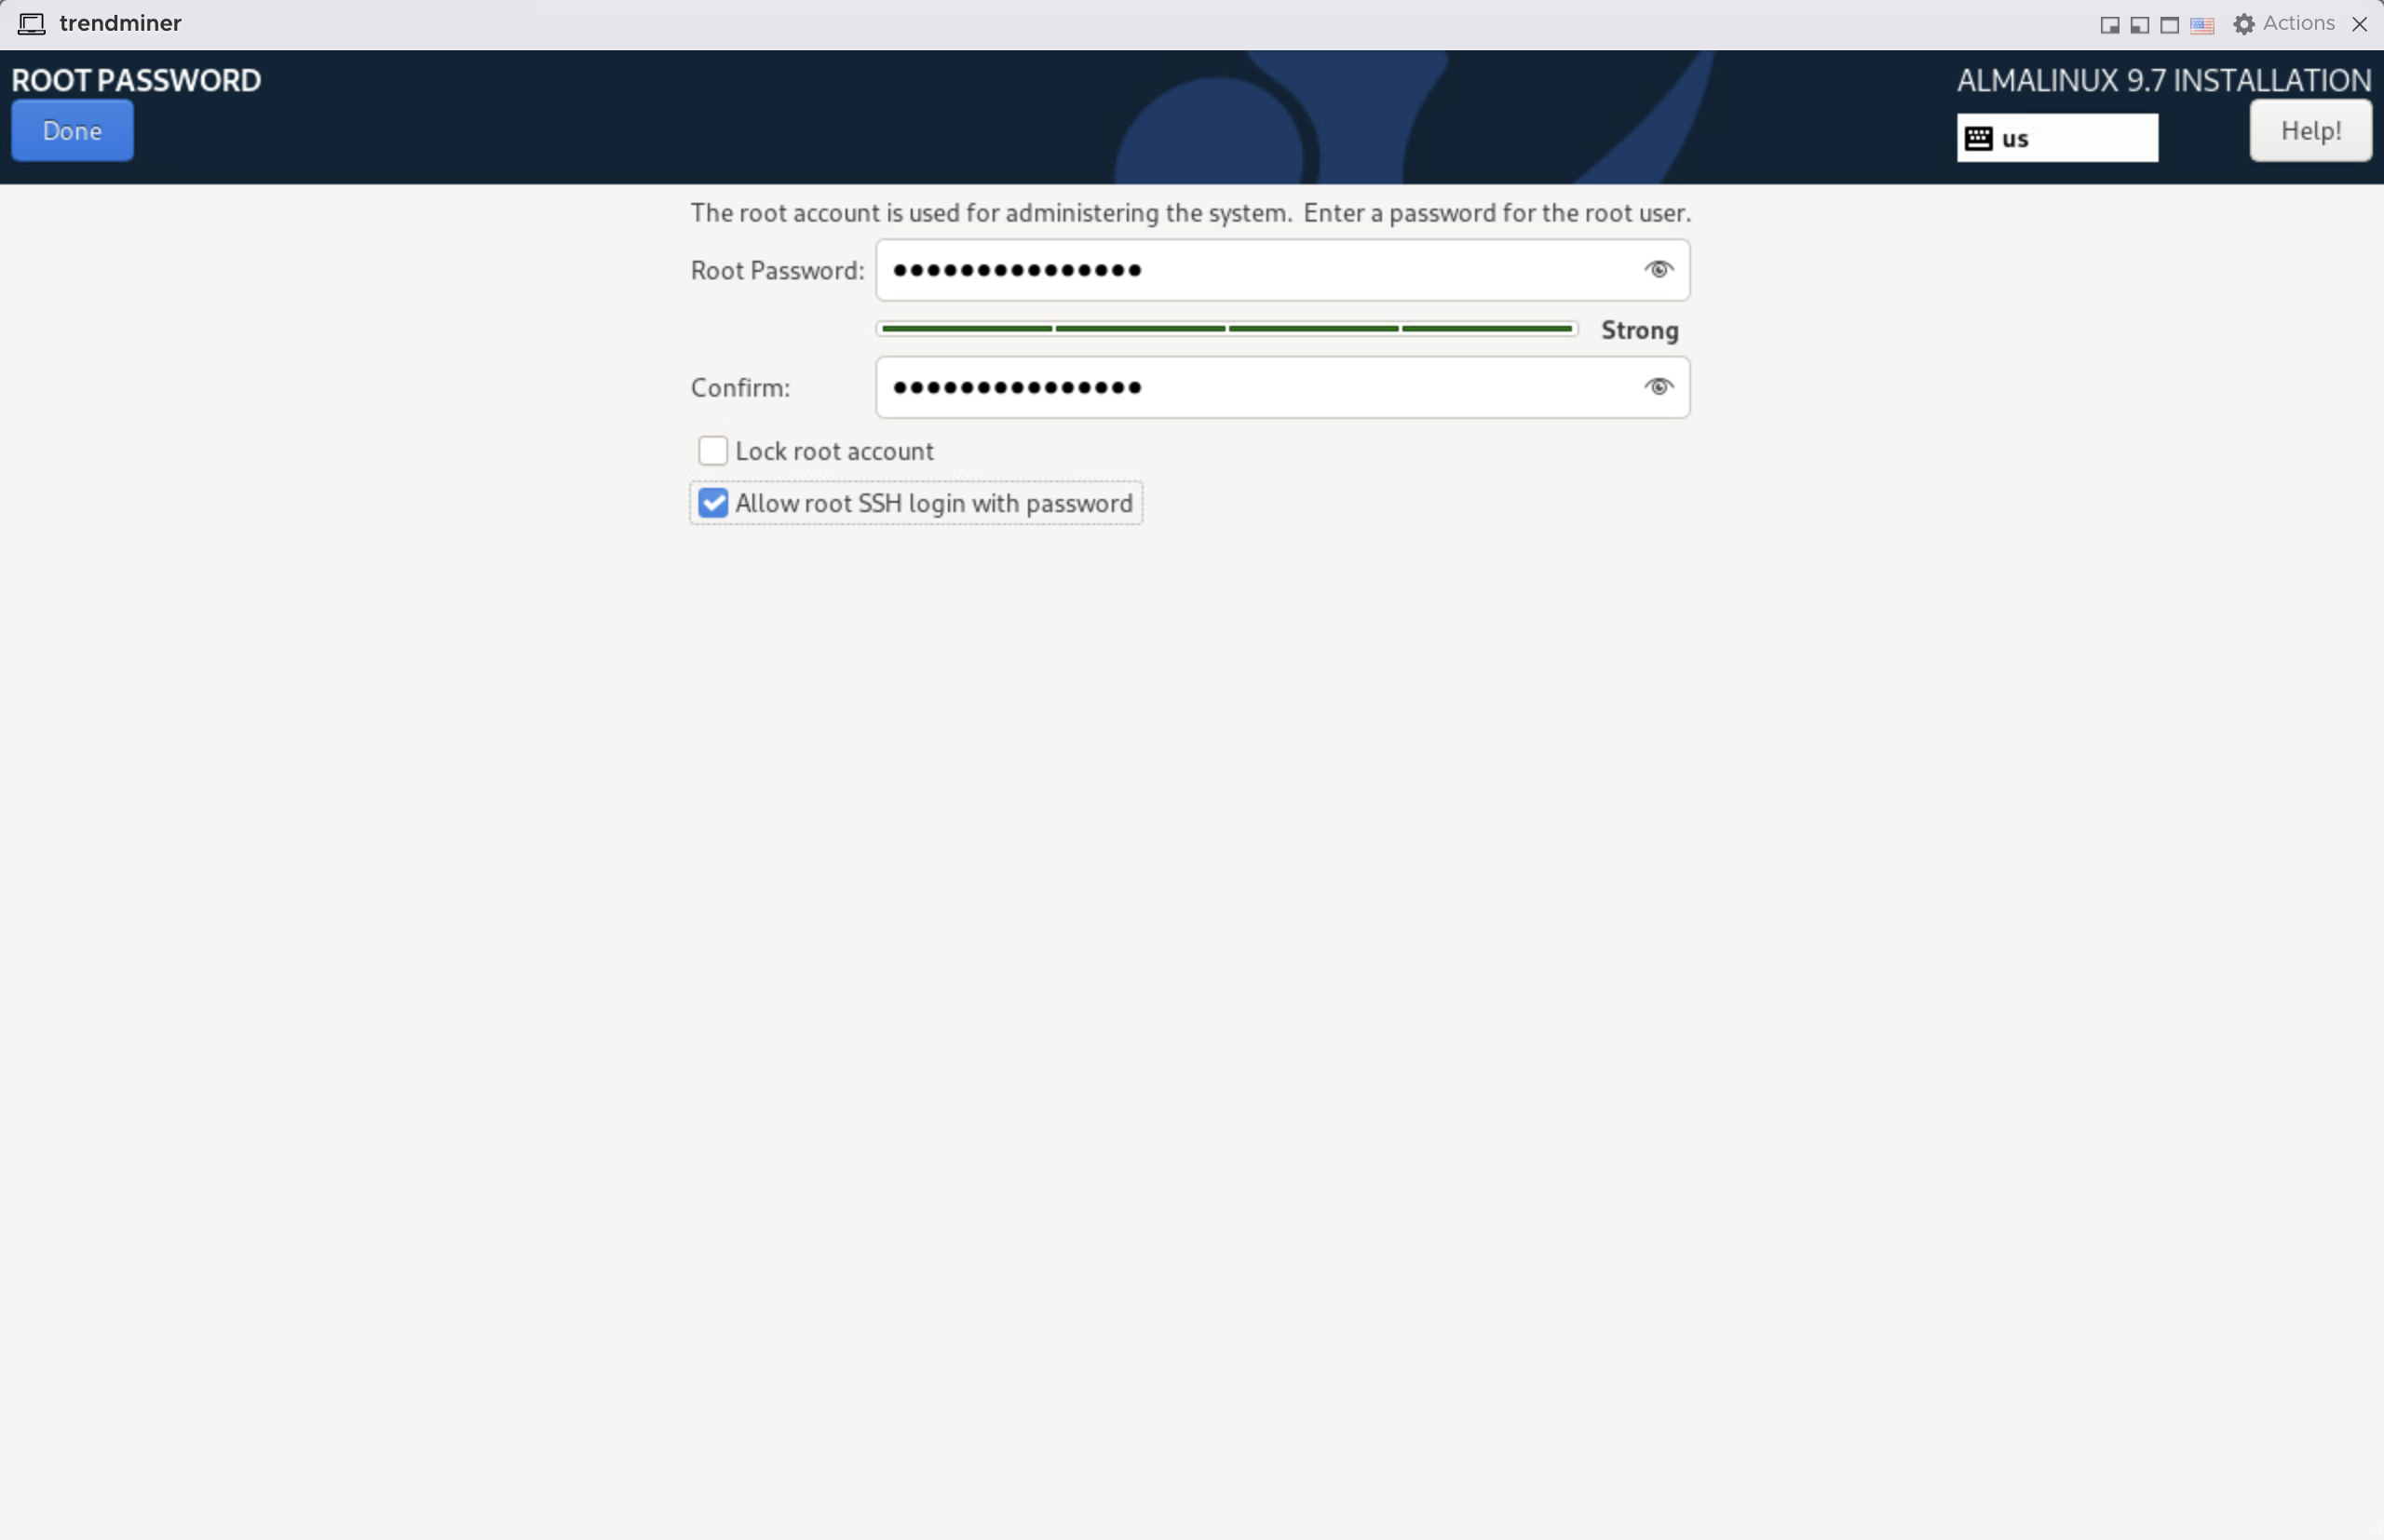
Configure a strong root password and enter it again in the confirmation field.
Select "Allow root SSH with password" to be able to connect via an SSH client (e.g. putty) for easier installation.
Click 'Done'.
Network configuration
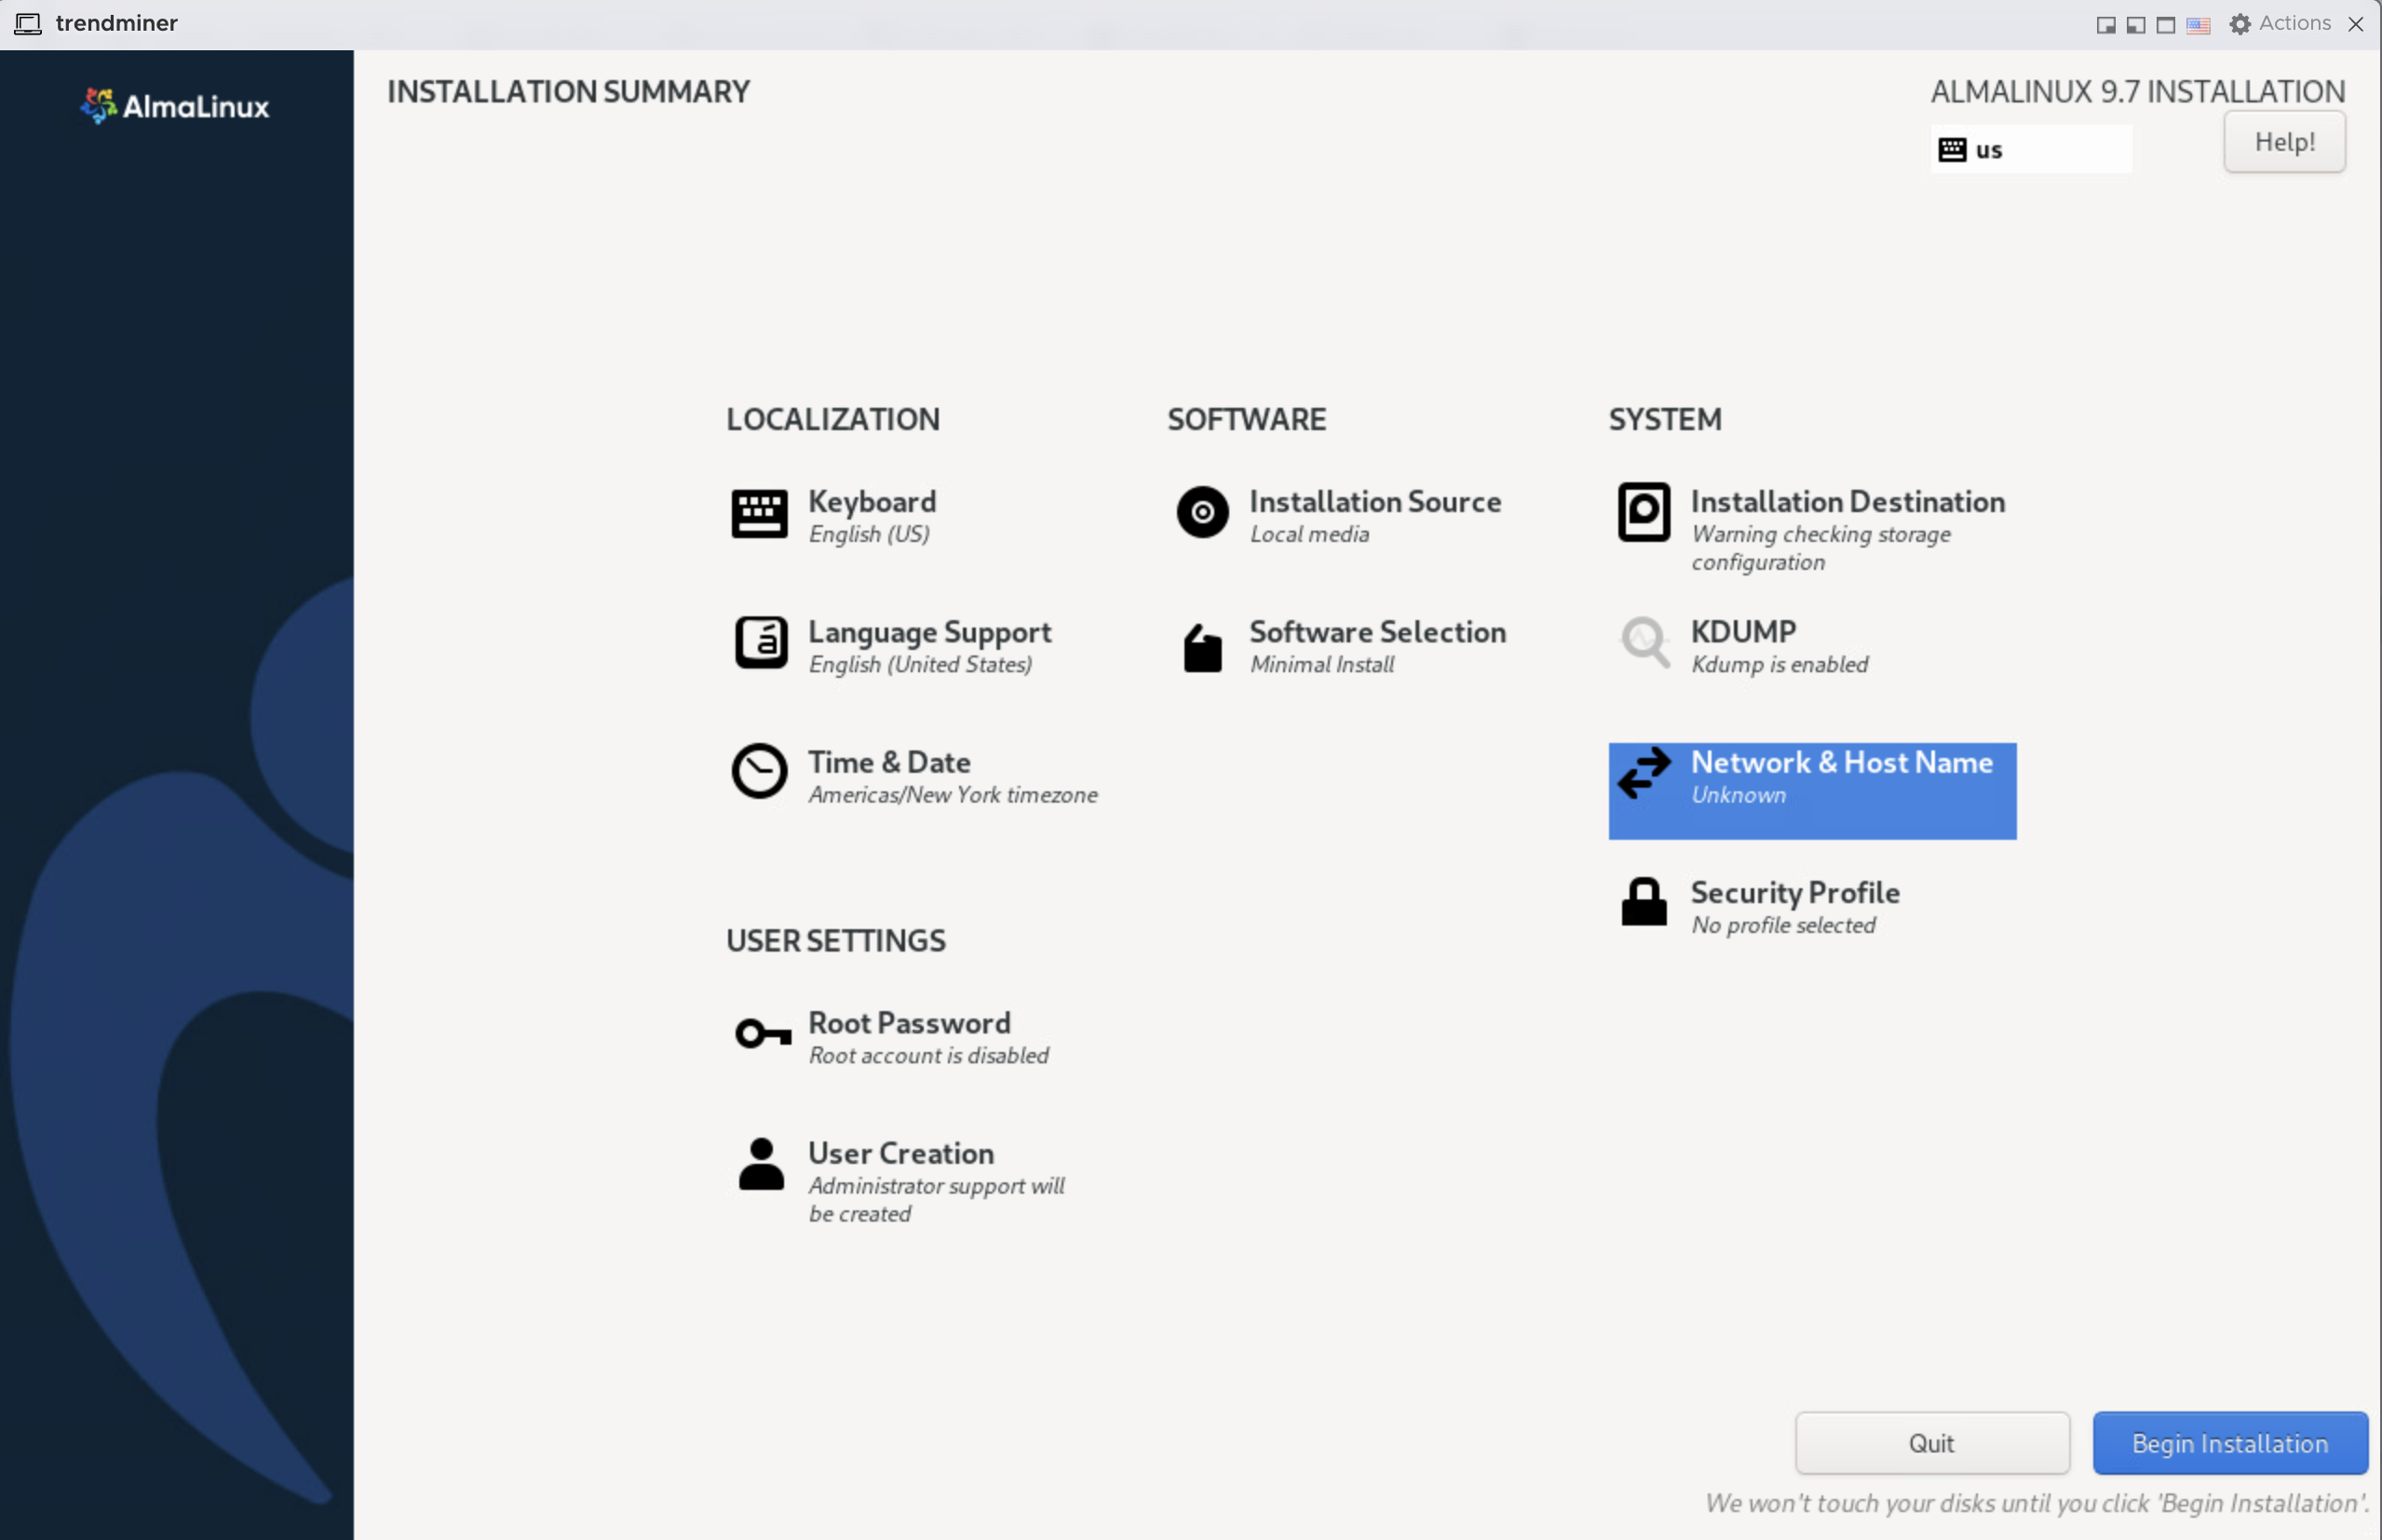
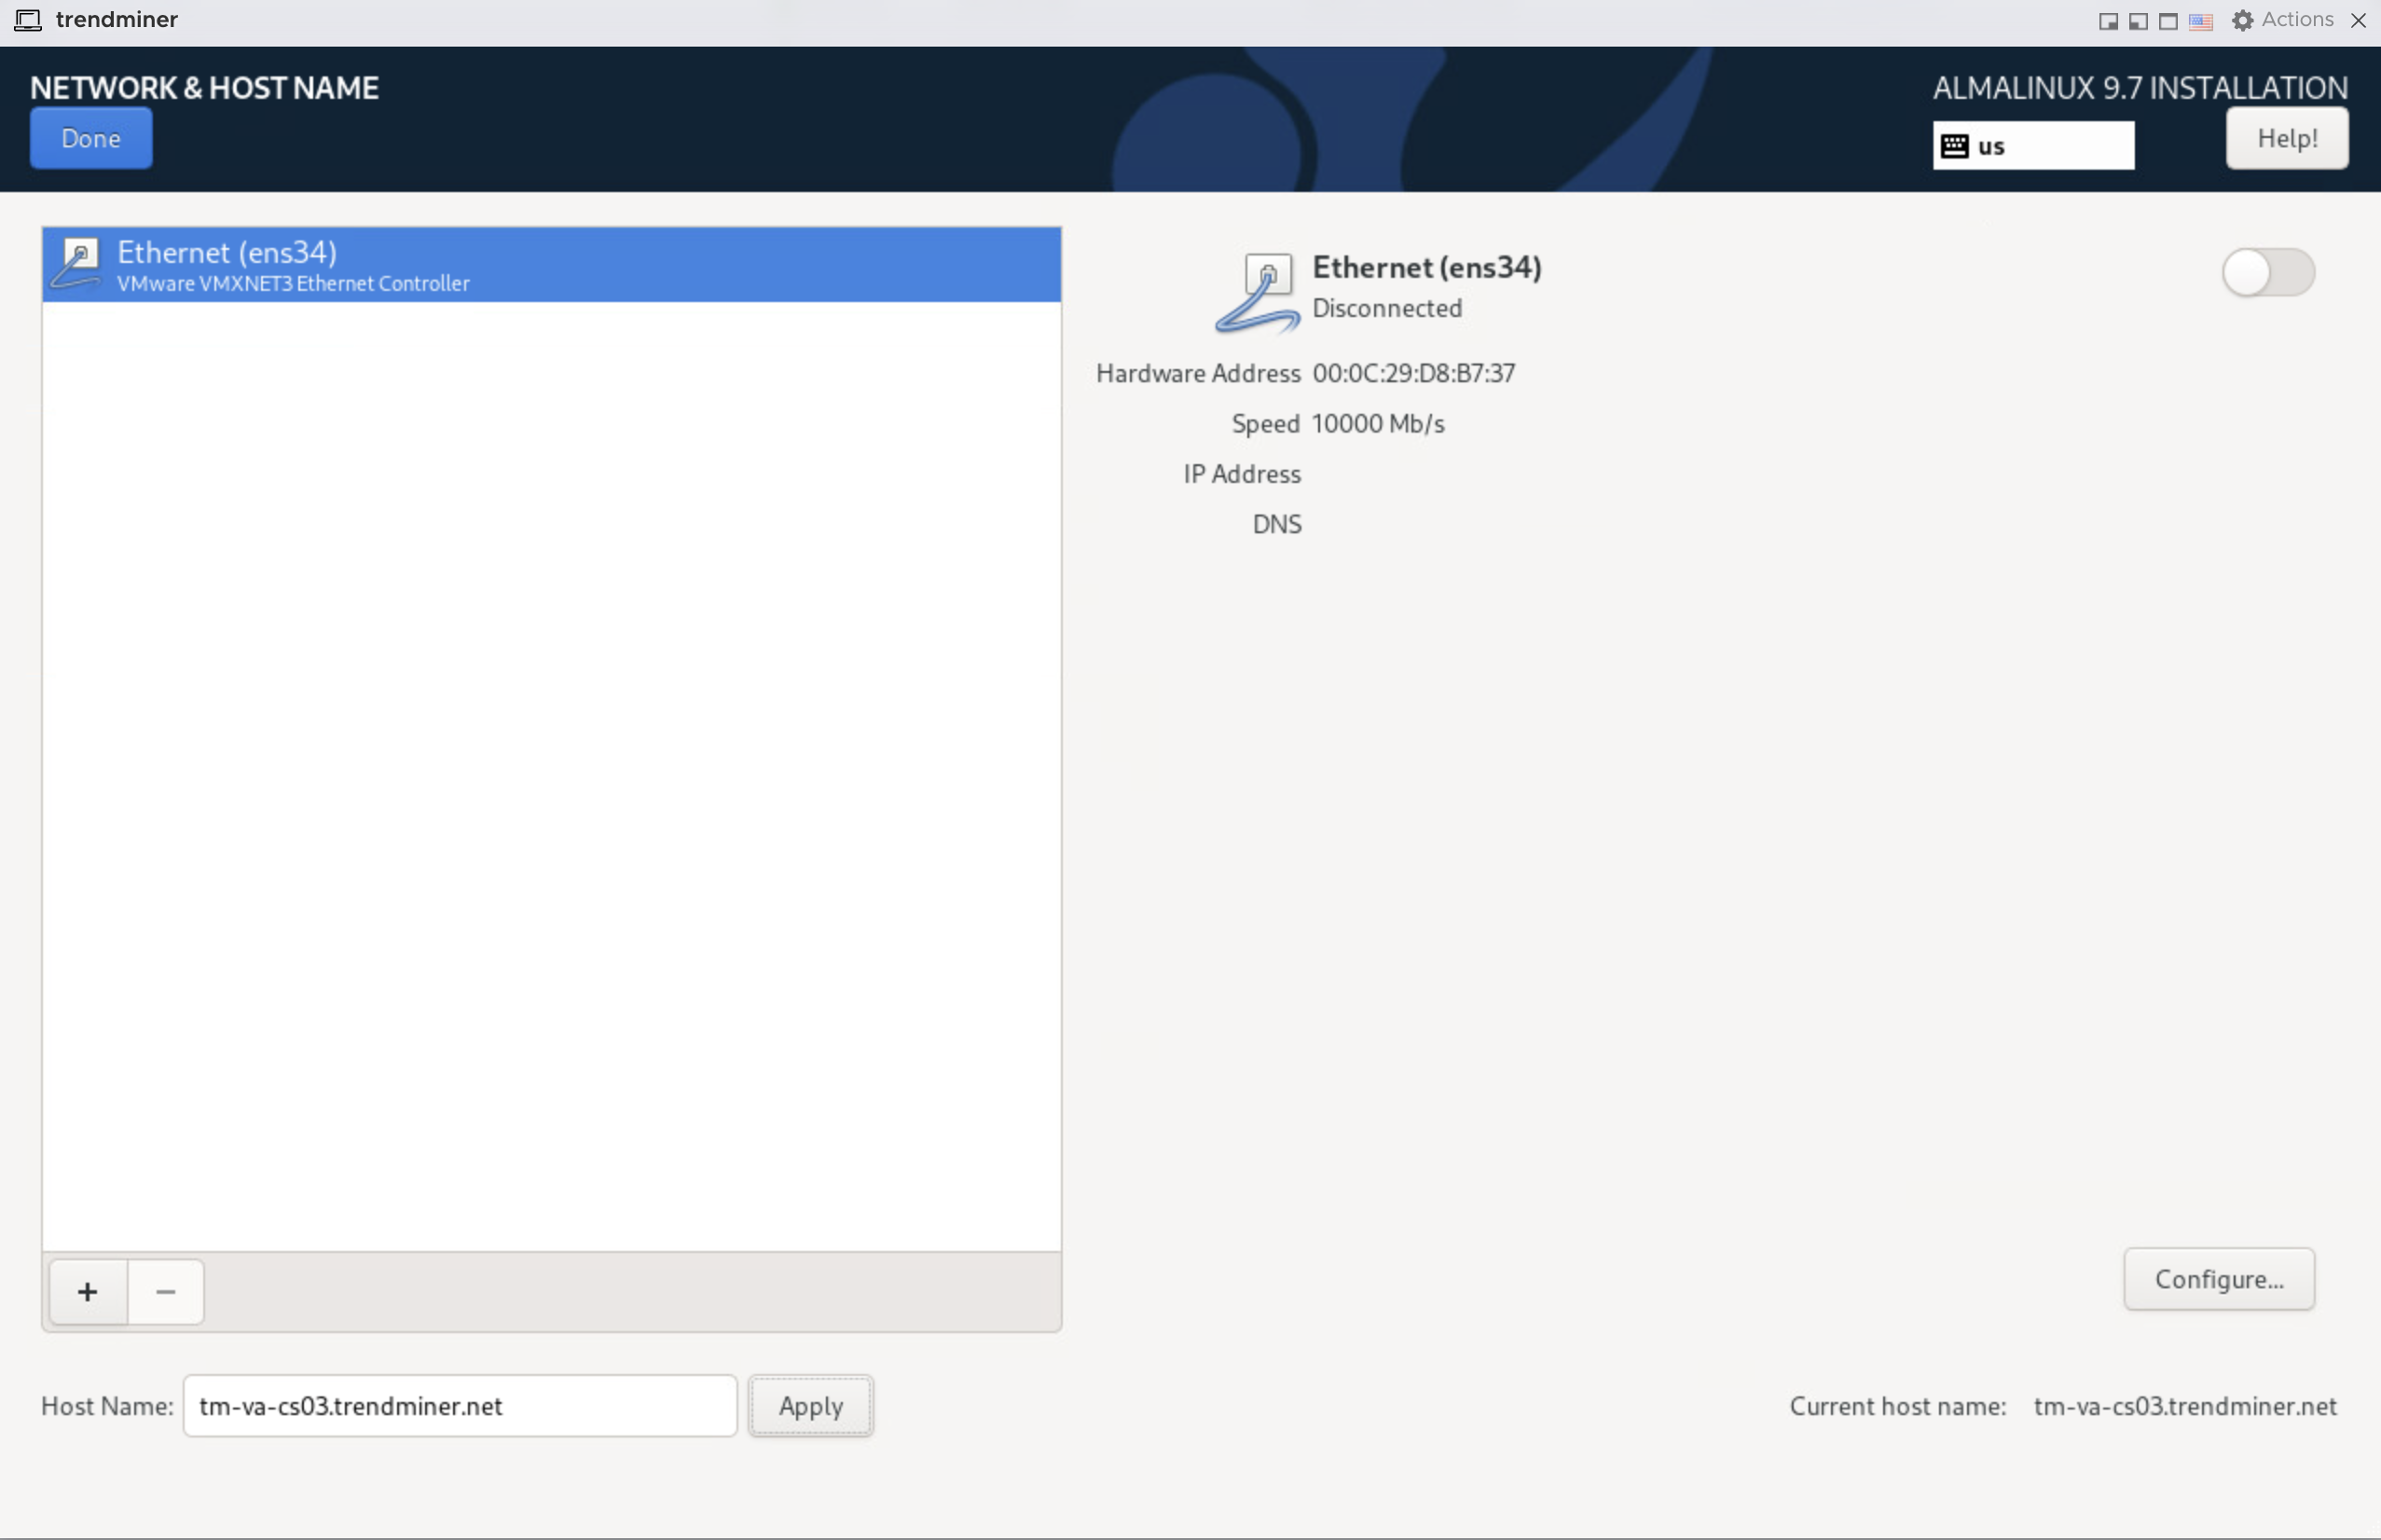
On the installation summary screen, click 'Network & Host Name'.
Configure the host name and click 'Apply'.
Click on the 'Configure' button to configure the network settings. Configure according to your company network. Make sure to have at least the following settings configured:
IP address
Netmask
Gateway
DNS servers
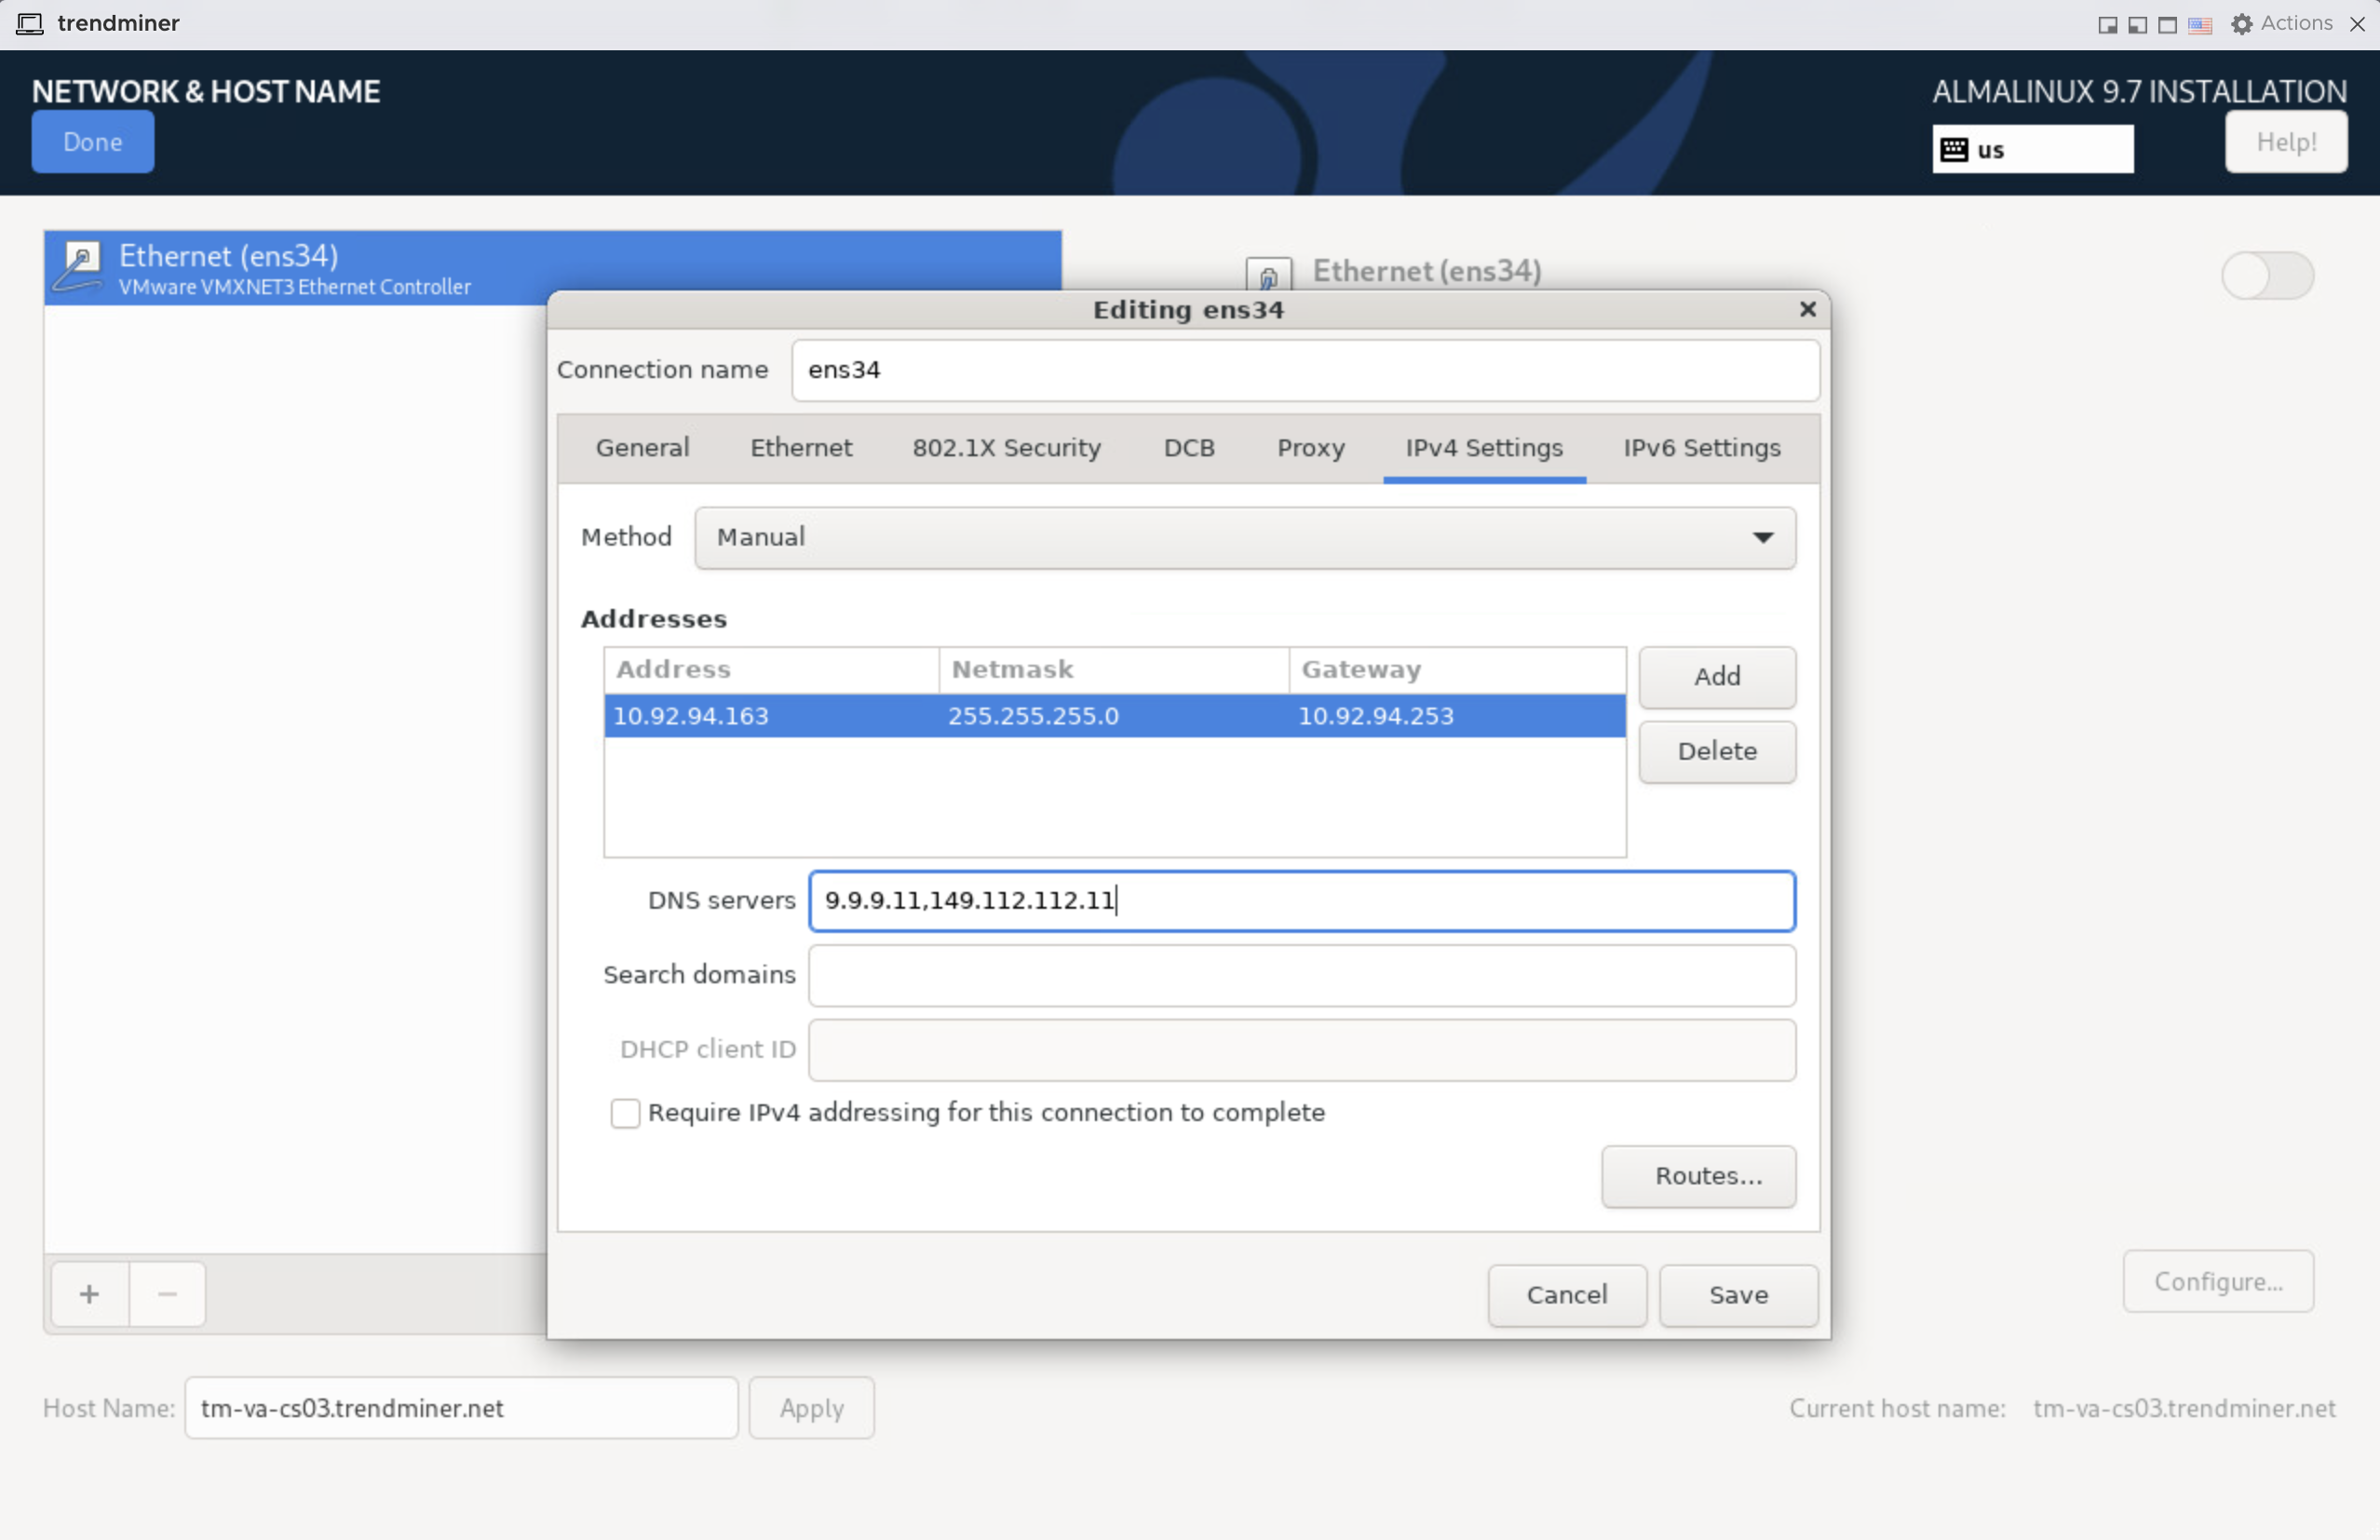
Click 'Save' when ready.
Enable the network interface. Click 'Done'.

Installation
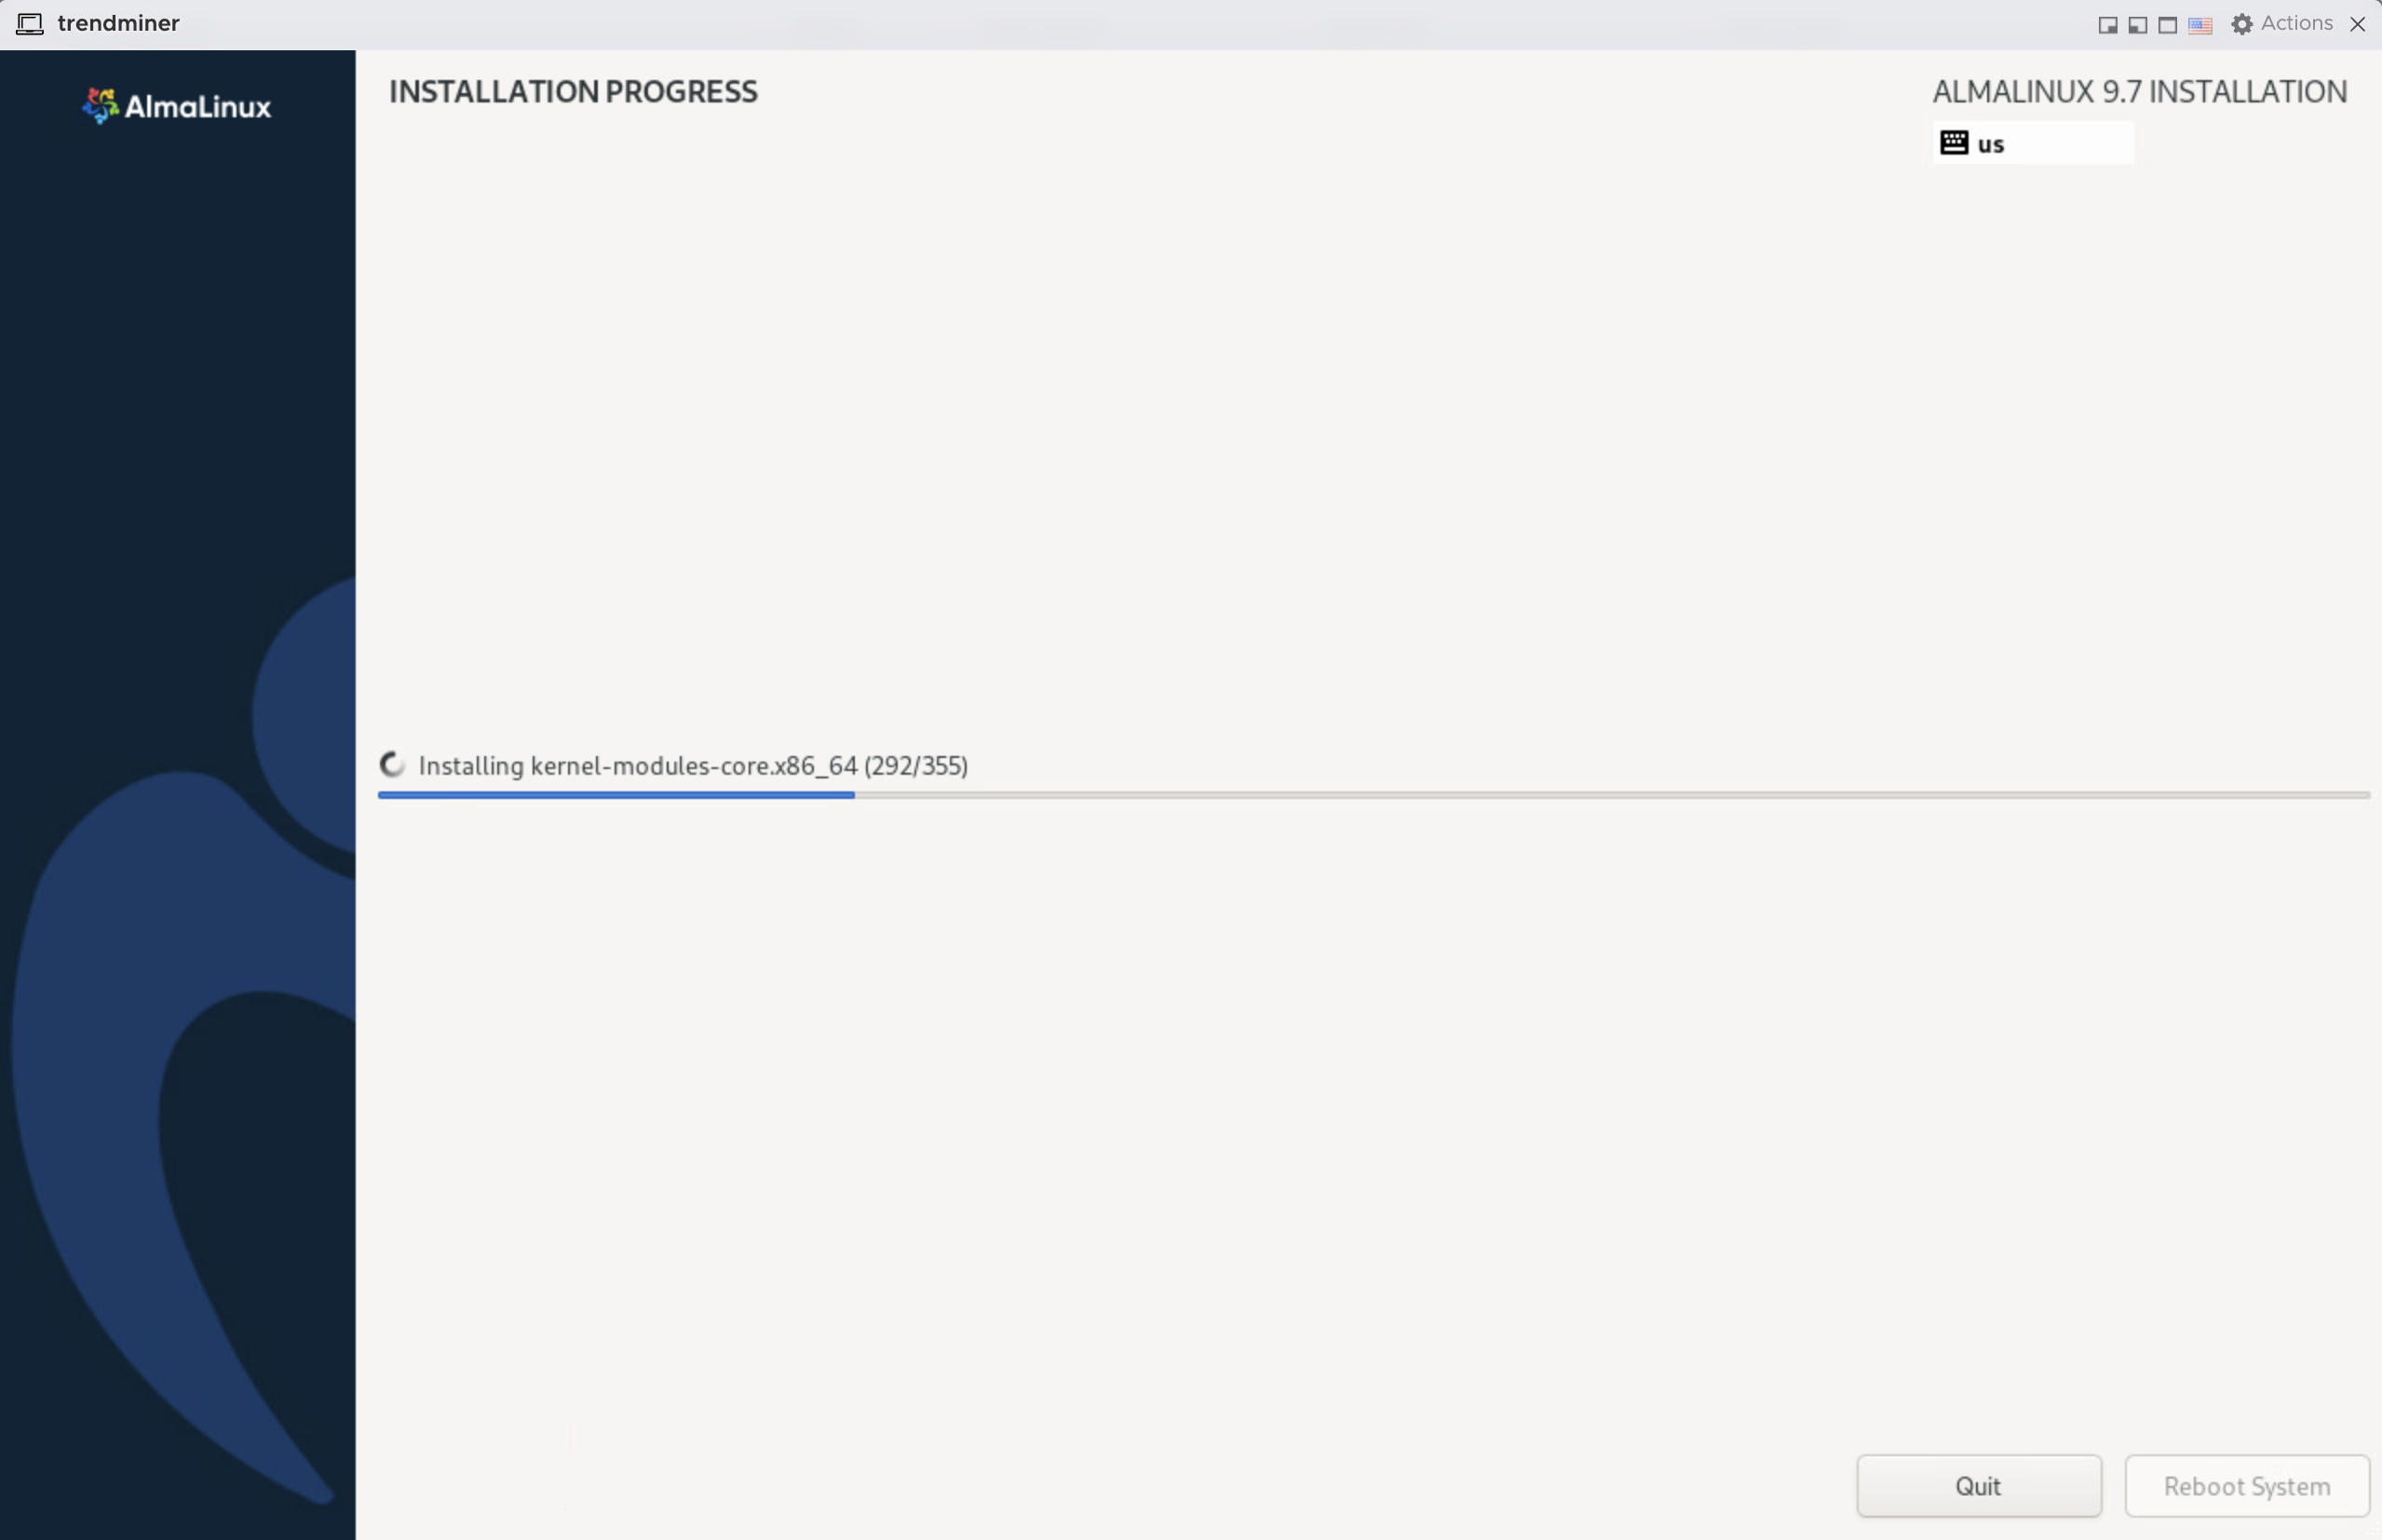
Click 'Begin installation'. Wait for the installation to be done. Click 'Reboot System'.
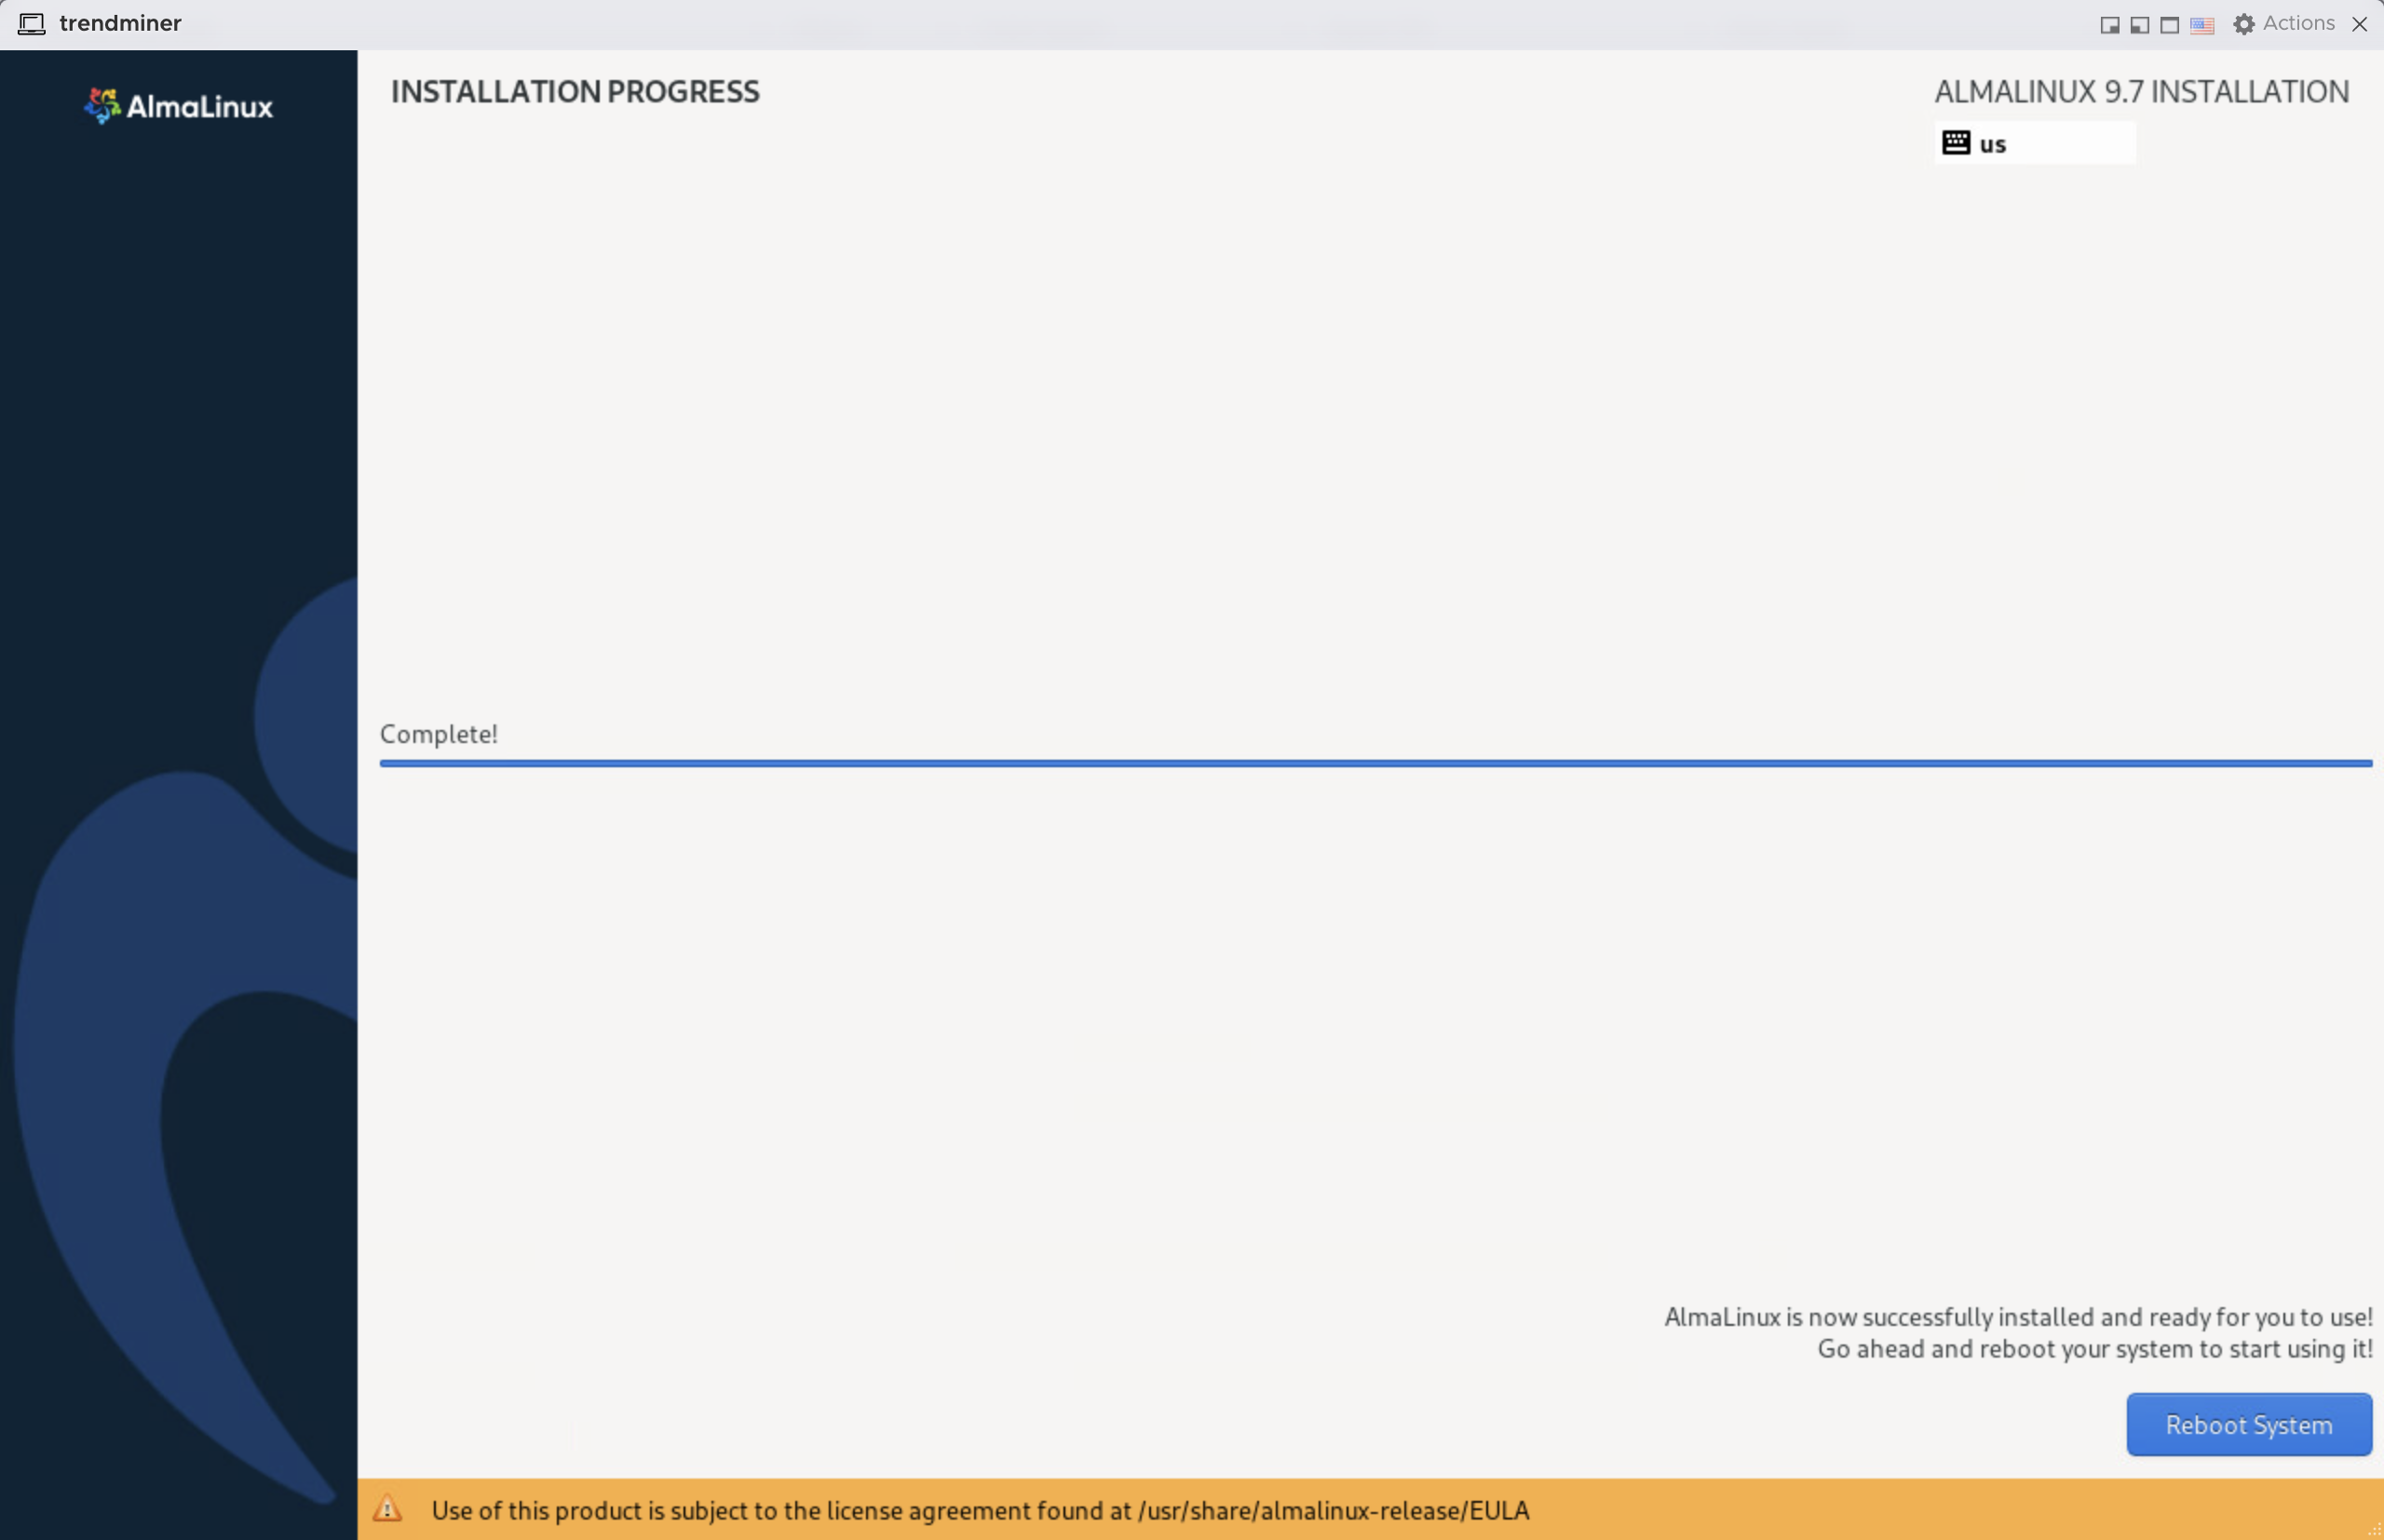
When the system is rebooted you can log in with the root account to proceed with the TrendMiner installation.