Hyper-V Image deployment
Open the Hyper-V Manager.
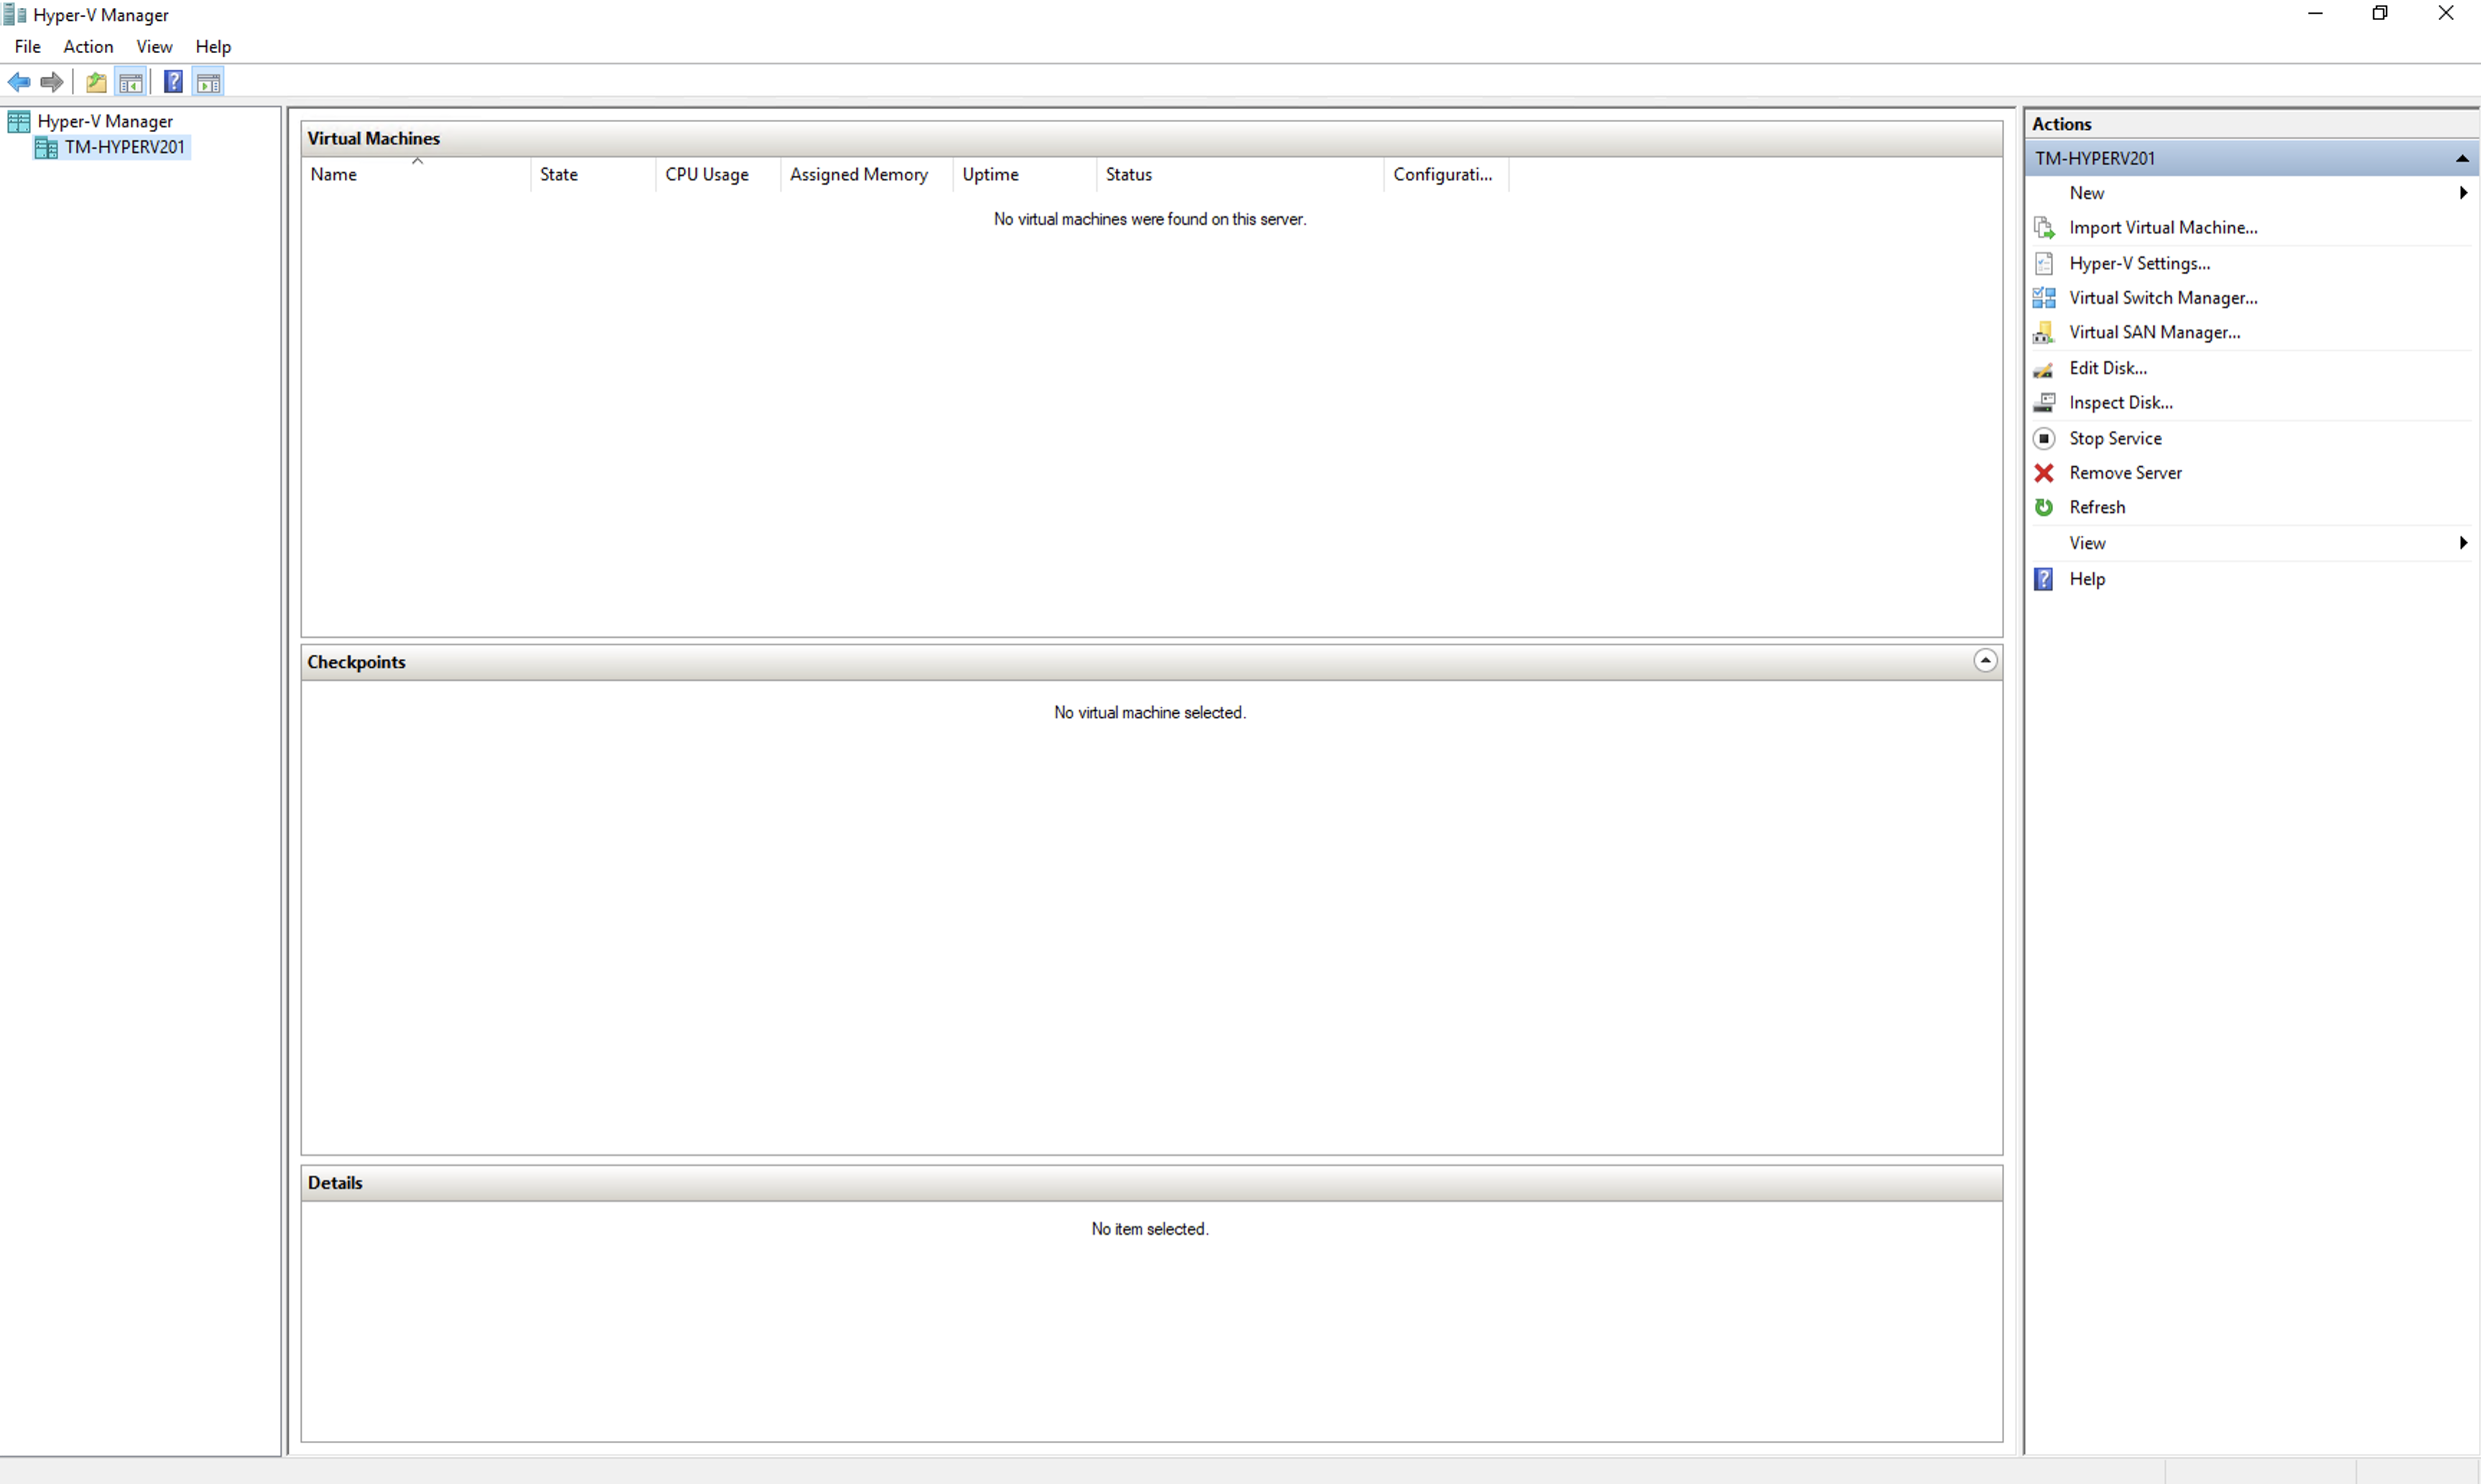
Select New - 'Virtual Machine'.
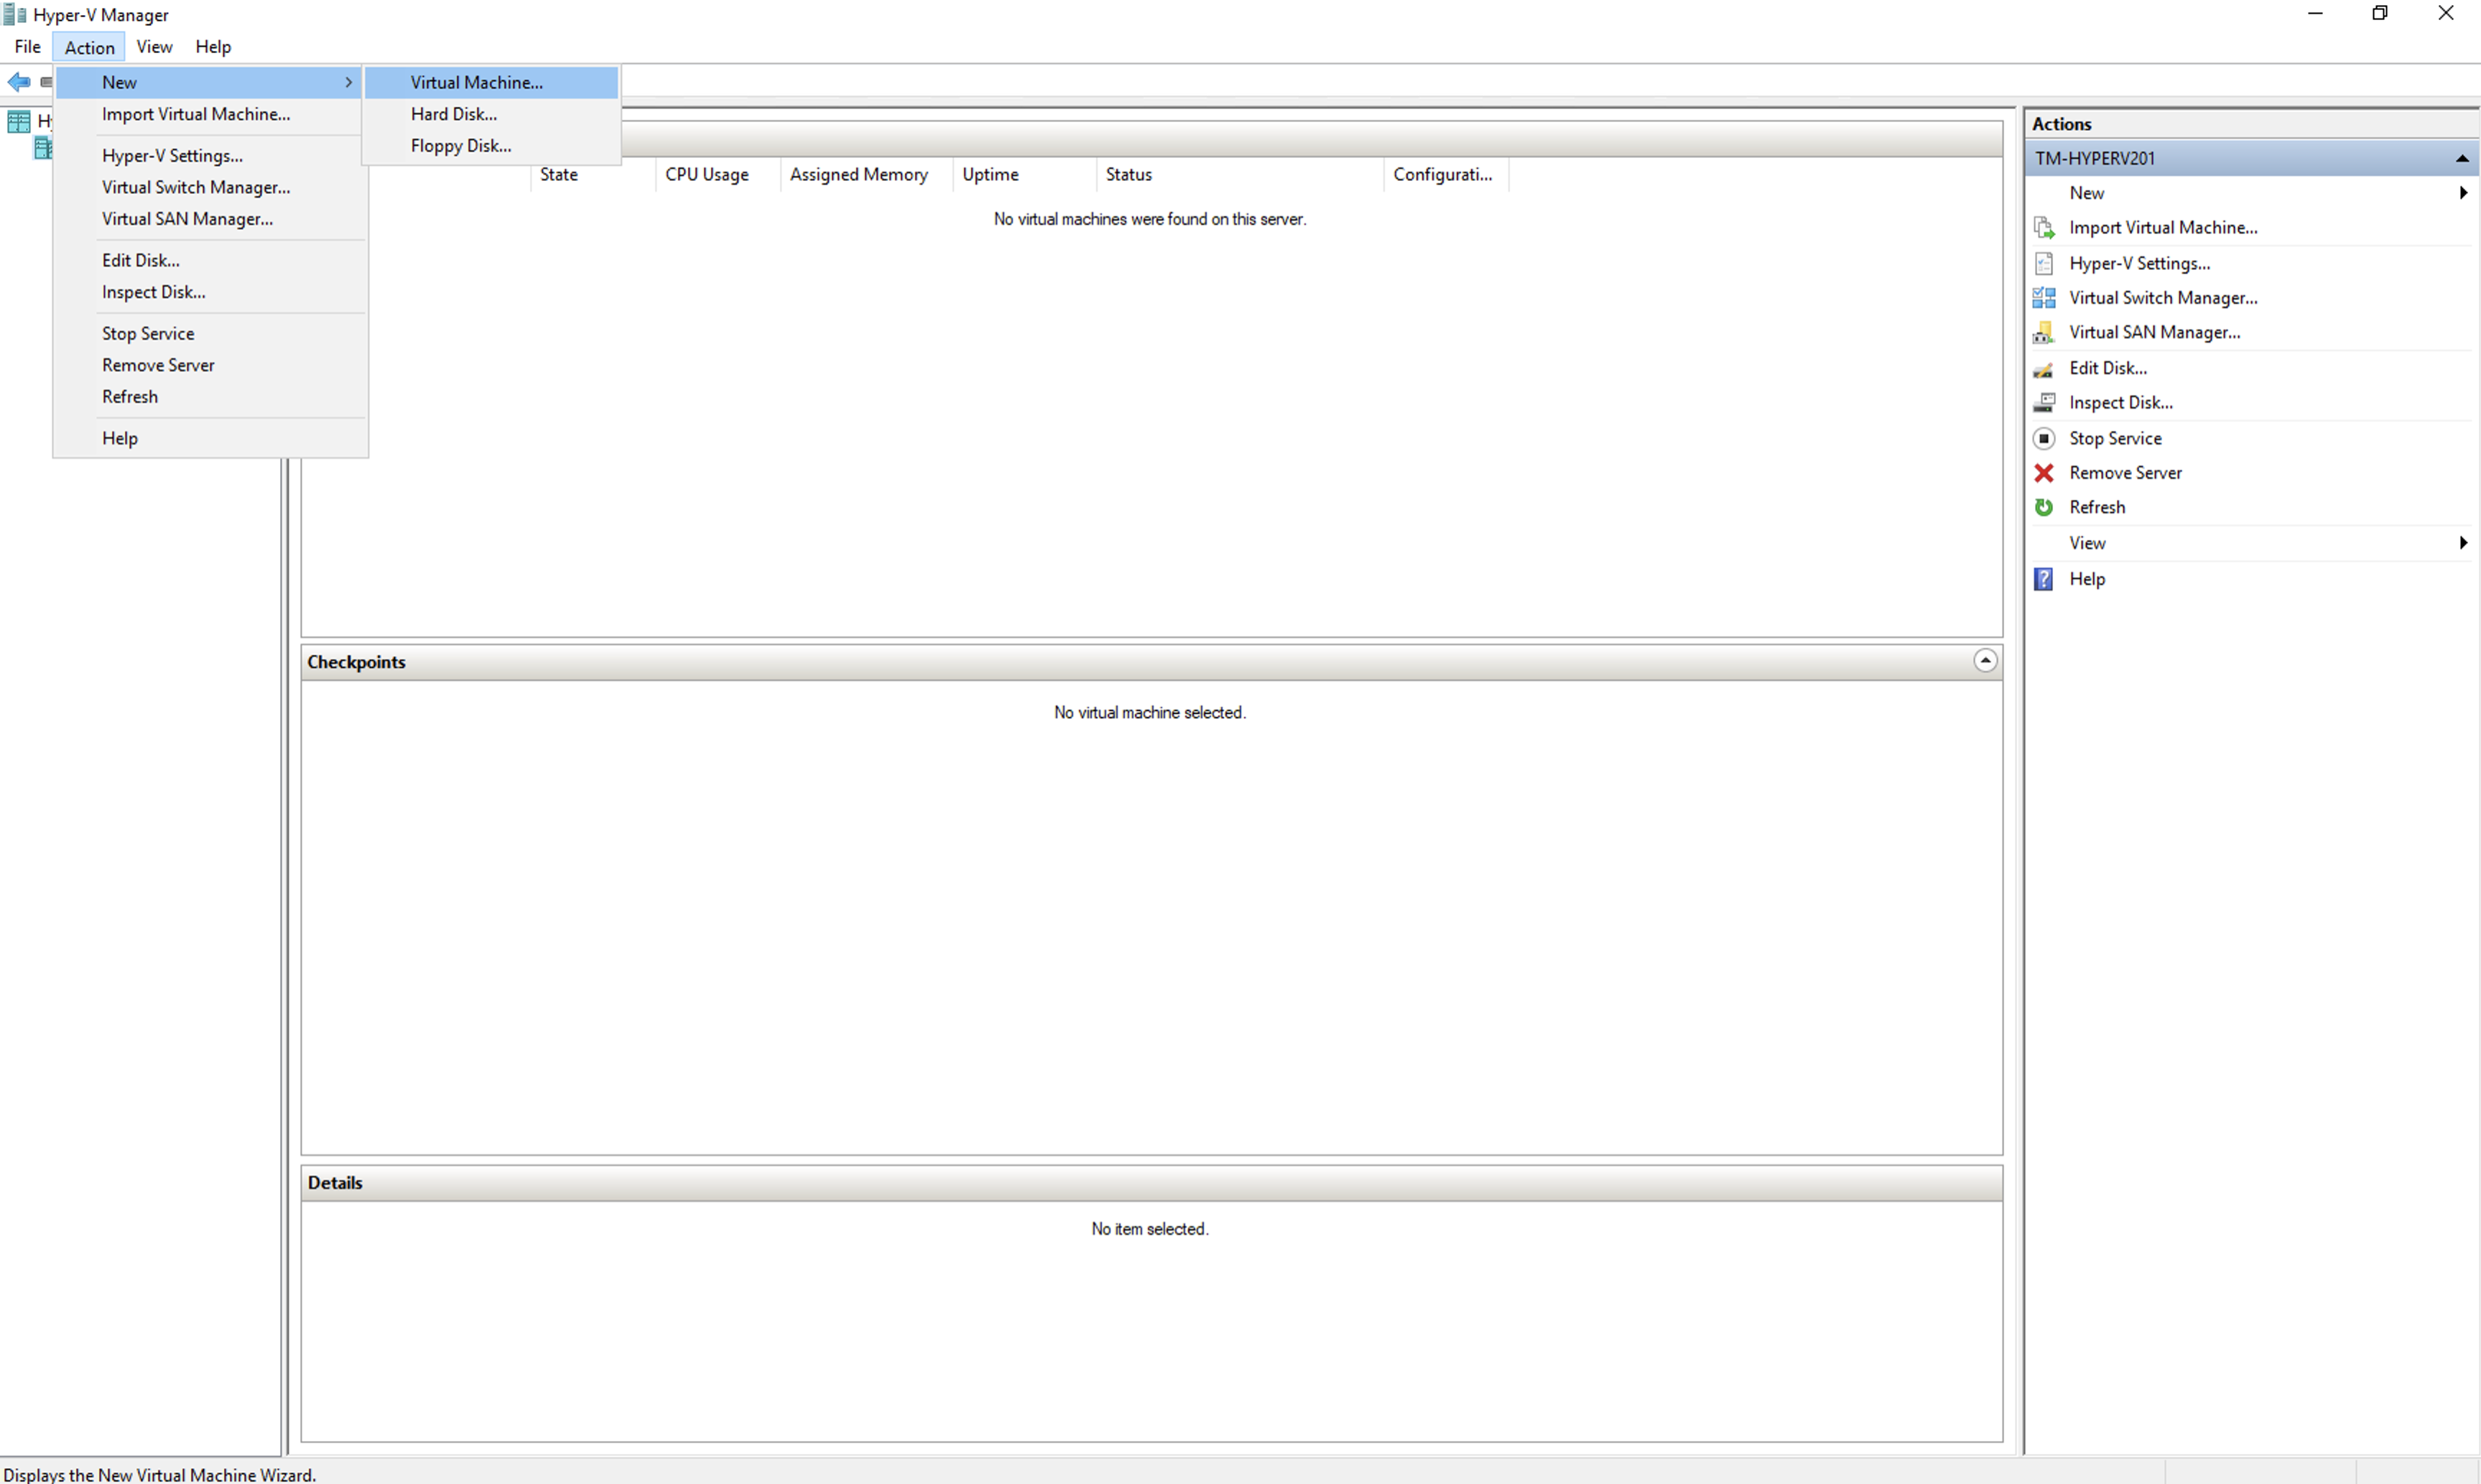
Click 'Next' to start the virtual machine configuration.
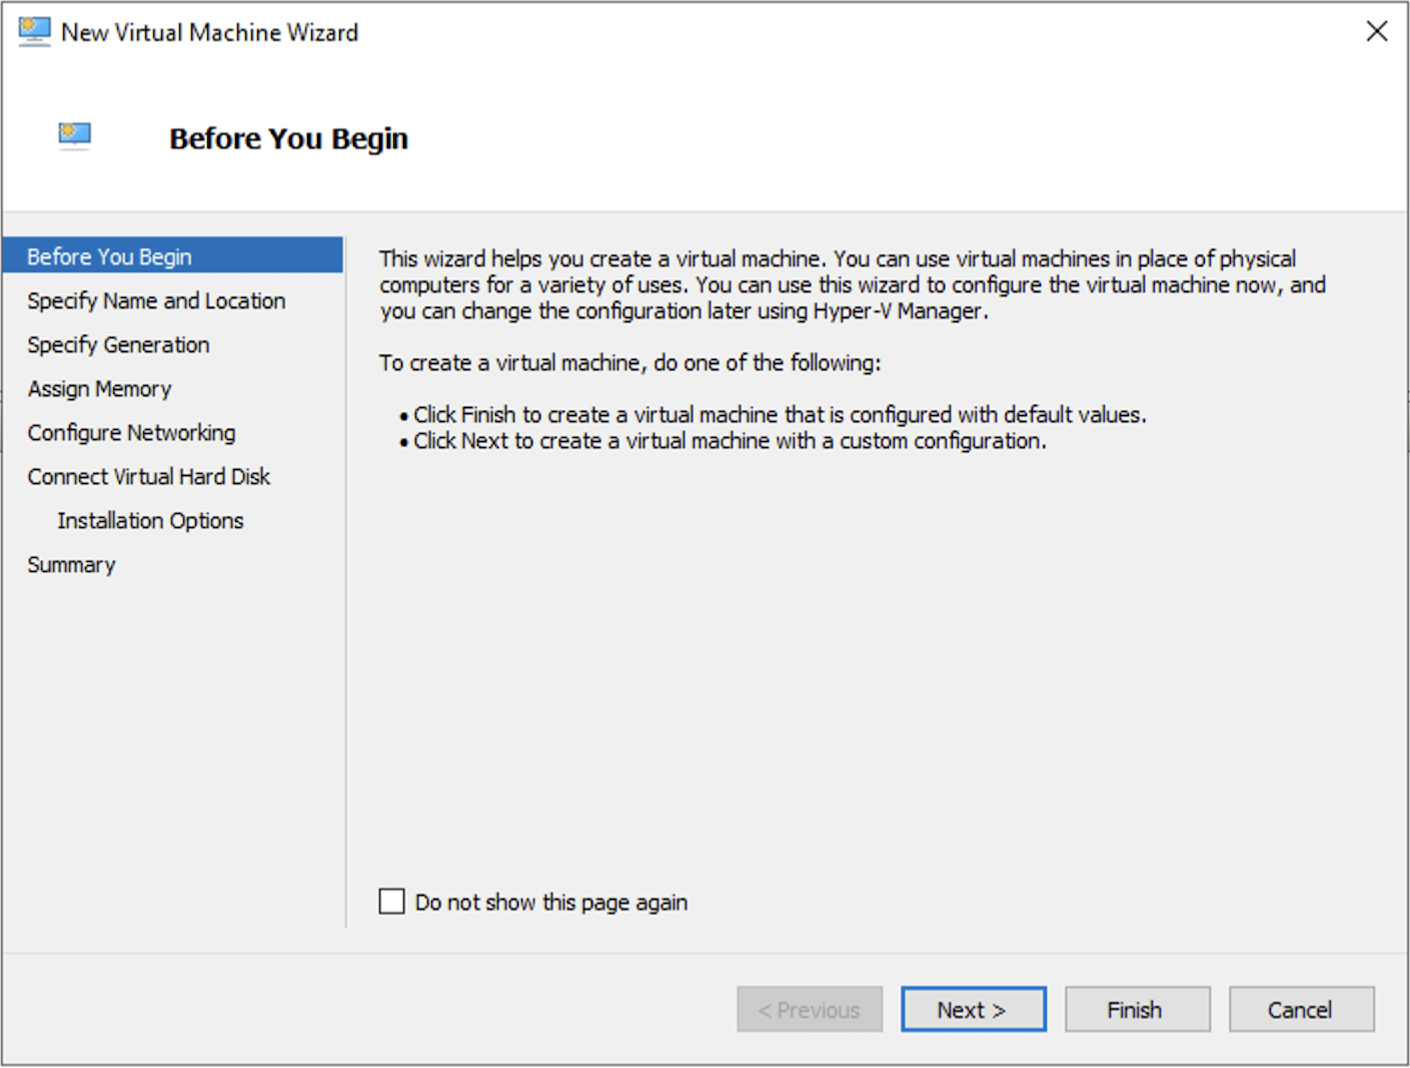
Choose a name for the virtual machine and click 'Next'.
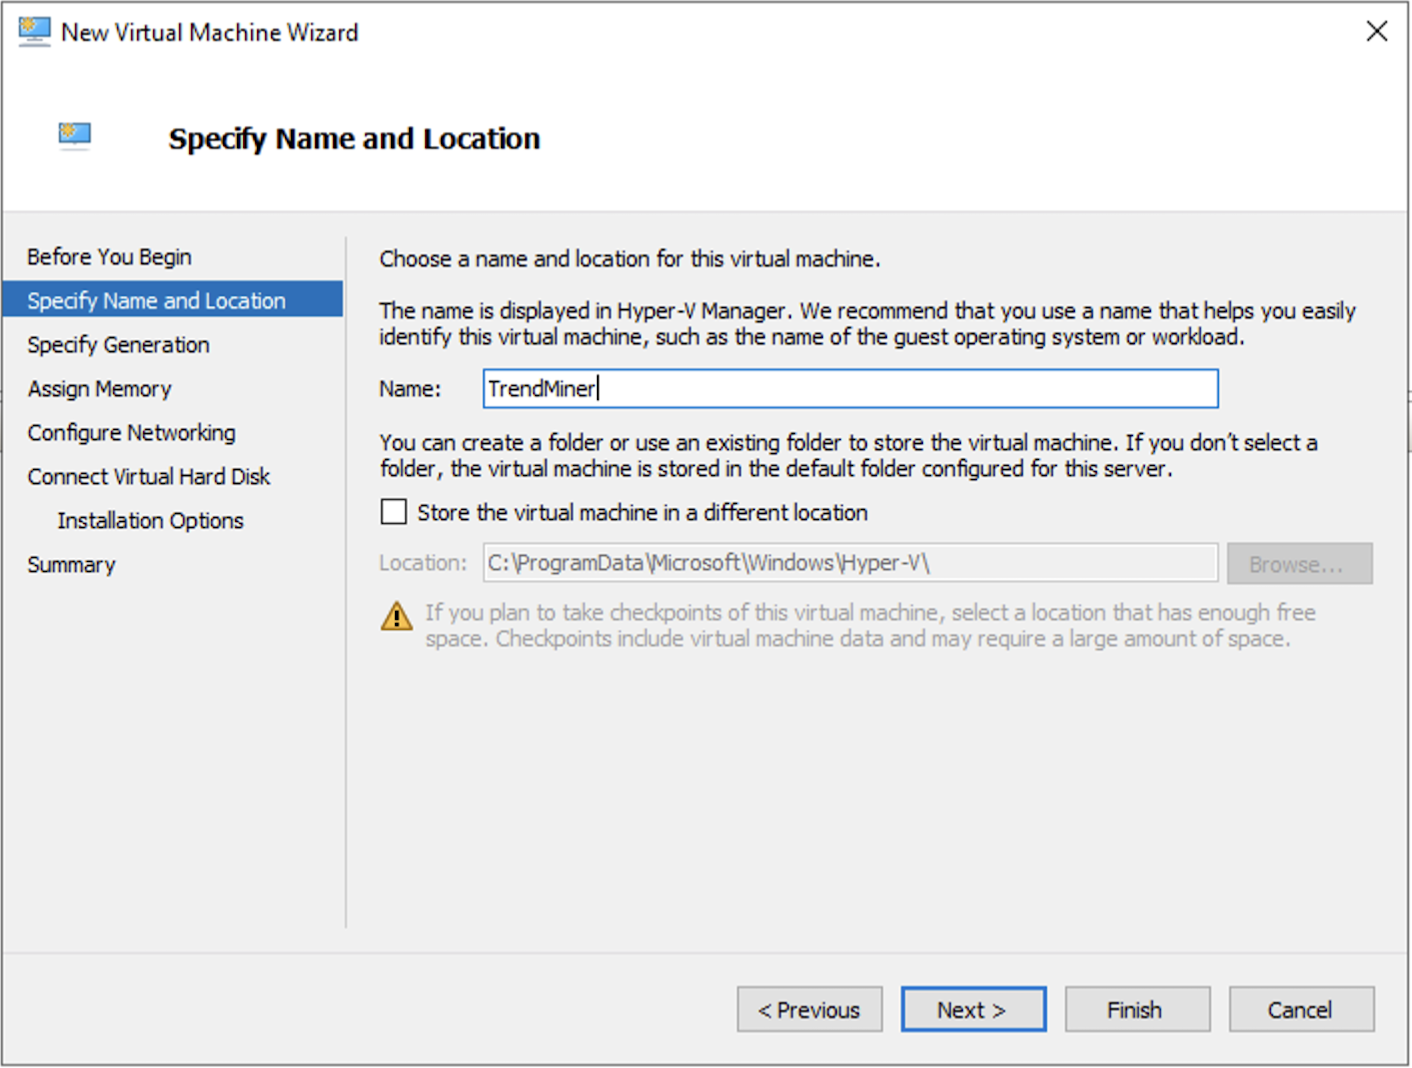
Keep the default 'Generation 1' selected and click 'Next'.
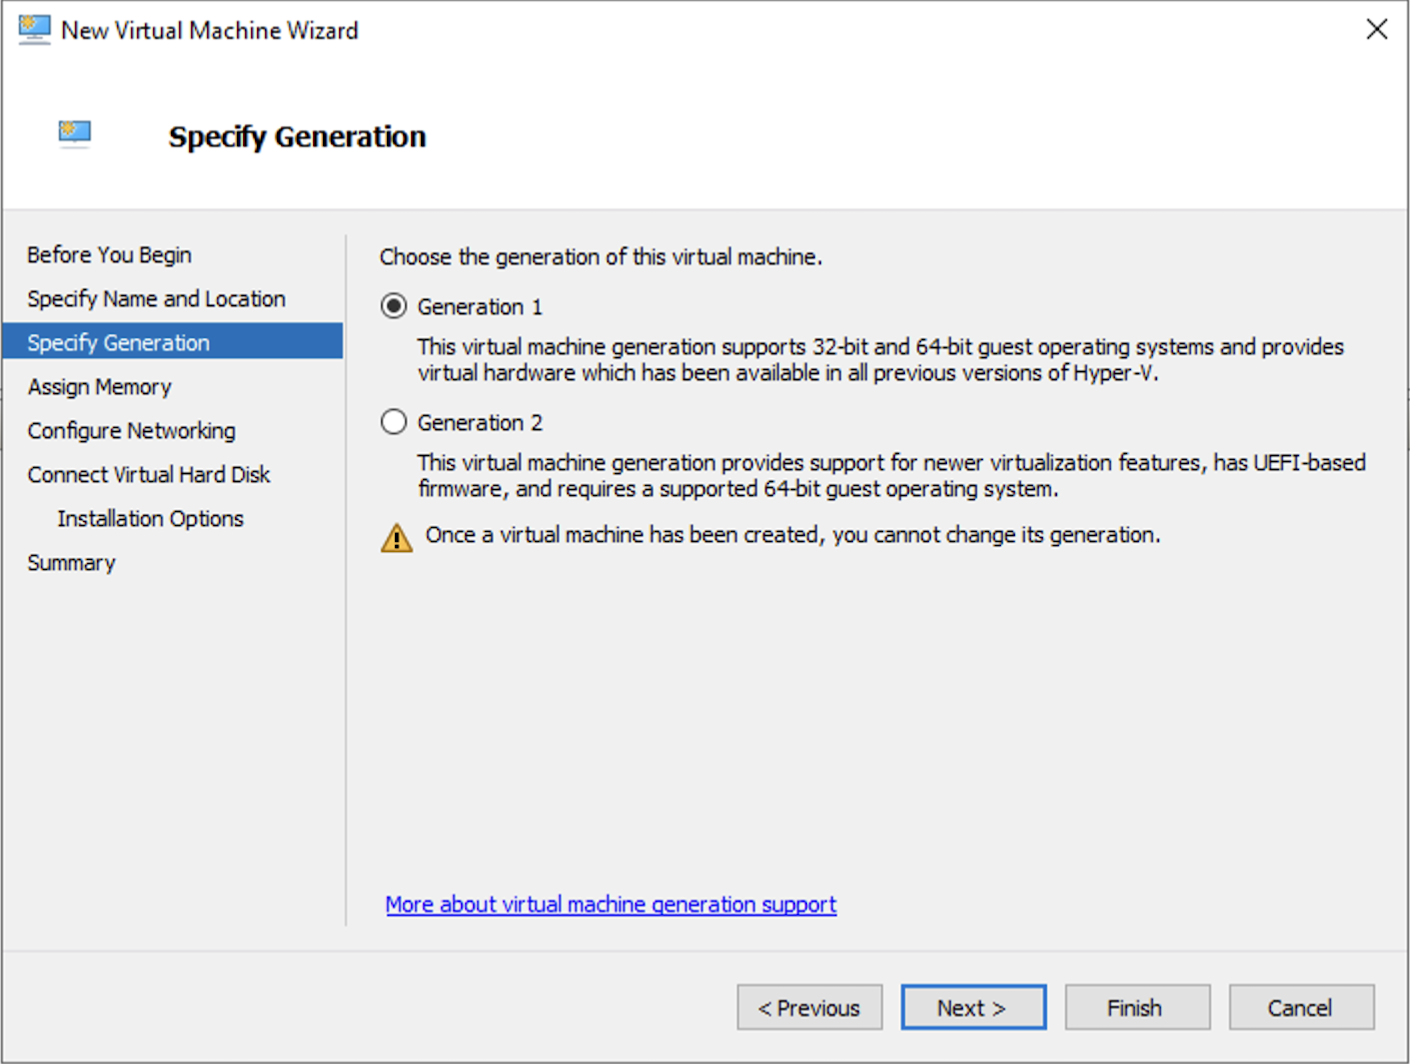
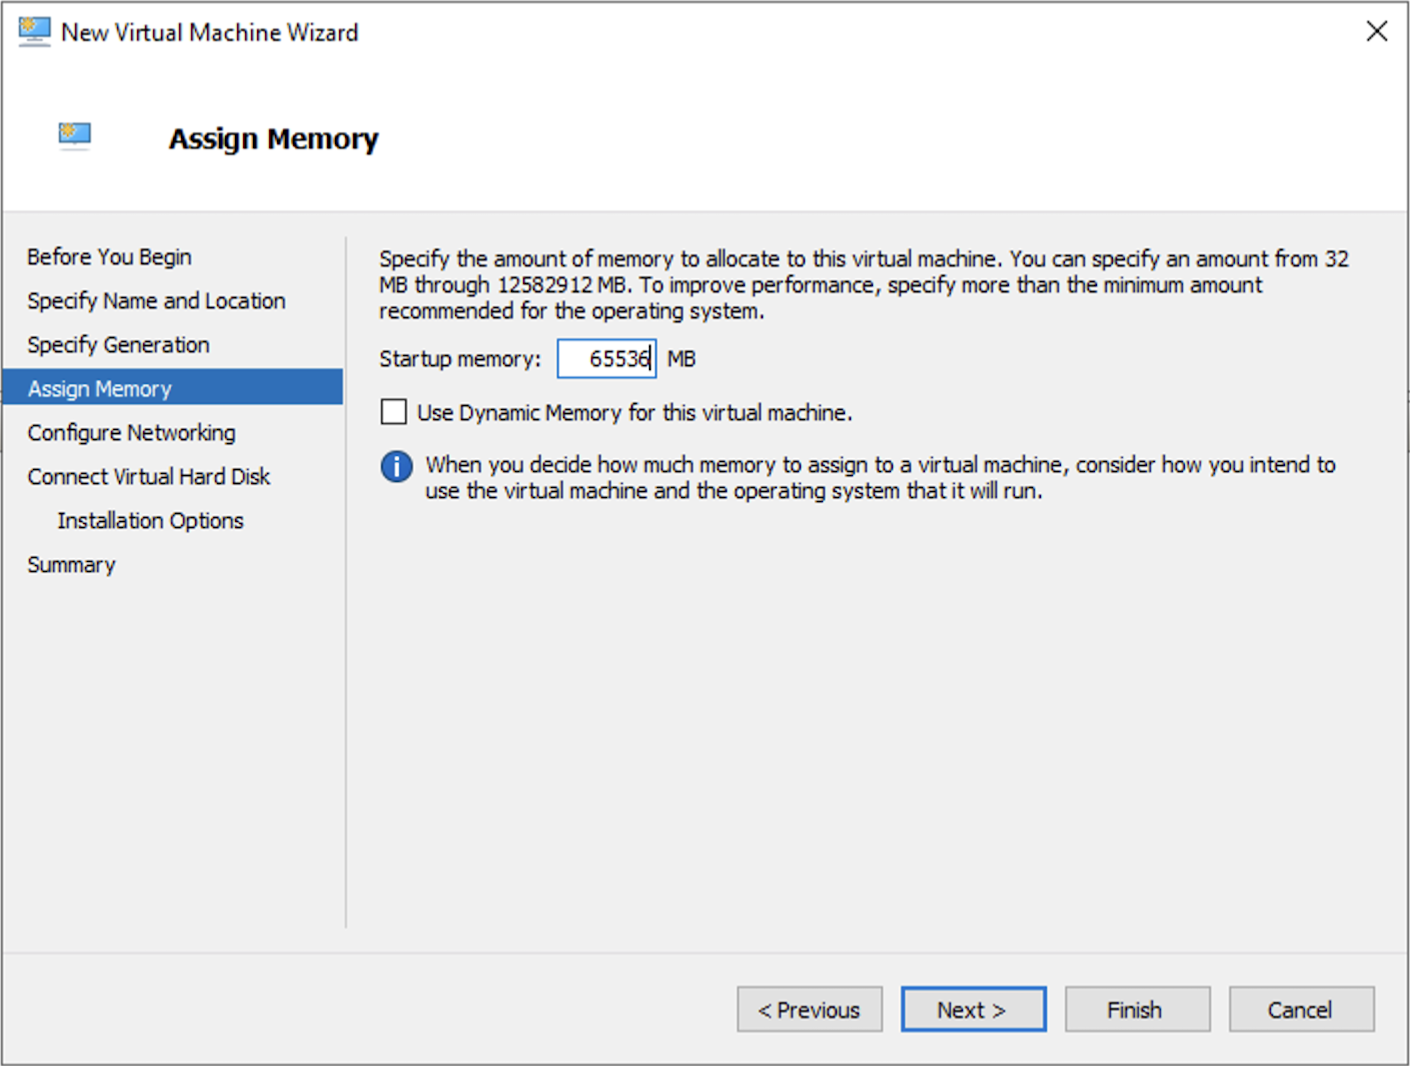
Assign the recommended amount of RAM to the virtual machine and click 'Next'.
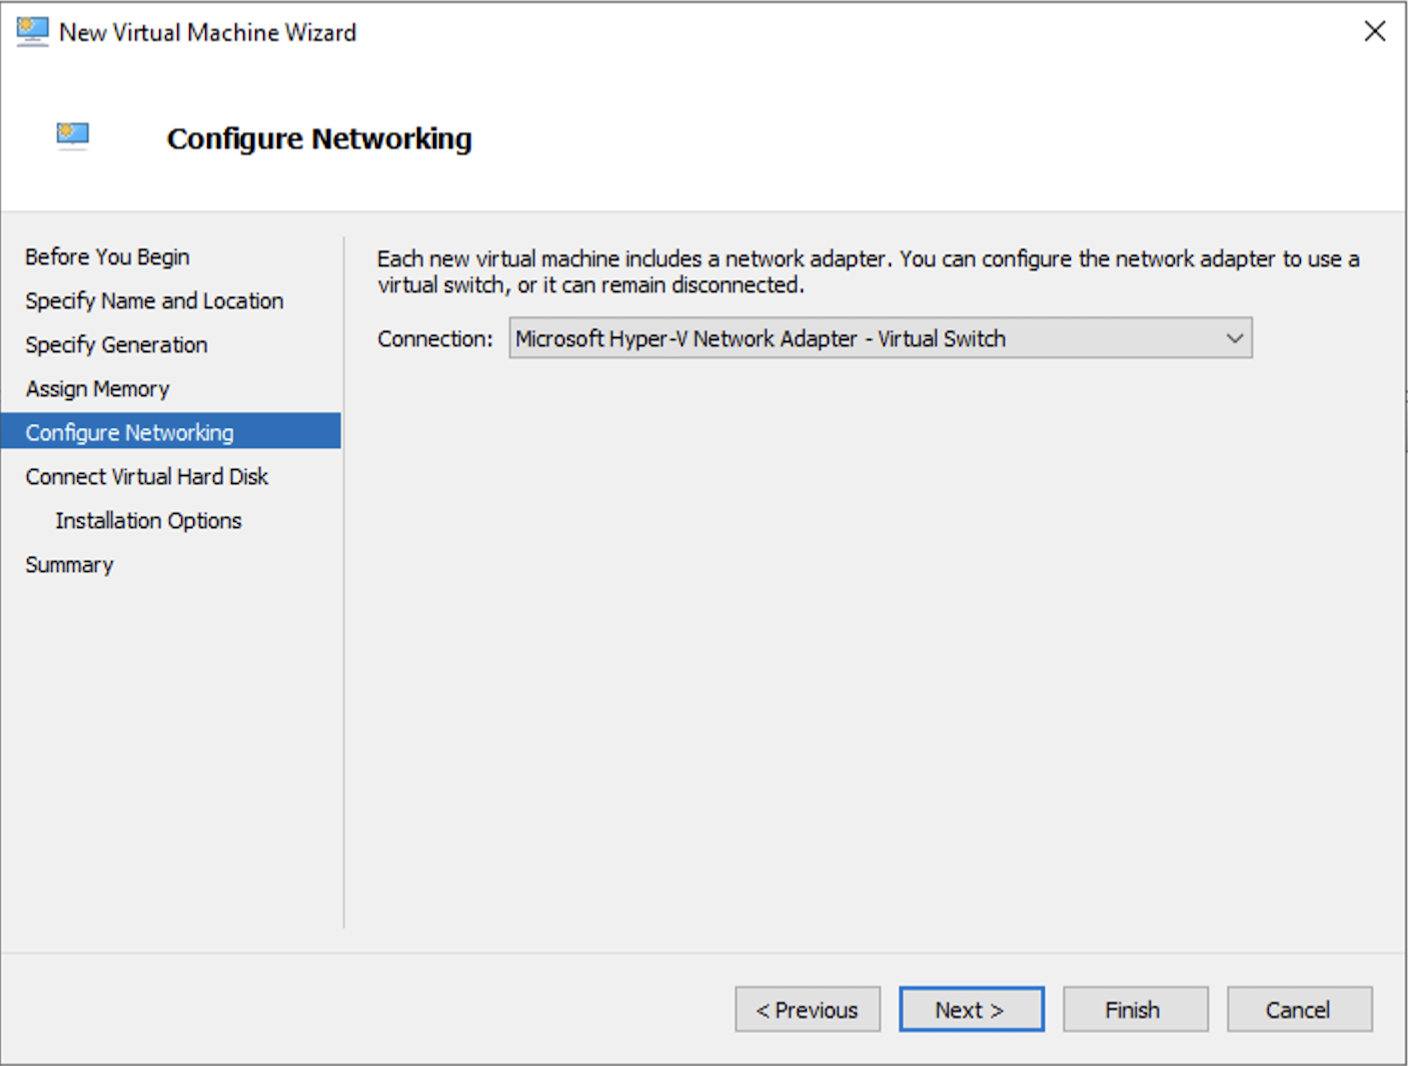
Select the correct network to attach the virtual machine to and click 'Next'.
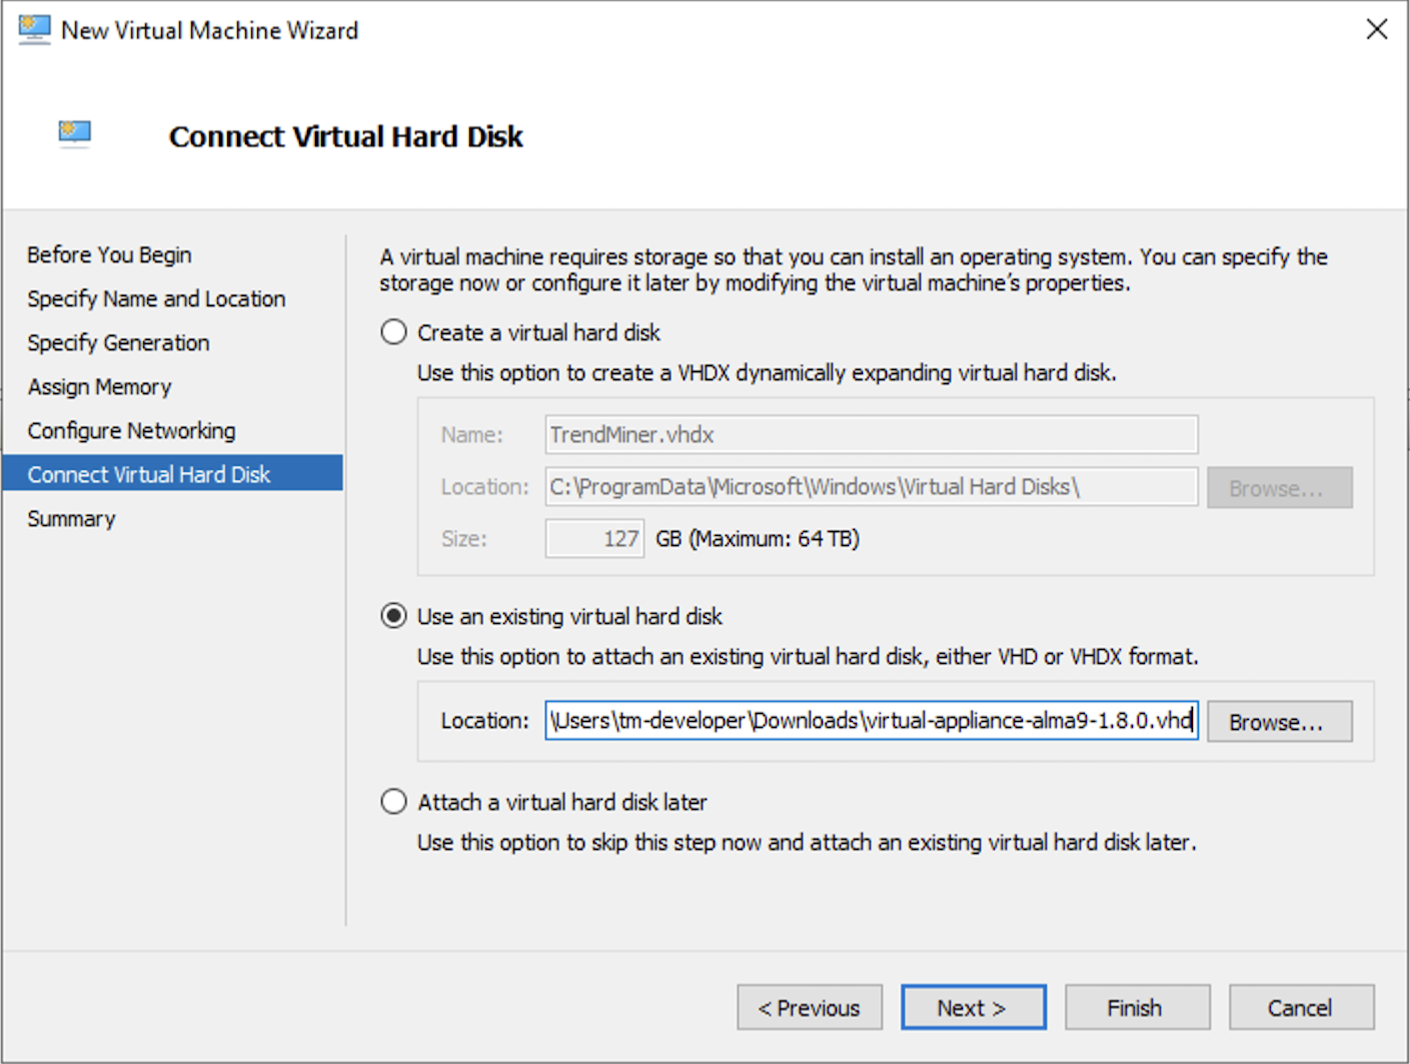
Select ‘Use an existing virtual hard disk’ and click 'Browse'. Browse to the TrendMiner vhd file downloaded from the TrendMiner download portal, select it and click 'Open'. Click 'Next' to confirm the storage configuration.
Important
For virtual appliance installations the first disk will only recognize 200GB of disk space. Please make sure to set up your virtual appliance with a 200GB disk and use the extend disk functionality in TrendMiner to further extend the disk after initial installation.
All disk space >200GB in the initial installation will be permanently lost!
Review the virtual machine configuration and click 'Finish'.
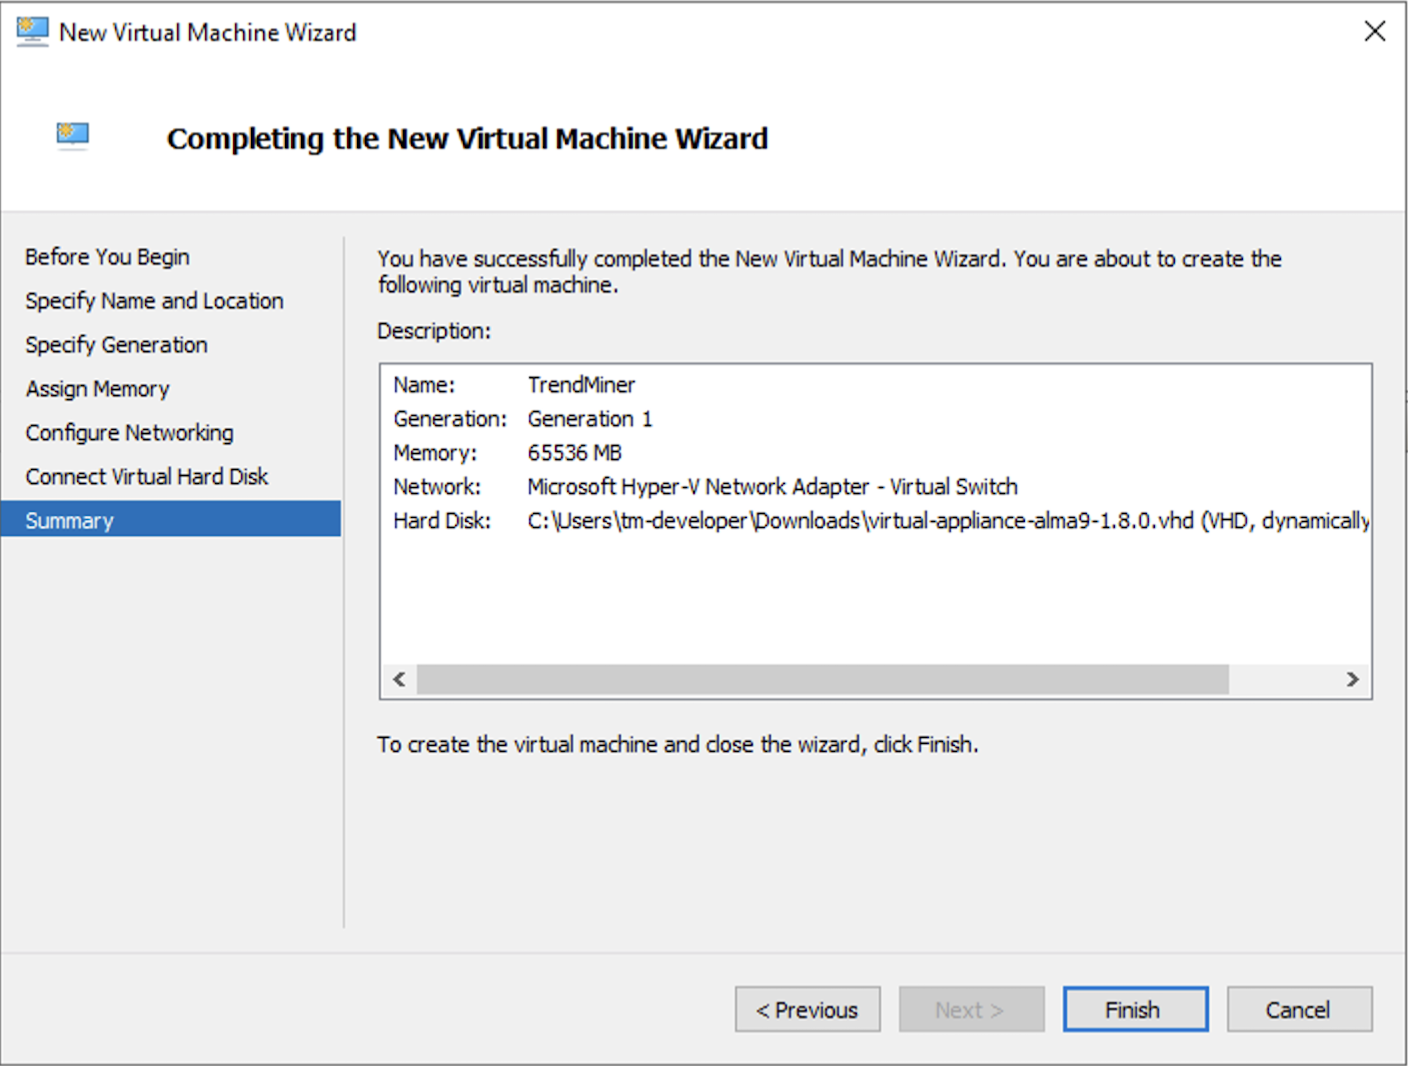
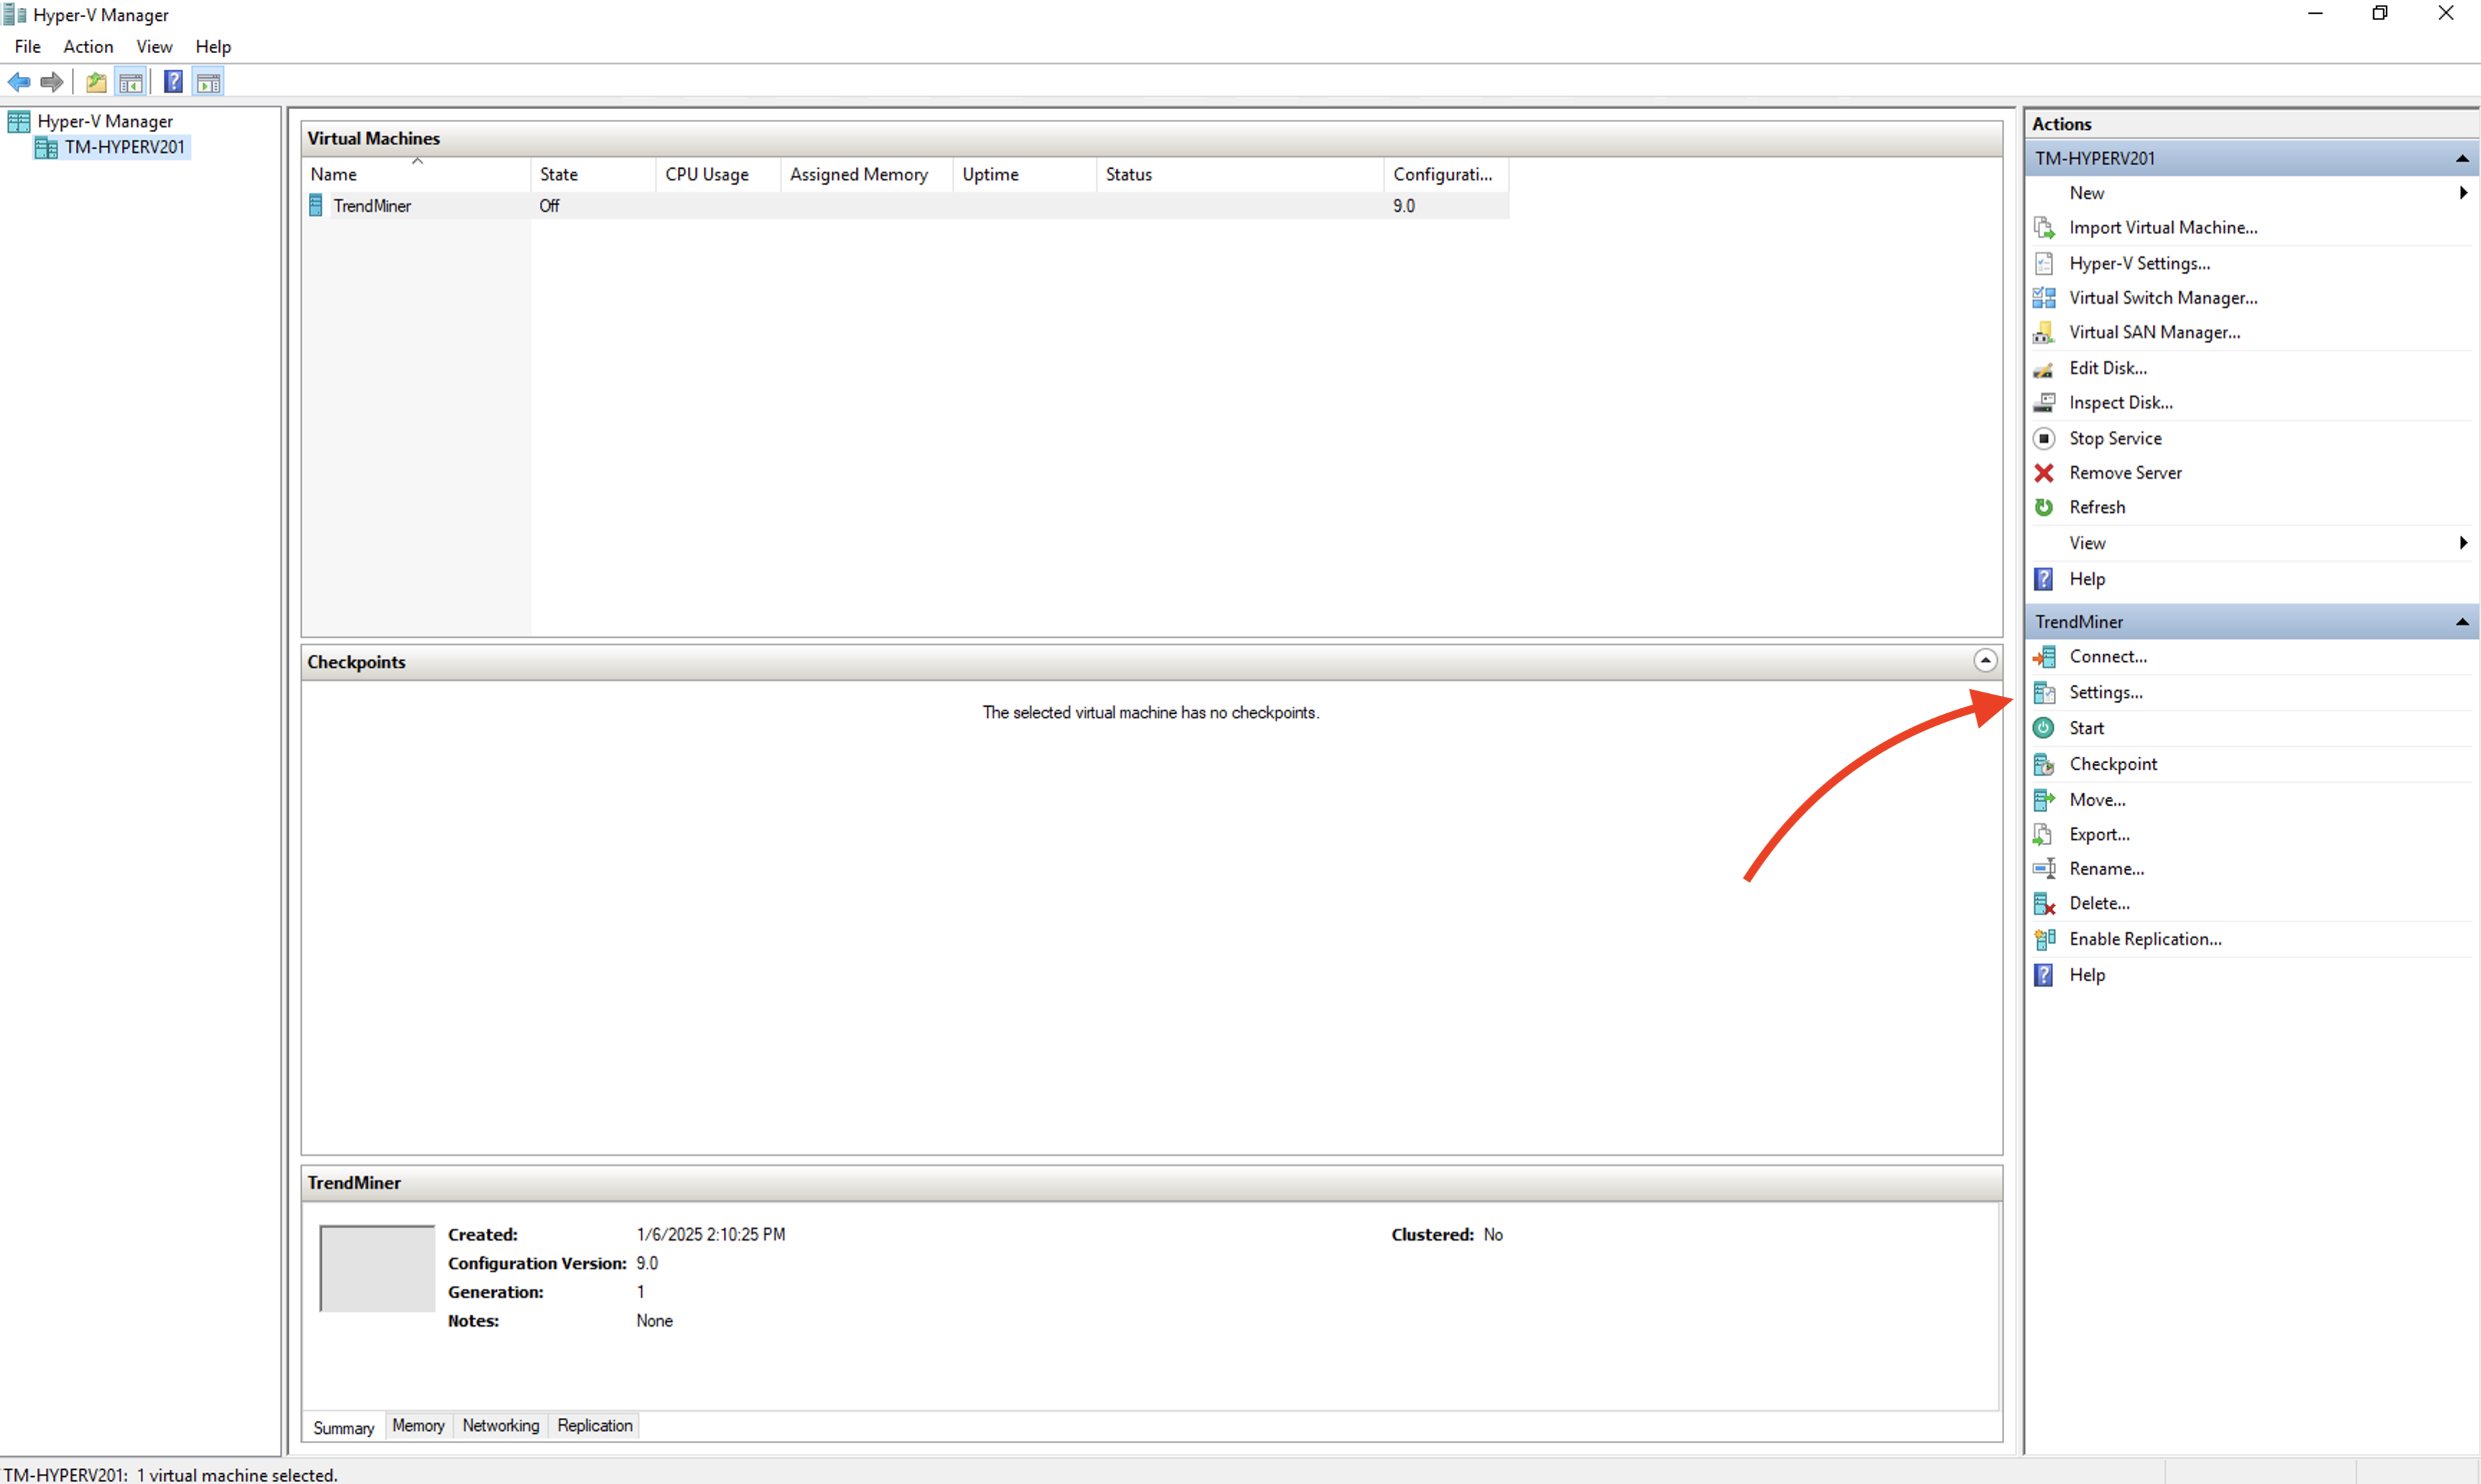
Select the virtual machine and open 'Settings'.
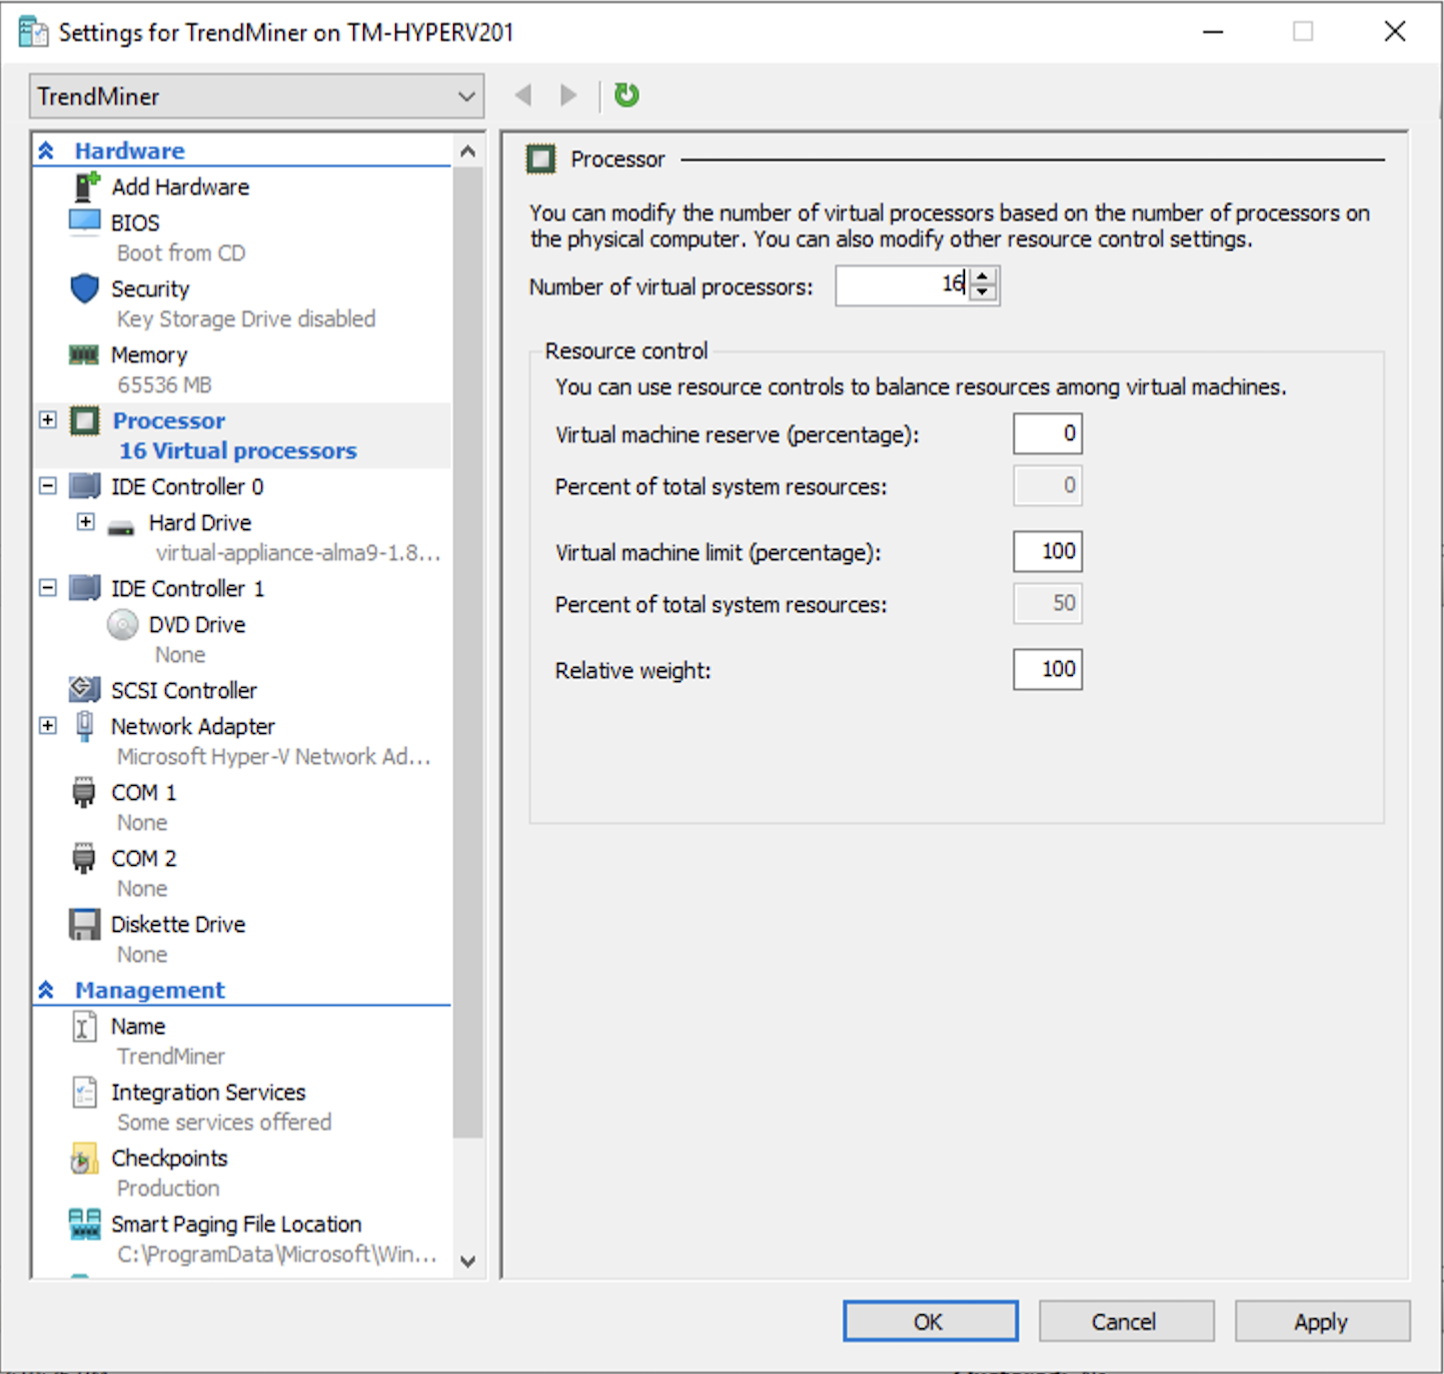
Under 'Processor' assign the recommended amount of virtual CPU cores to the virtual machine.
Connect to the virtual machine.
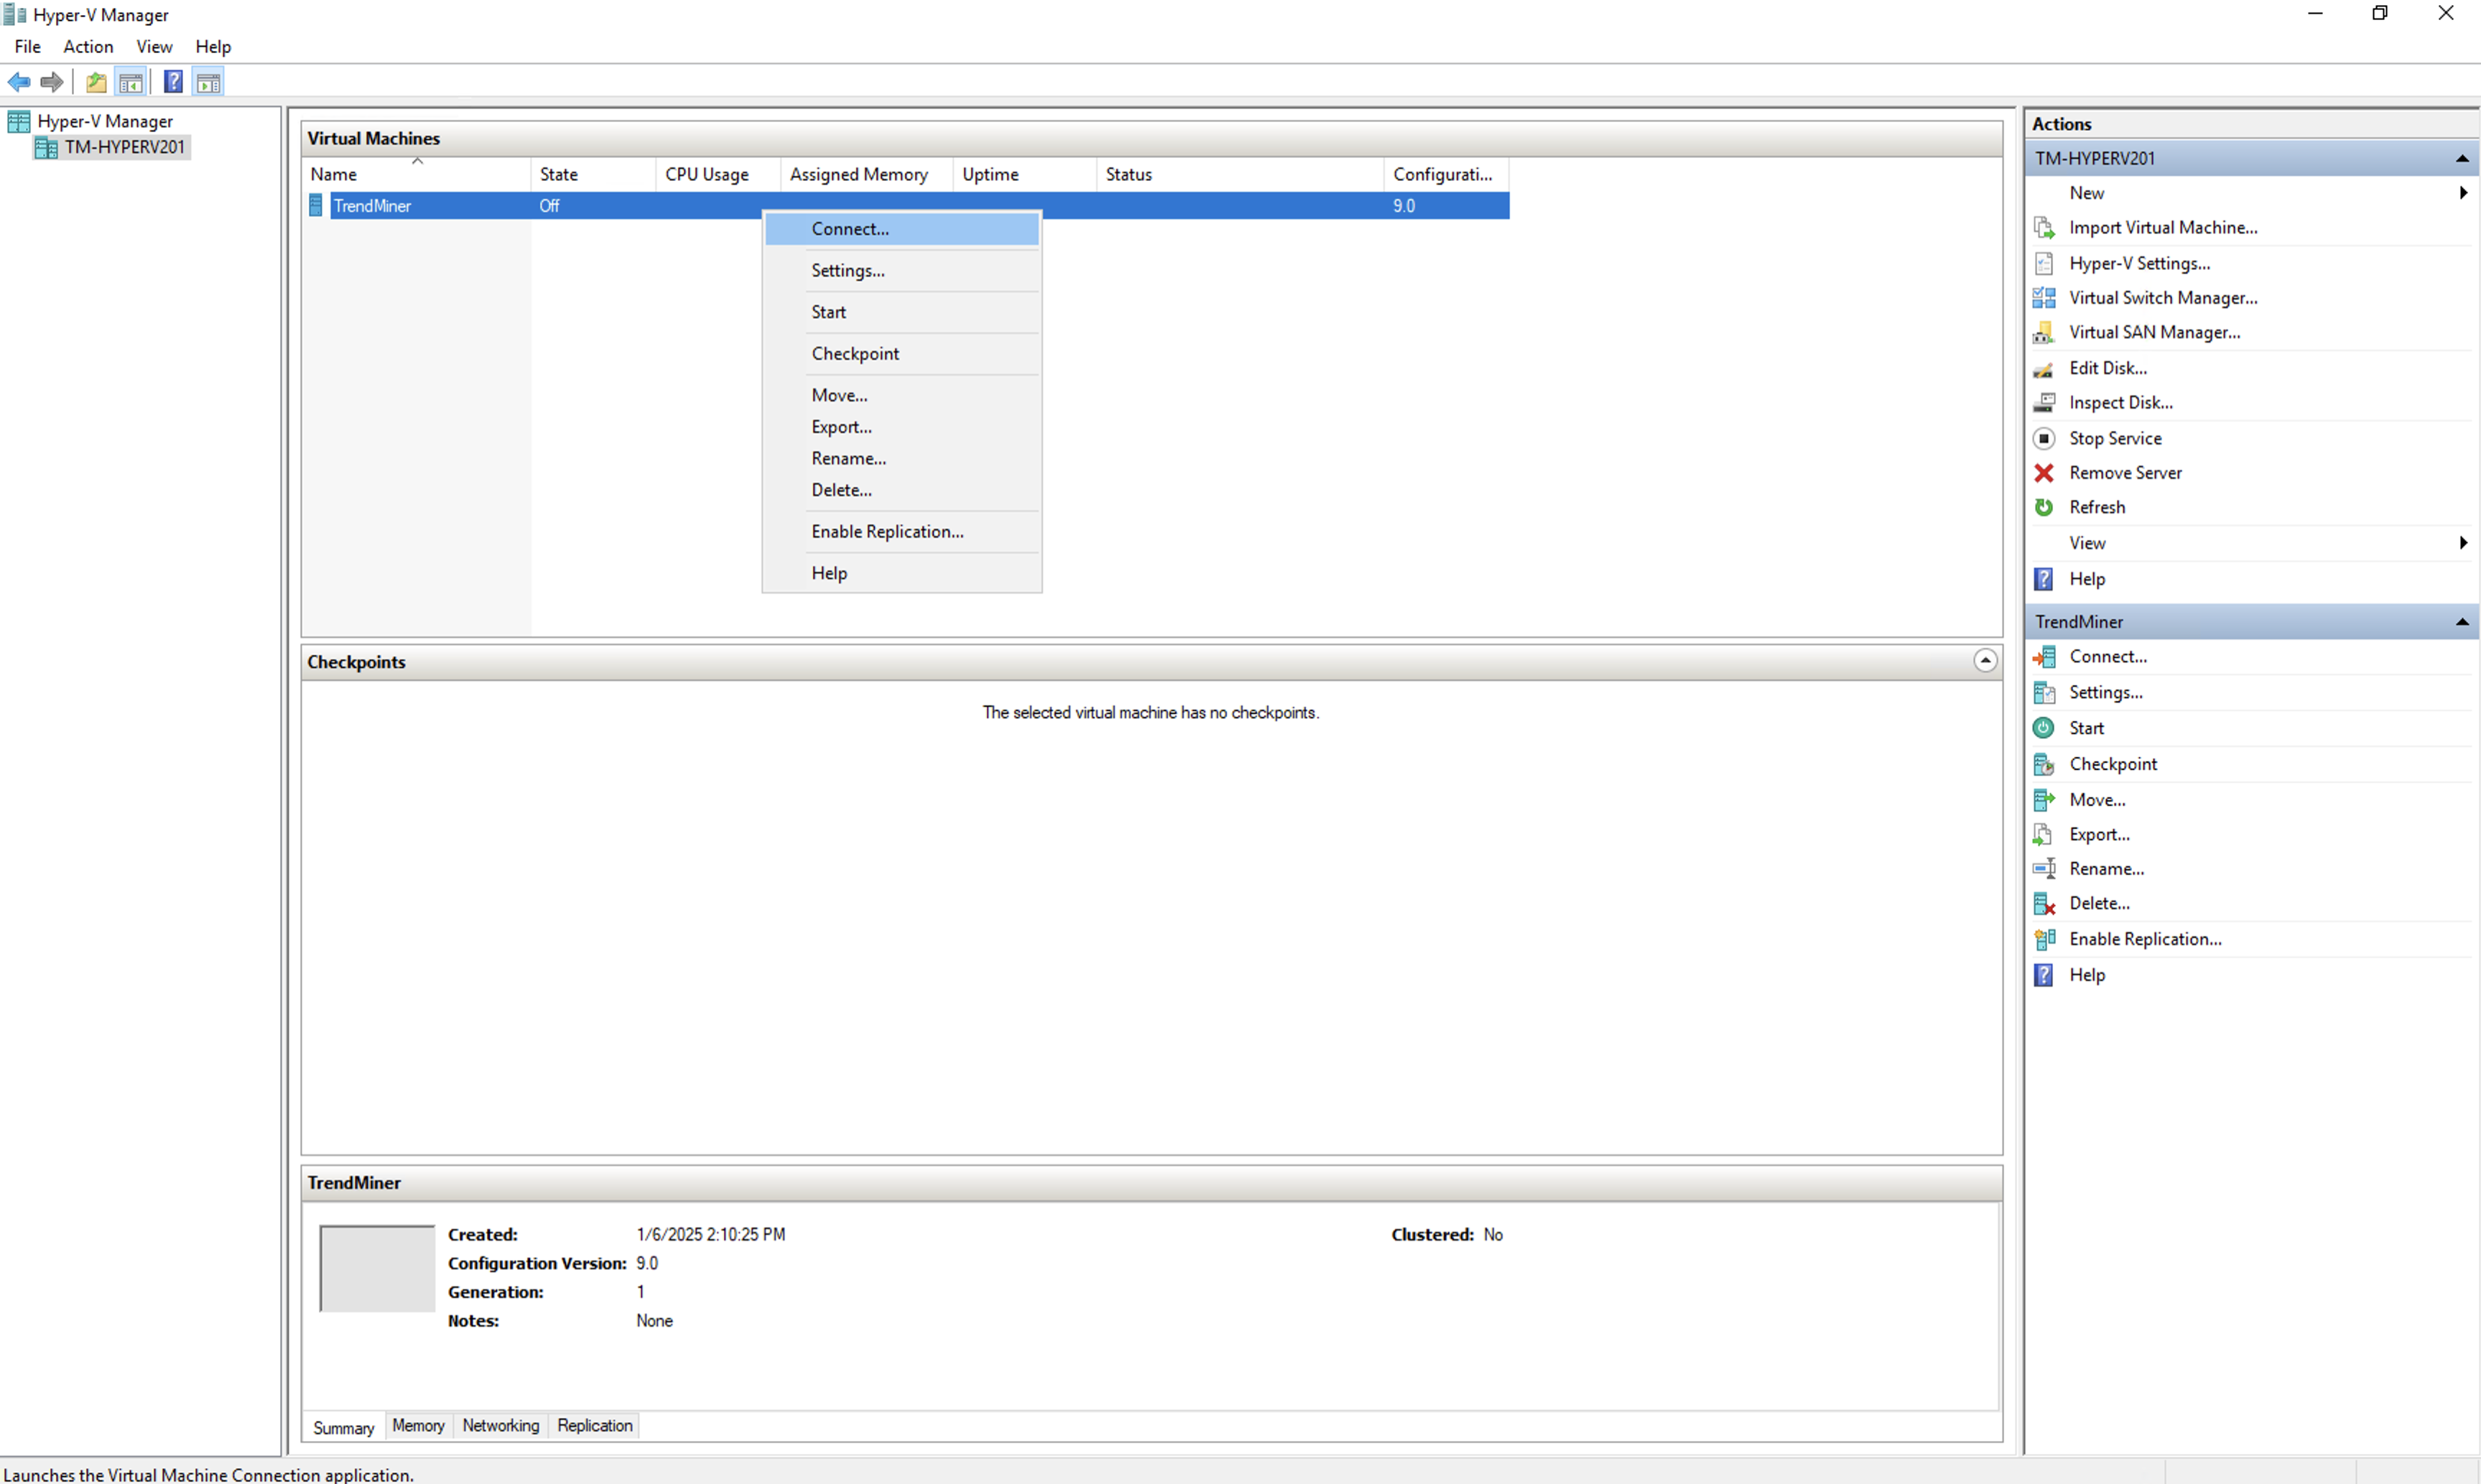
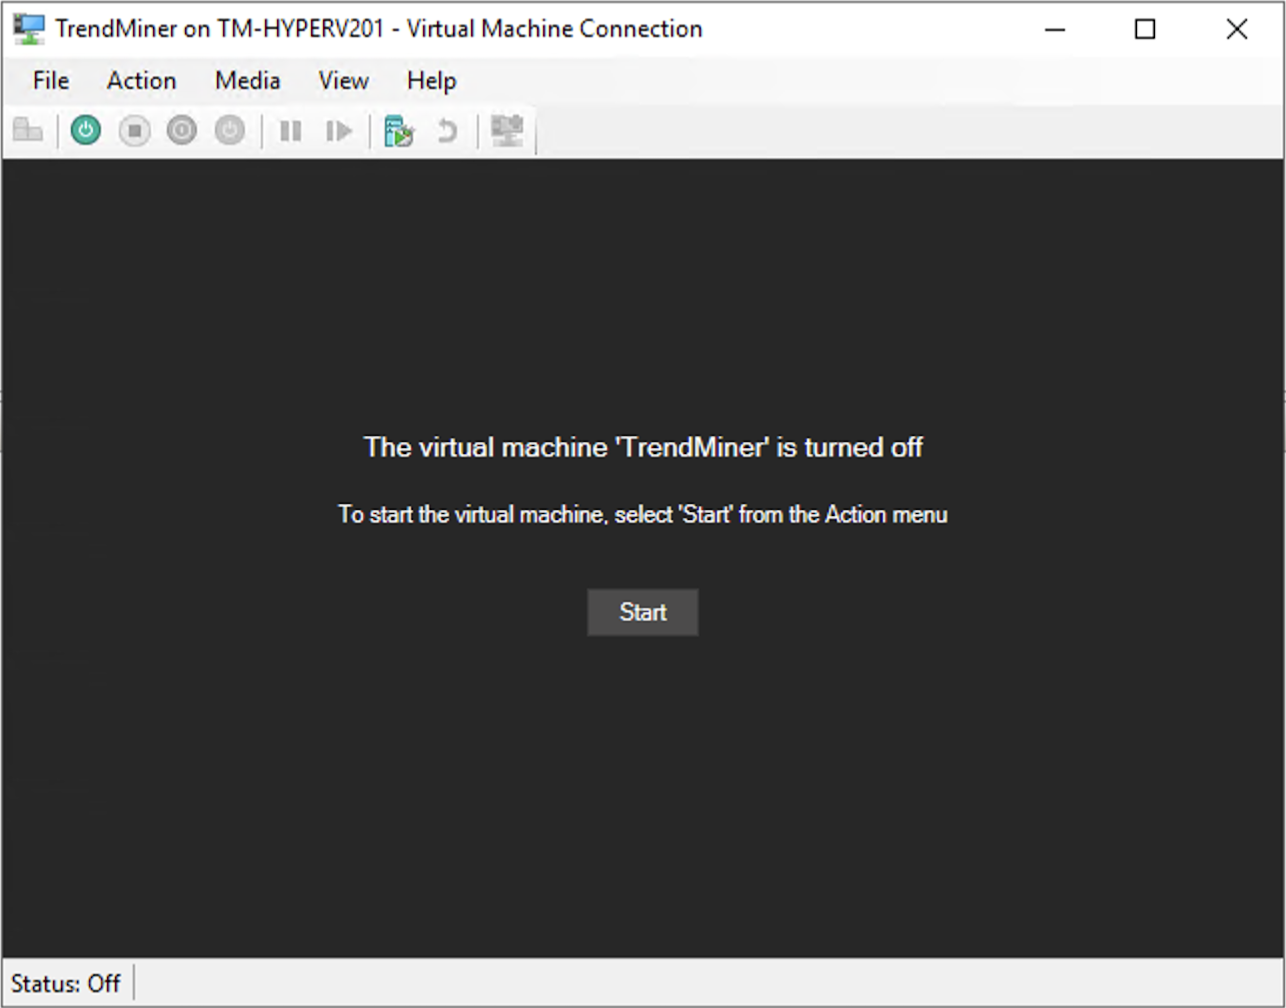
This starts the console. Start the virtual machine.
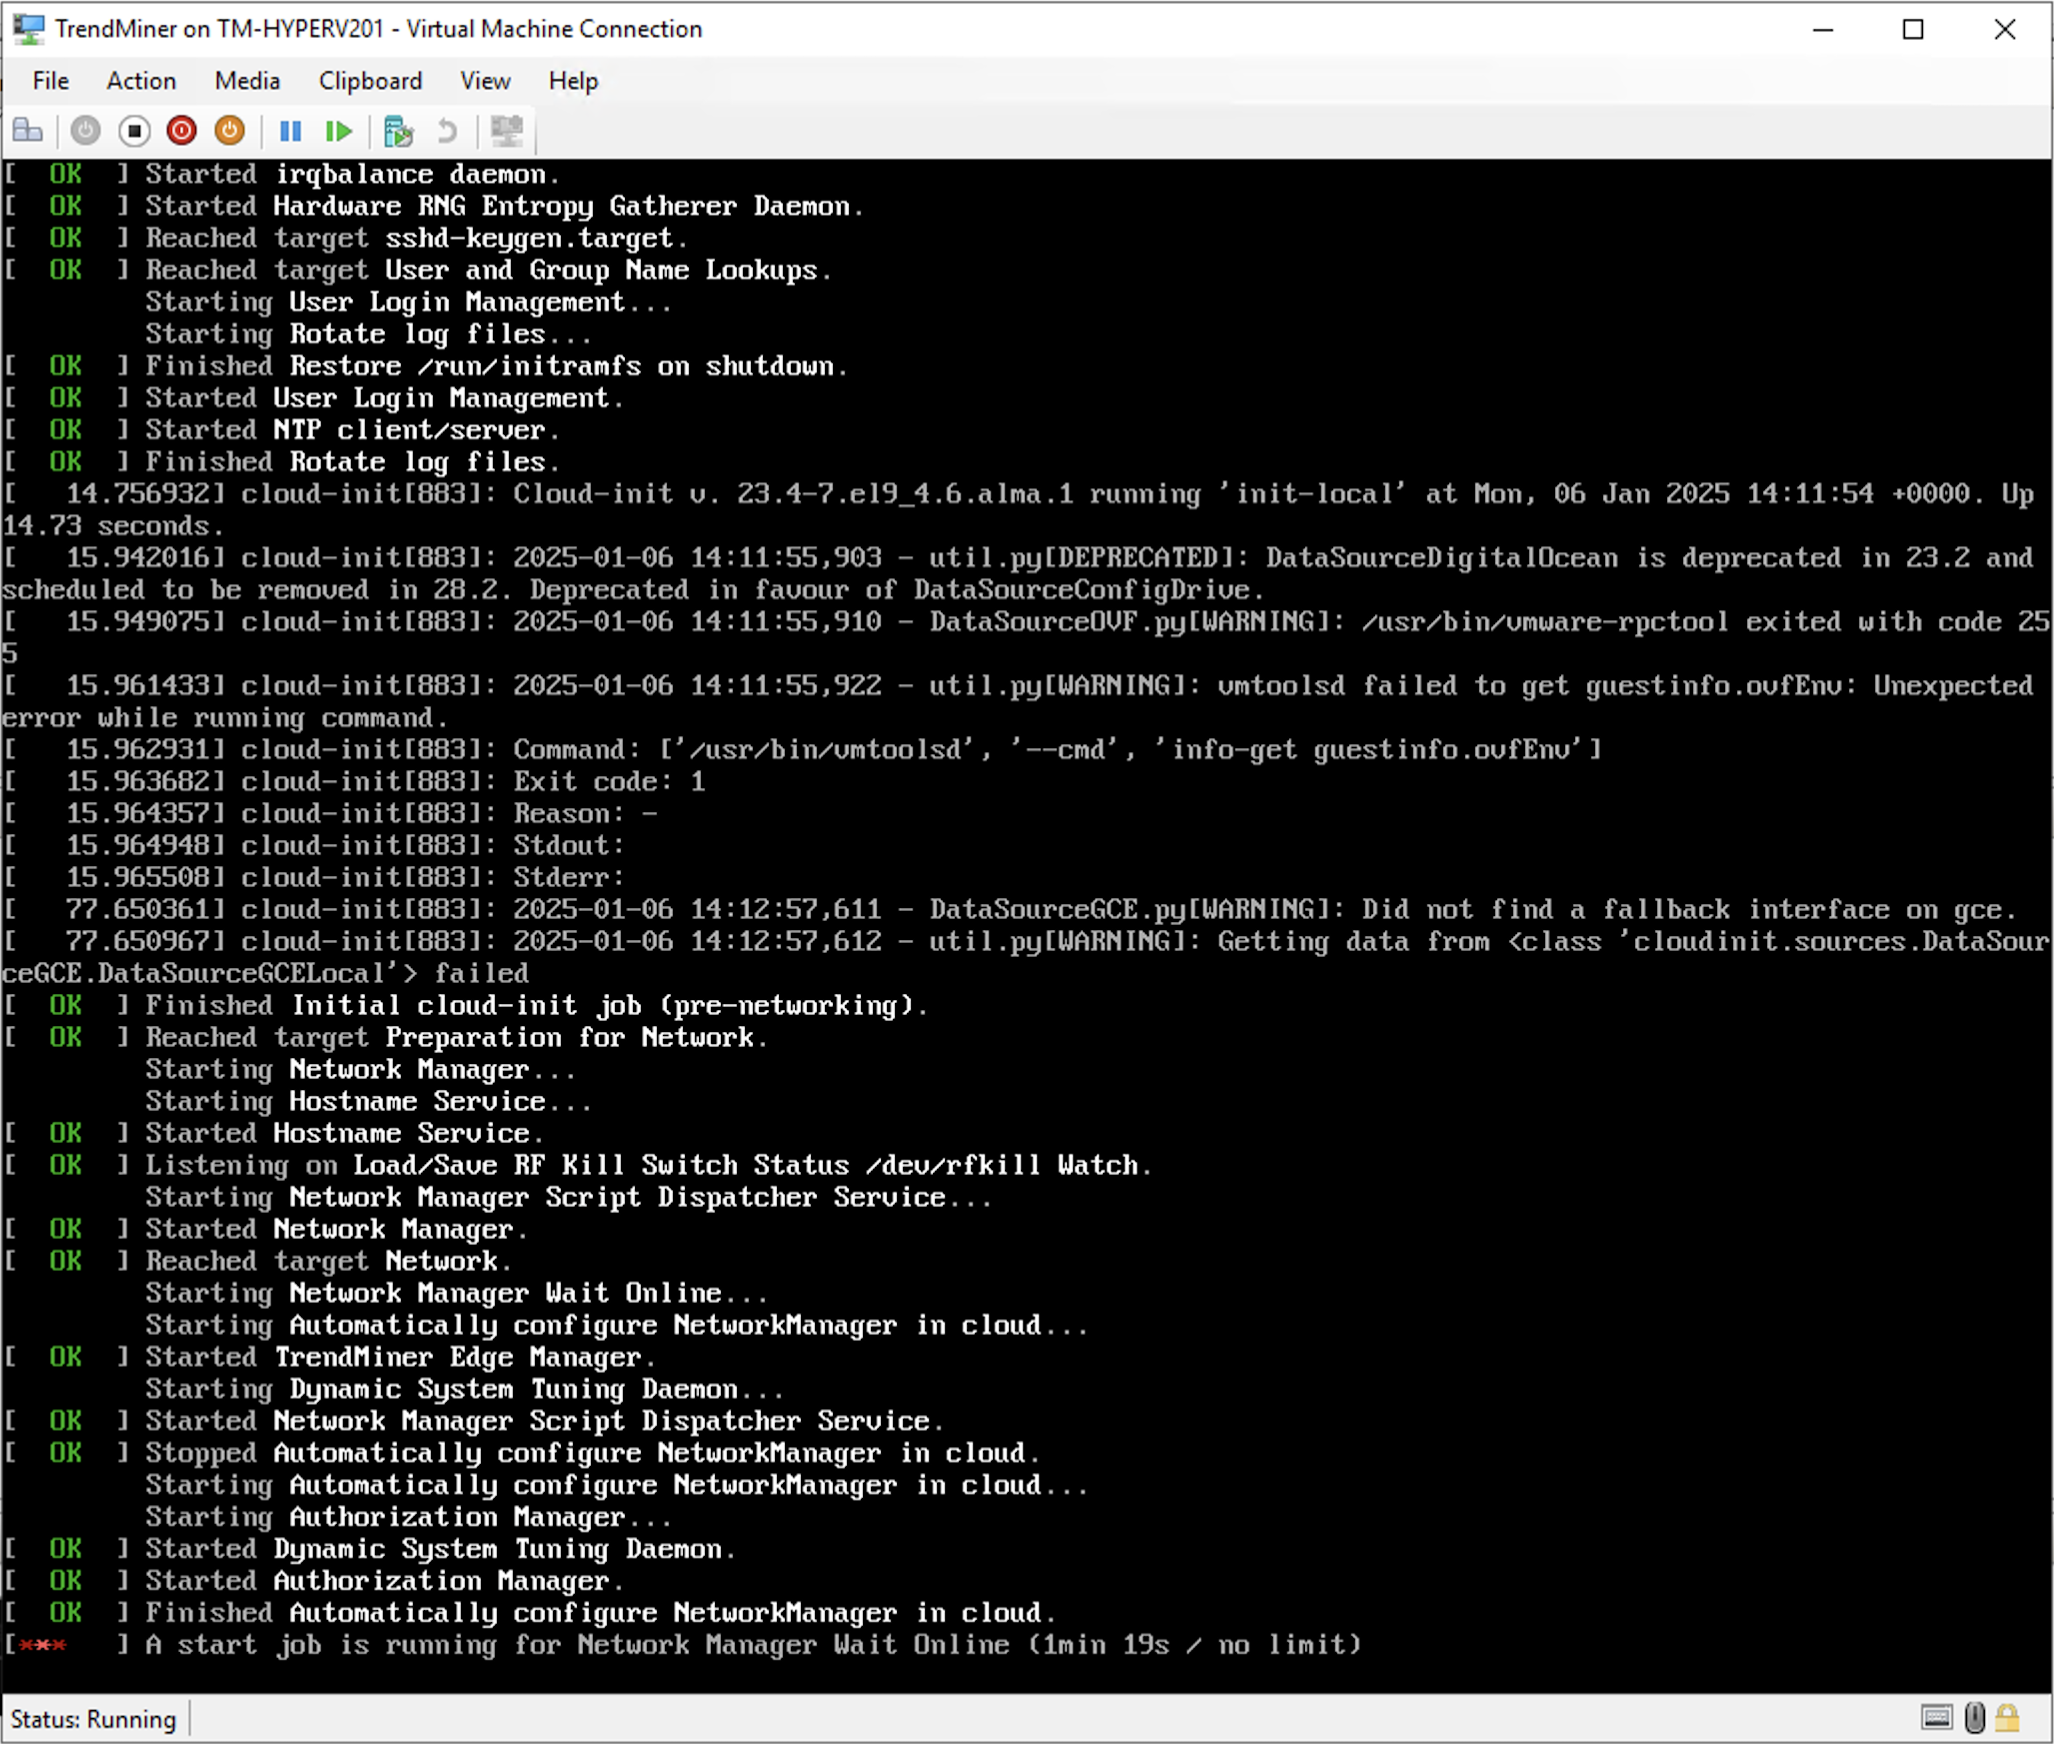
Wait until the IP configuration displays. Ignore any errors you might see during the booting of the OS. It can take up to 10 minutes before the IP configuration screen is shown.
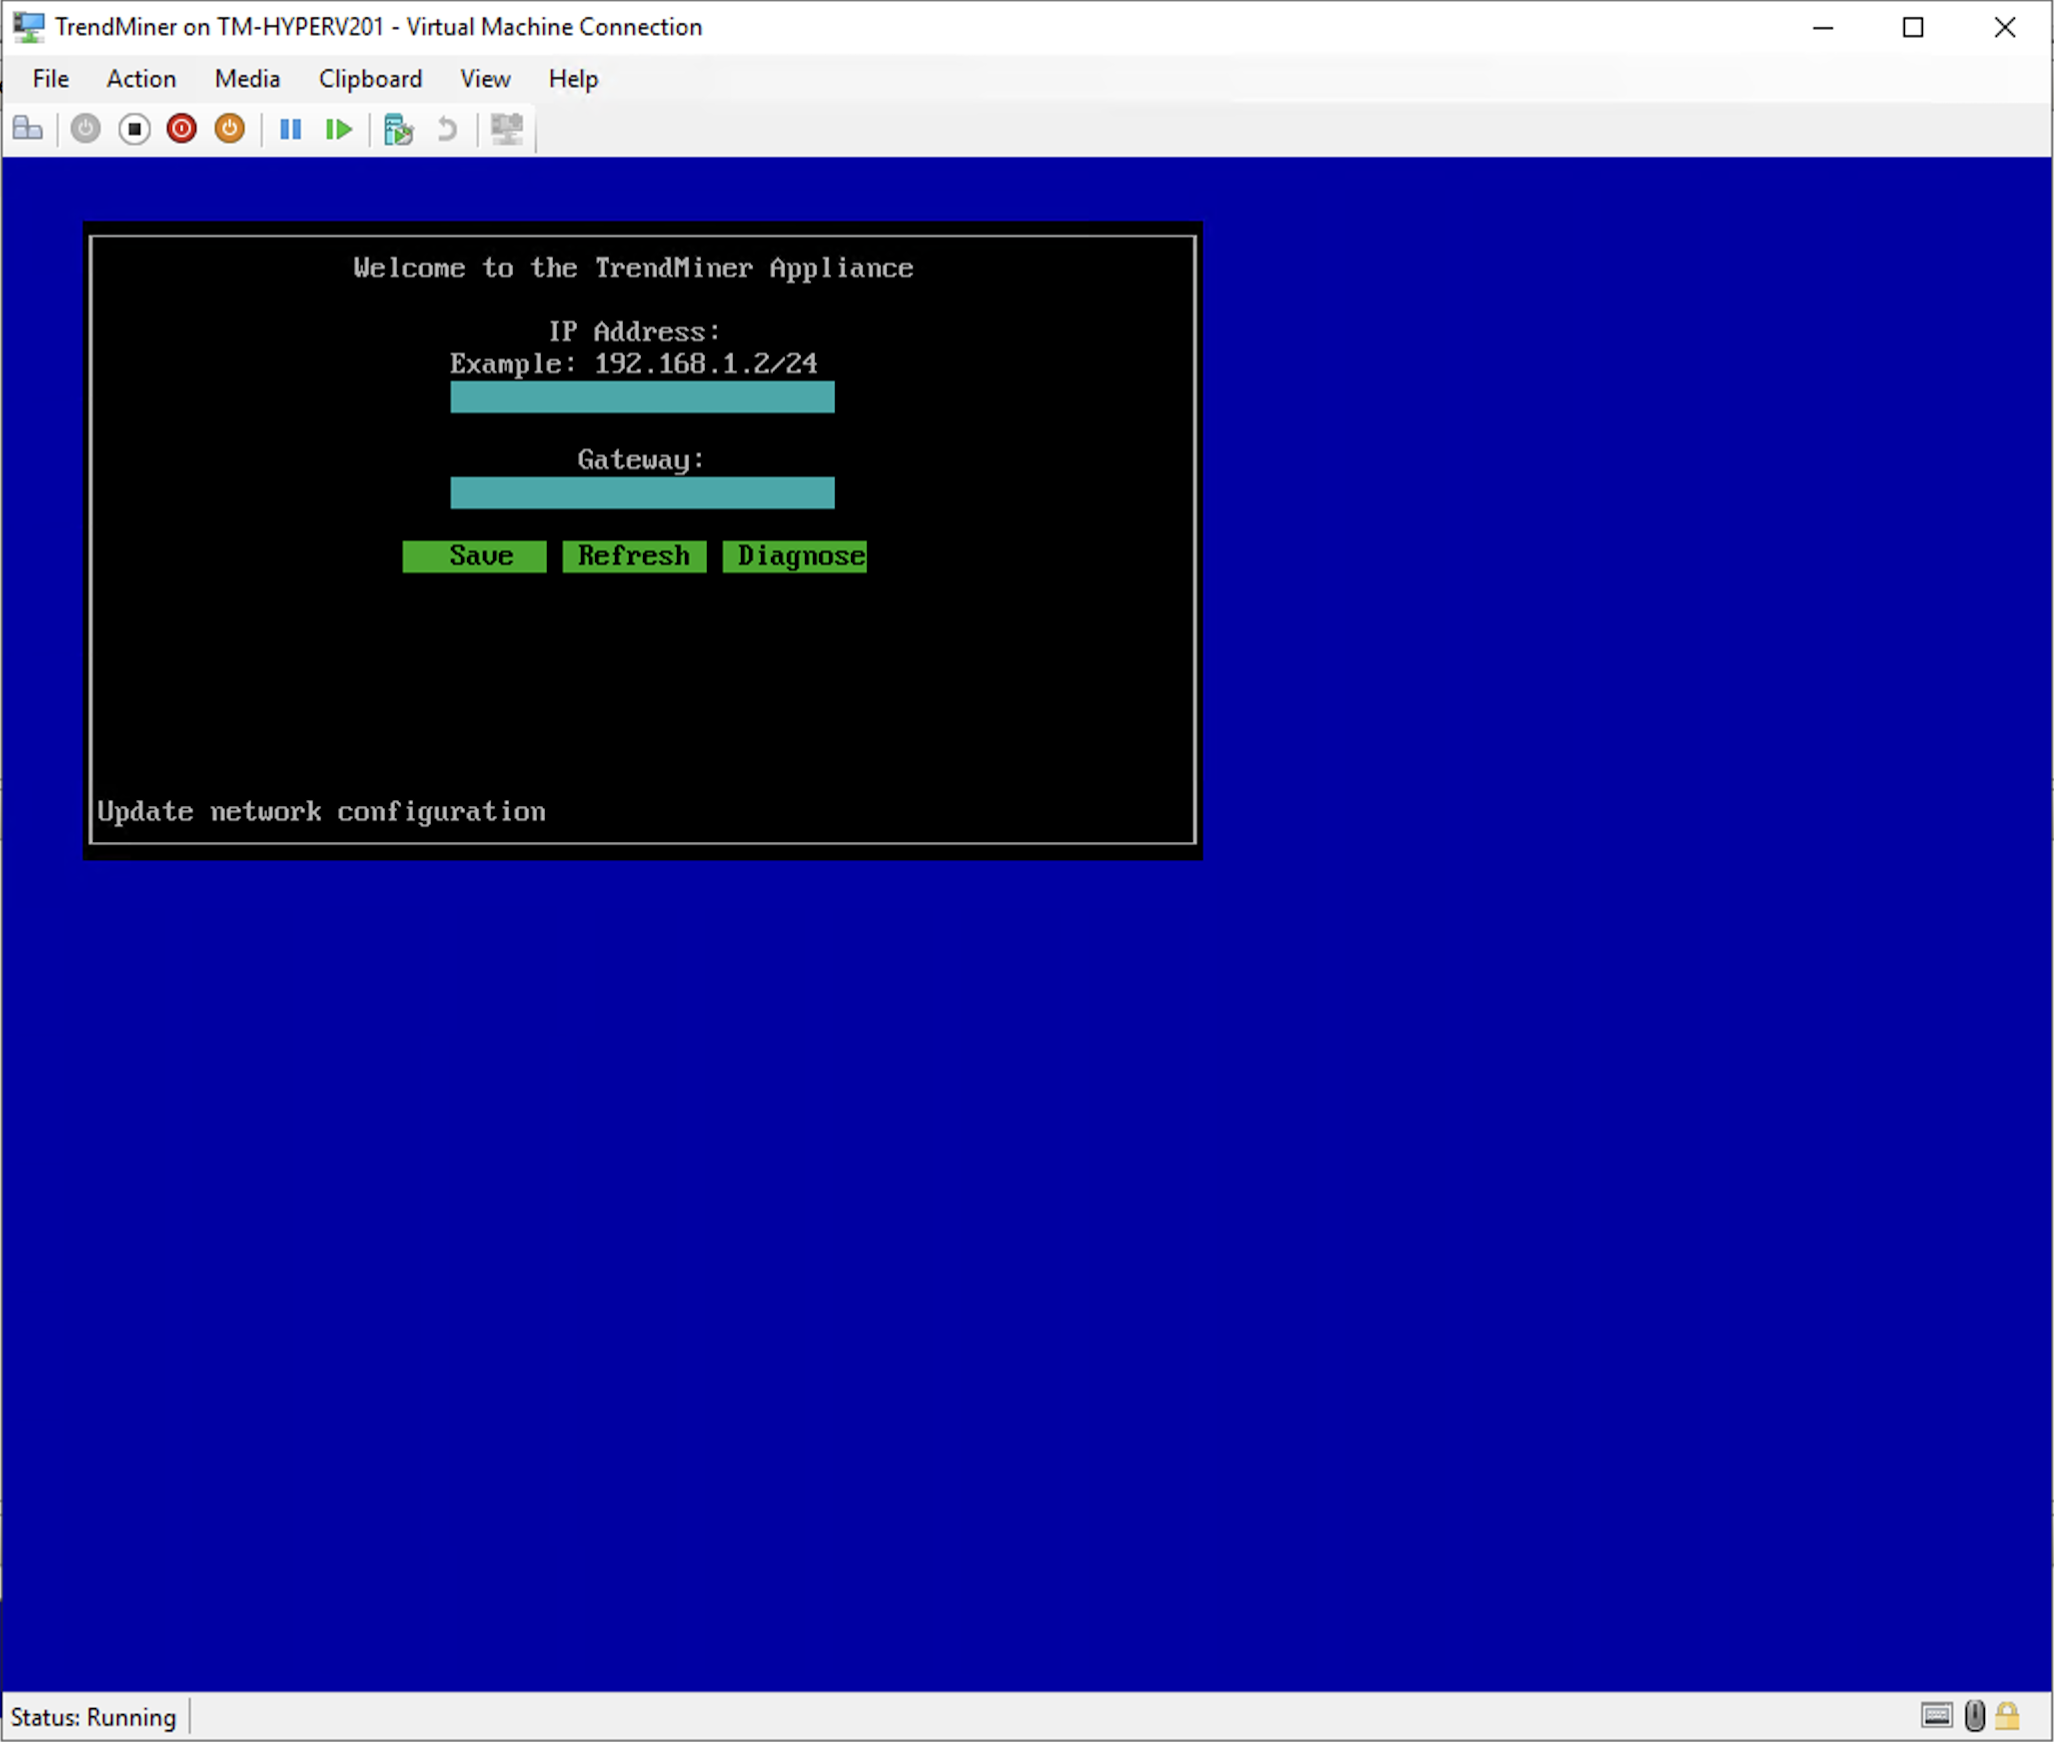
Use the arrow keys to navigate and supply the IP address, netmask and gateway. Then click 'Save'.
Note
Note that the IP address should be provided in the CIDR notation (ip/netmask). For example: the IP address 192.168.0.50 with netmask 255.255.255.0 should be written as: 192.168.0.50/24
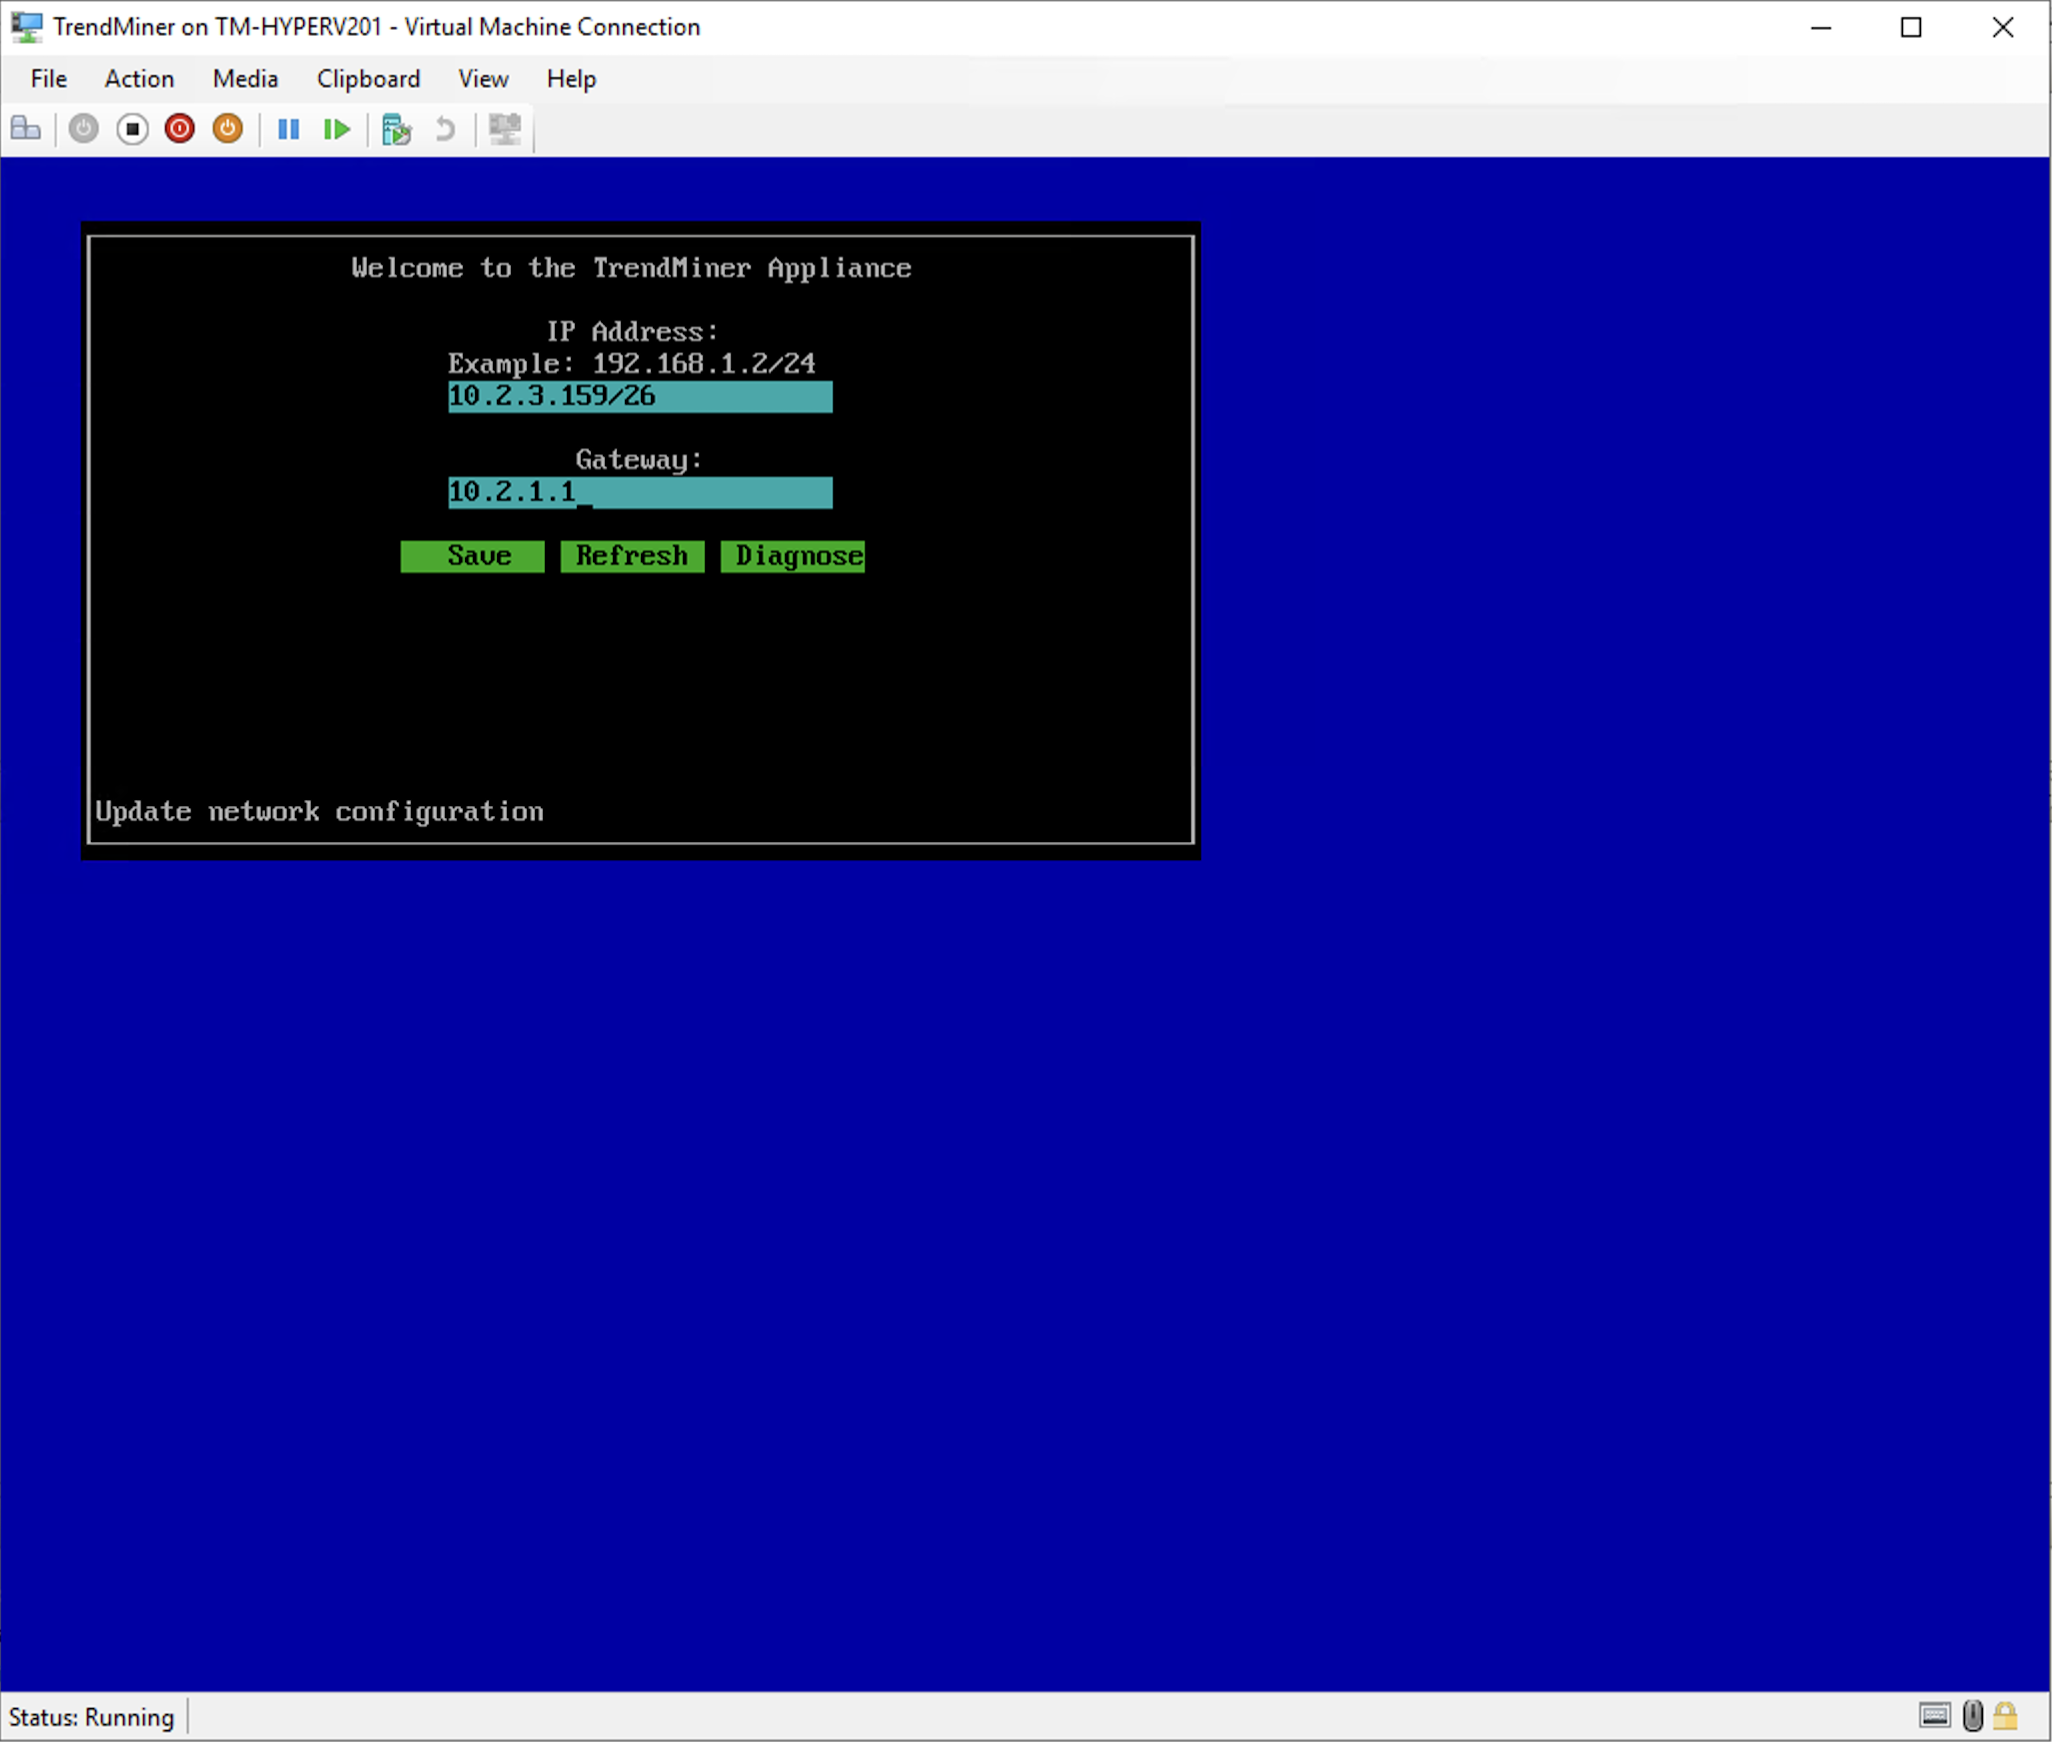
The console can now be closed. Continue to the Network Configuration.