Agents
Notice
The "Agents" menu item in ConfigHub is only available to AWS SaaS customers (<mycompany>.trendminer.io domains)
This tutorial will explain how to setup the TrendMiner Connect Agent.
This agent is used for the communication between TrendMiner SAAS solution and the on-prem PlantIntegration server in a secure way, without the need to open incoming ports on the public facing Firewall at your datacenters.
As plant integration server is only running on windows, the tutorial will explain how to make it work on windows only.
Table of Contents
How to send troubleshooting information to TrendMiner Support
Simplified view of TrendMiner Connect communication flow (connection setup)
Prerequisites
Have a look at the simplified view below on the network communication flows
You use a supported windows version. See below on supported OS versions
You need to have administrator access to the windows machine that is running the plant integration server (or on the plant integration server itself)
You need to be able to upload files to the server or ability to download files from a public file server. (e.g. using RDP copy past, or others)
Make sure your anti-virus software does not block/delete the programs included in the installer Agent zip file.
TCP ports 7000 and 443 need to be open for outgoing connections to the internet.
Important
Since the TrendMiner Agent needs to be able to connect to the appliance's dynamic IPs it is not possible to limit the list of allowed IP addresses and all outgoing connections on port 7000 and 443 need to be allowed.
Download the Agent installer file from the TrendMiner download site.
Preconfigure the Connect Agent
To be able to communicate with the plant-integration server in your datacenter, you need to setup the parameters needed for creating the agent configuration file, needed later in this tutorial.
To request the agent configuration file, you need to request this to our support team, and specify the agent name.
Login to Trendminer and open confighub (e.g. https://site.mycompany.trendminer.io/confighub)
click on Agents under the DATA sections of the menu at the left side:
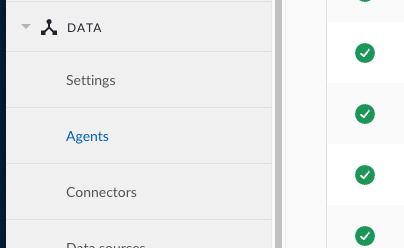
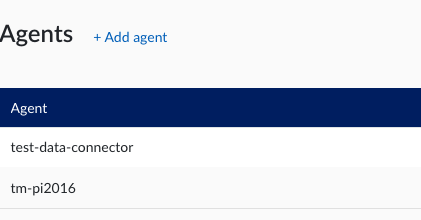
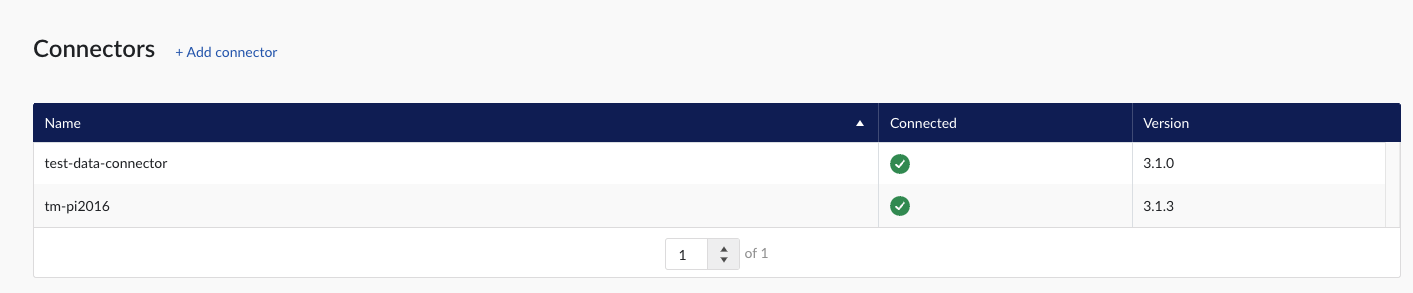
You will now see all configured agents or tenant connections you have activated. In below example there are 2 listed.
Important
In case an Agent config is updated, you need to download a new config.zip file, and install it according to this tutorial.
Click on “+ Add agent”
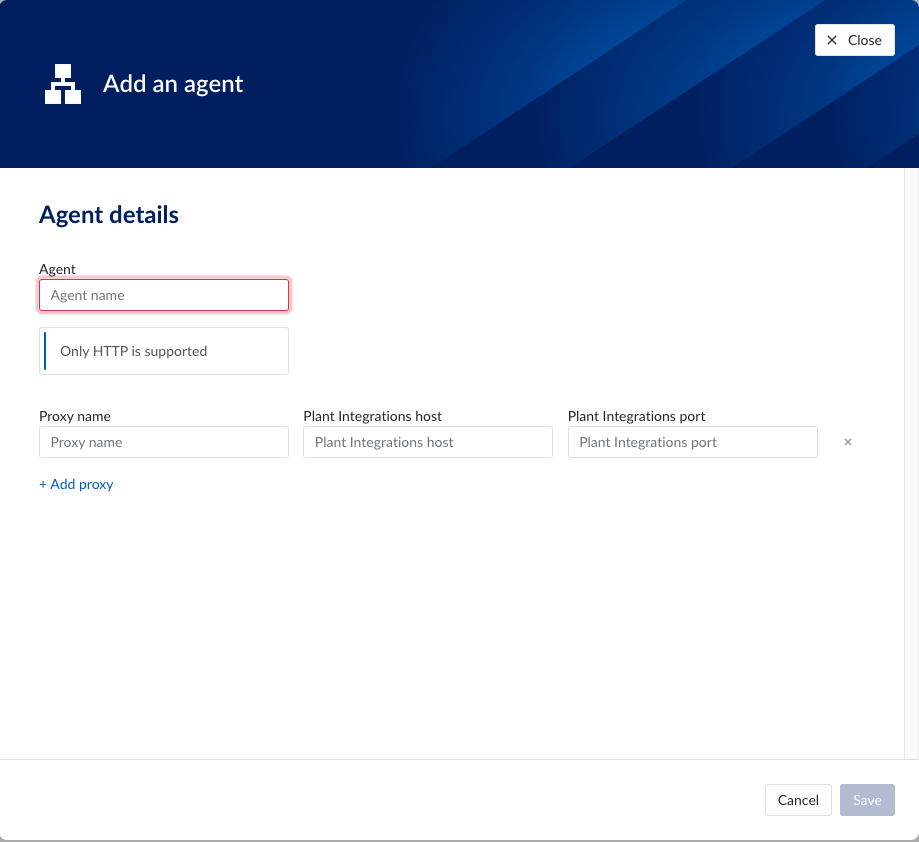
In this screen you need to specify the parameters required to access the plant-integration server(s).
This is a overview of the parameters and their values/limits:
Agent: it's the name of the agent. The name should be a valid DNS name. This is used when setting up the connector itself.
Proxy Name: This is the name that will be used when creating the connector. If the agent is running on the same server then the plant integration server, it's advised to use the same name. If not, you could specify the hostname of the server running the plant-integration.
Plant Integration host: please specify IP or hostname of this server.
Plant Integration port: please specify the port where the plant integration service will be reachable on.
Warning
Important!!! Setup your IIS server
Required configuration for IIS server (the only supported way):
Authentication on Plant Integration sites in IIS should be disabled (the connect tunnel already uses mTLS for authenticating requests)
Plant integrations sites in IIS should be configured to use HTTP (connect agent will encrypt all traffic going out using TLS)
Configure IIS to only accept traffic from 127.0.0.1, so only processes running on the same server can connect.
if needed use hostnames to run multiple plant integration servers. they all should listen only on 127.0.0.1
Ones the agent configuration is done, you need to download the config.zip file from the user interface by clicking on this button:
 |
Warning
Any time you update the agent configuration, you will need a new config.zip file downloaded, and reinstall the agent as described in this guide.
Installation of the Agent
Login to the Windows host in question
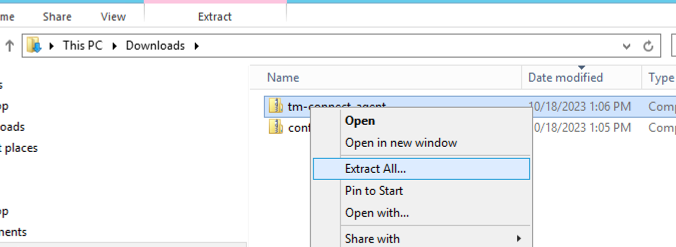
Download the config.zip and tm-connect-agent.zip and place it in easy to access folder, e.g. downloads
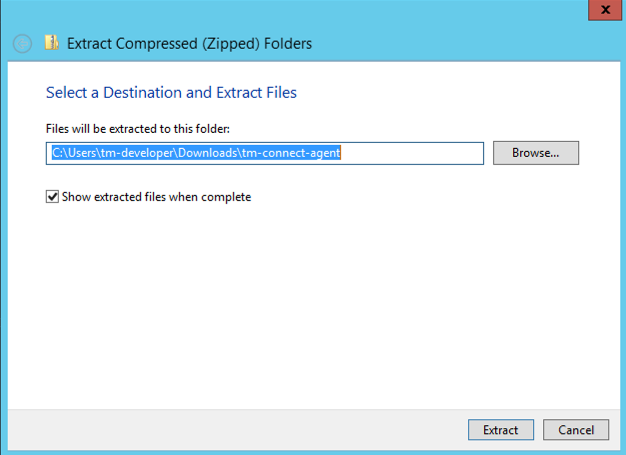
Extract tm-connect-agent.zip by right clicking on the zip file and clicking on “Extract All”
Click on Extract
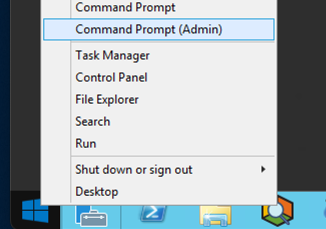
Open a command prompt as administrator
Change your directory to the directory where you have unzipped the files from tm-config-agent.zip
Run the following command to install the agent, with the received config.zip file
tm-connect.exe install -f ..\config.zip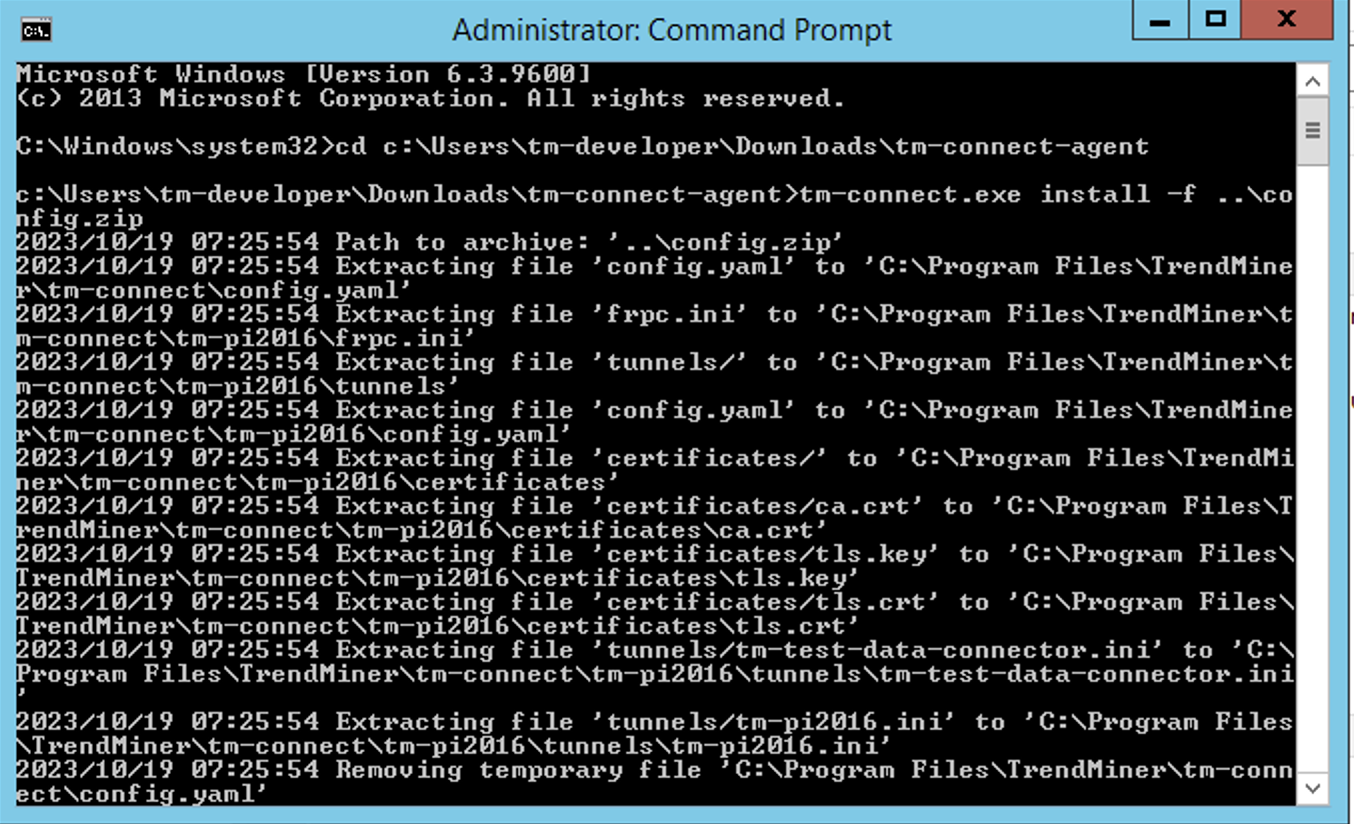
Ones everything is successfully installed, you will see the service running when you check running services (services.msc).

Uninstalling an Agent
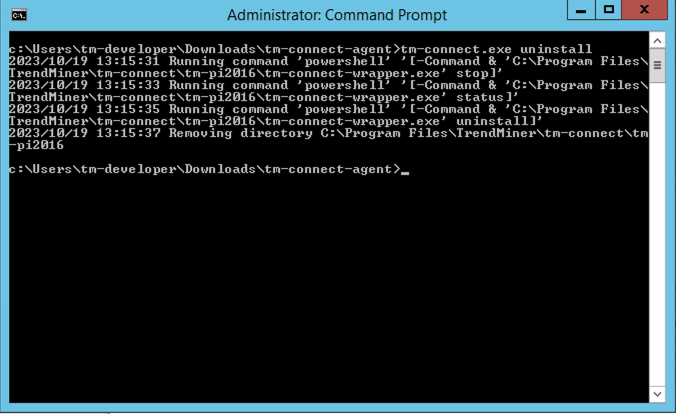
Same procedure as a above except use the following command to uninstall the agent:
tm-connect uninstall
Reinstall of the Connect Agent
Reinstall can be done by following the uninstall and install procedure again, and changing the config.zip file in case a new one is generated.
Validate the connection
Login to TrendMiner and open ConfigHub (e.g. https://site.mycompany.trendminer.io/confighub)
Navigate to Connectors, and validate the connection is properly running.
How to Send troubleshooting information to TrendMiner Support
In cases the connection is not working, or there are some communication issues, the diagnostic information available in the tool that allows to uninstall/install the agent, might be very useful for support.
To execute this, open a command prompt as Administrator and execute the command
c:\tm-connect-agent\tmconnect.exe diagnostics
The tool will generate a zip file. Please send this zipfile to your TrendMinder Support representative.
Supported Windows Versions
Windows Server 2012 (EOL - Oct. 10th 2023)
Windows Server 2016 (EOL - Jan. 11th 2027)
Windows Server 2019 (EOL - Jan. 9th 2029)
Windows Server 2022 (EOL - Oct. 14th 2031)
Simplified view of TM Connect communication flow (connection setup)
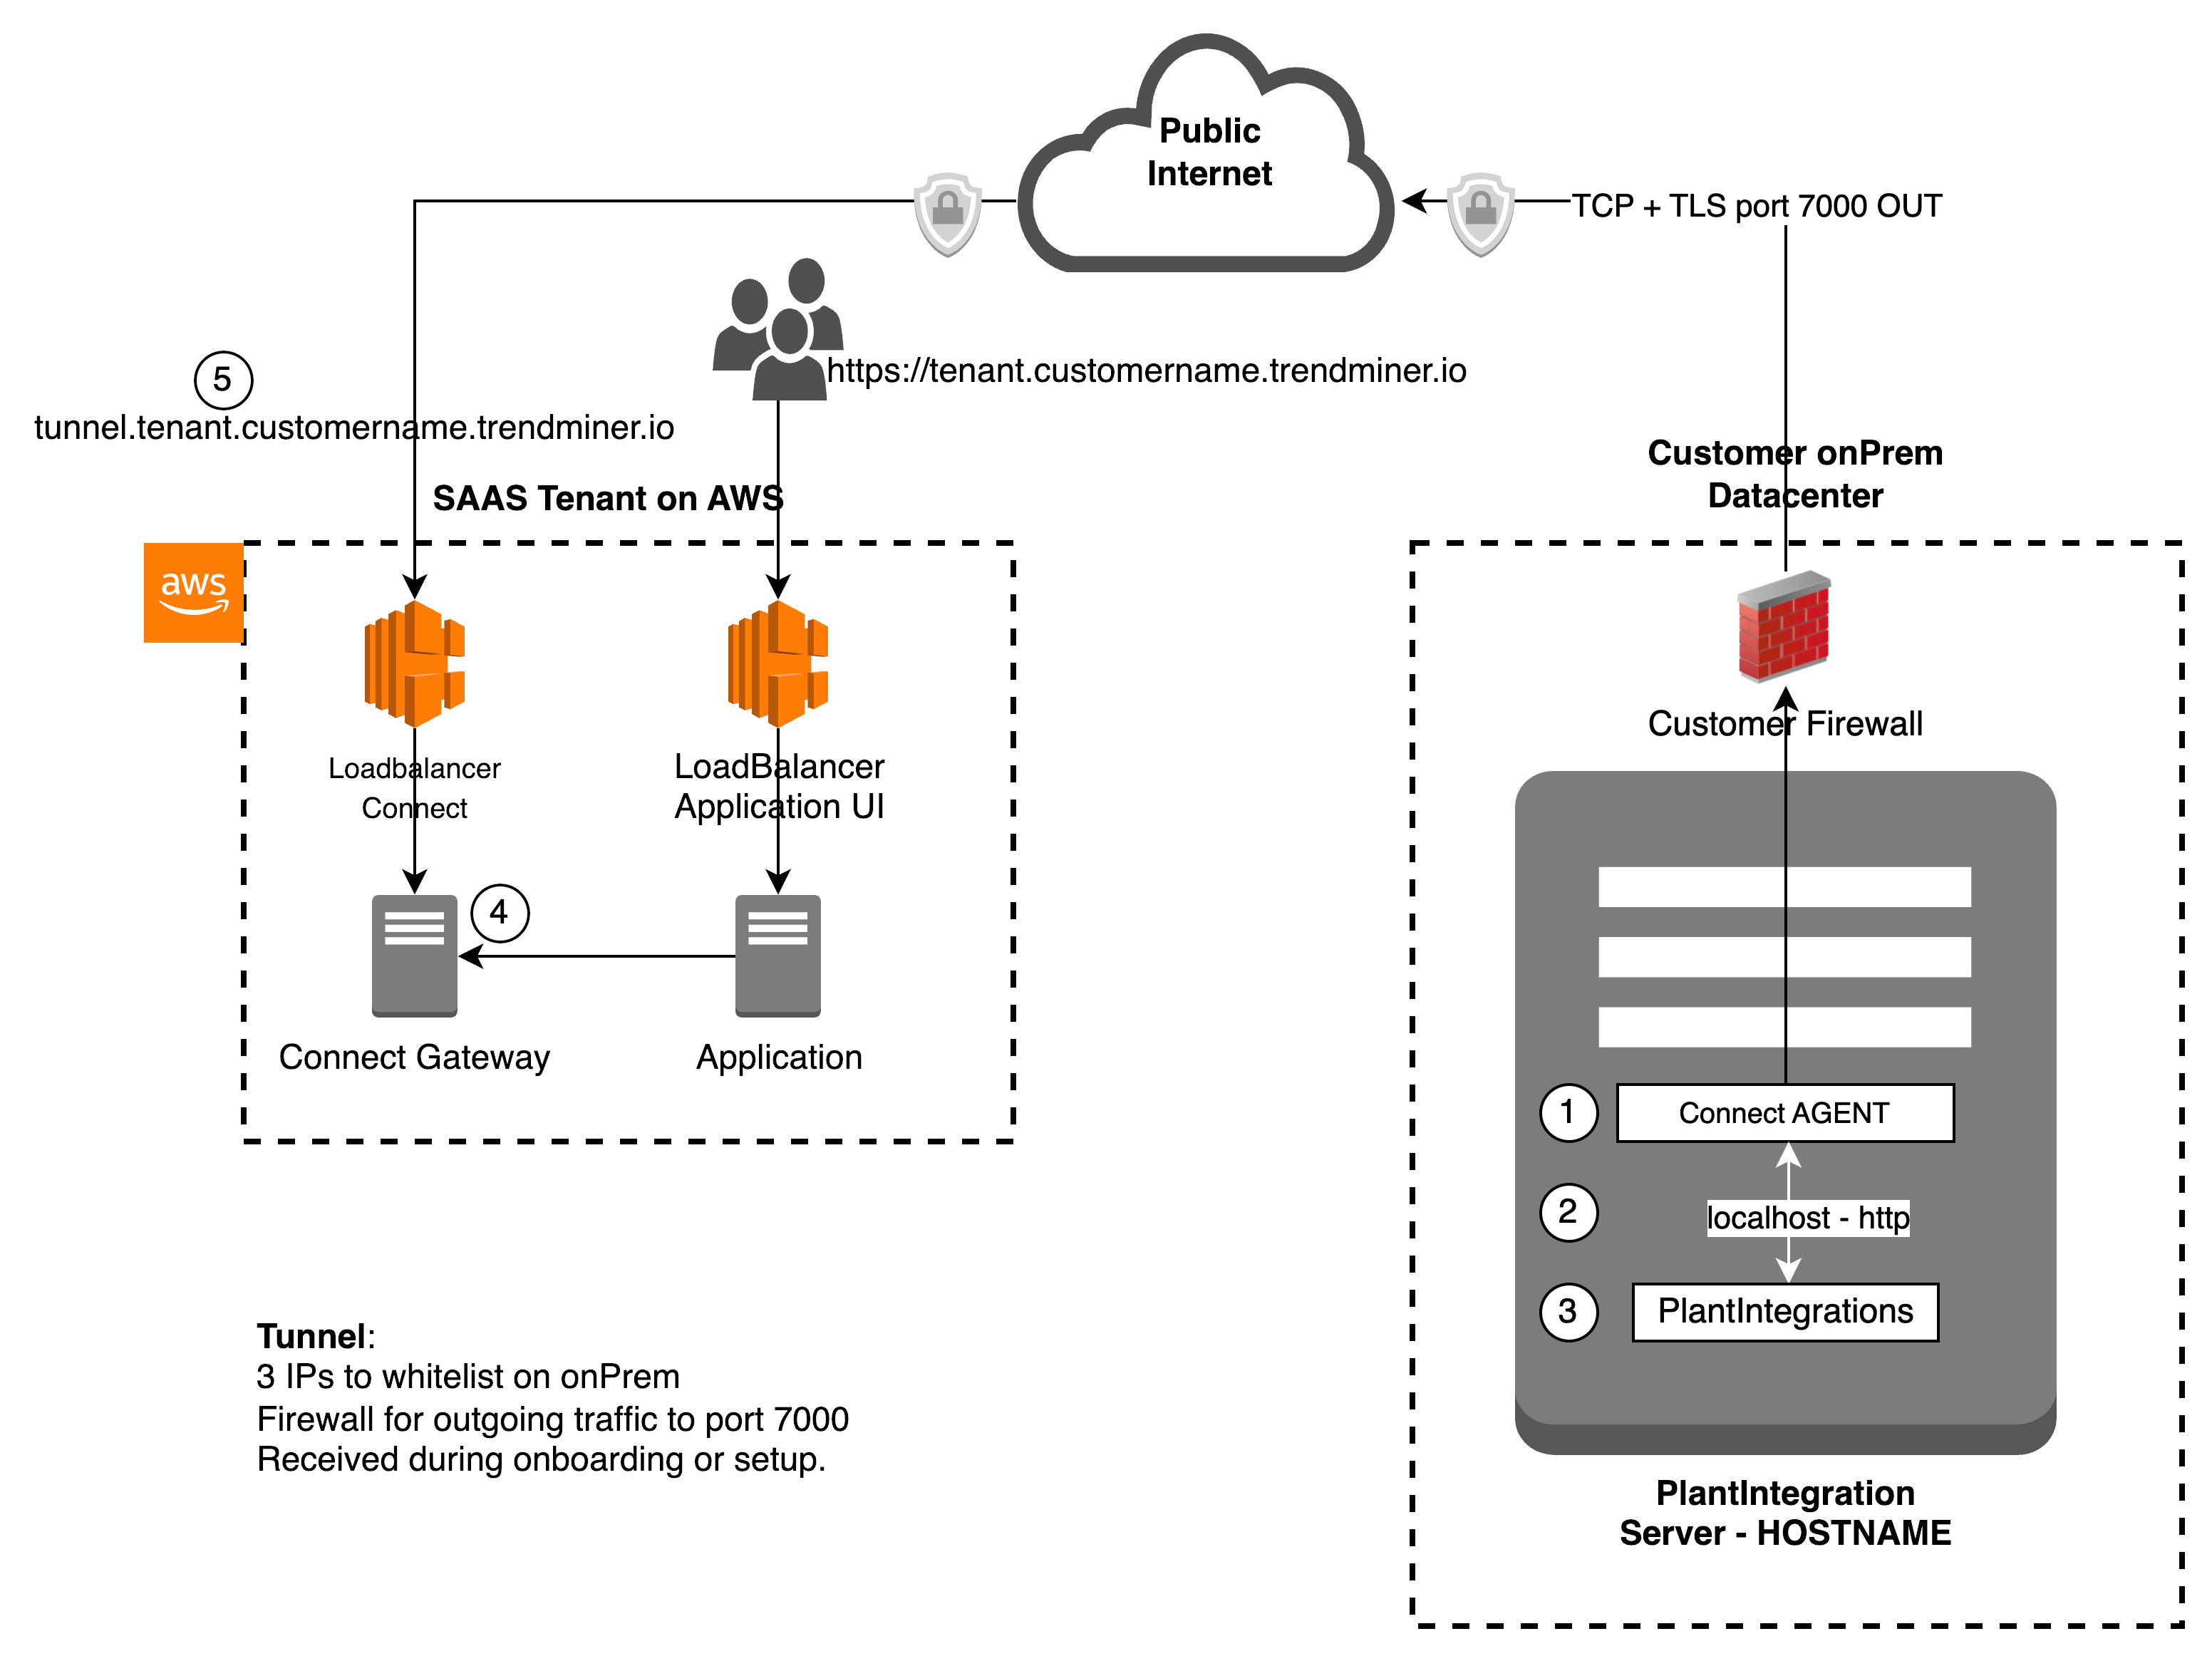 |
(1) Connect Agent service running on Windows server, and can be accessed by (3) plant integration service over a local port (2)
(1) Connect Agent initiates the connection to (4) Connect gateway to setup a bidirectional secure encrypted tunnel using (5) the url tunnel.tenant.customername.trendminer.io on port 7000
Important
Security Advice
To have a better security for your plant integration server, its advised to close all incoming ports on the PlantIntegrations local Windows firewall.