VMware image deployment
Documentation is based on VMware ESXi 8.0.3 using the VMware ESXi Host Client 2.18.0.
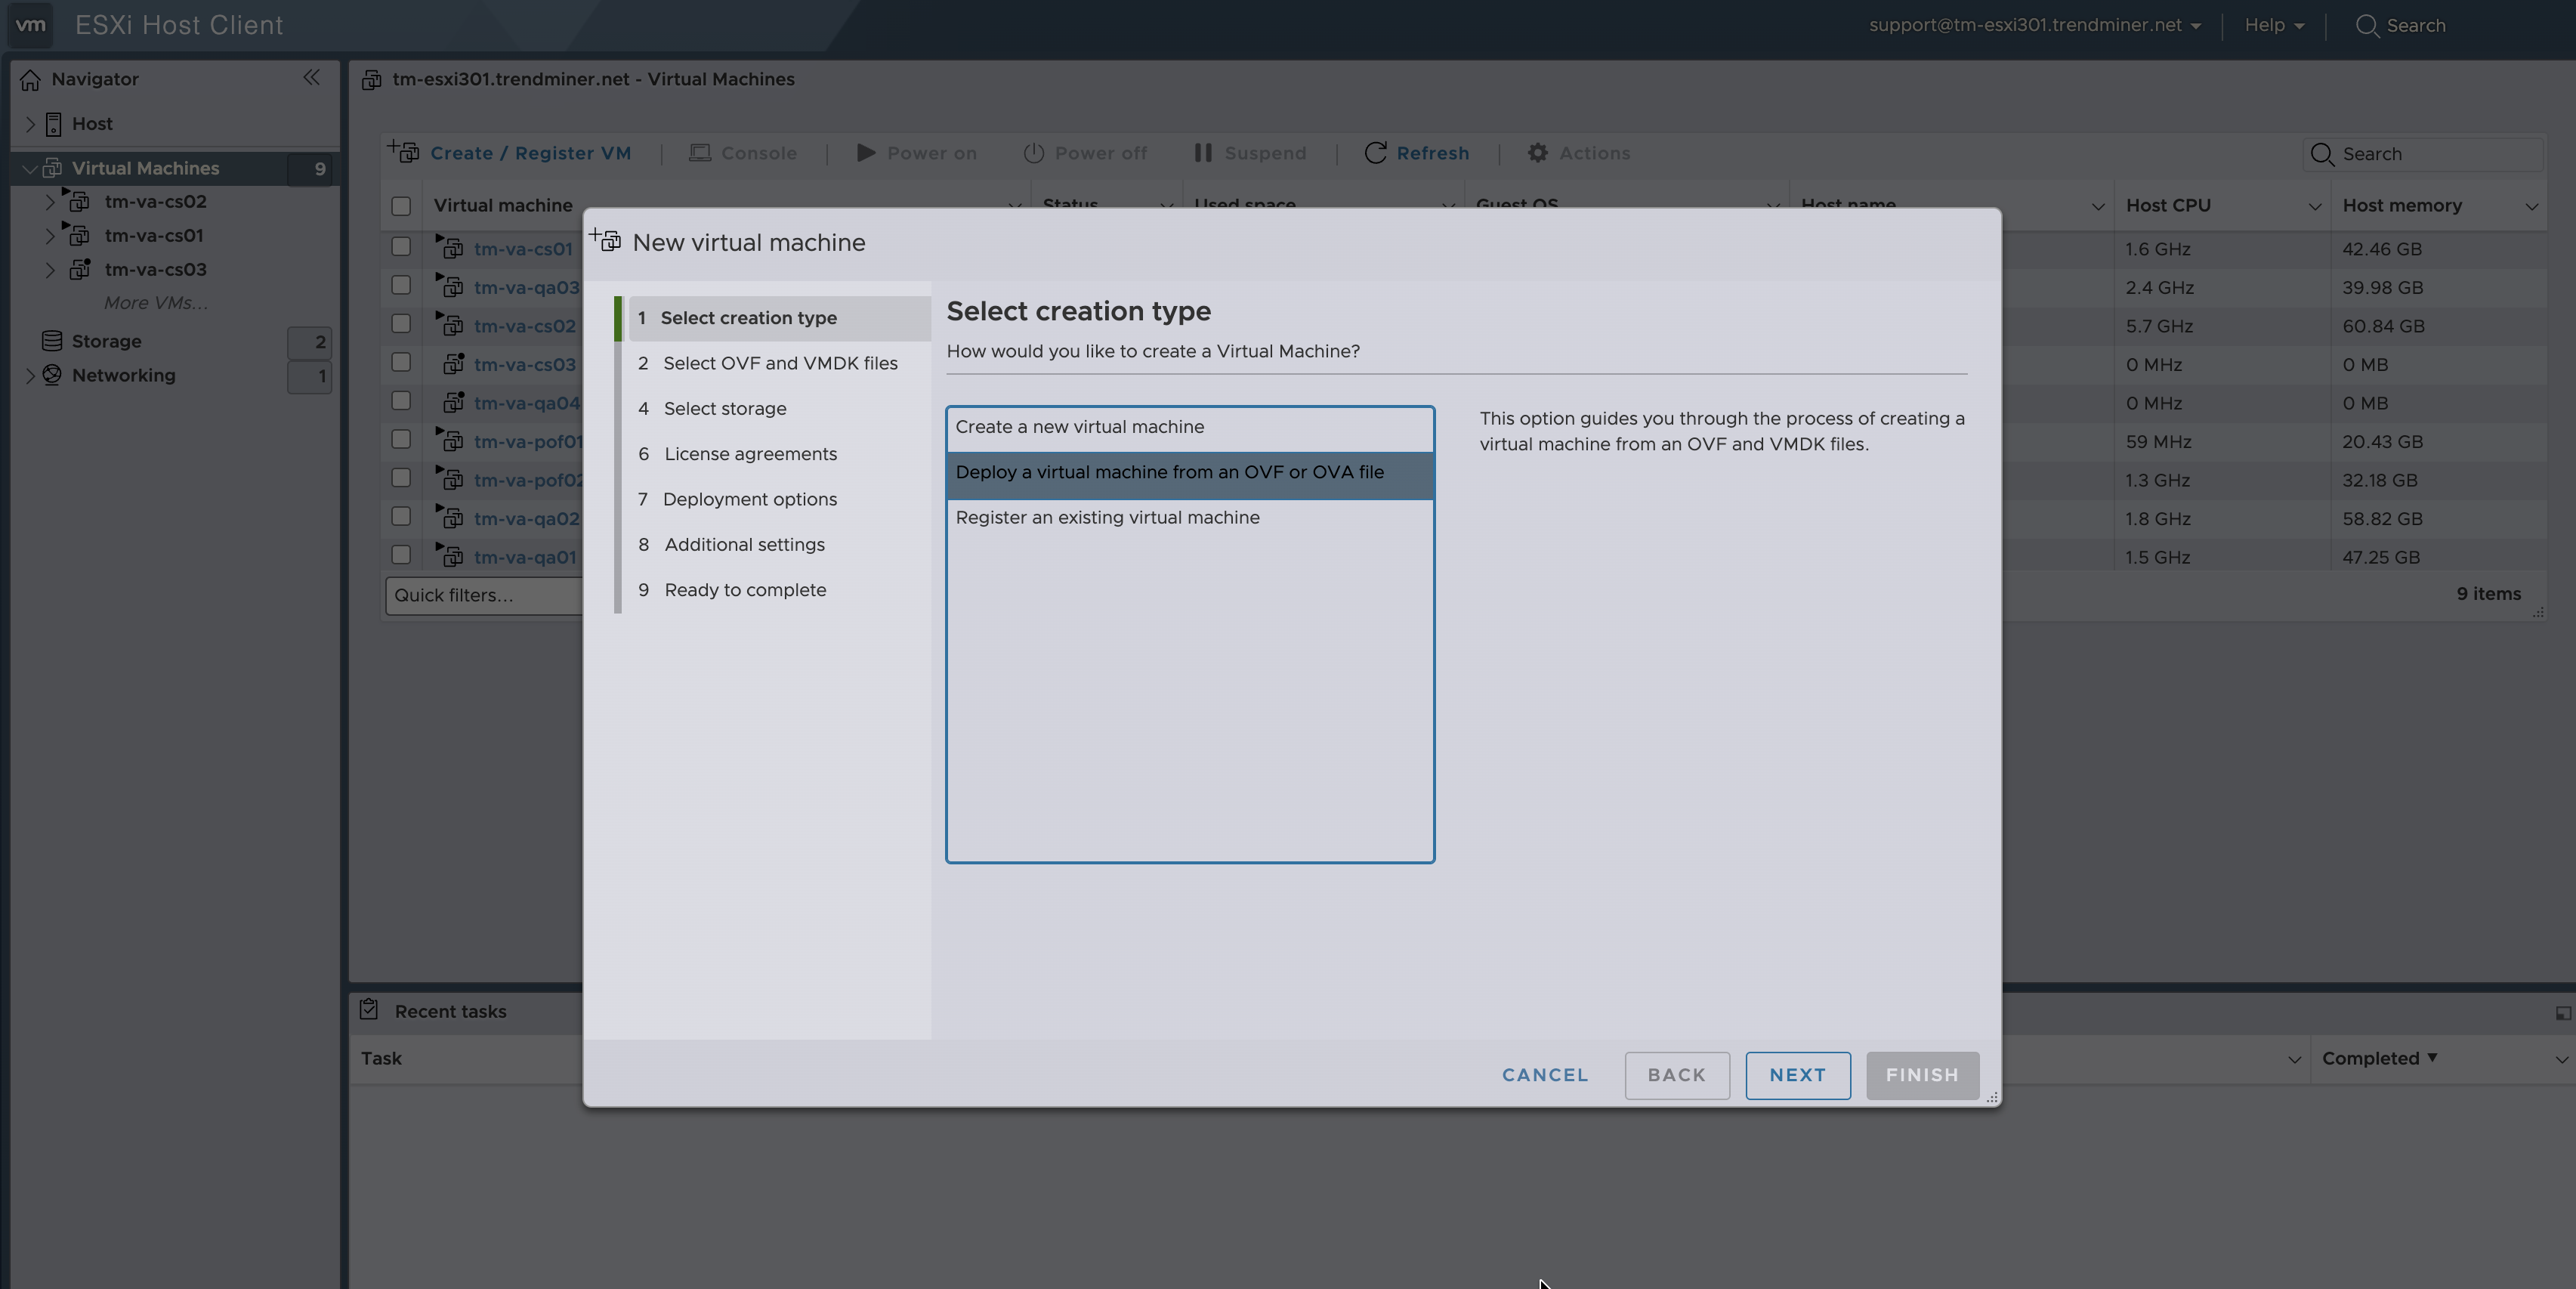
Open the ESXi Host Client and select "Create / Register VM". Select "Deploy a virtual machine from an OVF or OVA file" and click 'next'.
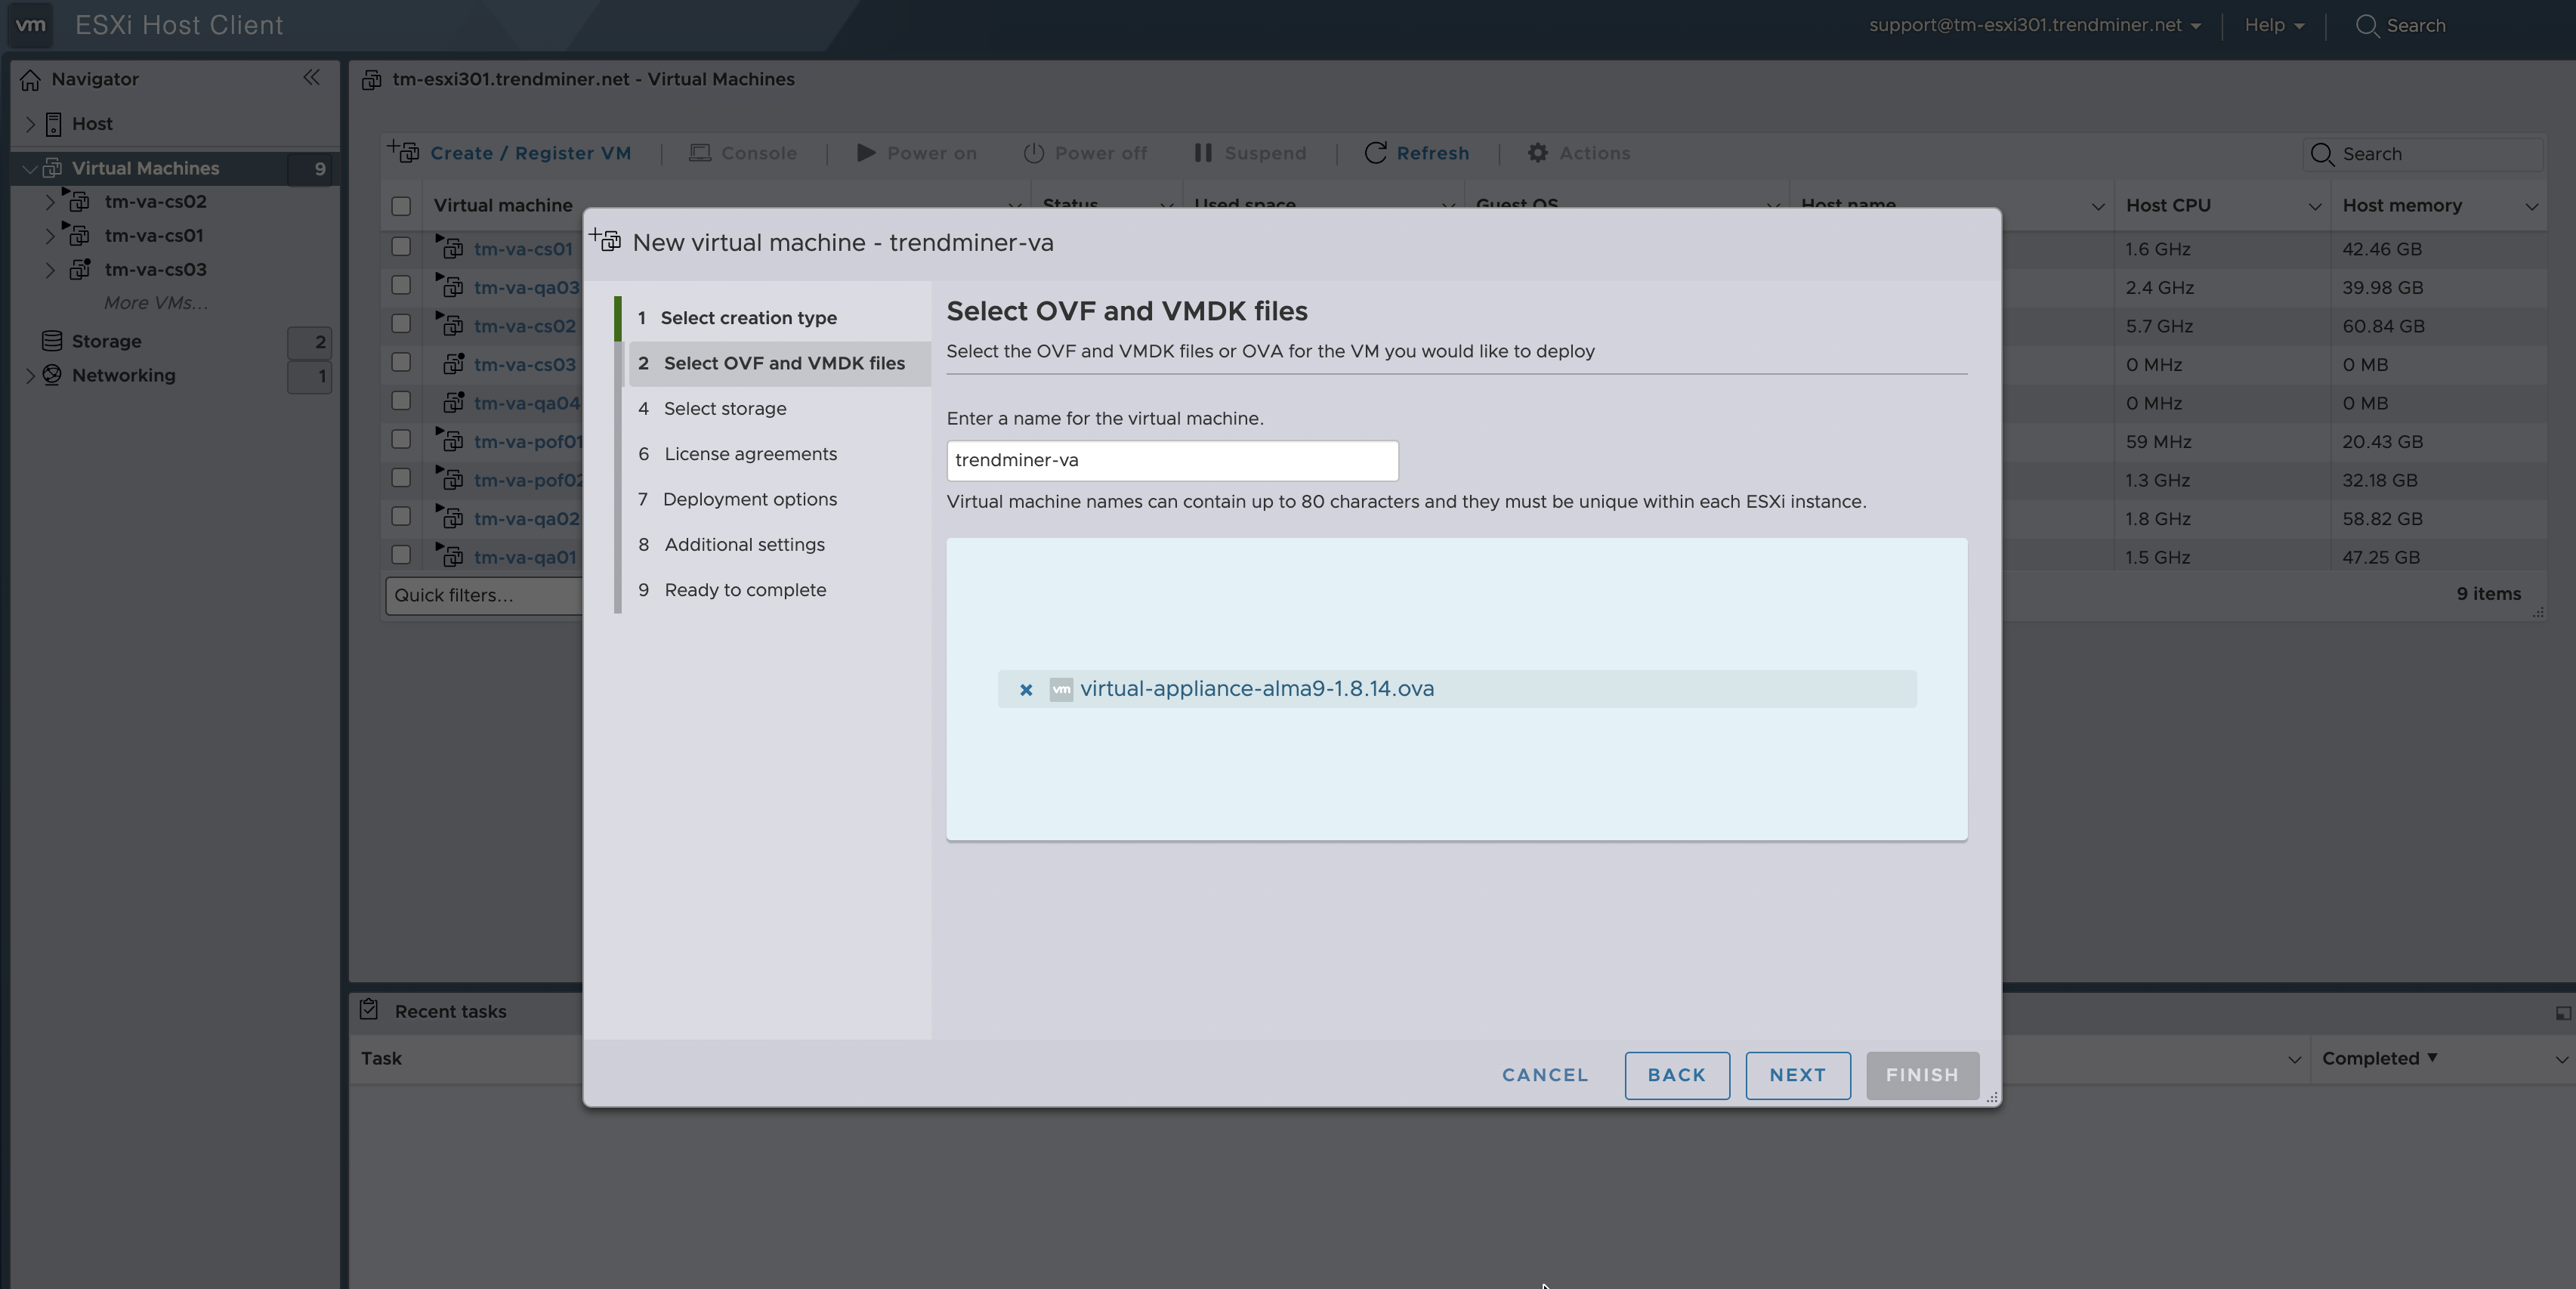
Choose a name for the VM. Browse to the .ova file downloaded from the TrendMiner download portal, select it and click 'Open'. Click 'next'.
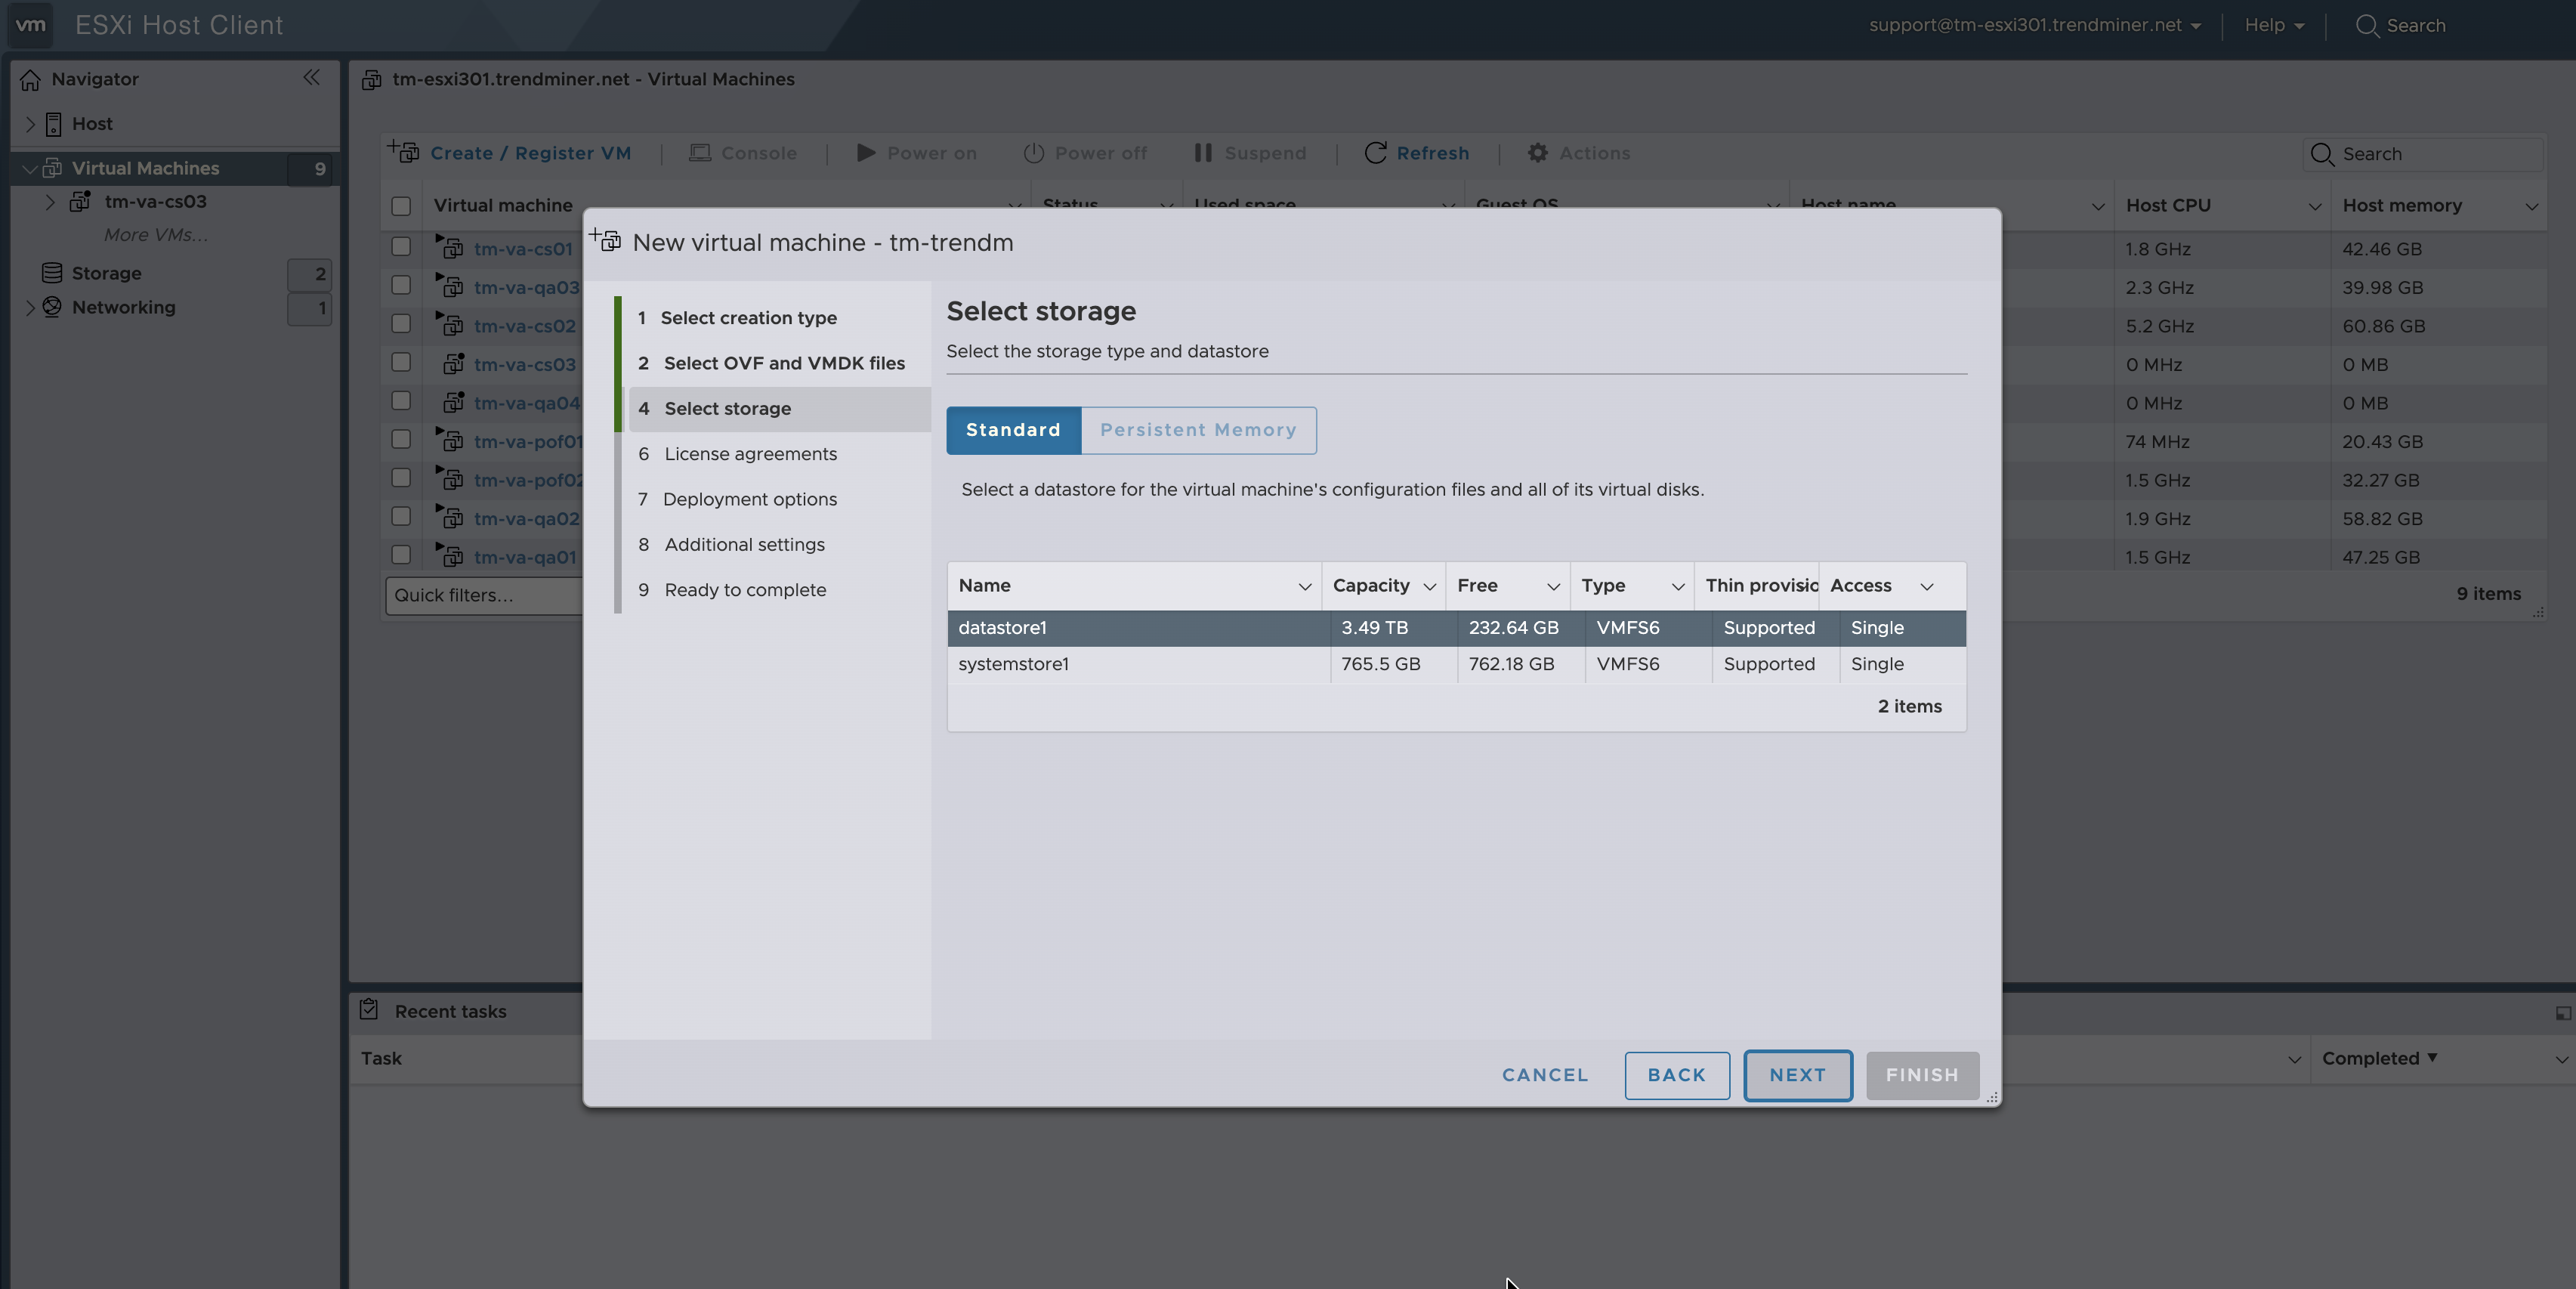
Select a storage location. Please make sure the minimal free space meets the minimal system requirements and take into account that additional storage space might be needed now or later for large installations or when usage grows.
Click 'next'.
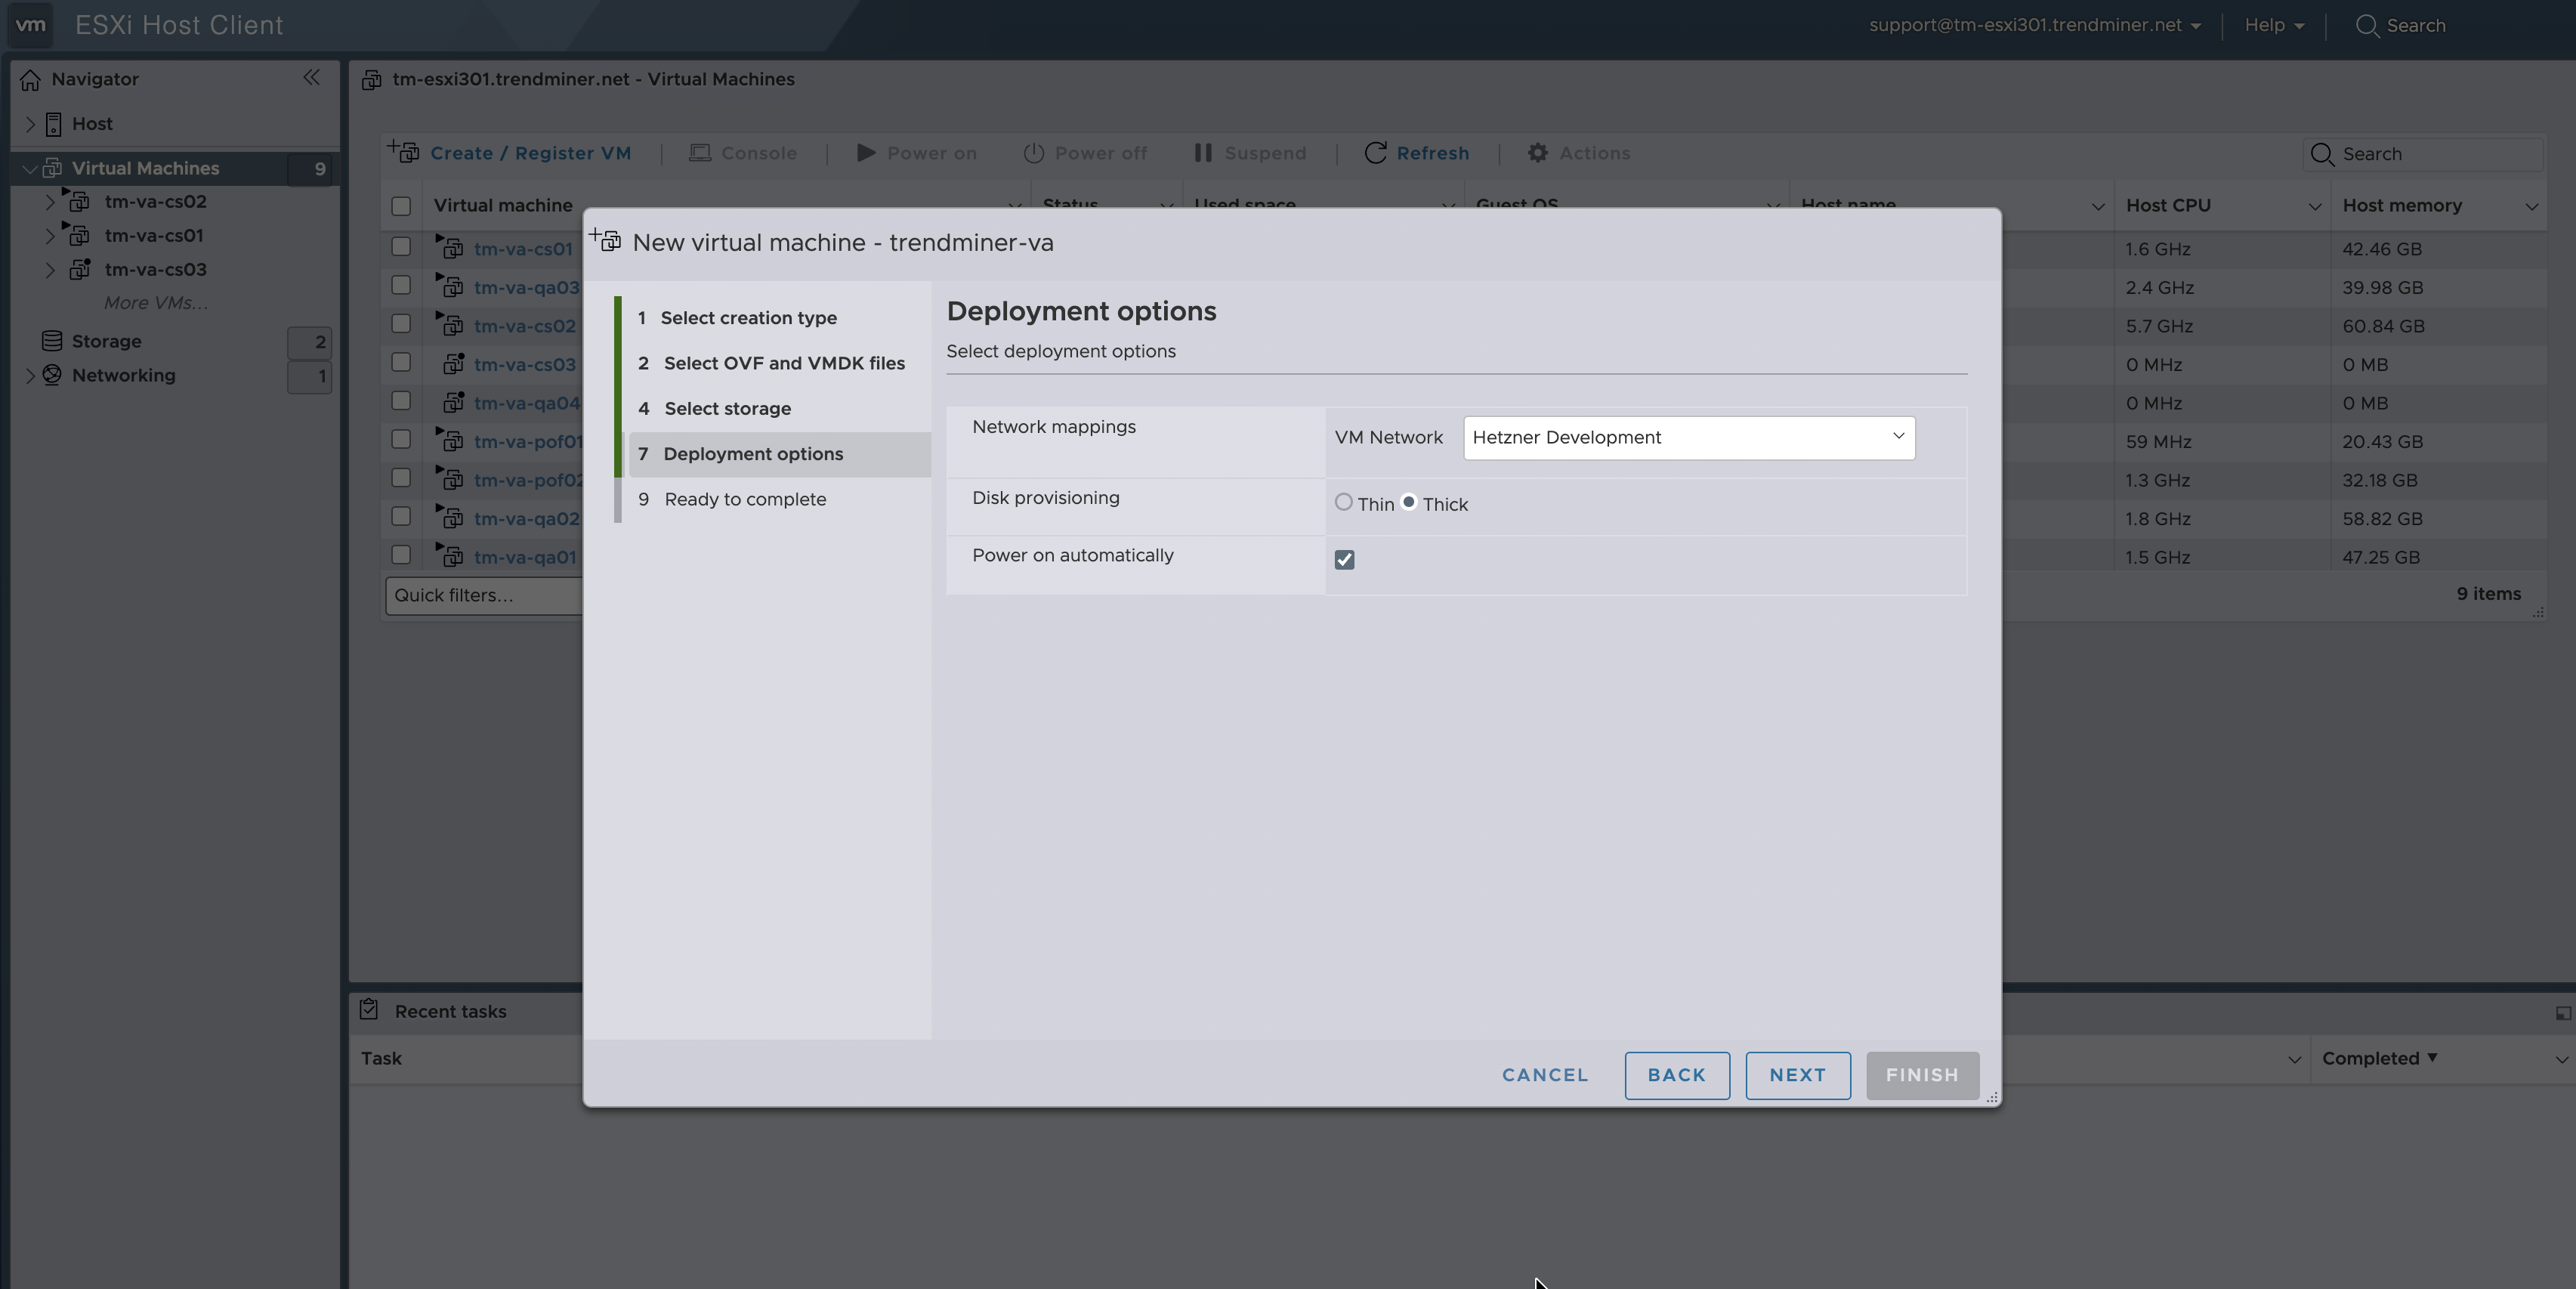
Under 'Deployment options' choose 'Thick' disk provisioning. Disable "Power on automatically" (or "Shut down" the VM after it's deployed to be able to edit the VM settings).
Important
For virtual appliance installations the first disk will only recognize 200GB of disk space. Please make sure to set up your virtual appliance with a 200GB disk and use the extend disk functionality in TrendMiner to further extend the disk after initial installation.
All disk space >200GB in the initial installation will be permanently lost!
Review the settings and click 'Finish'.

Wait until the deployment finishes.
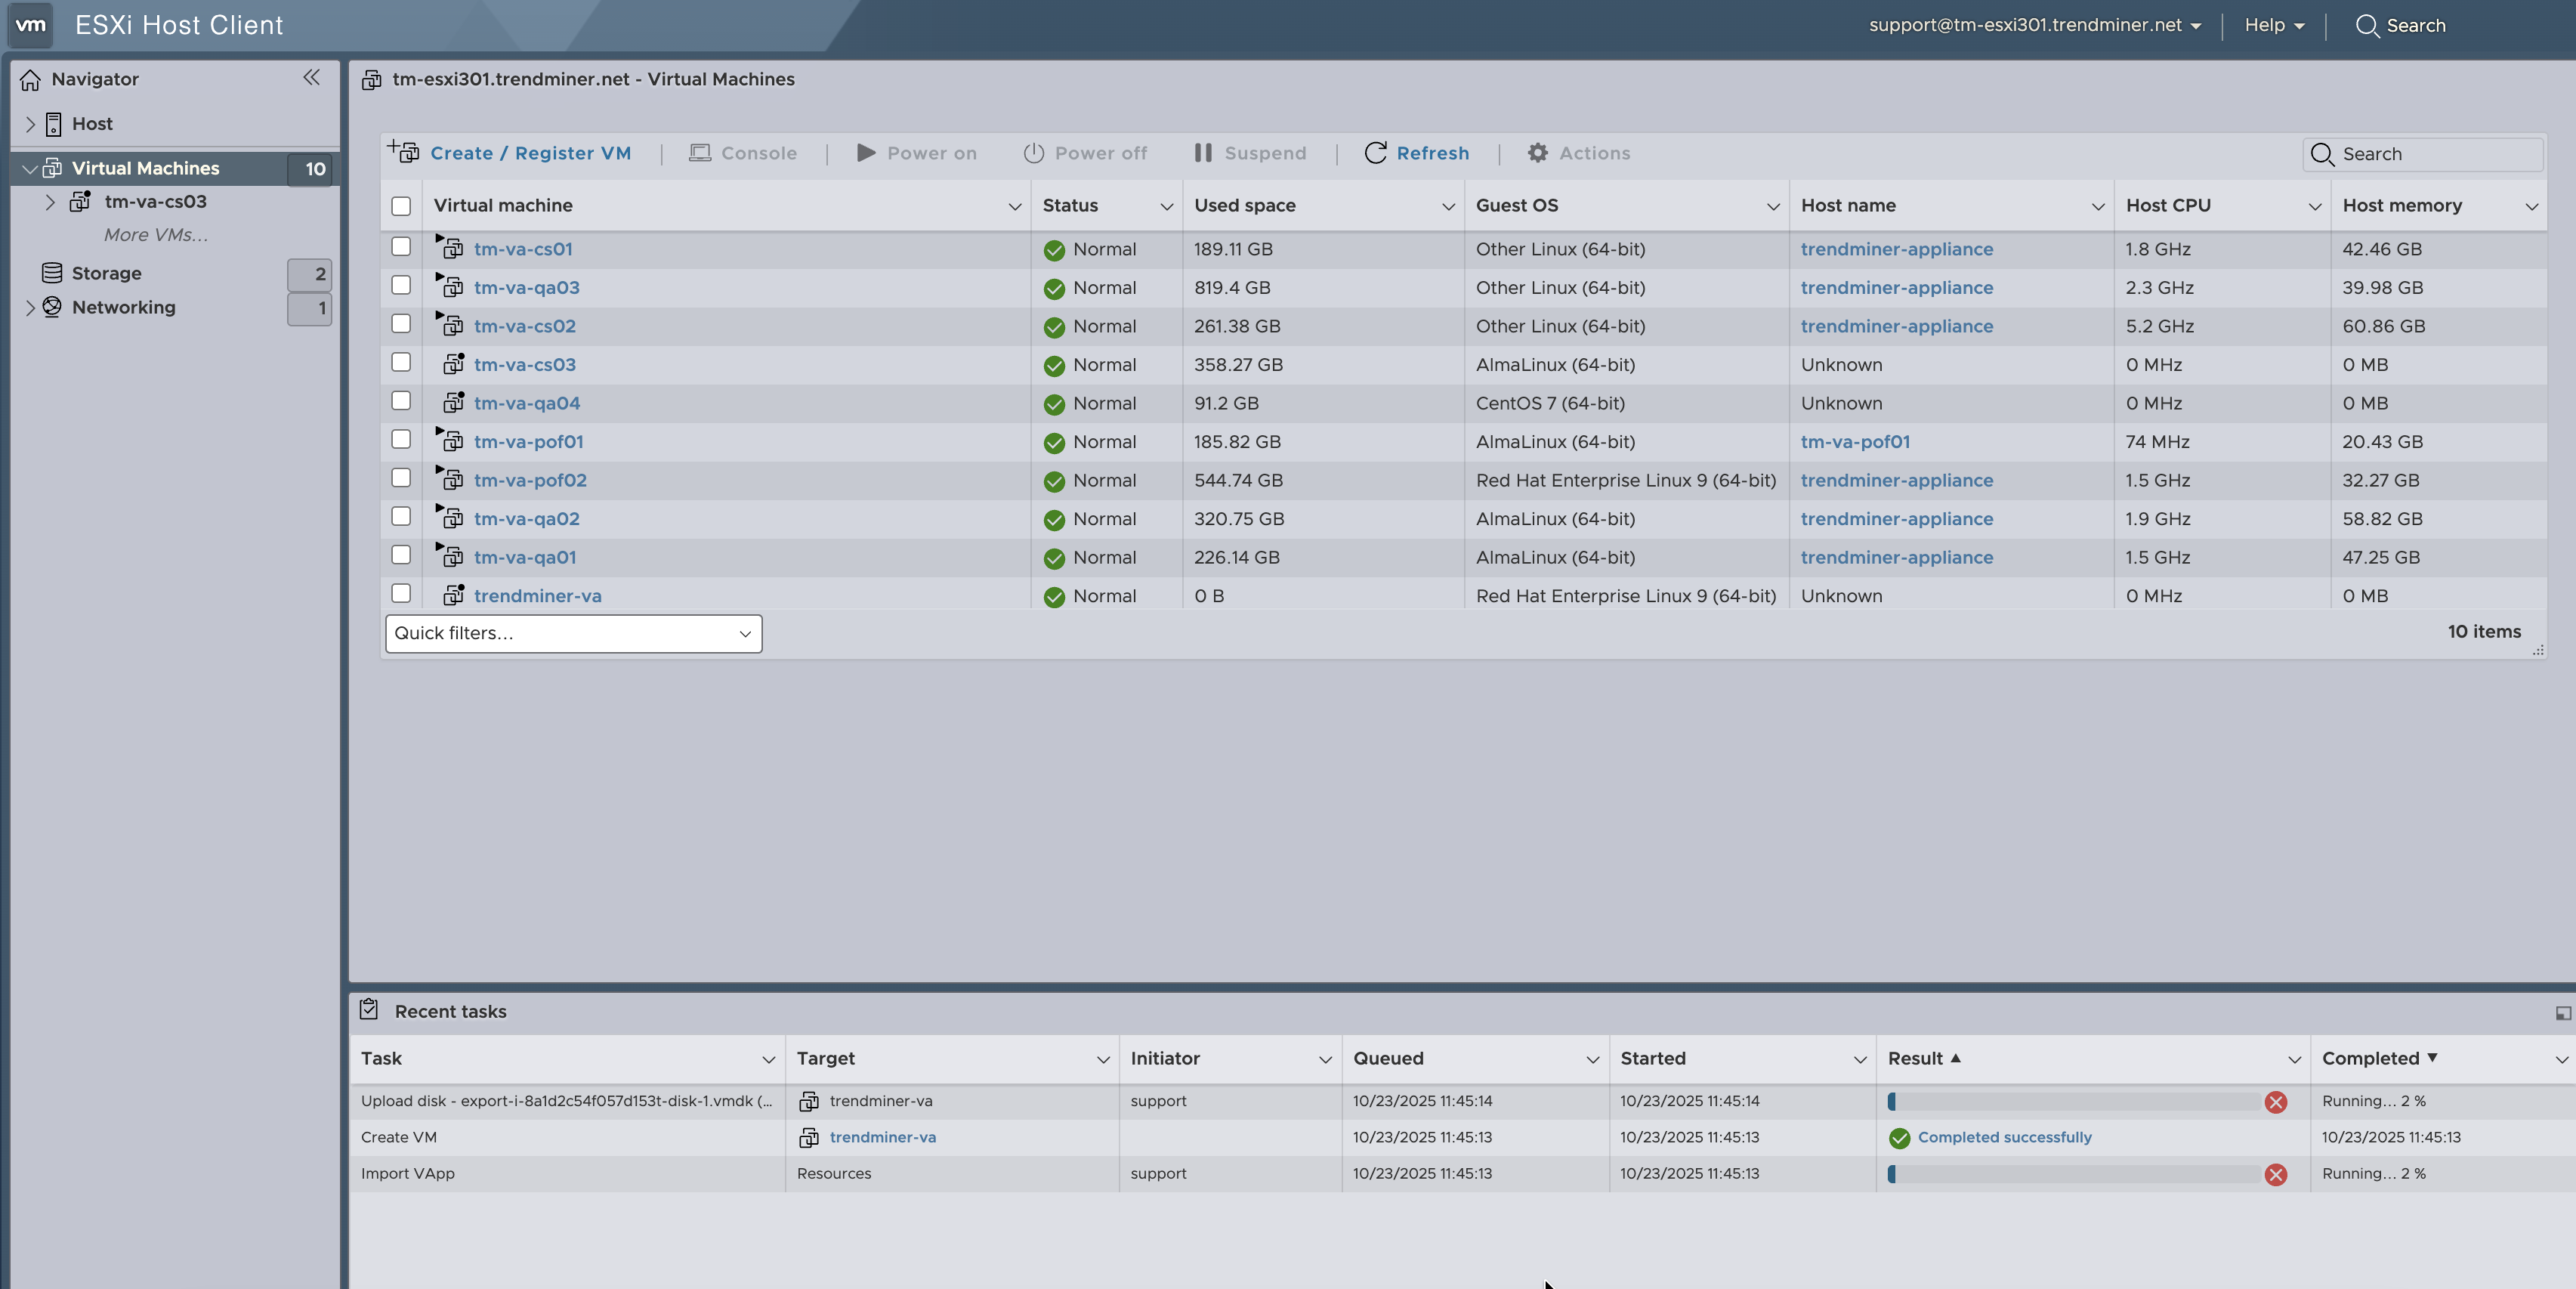
Verify the VM settings and optionally increase CPUs and memory (for larger installations).
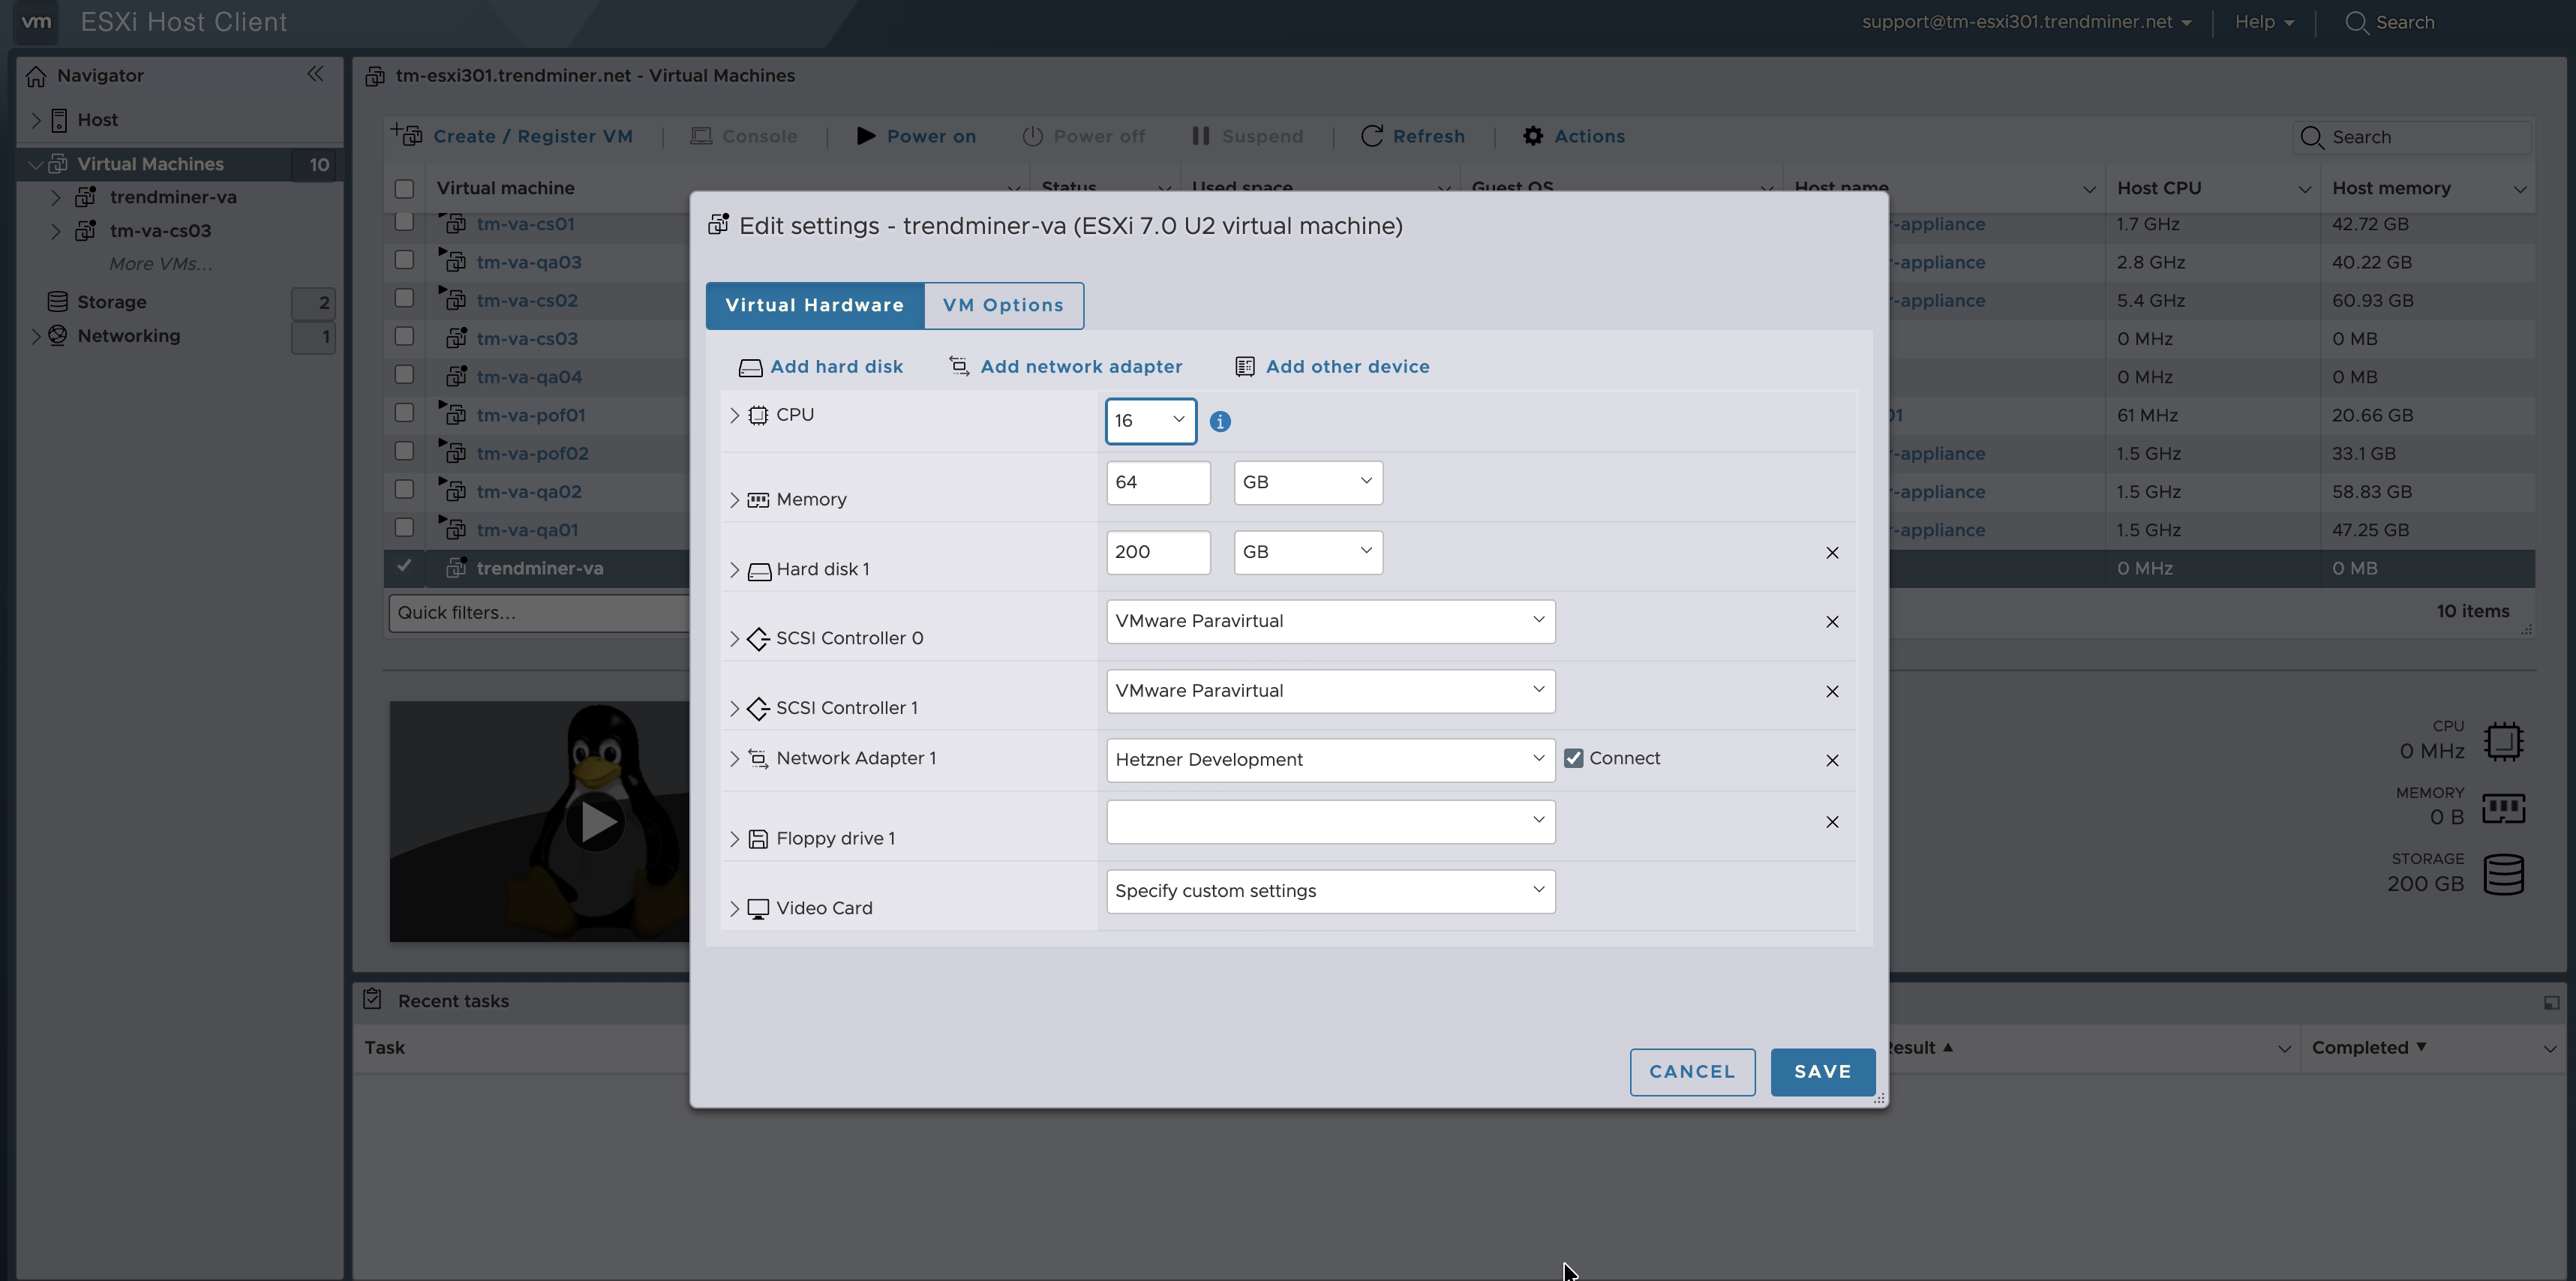
Important
TrendMiner requires the memory to be scaled along with the CPUs at a ratio of at least 1-2 and preferably 1-4. In practice this would result in 128GB RAM for a server with 32 CPUs and 256GB RAM for a server with 64 CPUs.
Tip
In case you are limited to configuring 8 vCPUs please verify that your VMWare license supports more than 8 vCPUs.
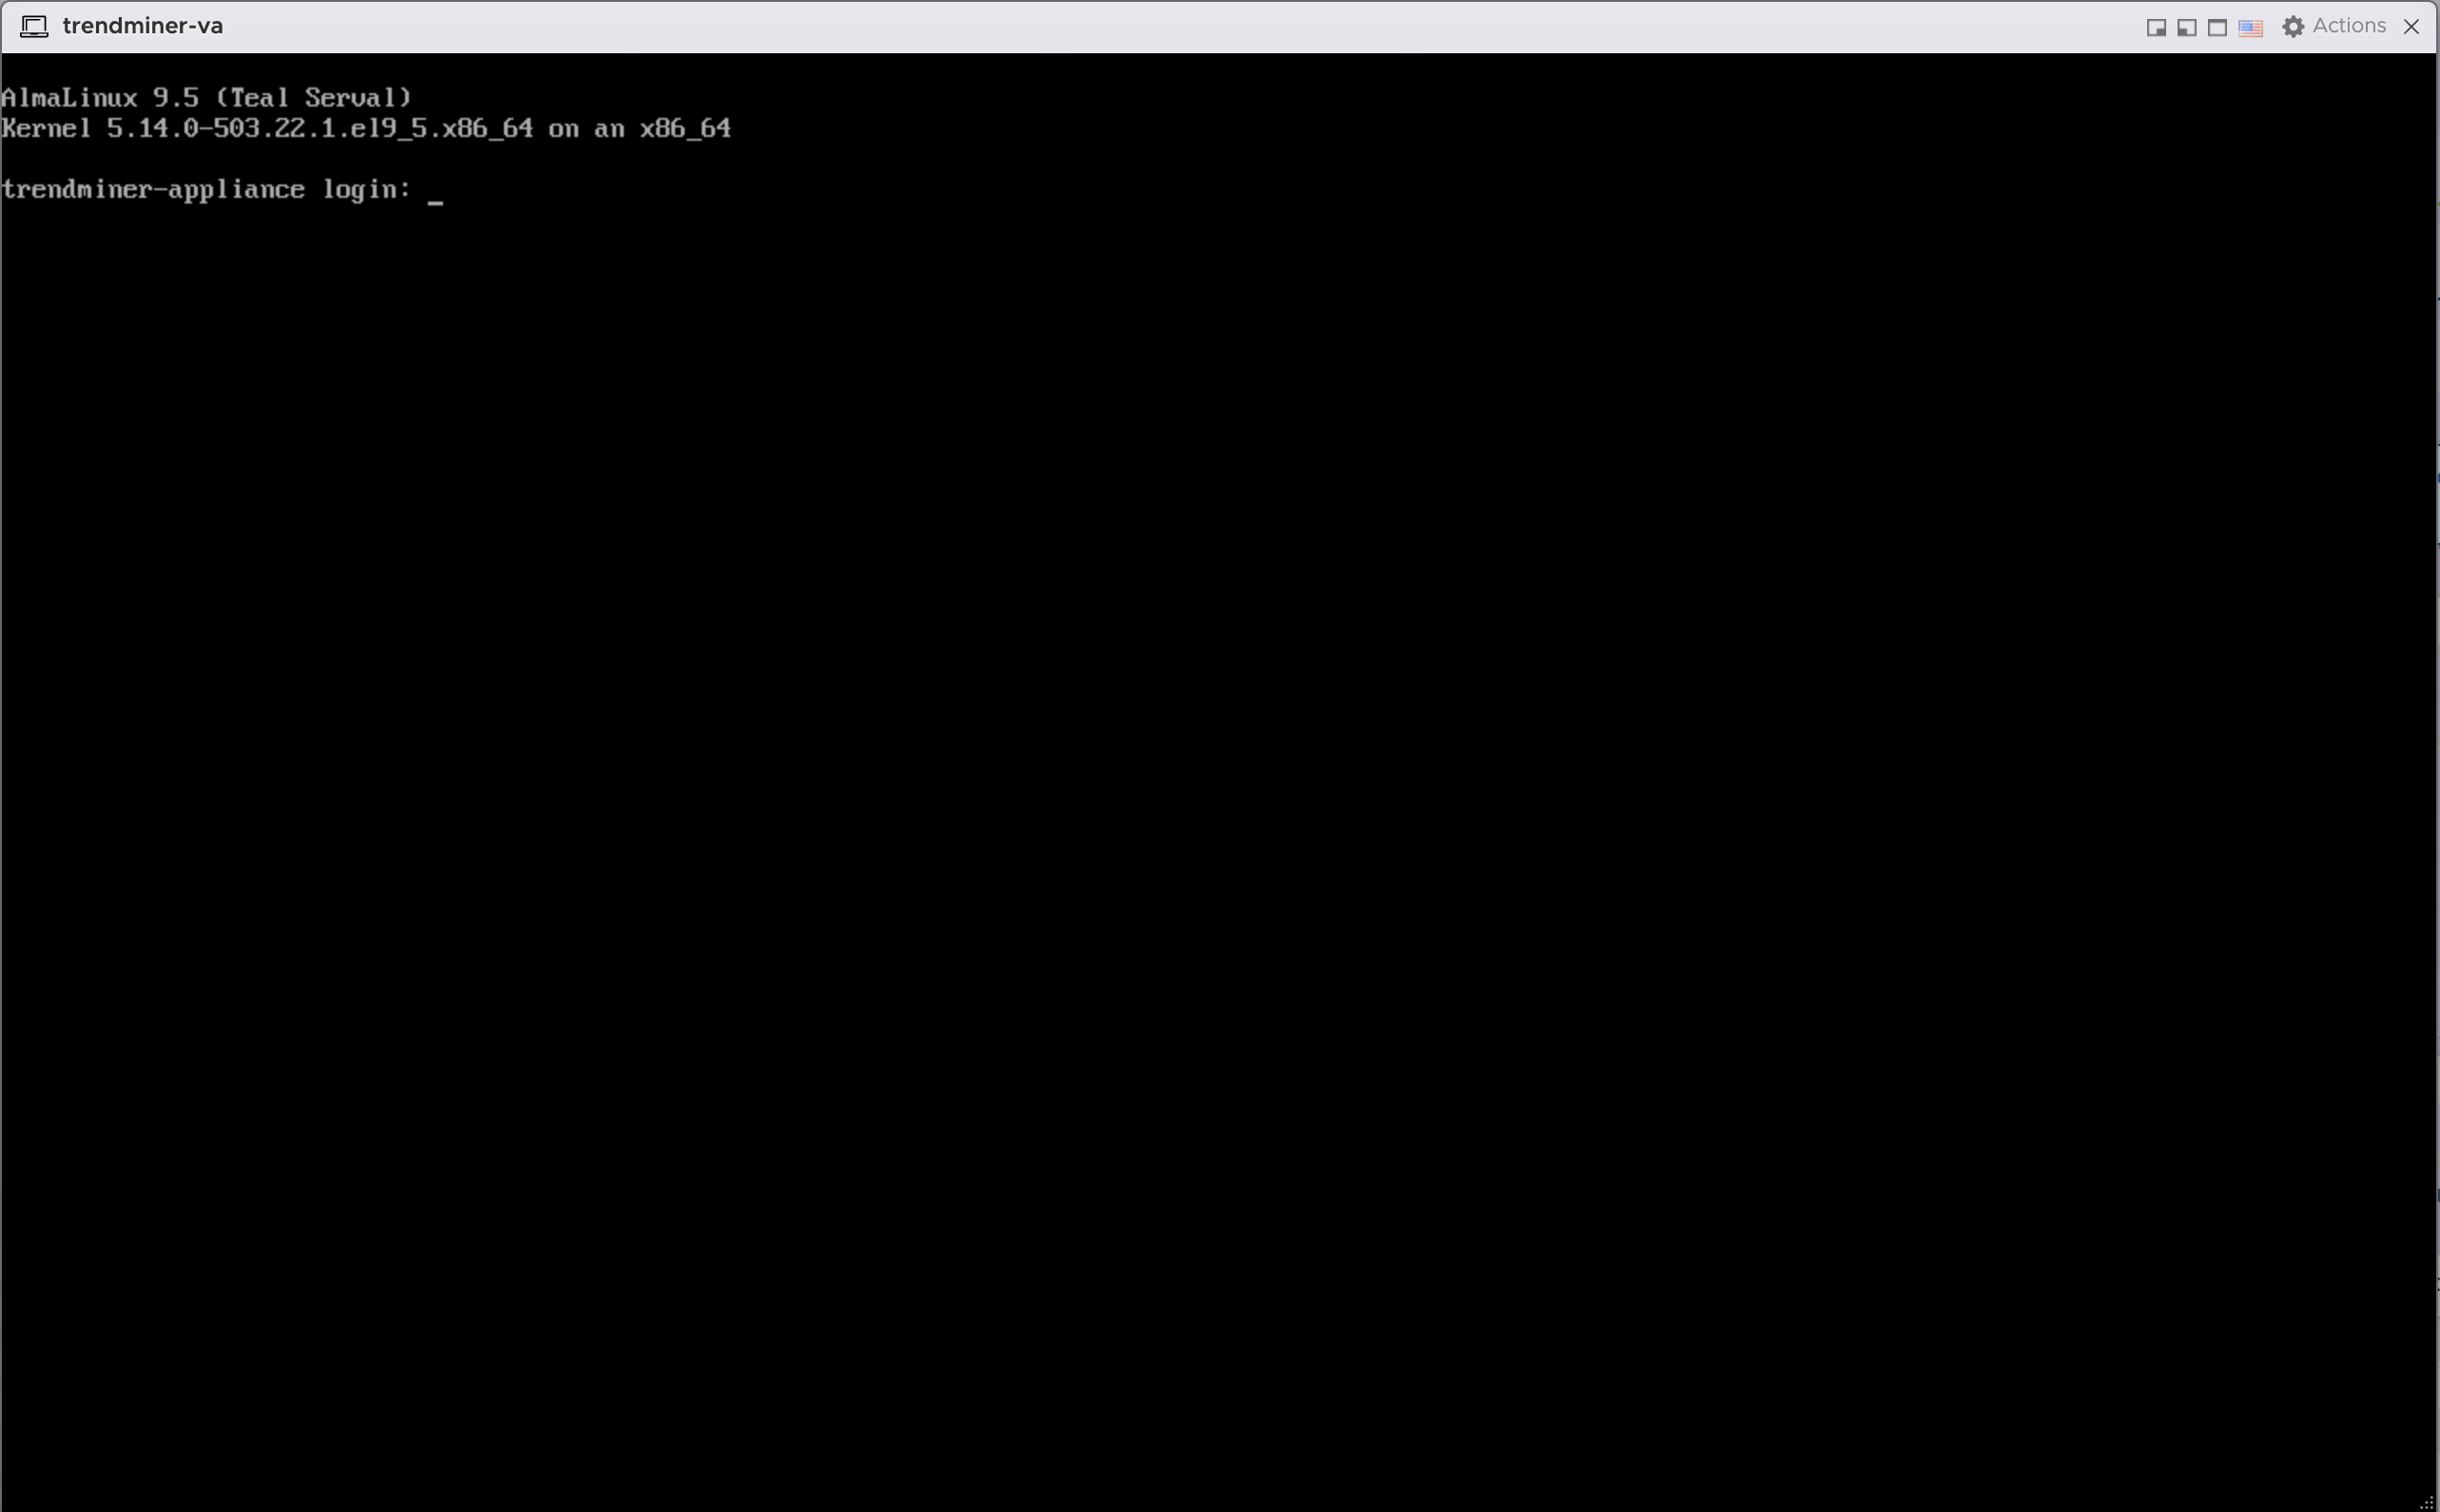
Power on the VM. Wait for the VM to boot. When the VM has booted the command line will be shown.
Notice
For virtual appliance deployments command line access is restricted. Command line access to the VM is only available after contacting TrendMiner support (protected via OTP).
Press ALT+F11 (or CTRL+arrow left) to switch from the command line input to the blue screen as shown below.
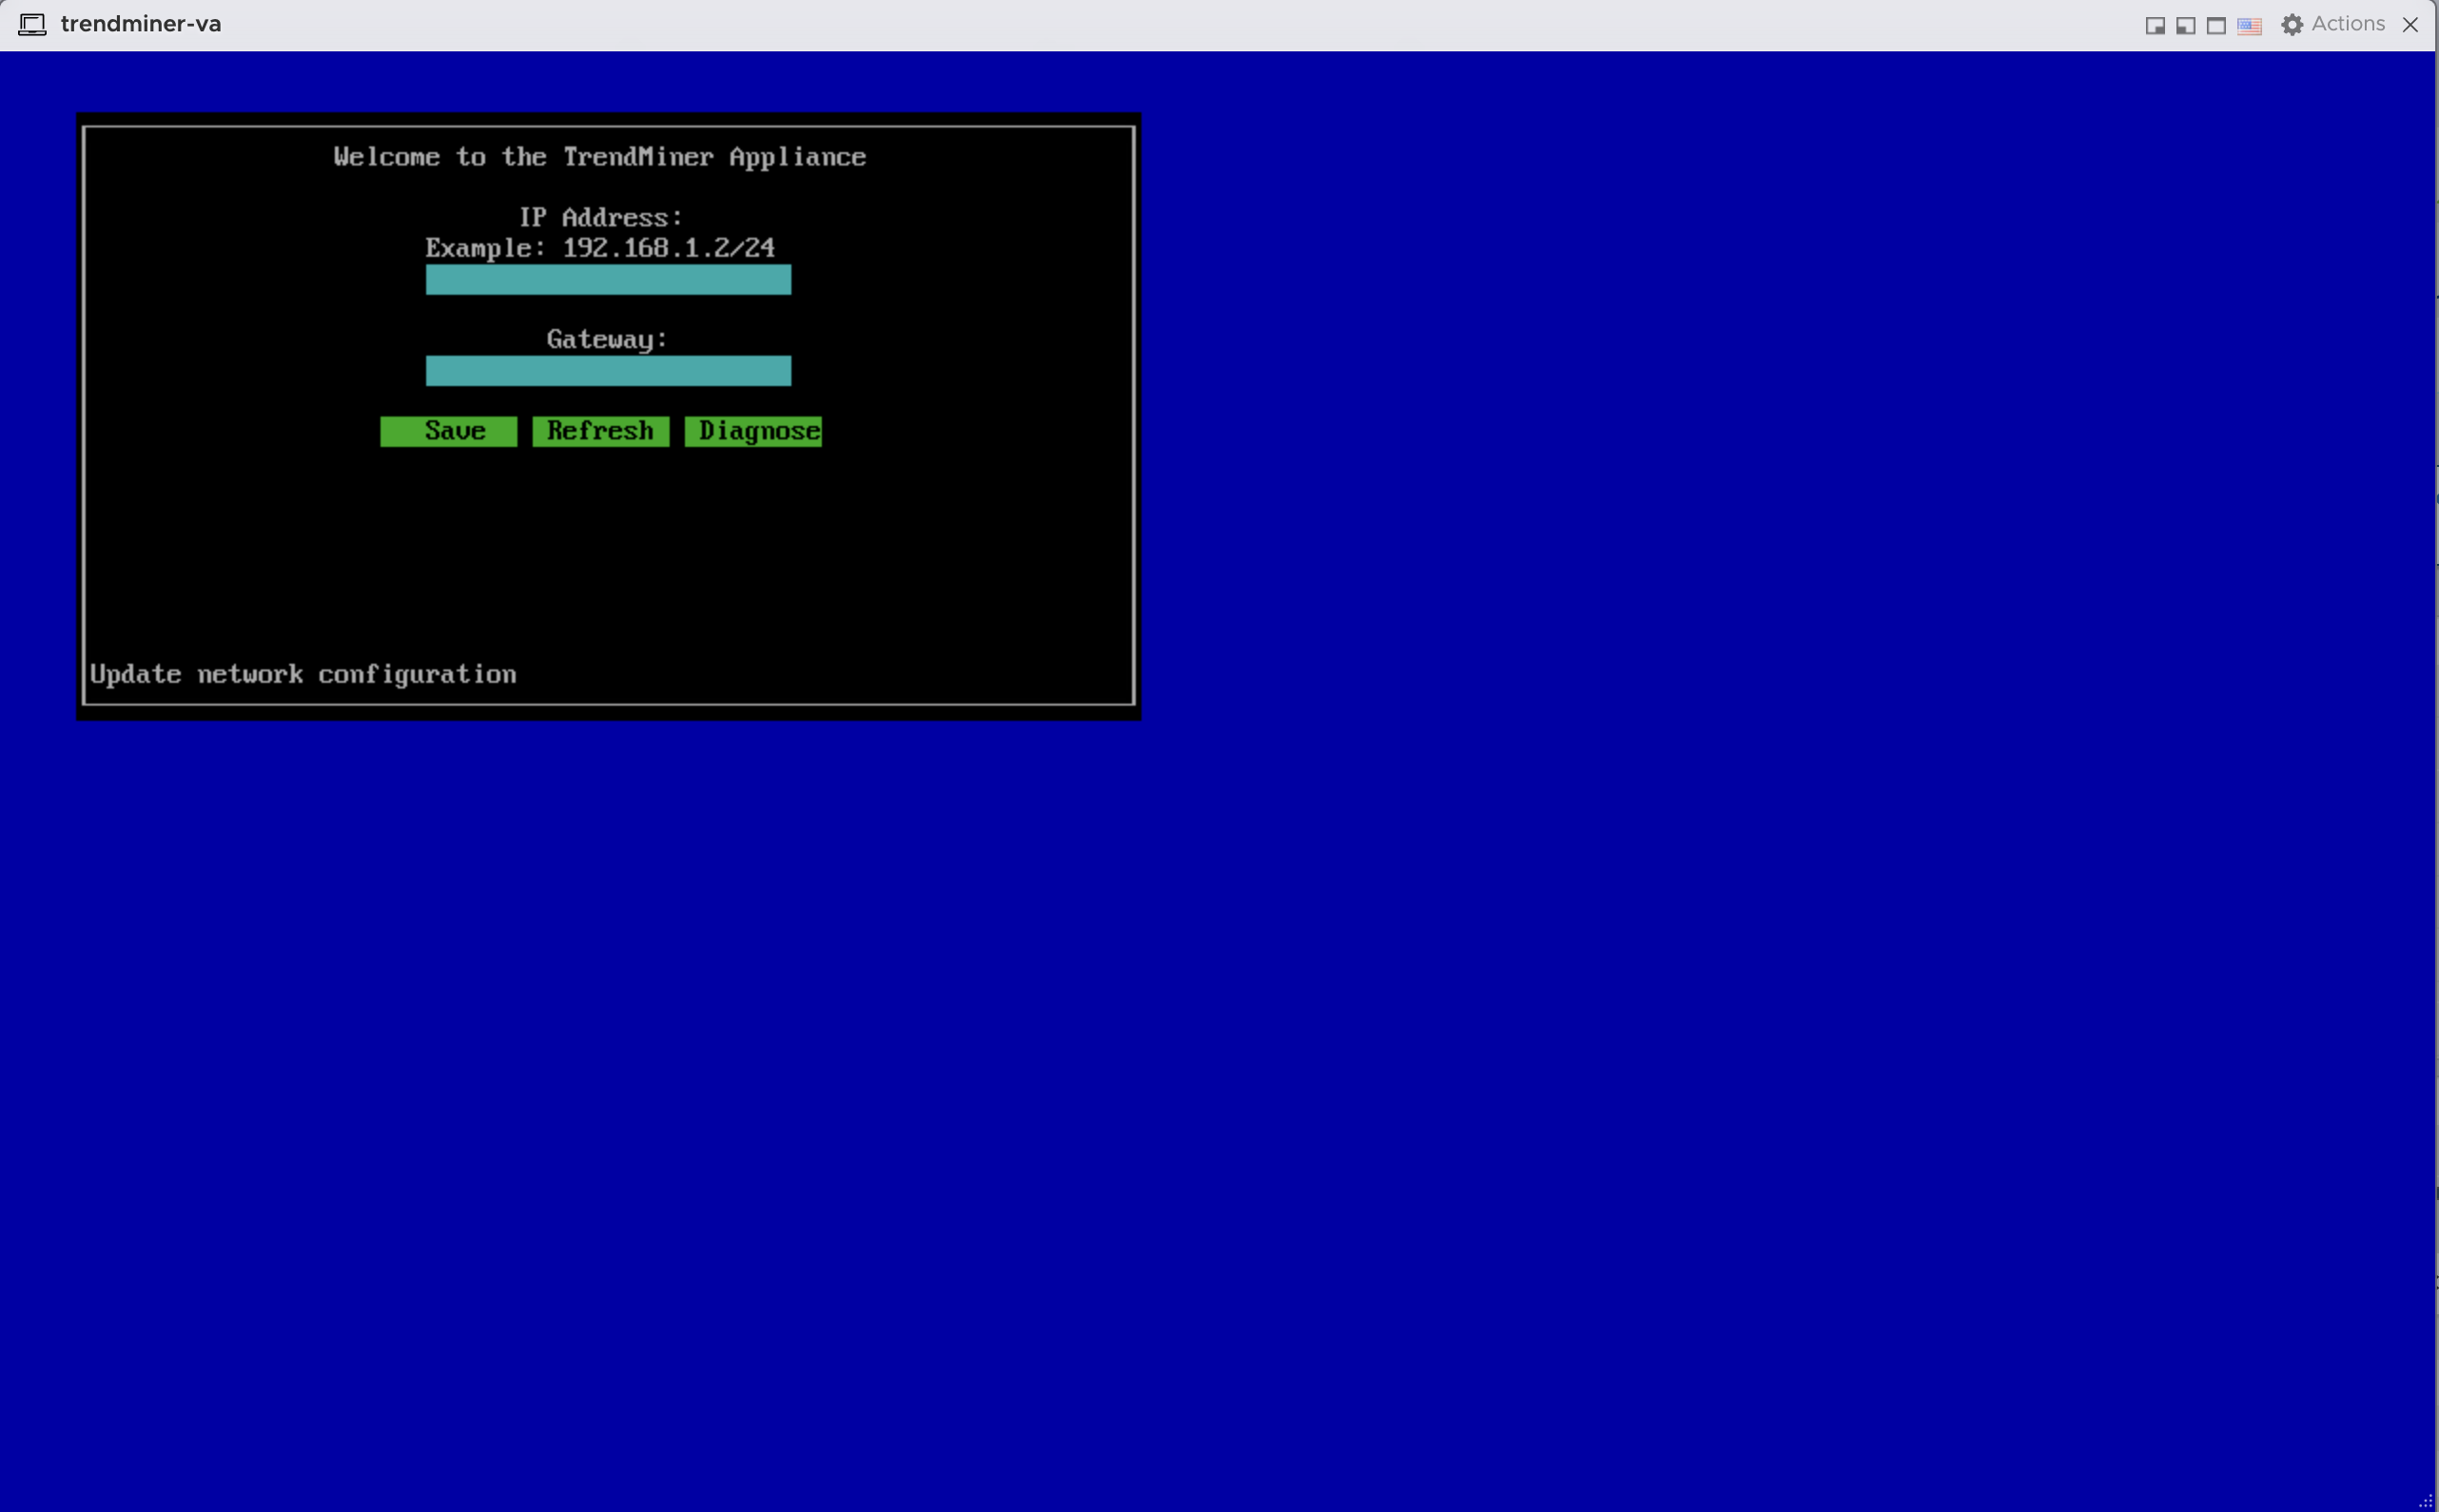
Click inside the window. It will now capture the key inputs. Use the arrow keys to navigate. Provide the IP address/Subnet mask in CIDR notation and gateway address and press ‘Save’. The text ‘Update network configuration’ will change to ‘Saved’.
Note
Note that the IP address should be provided in the CIDR notation (ip/netmask). For example: the IP address 192.168.0.50 with netmask 255.255.255.0 should be written as: 192.168.0.50/24
The console can now be closed. Continue to the Network Configuration.