Setting up SAML with Okta
SAML - Configure Okta - Part 1
This section describes the required steps to enable Okta SAML as an Identity provider (IdP) for TrendMiner via ConfigHub. As a first step, we'll need to set up a new App Integration and download the Federation metadata XML. Before we can do that, the user and security claims need to be set up correctly. With this configuration, Okta will return the correct Subject in the response for use in TrendMiner.
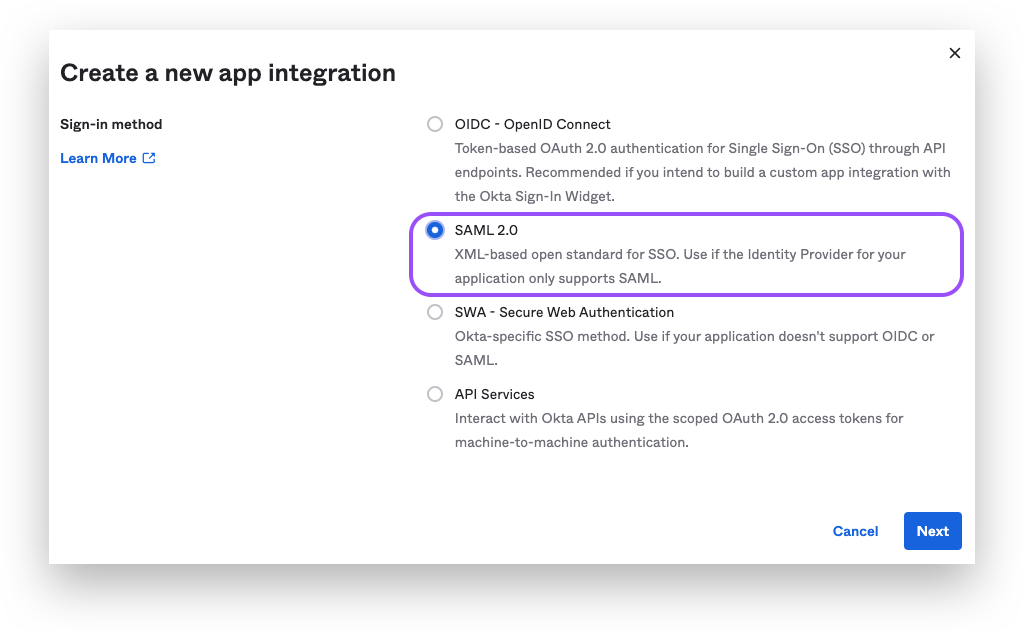
Create a new App Integration via the application menu.

Choose the SAML2.0 option.
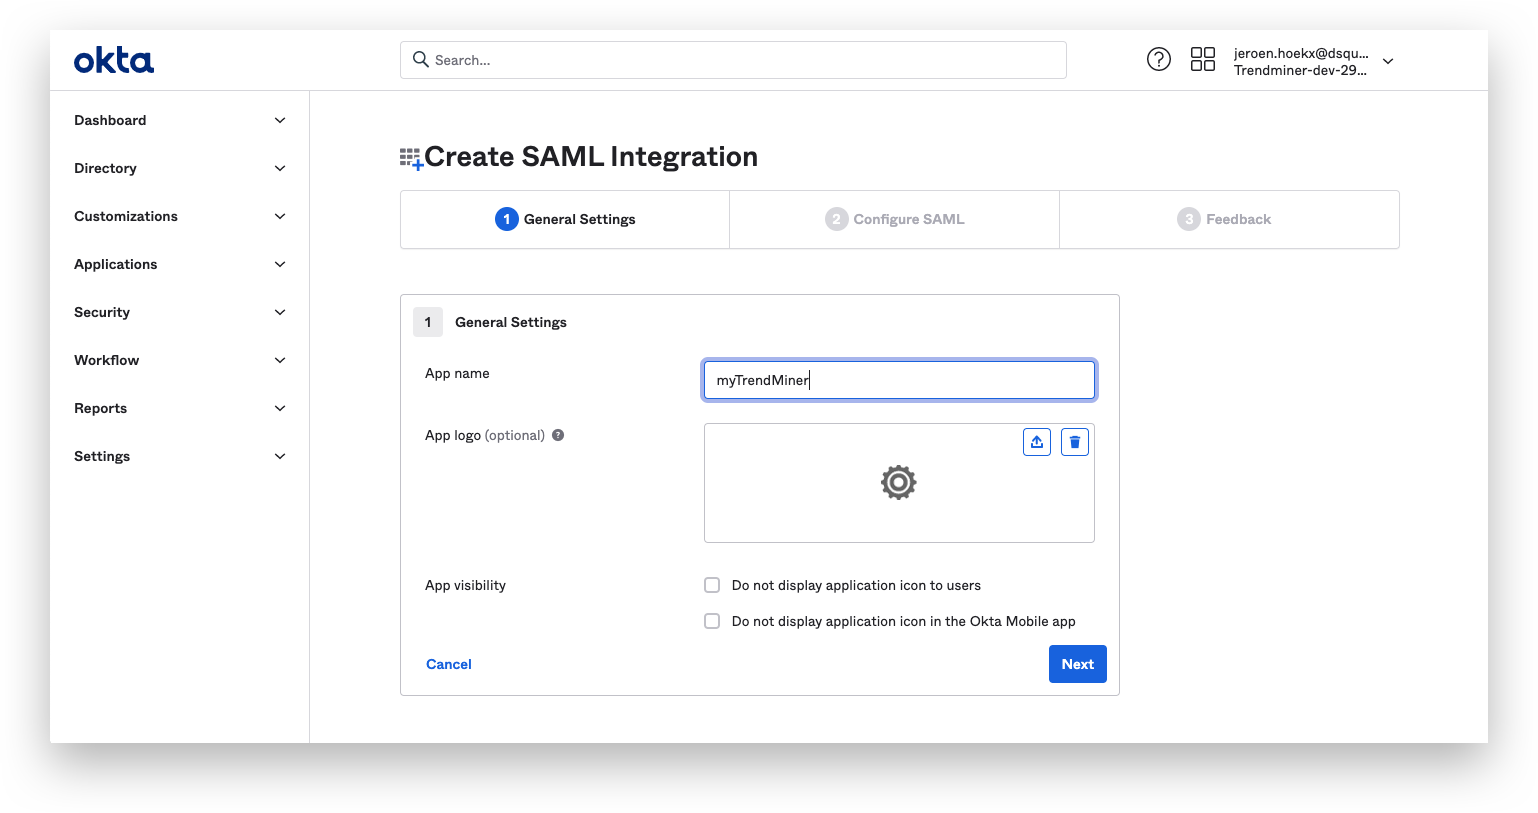
Fill in your "App Name" and click next.
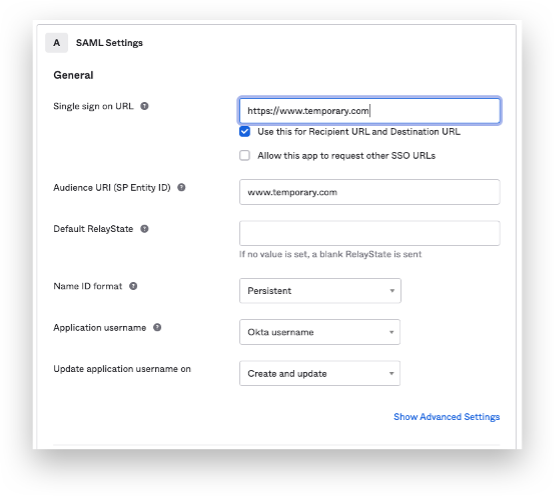
Fill out the details for the SAML settings and click on next when finished.
General settings:
Single sign on URL: Start by entering a temporary value. This will be overwritten at a later time.
Audience URI: Start by entering a temporary value. This will be overwritten at a later time.
Name ID format: Set to format of choice.
Application username: Okta username
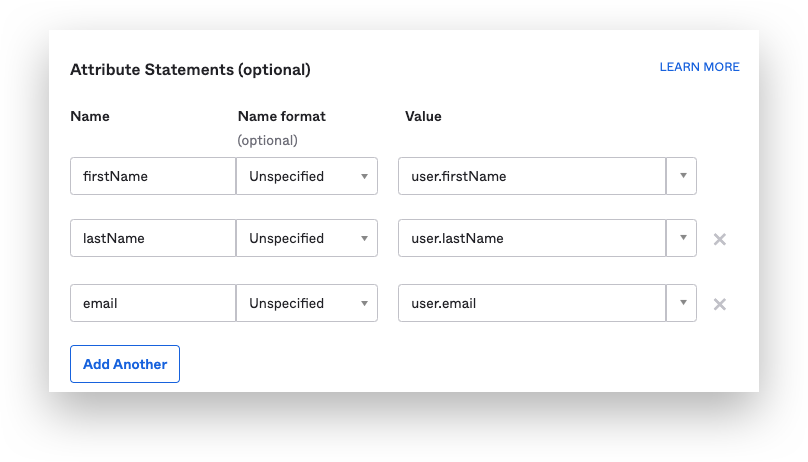
Add the following Attribute statements:
firstName / unspecified / user.firstName
lastName / unspecified / user.lastName
email / unspecified / user.email
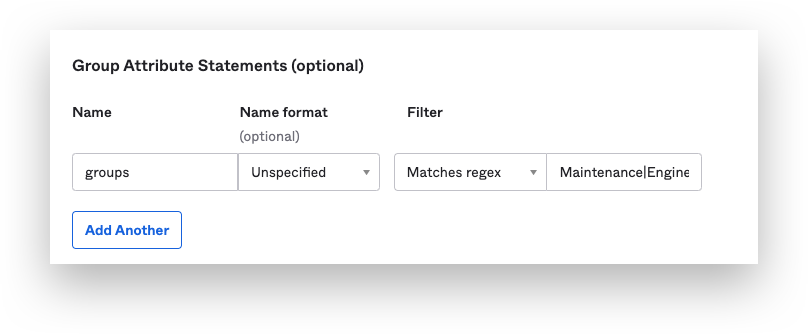
Add a Group statement. This is required when you want to use Okta groups to set up data permissions in TrendMiner. You have the choice of entering different types of Filters. In the example below, groups that match the regular expression "Maintenance|Engineering" will be sent to TrendMiner. Note that this is just an example and needs to be modified to match the specific groups and structure of your organization.
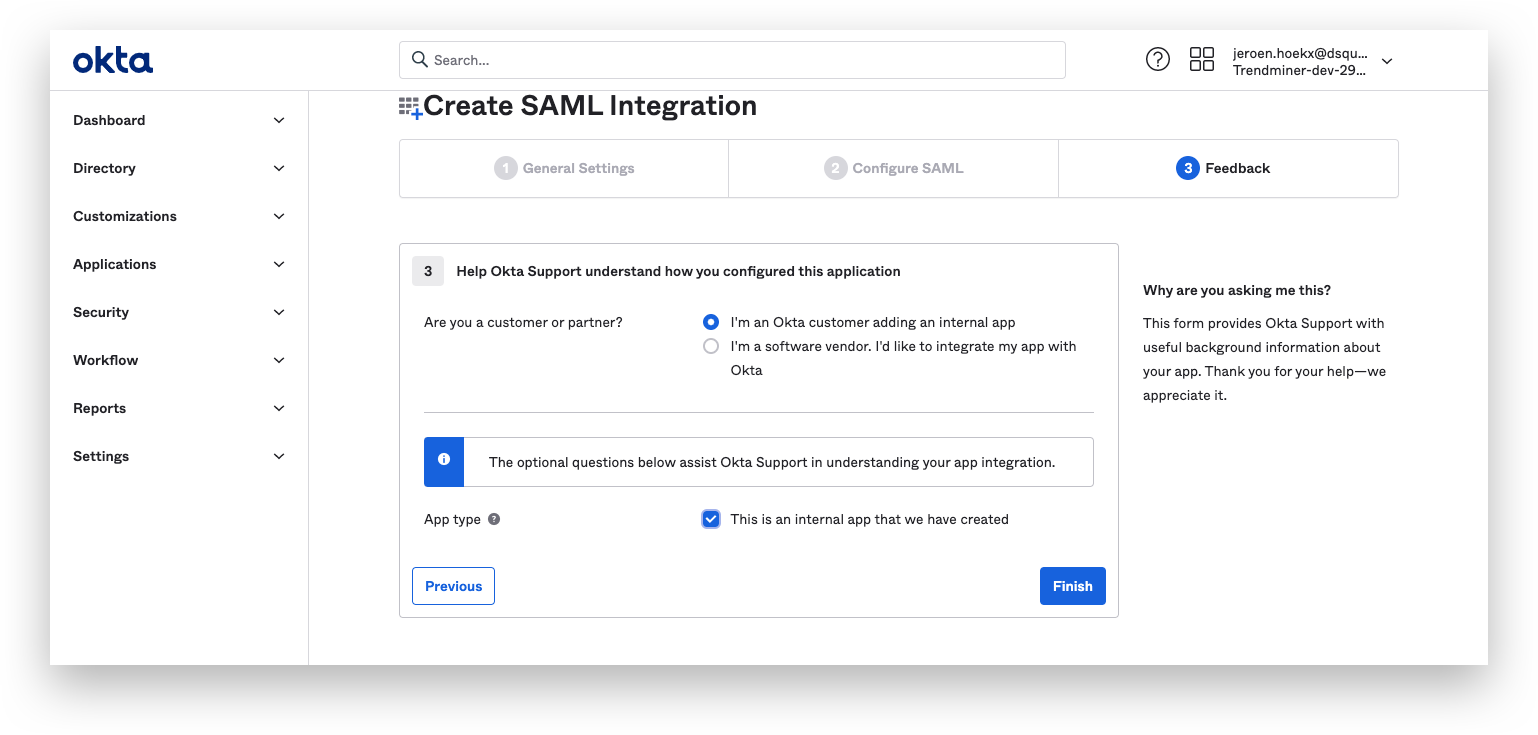
Select "I'm an Okta customer adding an internal app" + the "This is an internal app that we have created"-checkbox and click "Finish".
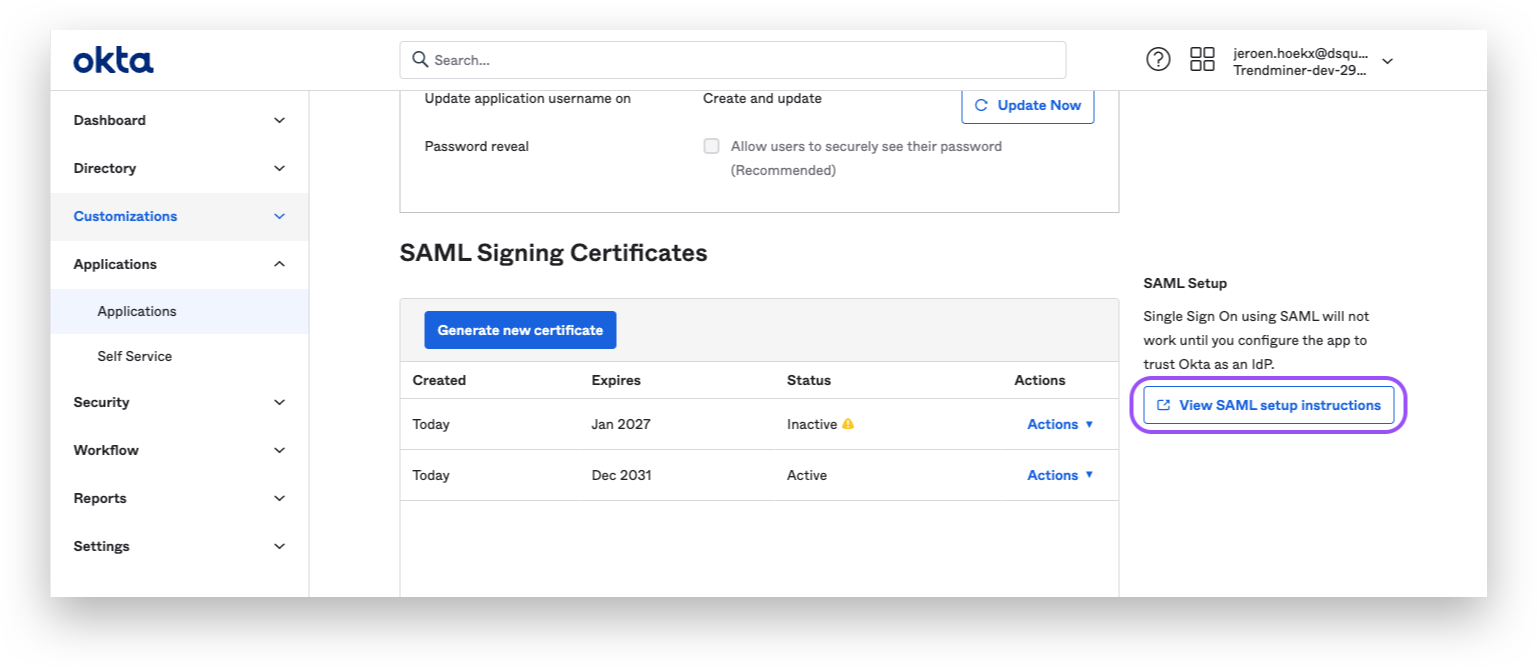
Fetch the Federation Metadata XML:
Click the "View SAML setup instruction"-button from the "sign on"-tab of your application.
Scroll down and copy the IDP metadata.
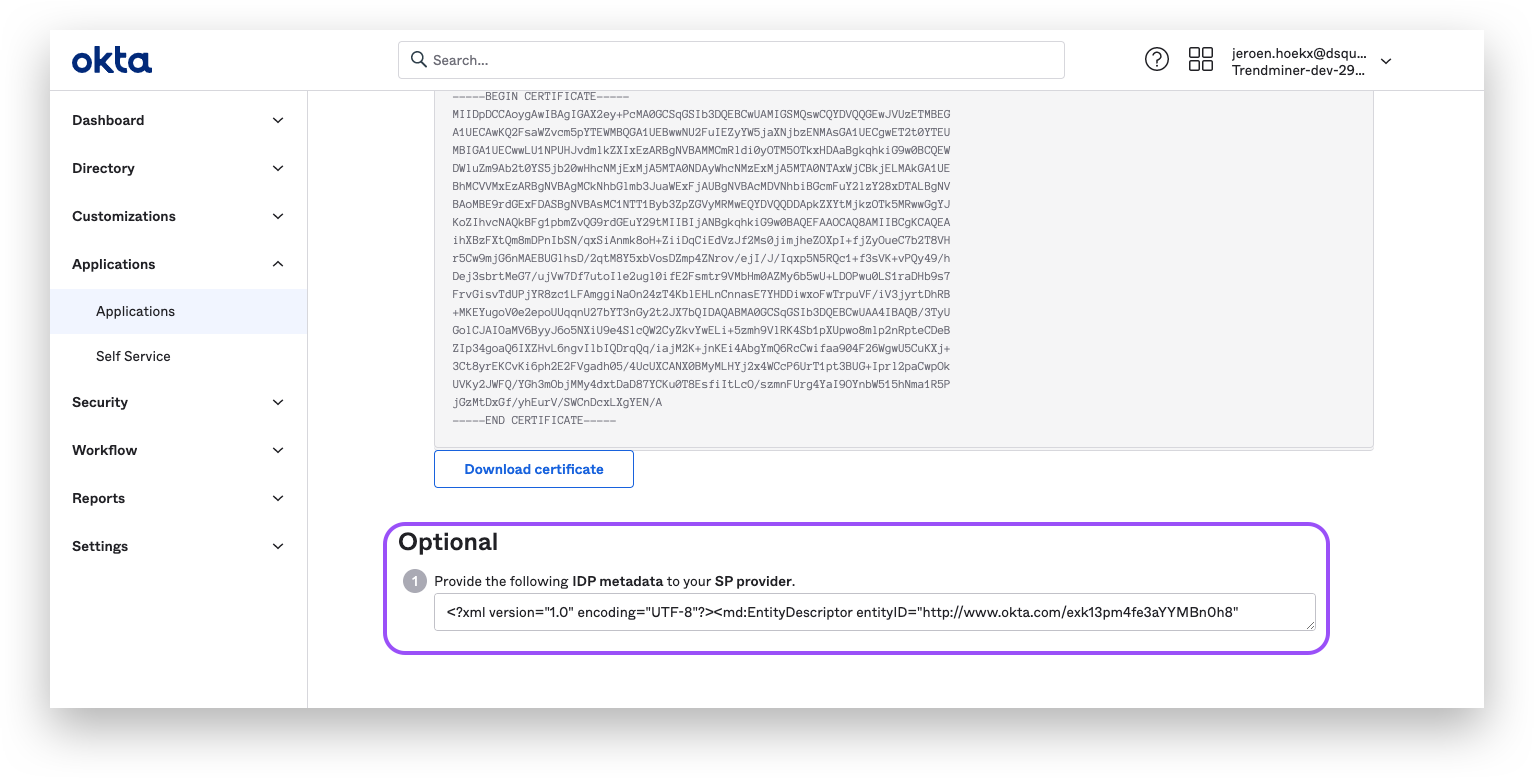
Paste the IDP metadata in a text file and save it with a ".xml"-extension.
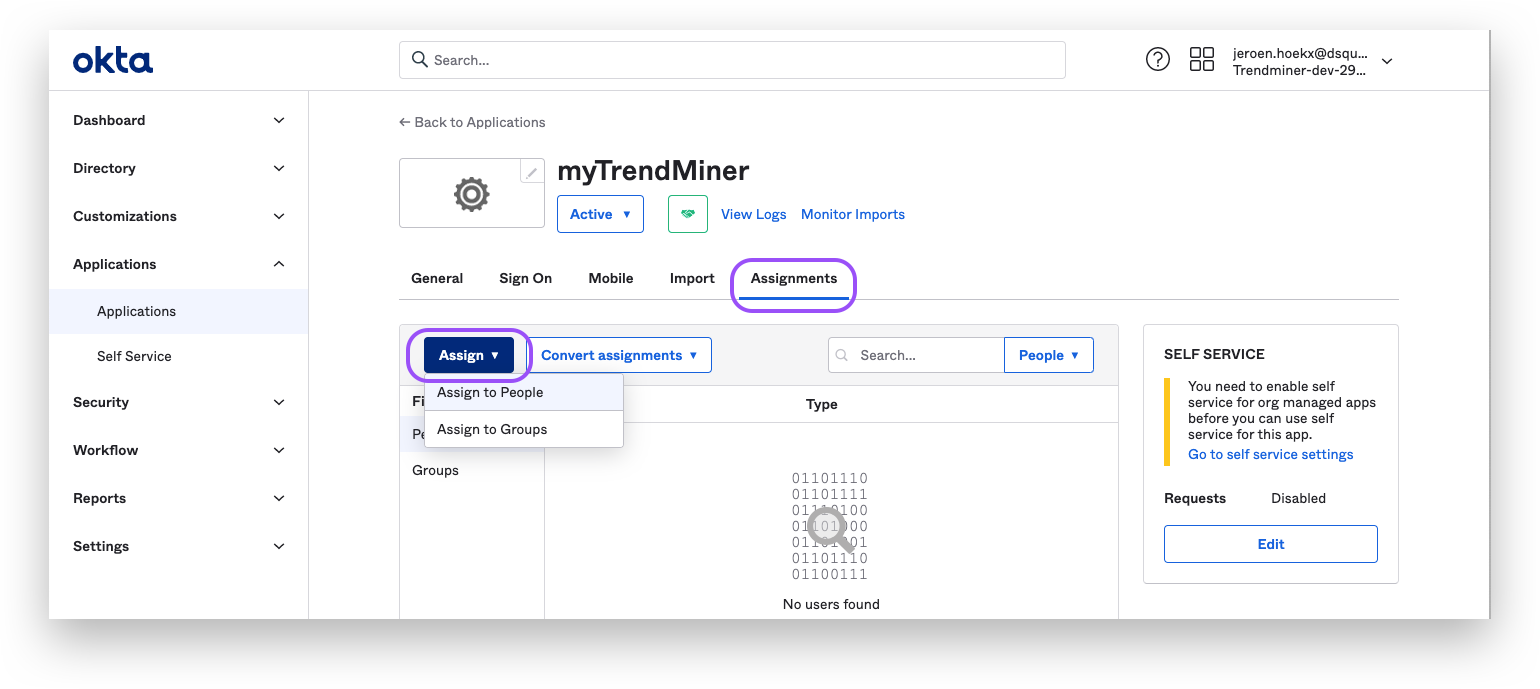
Add users/groups to the application:
Open the "Assignments"-tab
Click on the "Assign"-button to add users/groups to the application
Continue with the steps for TrendMiners ConfigHub configuration as explained in the next section of this document.
SAML - ConfigHub Configuration
After setting up the initial application in your Identity Provider, we can continue in TrendMiner's ConfigHub. Via ConfigHub we can see an overview of the existing Identity Providers and have the ability to configure a new one.
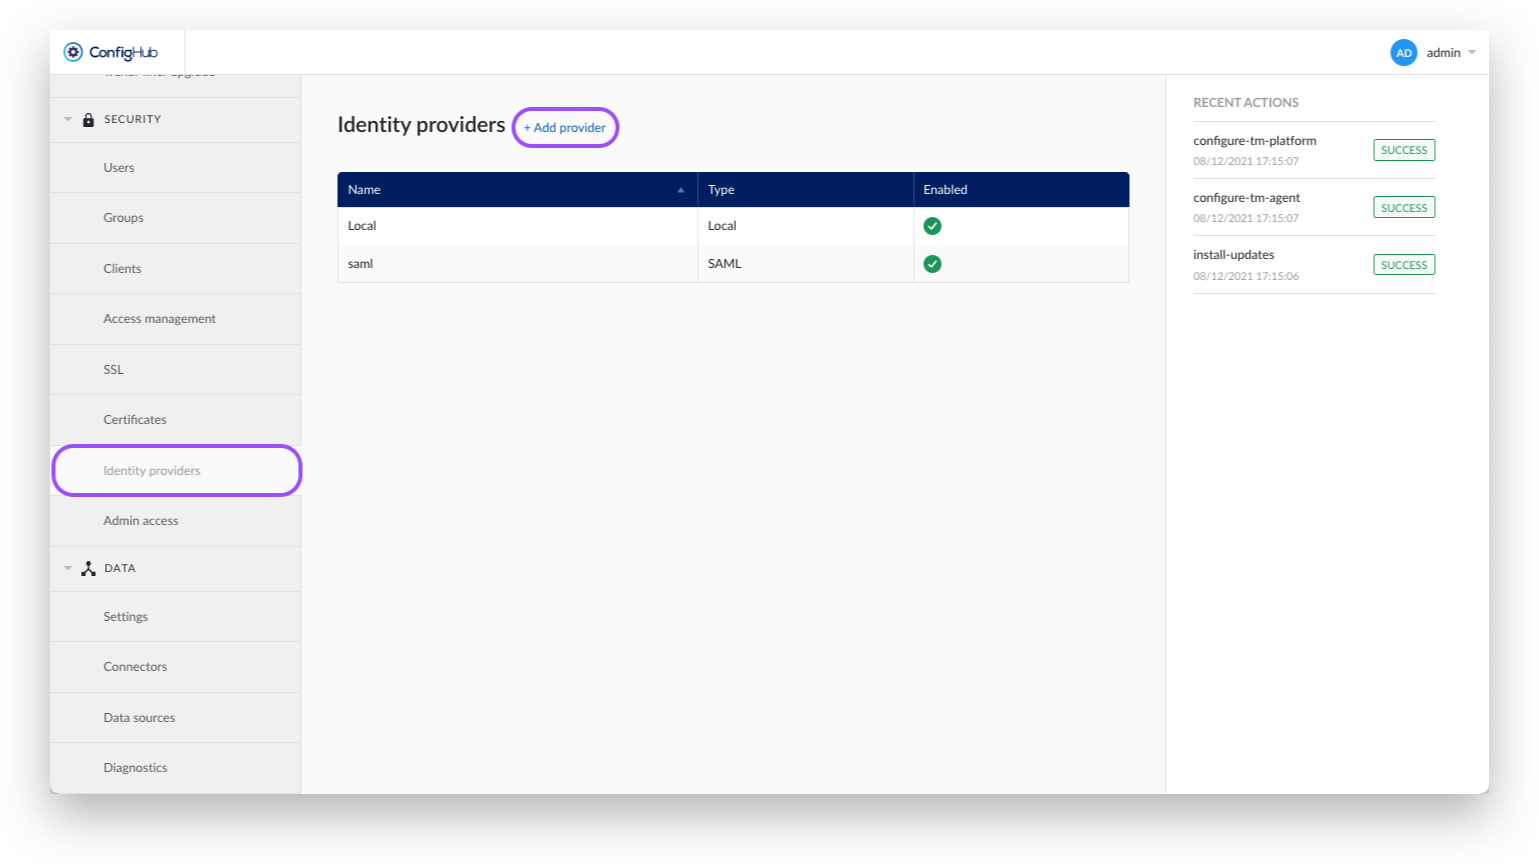
Navigate to ConfigHub and open the "Identity Providers" tab in the "Security" section.
Click the "Add provider"-button.
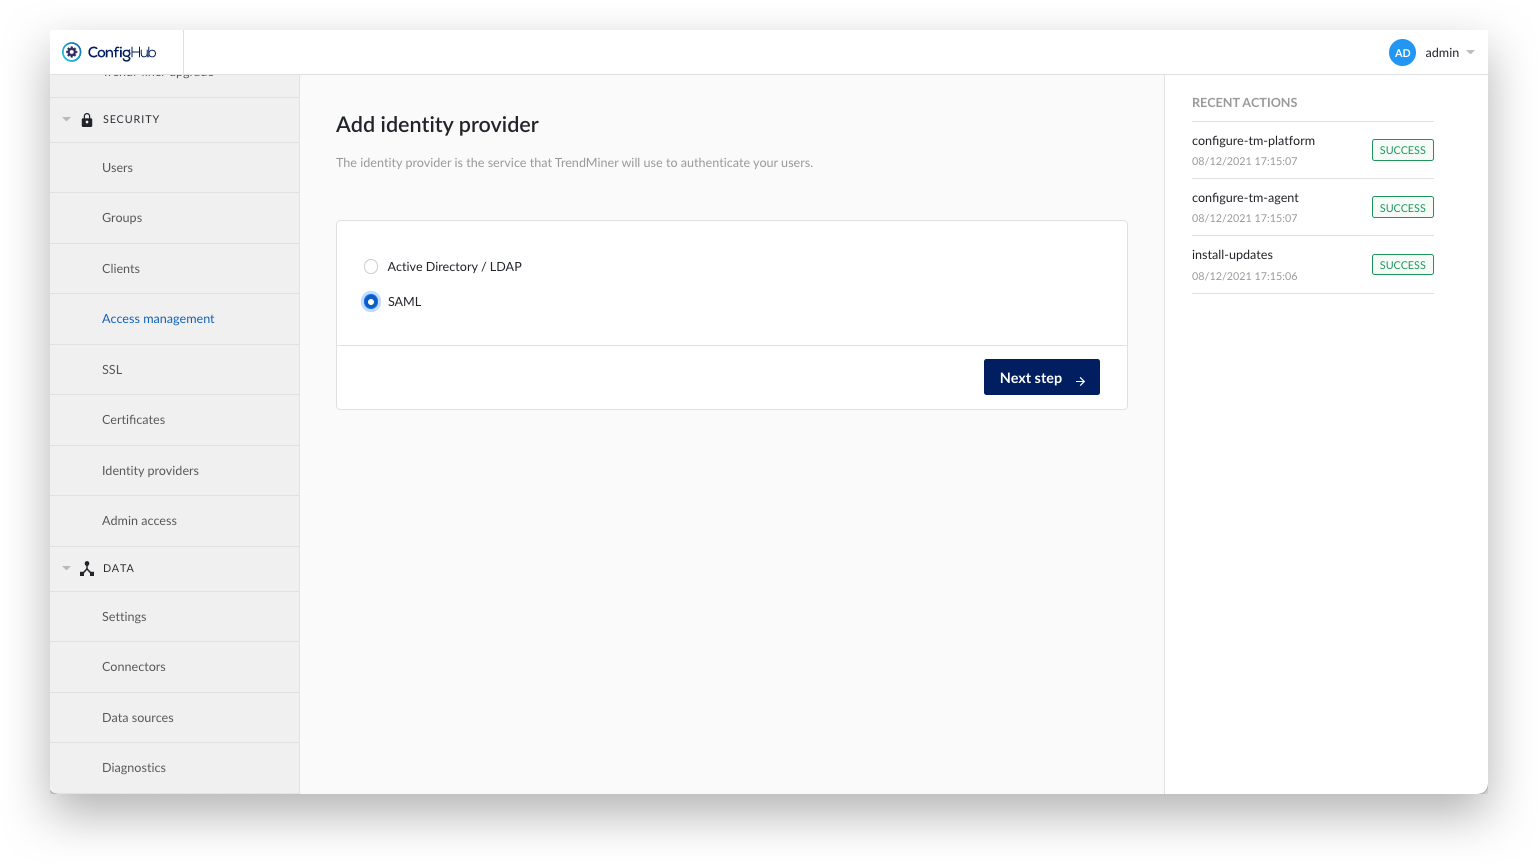
Select the SAML option.
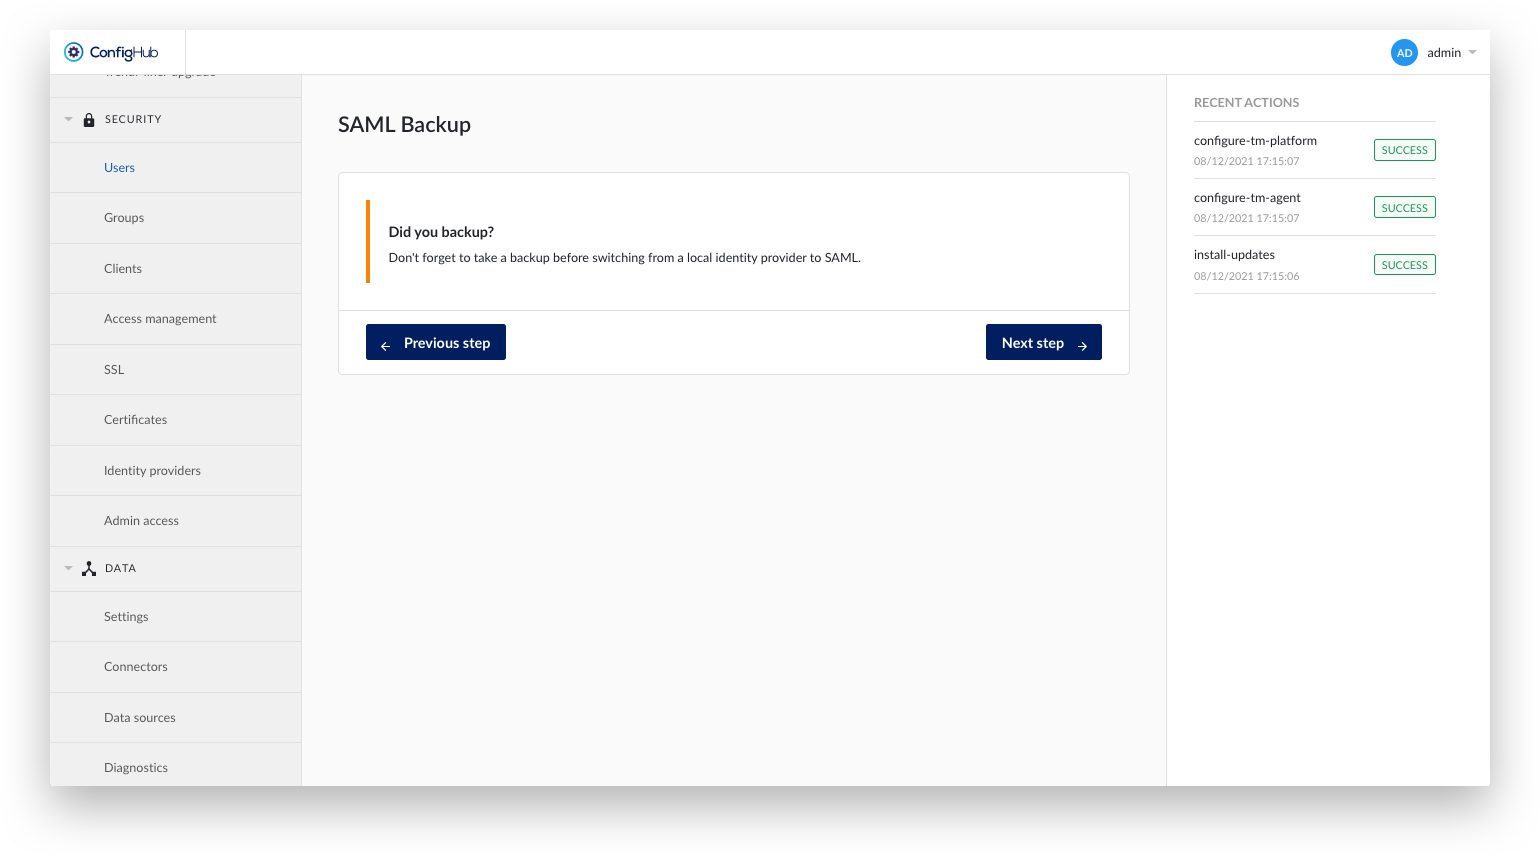
Create a TrendMiner backup.
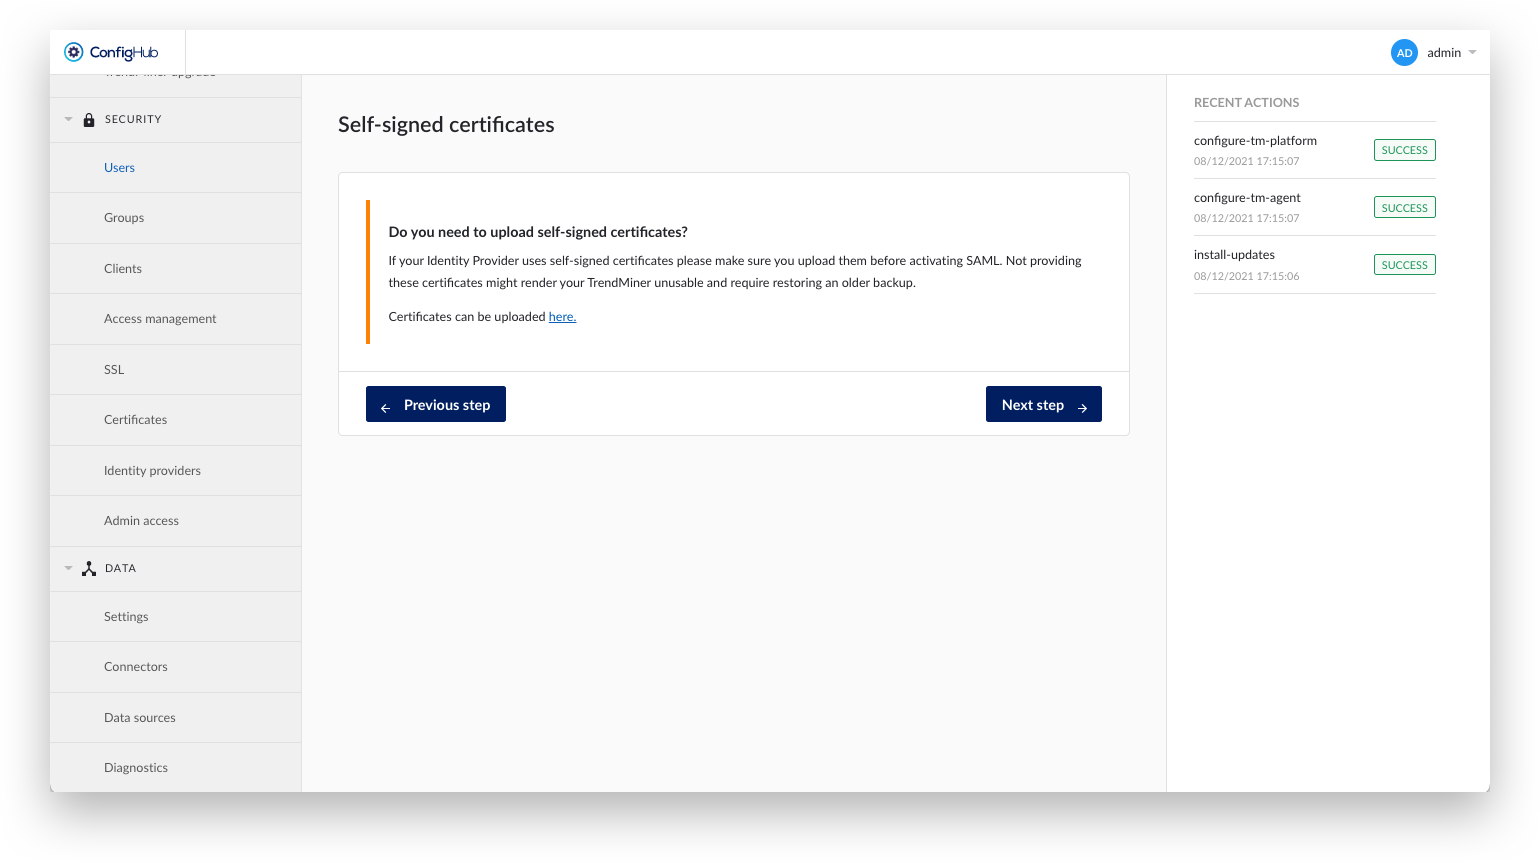
Upload a Self-signed certificate if necessary. Self-signed certificates might be necessary if the IDP uses a custom CA certificate over HTTPS.
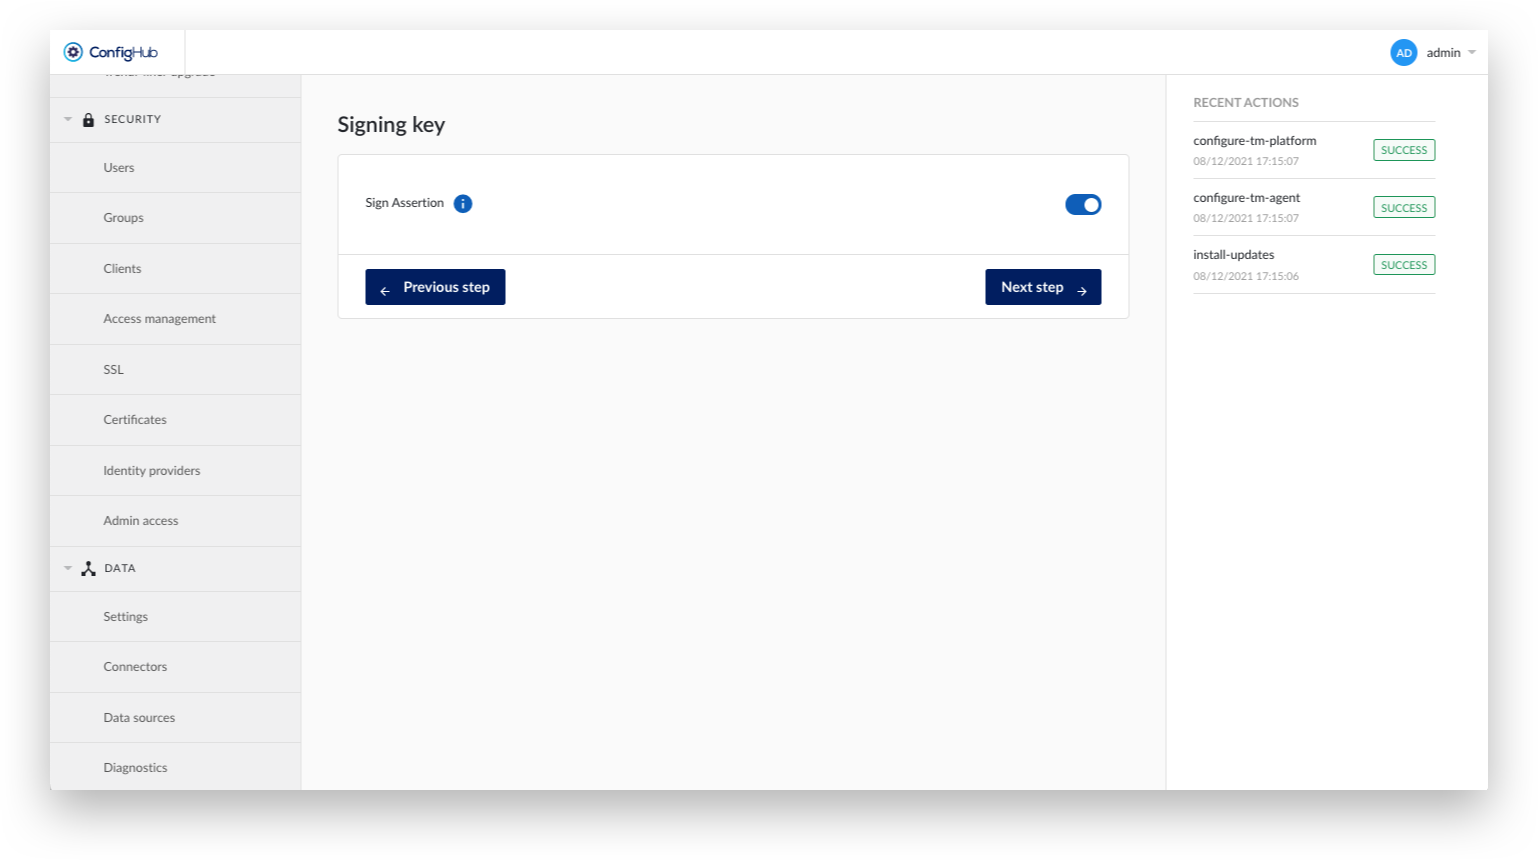
Indicate whether a signed Assertion is expected.
Fill out the details for the SAML configuration:
Name: Display name in ConfigHub and used as root group. This name is only used within ConfigHub for admins to recognize the configuration. It does not further relate to any technical SAML details.
Base domain: Used in URLs of the SP metadata file. Eg: where the IDP has to redirect after identification.
NameID Policy Format: A dropdown to select the policy format as being used by the SAML provider (e.g. Azure or Okta). Possible values are: Persistent, Transient, Email, Kerberos, X.509 Subject Name, Windows Domain Qualified Name, Unspecified
Principal Type: A dropdown to select the principal type as being used by the SAML provider. Possible values are: Subject name ID, Attribute name, Attribute friendly name
Principal Attribute: In case Attribute name or Attribute friendly name was selected as an option from the Principal Type dropdown, an extra input field will become visible that allows you to enter the name of the specific attribute to be used
Identity provider metadata file: Upload the Federation Metadata XML file you have downloaded from the IdP in the previous section.
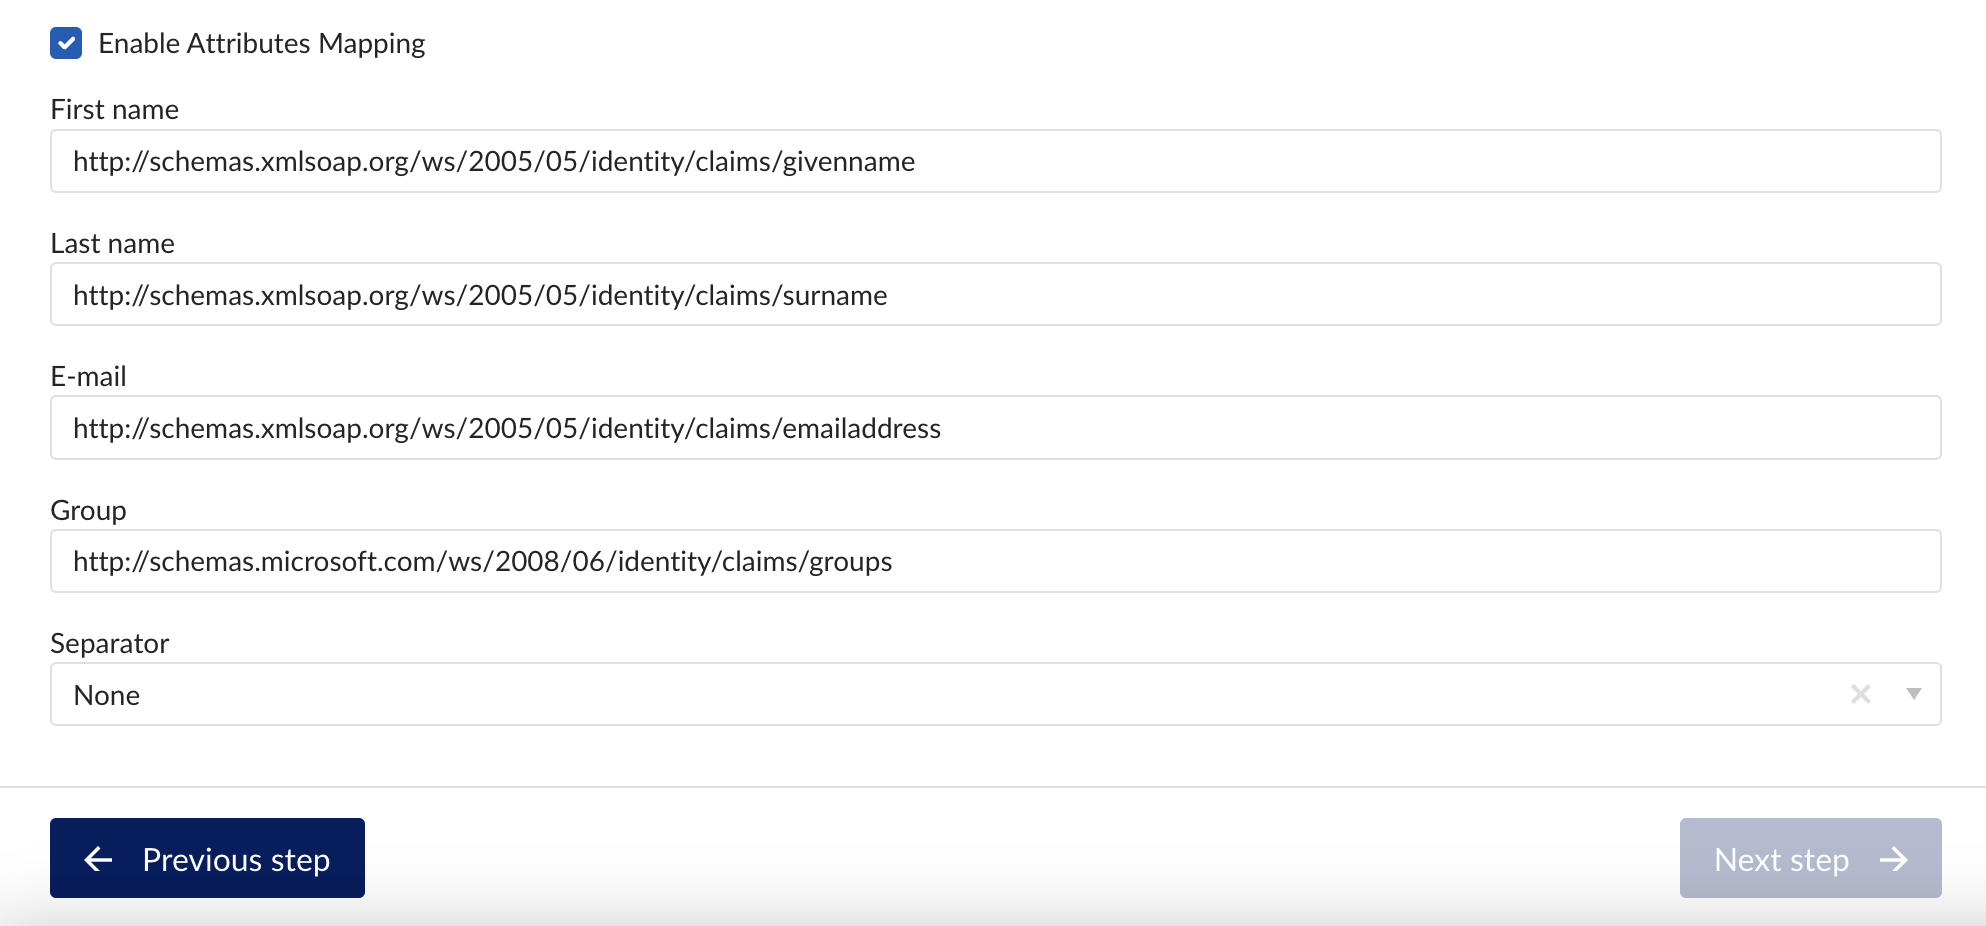
Enable Attributes Mapping: Optional setting to map SAML assertions into ConfigHub. Note that the mappings need to correspond with the attribute names used from the IdP (see previous section). For Azure, this corresponds to the claim name (e.g. http://schemas.microsoft.com/ws/2008/06/identity/claims/groups) while for Okta this corresponds to the given names in the previous steps (e.g. firstName, groups,…).
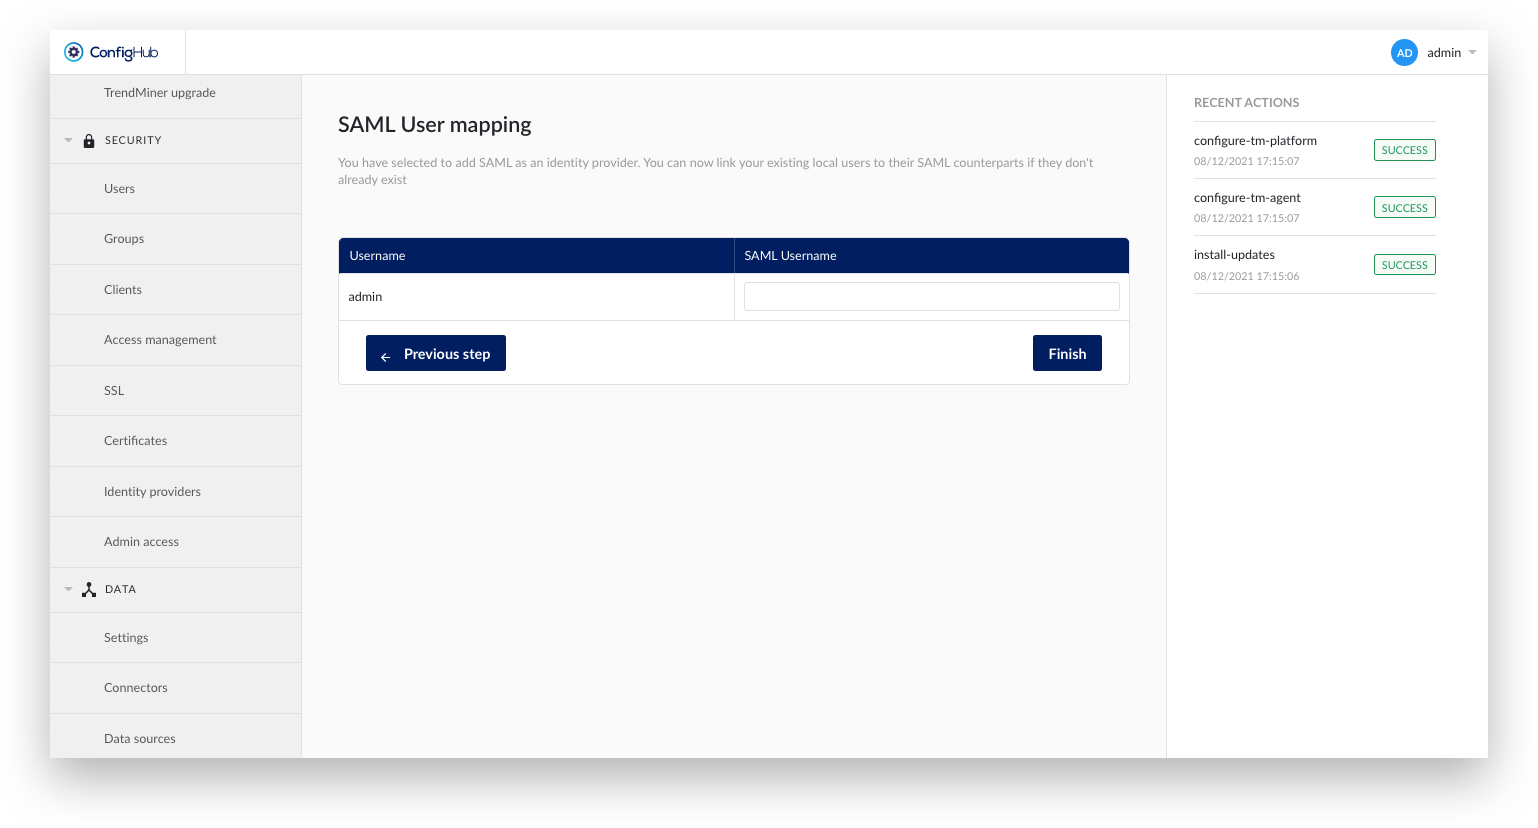
The next screen allows mapping existing (local) TrendMiner users to the SAML provider. The SAML username should correspond to the value returned by the IdP in the Subject-NameID tags. TrendMiner requests the NameId in the following format:
"urn:oasis:names:tc:SAML:2.0:nameid-format:persistent".
After creating the identity provider in ConfigHub it is time to download the metadata file and go back to the identity provider.
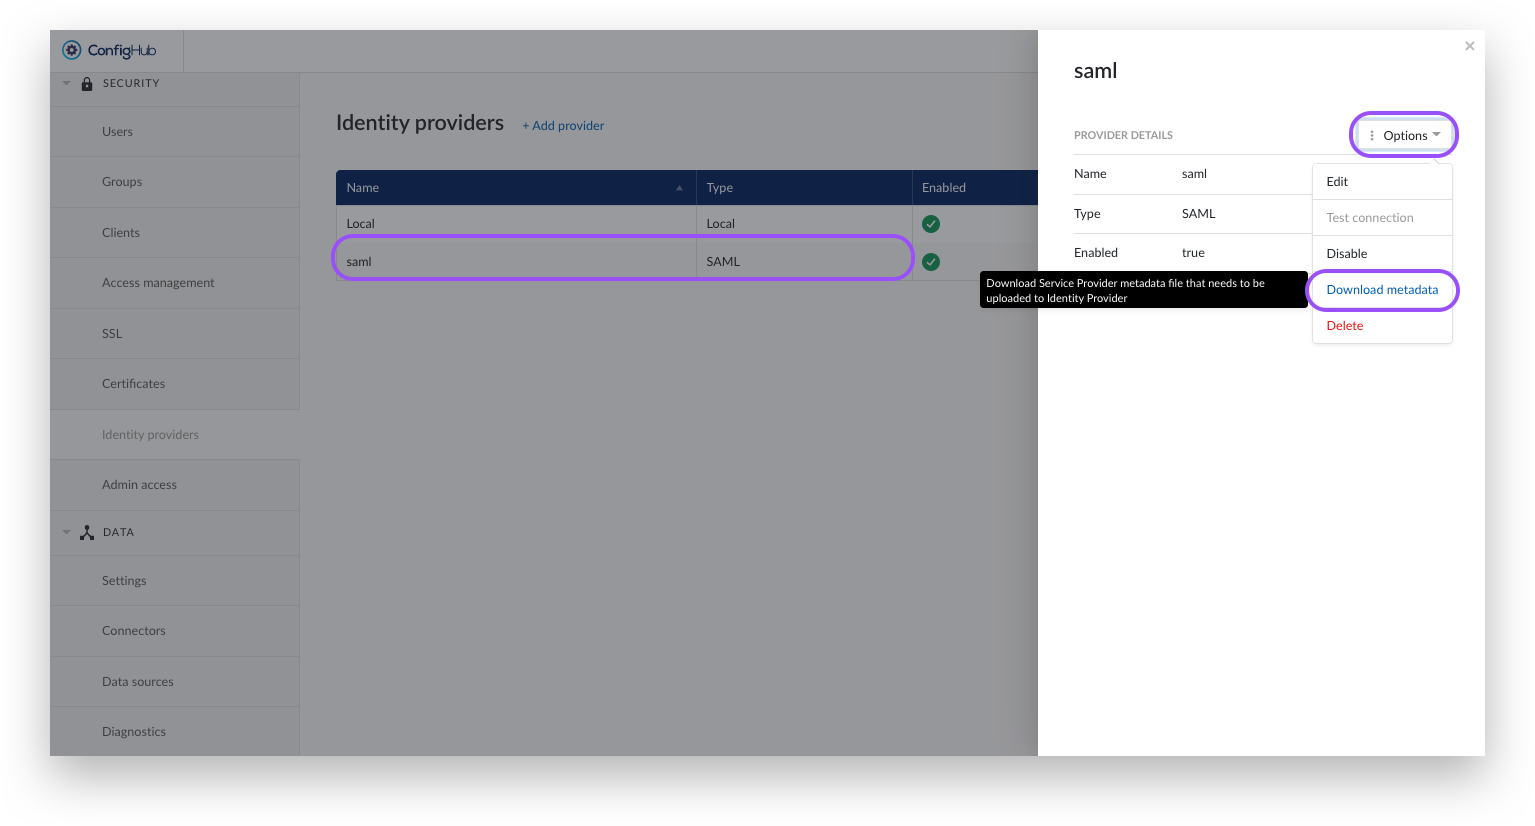
Go back to the "Identity Providers" tab in the "Security" section in ConfigHub. You should be able to see your created provider listed.
Click on your newly created provider. A side panel will pop open.
Click the options-button.
Click the download Metadata button. This metadata file contains the remaining configuration on the IdP side.
Complete the identity provider configuration as explained in the next section.
SAML - Configure Okta - Part 2
OKTA does not support uploading SP metadata files, so some manual extraction is necessary.
Open the metadata file from TrendMiner in a text editor. The metadata should look like this:
<md:EntityDescriptor xmlns:md="urn:oasis:names:tc:SAML:2.0:metadata"
xmlns="urn:oasis:names:tc:SAML:2.0:metadata"
xmlns:ds="http://www.w3.org/2000/09/xmldsig#"
xmlns:saml="urn:oasis:names:tc:SAML:2.0:assertion" ID="ID_3f7843b9-664f-40e7-a536-2fa8893e87b6"
entityID="https://trendminer.example.com/auth/realms/trendminer">
<md:SPSSODescriptor AuthnRequestsSigned="false" WantAssertionsSigned="true"
protocolSupportEnumeration="urn:oasis:names:tc:SAML:2.0:protocol">
<md:SingleLogoutService Binding="urn:oasis:names:tc:SAML:2.0:bindings:HTTP-POST"
Location="https://trendminer.example.com/auth/realms/trendminer/broker/7fc6524e-3d55-4ae2-9edf-3d678e376063/endpoint"/>
<md:NameIDFormat>urn:oasis:names:tc:SAML:1.1:nameid-format:unspecified</md:NameIDFormat>
<md:AssertionConsumerService
Binding="urn:oasis:names:tc:SAML:2.0:bindings:HTTP-POST"
Location="https://trendminer.example.com/auth/realms/trendminer/broker/7fc6524e-3d55-4ae2-9edf-3d678e376063/endpoint" index="1" isDefault="true"/>
<md:AttributeConsumingService index="1" isDefault="true">
<md:RequestedAttribute FriendlyName="lastName" Name="lastName"
NameFormat="urn:oasis:names:tc:SAML:2.0:attrname-format:basic"/>
<md:RequestedAttribute FriendlyName="email" Name="email"
NameFormat="urn:oasis:names:tc:SAML:2.0:attrname-format:basic"/>
<md:RequestedAttribute FriendlyName="firstName" Name="firstName"
NameFormat="urn:oasis:names:tc:SAML:2.0:attrname-format:basic"/>
</md:AttributeConsumingService>
</md:SPSSODescriptor>
</md:EntityDescriptor>
Copy the Location value from <md:SingleLogoutService>. In this example, this corresponds to: https://trendminer.example.com/auth/realms/trendminer/broker/7fc6524e-3d55-4ae2-9edf-3d678e376063/endpoint. This URL needs to be added in OKTA.
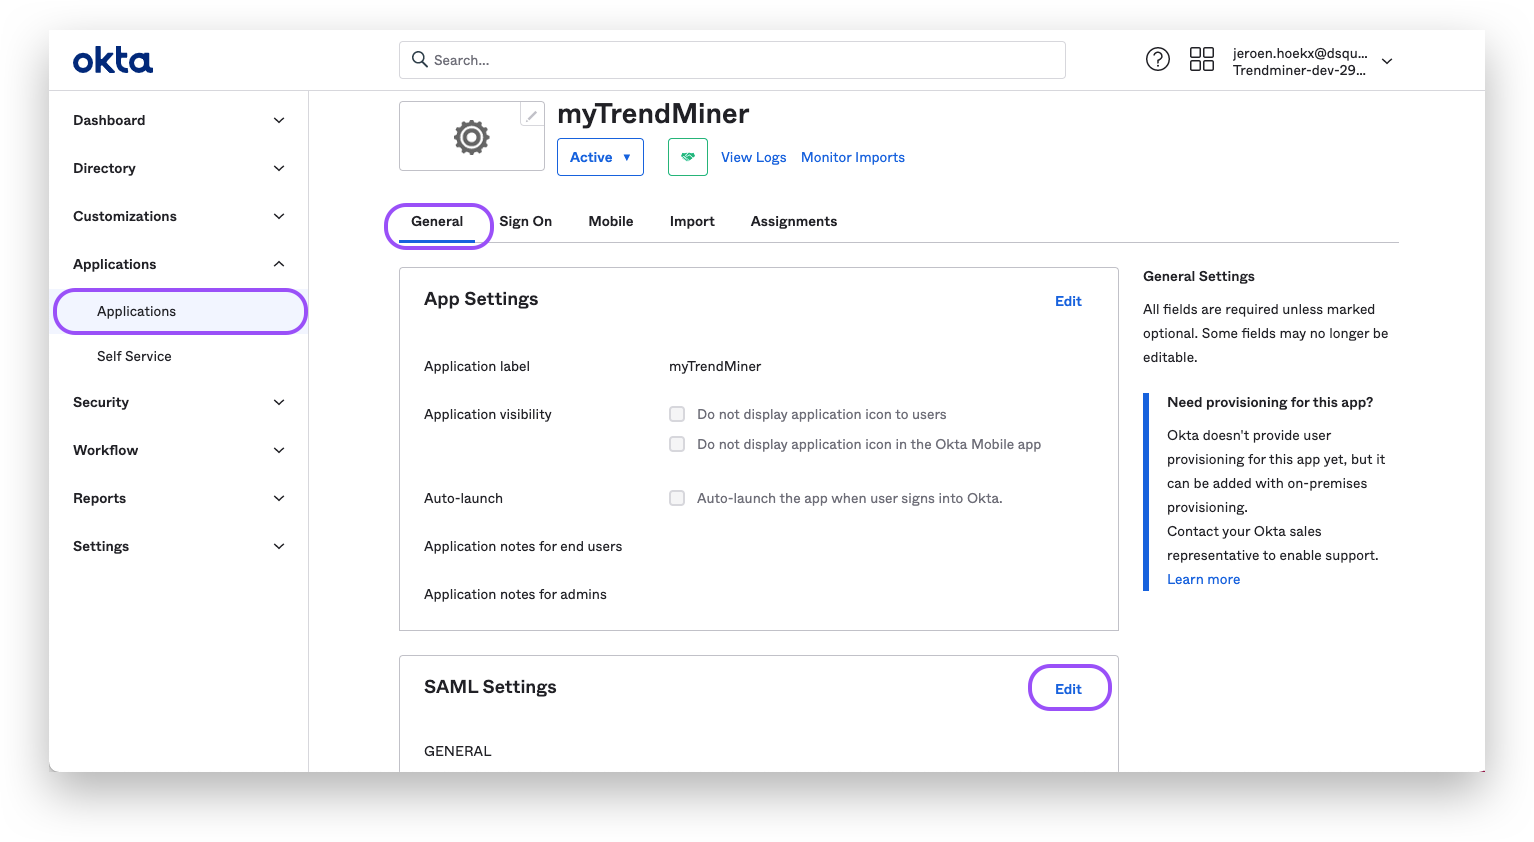
Navigate to your application in Okta and open the "General"-tab.
Click "edit" for the SAML settings and proceed to step 2 "Configure SAML".
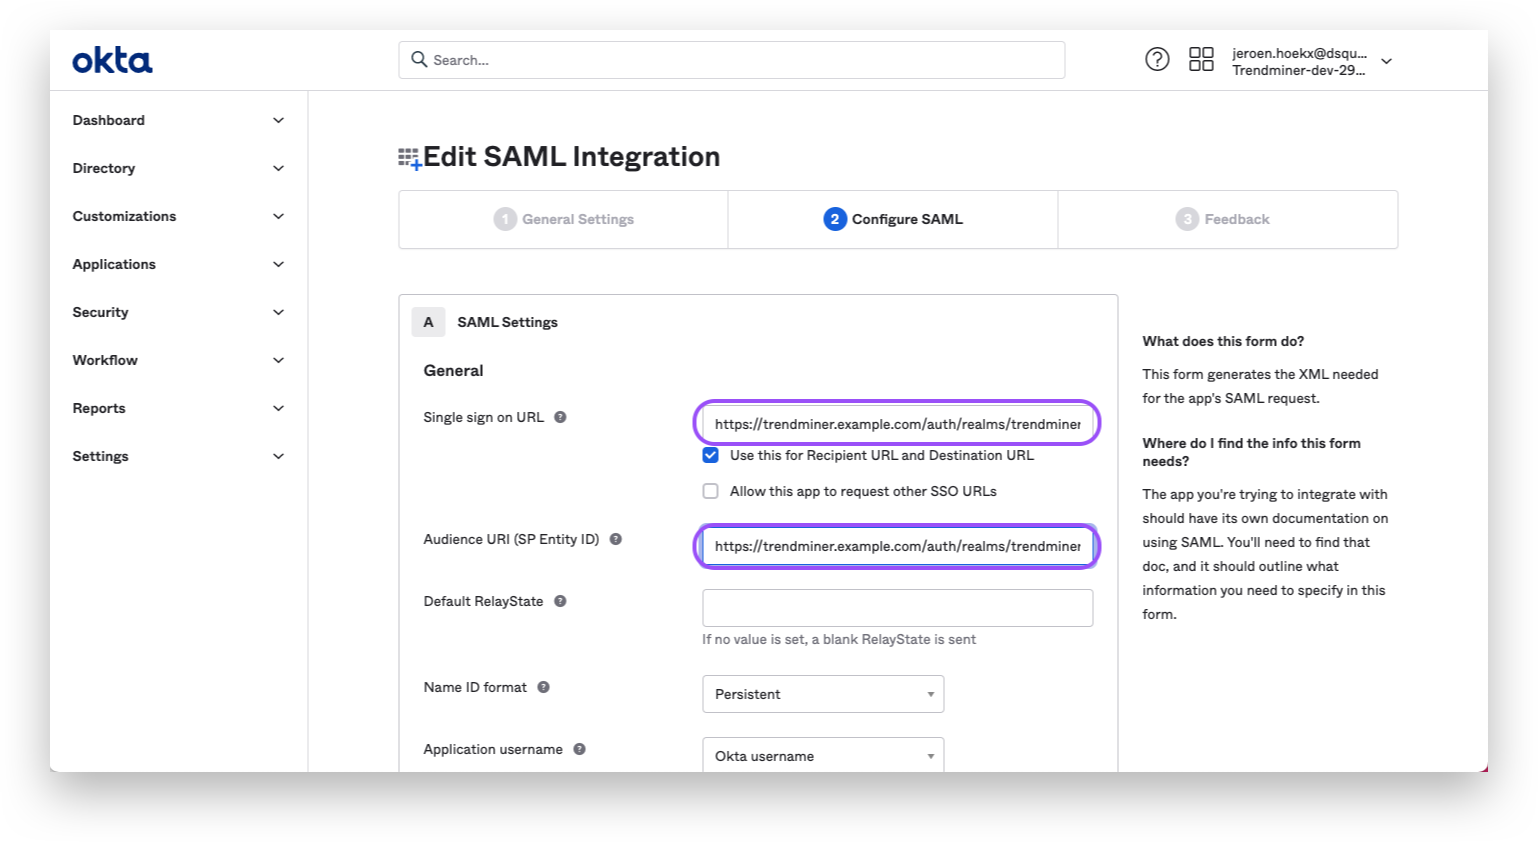
Change the "Single sign on URL" and "Audience URI" to the copied URL.
The SAML setup is complete and you should be able to login in TrendMiner. After logging in with a SAML user in TrendMiner the assigned groups should be synced and ACLs can be configured.